https://www.youtube.com/watch?v=kgxuBXDd8dY
How To Make Popcorn Spawn Jars (No Pressure Cooker) - Growing Mushrooms
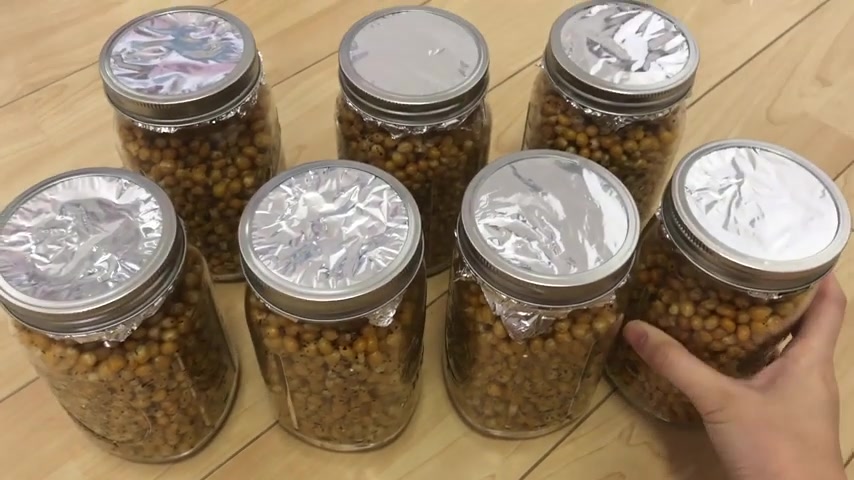
Hello , everyone .
Today , I'm going to show you how I make these popcorn , green jars without a pressure cooker .
I use the oven to sterilize these jars and a pressure cooker is definitely the preferred method for grain sterilization , but I don't have a pressure cooker .
So today I'm just going to be using the oven to sterilize these jars .
So the first thing we have to do is prepare our jars .
Here , I have a dozen .
You can get them at like Target or Walmart for $12 .
They're pretty cheap .
So the first thing we have to do is drill some holes into these jars .
So here I have this drill .
You don't need a drill though .
You could also just use screws and hammer the screws into the lid or a screwdriver and just punch some holes in here .
But I have a drill .
So I'm just gonna use it .
Ok .
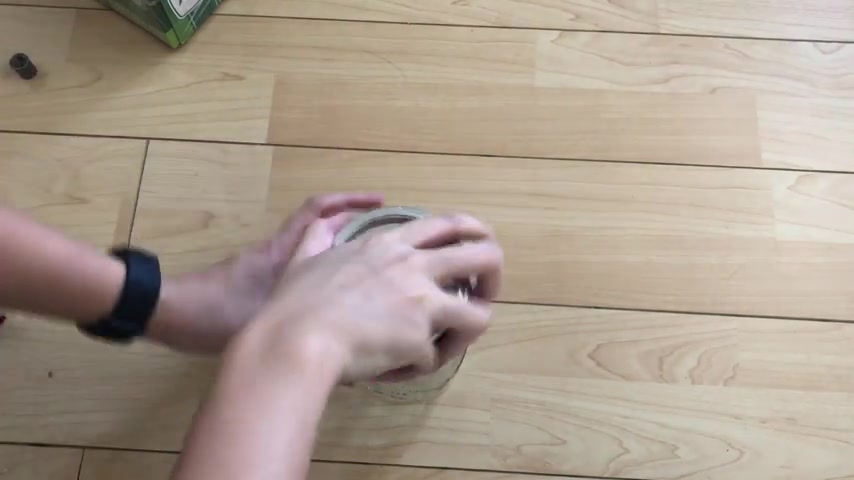
So now we have the holes in the jar lids and you're gonna wanna make sure that you empty the jars because there's gonna be like metal shavings that fall into the jar .
And so now we're gonna create our injection port .
So just pick a hole that you want to be the injection part port and you grab your red R TV and you put like a doll on the hole and do the same thing on the other side .
OK ?
This was like super messy but you see there's like peaks here and you're gonna want to flatten it out .
So just grab a really wet paper towel and you can just press it against the R TV and it flattens it out without sticking to the paper towel .
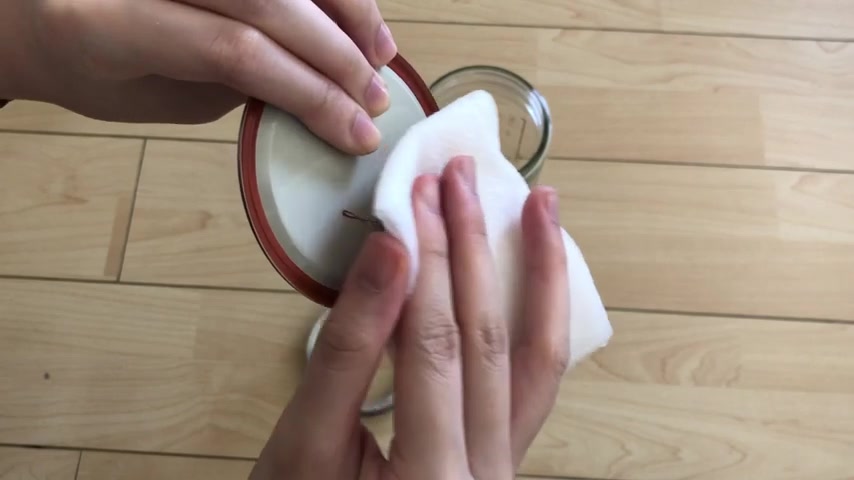
So now you have like a nice flat injection for it and you want to do that same thing on the other side and one tip is to always finish by pressing it on the side that you're not gonna inject on .
So you're gonna wanna press it on the back side because it creates a nice little bubble which shows you where you can inject it .
So we have our injection ports and now we're gonna add the filter for the air exchange hole .
I like to use just two layers of micro port tape .
You can also use Tyvek um envelopes as a filter or filter discs , whatever works best for you .
Her second layer of micropore on and that's it .
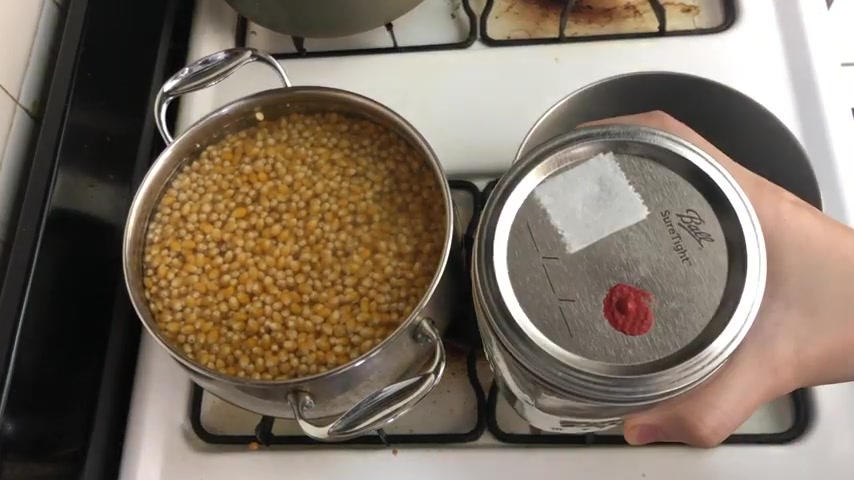
So you're just gonna wanna wait for the injection port to dry , which usually takes about 24 hours for it to fully dry and then you're good to go .
All right .
So we've got our jars done and now it's time to hydrate the popcorn .
Um So you wanna bring the water to a rolling boil and now we're just gonna add our popcorn .
Uh Today I'm doing six , £6 of popcorn , split them into two pots because I don't have a pot big enough and then turn down your heat to medium low to make sure it's at like a simmering stage , not a boiling .
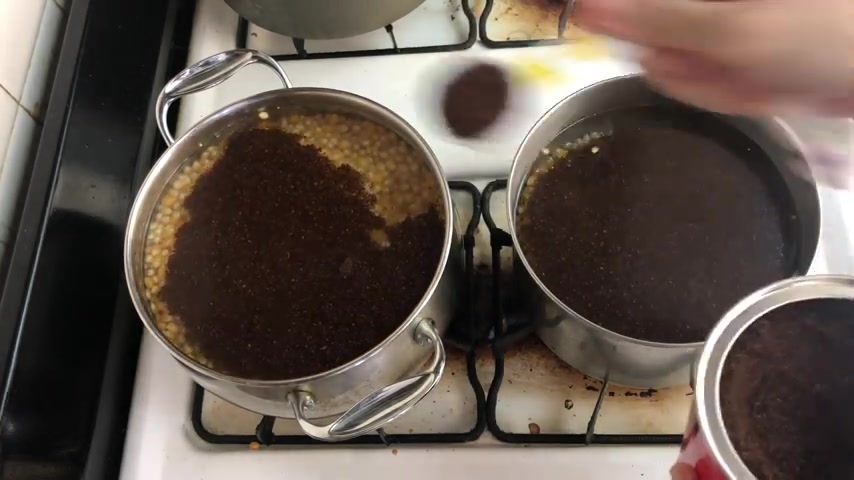
And if you want , you can also add some ground coffee .
Uh I do one tablespoon for every £2 .
So one tablespoon in here and then two tablespoons in this one .
So then you're gonna wanna wait until the water goes into a simmer and then set the timer for about 45 minutes .
Once your water reaches this point in simmering , that's when you wanna set your timer for 45 minutes , make sure you stir every 10 minutes or so to make sure that there's nothing burning on the bottom .
OK , guys .
So it's actually been 50 five minutes of this simmering .
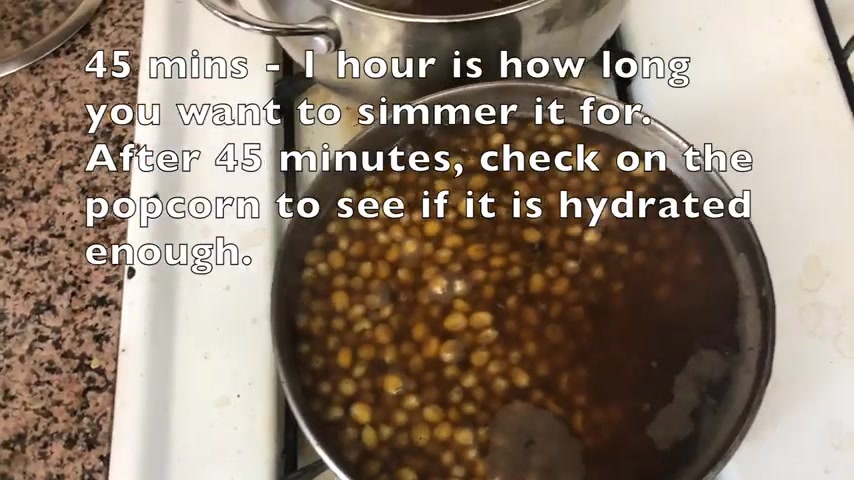
I let it run for an additional 10 minutes because I didn't feel like it was hydrated enough at the 45 minute mark , but now it's been 50 five minutes .
So I'm gonna turn off the heat and then strain it through a colander to check to see if your popcorn is hydrated enough .
Something that I like to do is to bite through the grain and well , if you can't bite through it at all , it's definitely not hydrated enough .
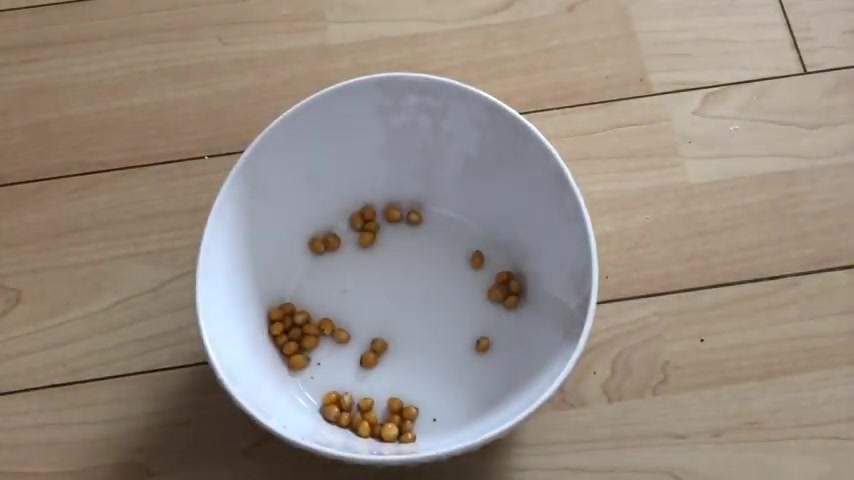
But if it feels too easy for you to bite through it , it's probably over hydrated .
And also another way to tell is once you bite through it , this is what the inside looks like .
And you also should be able to like crumble the grain when she split it in half like this , you should not be able to crumble the grain when it's whole though .
No matter how hard you squeeze it , you really should not find that you can really smush this grain .
But once you bite into it and you can smush the grain , then that's perfectly hydrated .
So we've got our popcorn strained through the colander .
I'm not going to be laying this popcorn like flat on the surface .
I'm just gonna leave it in here and let it dry .
So we'll come back in 30 minutes .
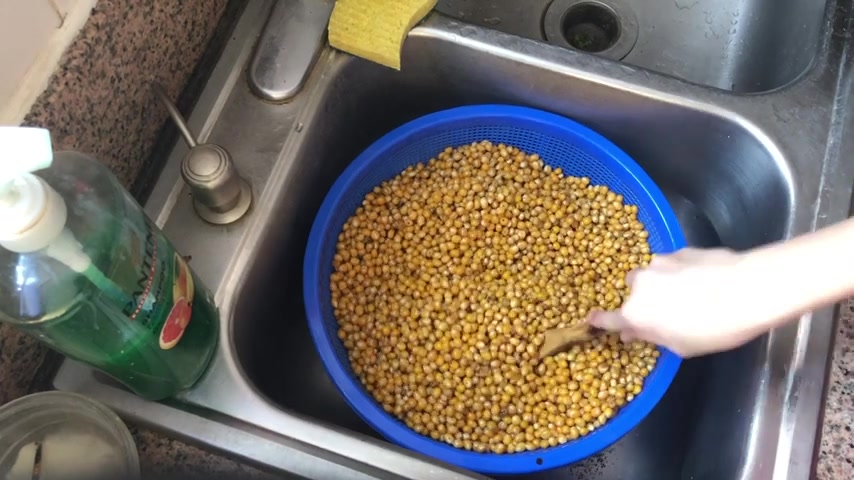
So it's been 30 minutes a good way to check if your popcorn is dry enough is well , you first , you wanna stir the popcorn to make sure that all the popcorn grains are evenly hydrated because obviously the popcorn stuck on the bottom is gonna be wetter than the popcorn that was on the surface .
So make sure you go ahead and stir that up and after you do that , which I already did , you wanna take a couple of grains , get , get , get a paper towel or no uh toilet paper , a square and you just pop some of that grains on there for five seconds .
So 54321 , you take the grains off and if there's no white spots , then it's perfectly dry .
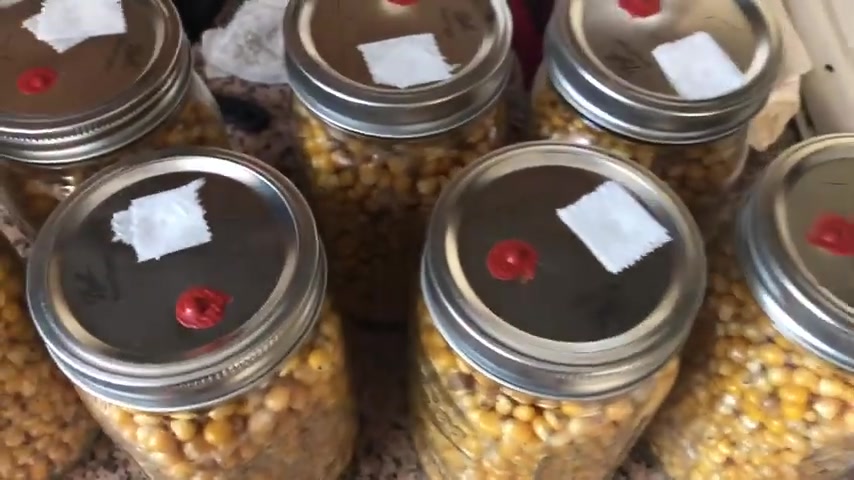
So with £6 of popcorn , I was able to fill seven jars to pretty full .
And now I am going to add some foil to these jars and then put them into the oven .
And a lot of people are gonna say that the oven isn't going to work for sterilizing grain .
But in my experience , I've had tons of successful grain colonization using the oven method .
If you are more comfortable using the pressure cooker , then go ahead and use the pressure cooker .
I don't have a pressure cooker .
That's why I like to use the oven method .
So for the oven method , you wanna preheat your oven to 300 an extra step .
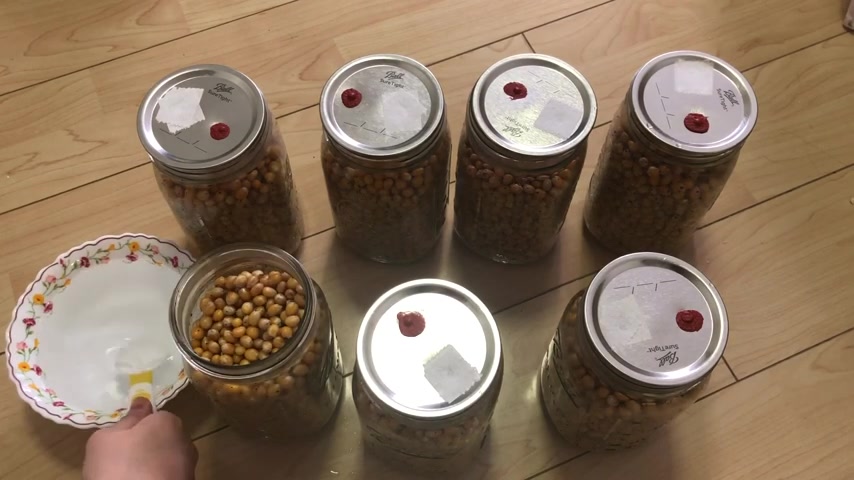
That's only gonna be applicable if you're using the oven method to sterilize your grain is to add an extra tablespoon of water into your jars because I found that the oven does dehydrate the grains a bit .
So to make up for that water loss , you're gonna wanna add that extra water .
While my oven is preheating , I'm going to add the foil onto my jars .
So especially for the oven tuck , you wanna add your foil under the jar cap .
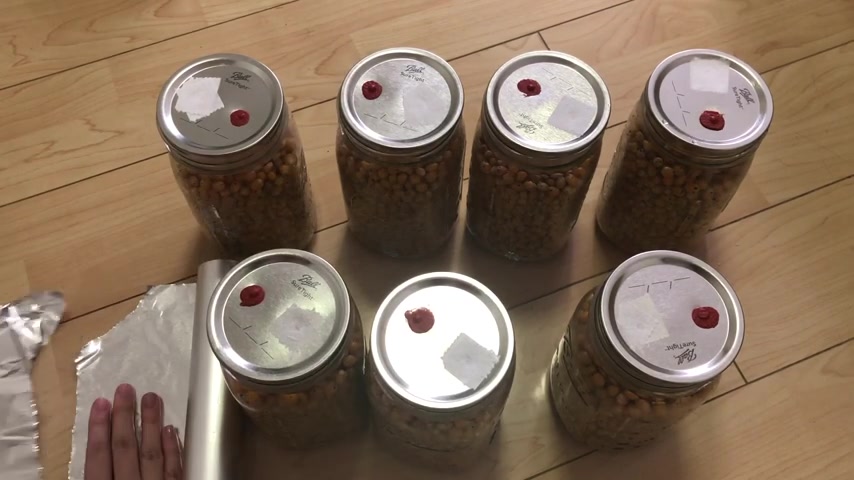
But over the jar lid , because I found that this method is the best way to get to make sure that the moisture is stuck inside the jar So my oven is preheated to 300 degrees and now it's time to load the oven with the jars .
Pretty simple .
I just , I like to um , load my jars sideways because it lets the standing water that we added into it .
Like have a thinner water level if that makes sense .
I don't know .
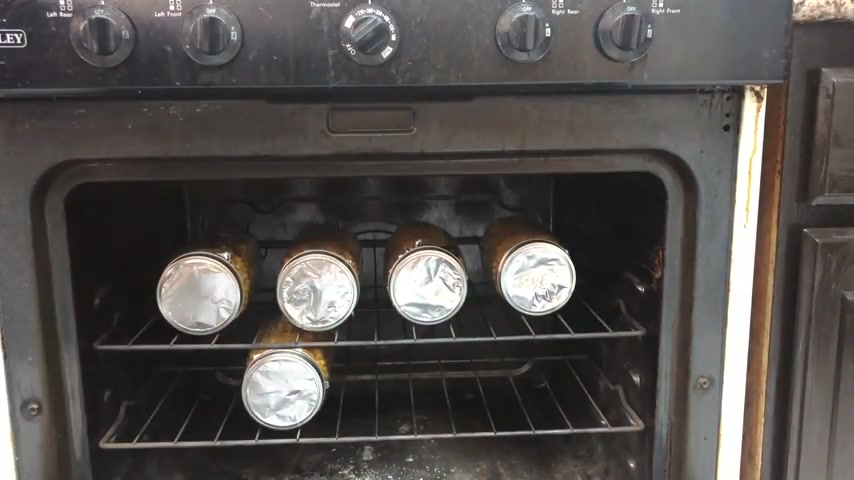
But yeah , I live my Juris .
So the jars are loaded , the oven is set at 300 degrees .
You really don't have to worry about jars exploding in the oven because 300 degrees just , it usually is not high enough for jars to explode at that temperature .
So the oven is at 300 degrees .
You let the jar sit in there for 30 minutes and then after the 30 minutes , you set the oven to 2 50 degrees and you let the jar sterilize for another two hours .
My timer just went off for 30 minutes .
So now I'm setting the oven to 2 50 and letting the jar sterilize for another two hours .
It has been exactly two hours .
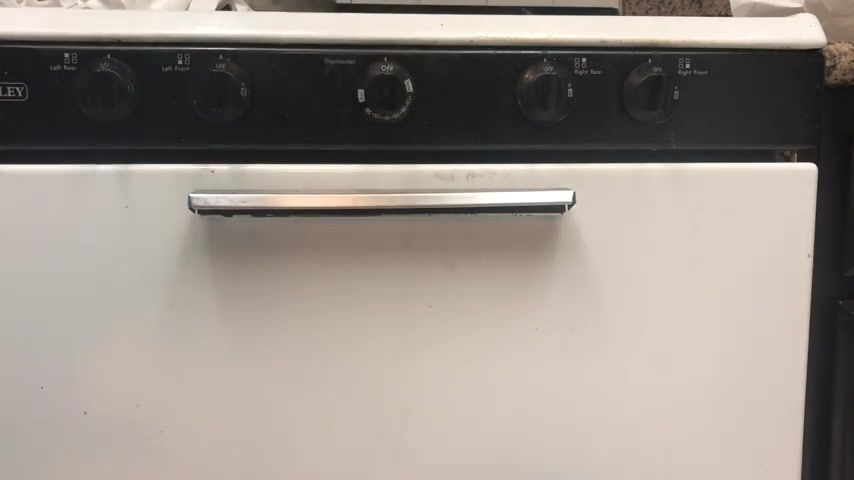
So now I'm gonna turn the oven and take out the jars .
You will see that there's not going to be any standing water , not even from the water that we added to the jars because it just gets soaked up into the popcorn or it evaporates .
And so you're gonna wanna let these jars cool down and there will be condensation as the jar cools down , which isn't anything to worry about .
All you have to do is shake up the grain jars .
Also .
You wanna make sure you let the jars cool down on something that isn't a cold surface like this because you will have a chance of shattering your jars if you place them on a cold surface .
Ok .
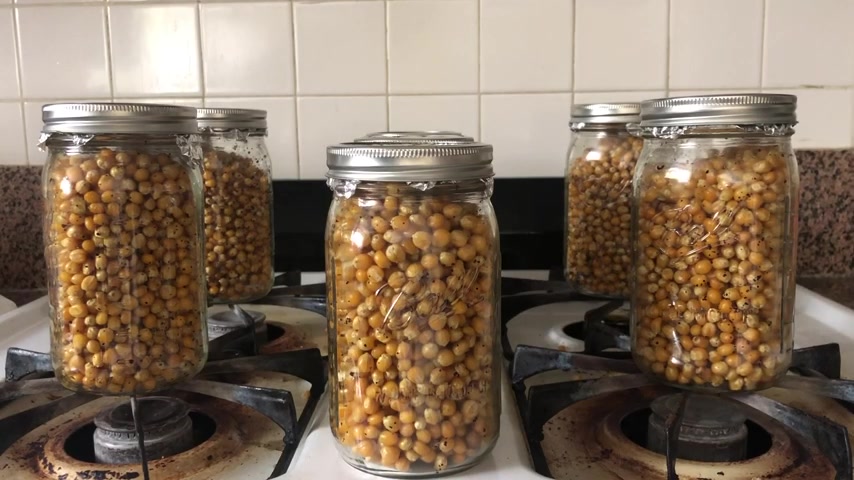
Now it is the next morning you wanna let your popcorn sit for eight hours to just cool down and while it is cooling down , you're gonna see some condensation around the jars and all you have to do is just shake it up and then once it completely cools down , you wanna let it sit for another couple of hours .
And all of that water from the condensation is just gonna be spread throughout the popcorn surfaces .
And if you let it sit , it's going to reabsorb the water .
So now you can see that there's no standing water and there's really not much water on the surfaces of the popcorn , which is exactly what you want .
So now you can go ahead and inoculate the jars or if you want to let it sit for longer , just keep the foil on it until you're ready .
I wanted to show you how well this oven sterilization process works .
So these are oven sterilized popcorn jars .
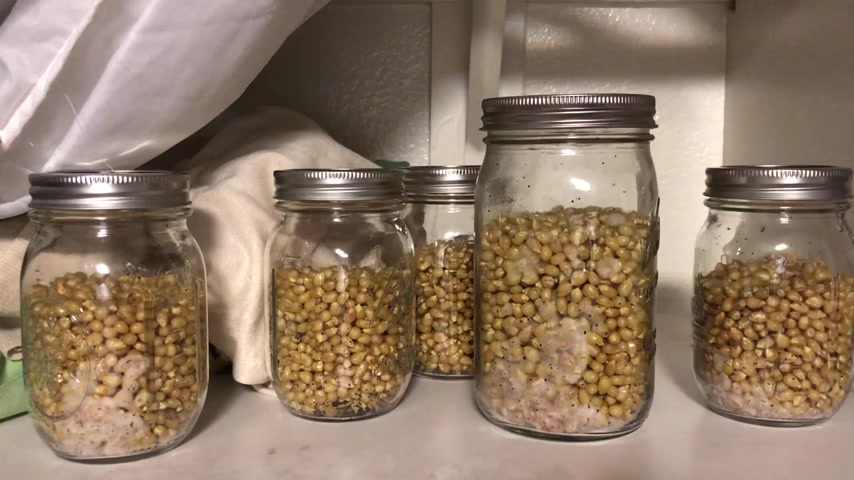
I use a different kind of popcorns here .
That's why it looks different , but they're oven sterilized and I inoculated them a week ago and the growth has been really good .
This way of sterilization is very successful .
And the reason why there's not much to see in these two jars is because I just shook them up .
But all of these jars have totally been successful with colonization .
I hope everyone enjoyed my video on how to sterilize popcorn grain jars in the oven .
If you like more of these videos , please check out my channel and thank you guys for watching .
Are you looking for a way to reach a wider audience and get more views on your videos?
Our innovative video to text transcribing service can help you do just that.
We provide accurate transcriptions of your videos along with visual content that will help you attract new viewers and keep them engaged. Plus, our data analytics and ad campaign tools can help you monetize your content and maximize your revenue.
Let's partner up and take your video content to the next level!
Contact us today to learn more.