https://www.youtube.com/watch?v=0lDBNvuE5bY
How To Solve a 9x9 Rubik's Cube
Hey guys , what's up ?
It's me the cuing bear .
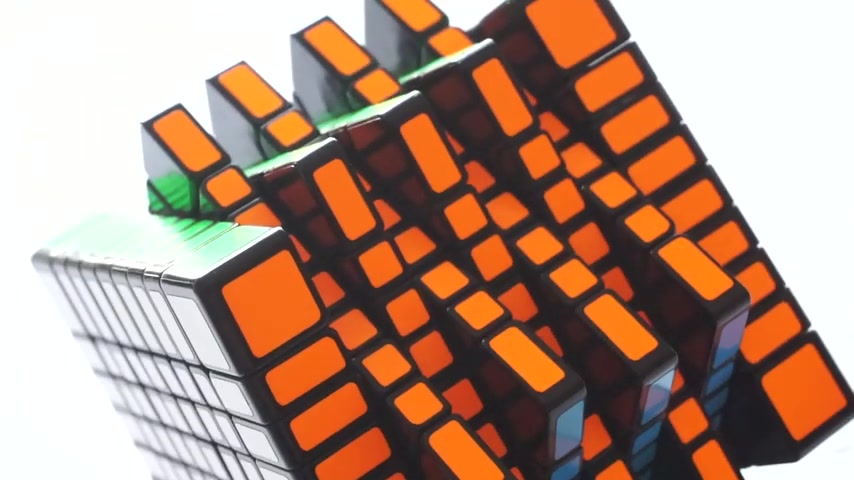
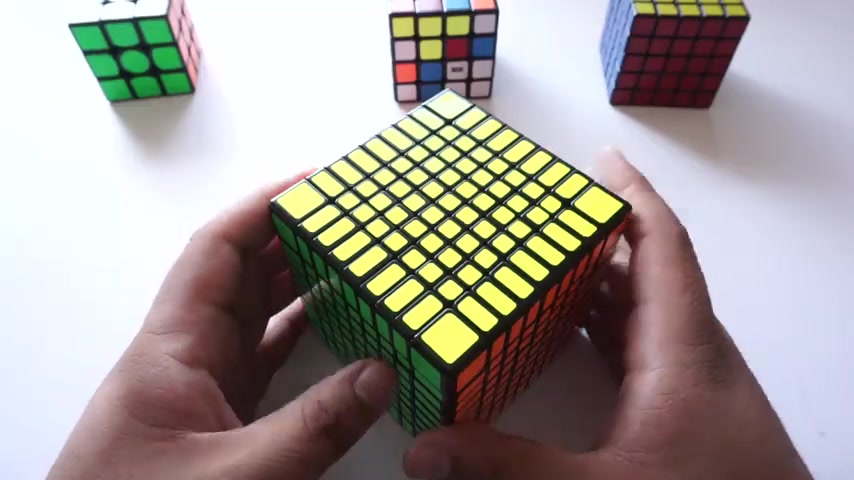
And today we're gonna be learning how to solve the um beast of a puzzle , the nine by nine right here .
And uh quick disclaimer before we go ahead and start with the , with the video , I want to go ahead and tell you guys that if you guys haven't already done the three by 34 by four and five by five , I would recommend that you please go ahead and learn how to solve those first before going on to the nine by nine because there are essential parts in each single of one of these that you can do .
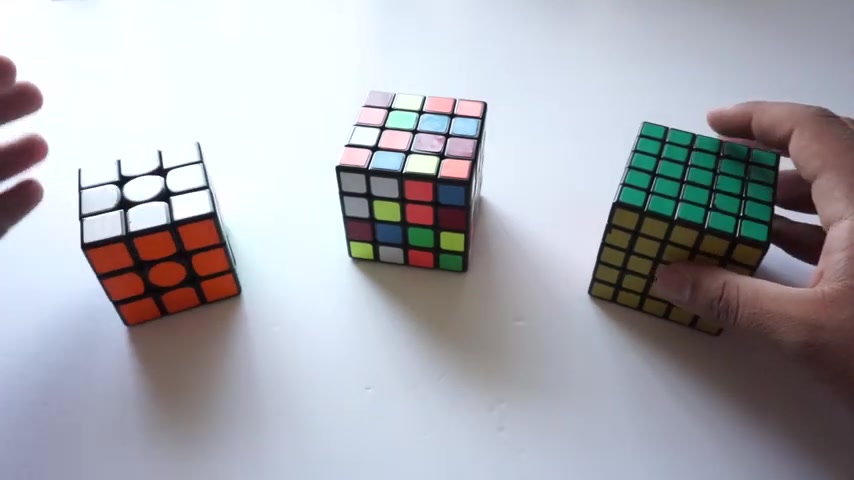
Obviously , I've done up to seven of the , I've done all the way to eight by eight actually .
And I just want to go ahead and let you guys know that these are the ones that are the most important .
If you just want to go ahead and step up right to nine by nine .
If you guys don't already have a nine by nine , go ahead and grab it and we're gonna go ahead and scramble it up right now , ok ?
So we have our nine by nine right here .
We're gonna go ahead and start scrambling .
OK .
So now that we have uh scrambled um entirely this entire big puzzle right here .
Um The next step that we're going to do is we are going to solve for our white and our yellow centers .
Now , since this is an odd layer puzzle , you can see that on a three by three , we have um the centerpiece that always defines what color .
So if I were to like scramble this up and this is always going to be the orange side , this is always going to be the yellow , this is always going to be the green and white and so on .
So the center color , the center sticker never moves no matter how many times you move the puzzle and it applies to every odd layer puzzle .
Now , when I say odd layer puzzle , I would say like a three by three , a four by four is not an odd layer puzzle because it's a four by four and a four is an even number , but a five by five is an odd layer puzzle and it has the same concept .
The middle sticker right here stays in the middle no matter what I do to it .
So this site will always be green and that's great because then that means we don't have to really go through parody that often on the nine by nine , which is going to be a big time saver , especially for since we're only going to be dealing with one type of parody , and um just keep in mind that the center color , this center color right here is going to define the pivotal point in the puzzle .
And since this is blue , the entire site is essentially going to be blue knowing that we can go ahead and get started it and start solving the puzzle .
So let's go ahead and go to our white side and start on the white side .
So looking at the white side , we could see that this is the center color .
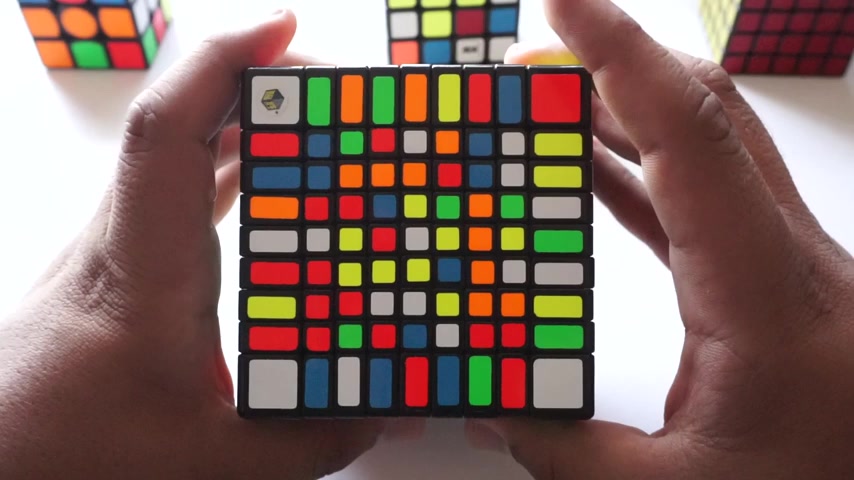
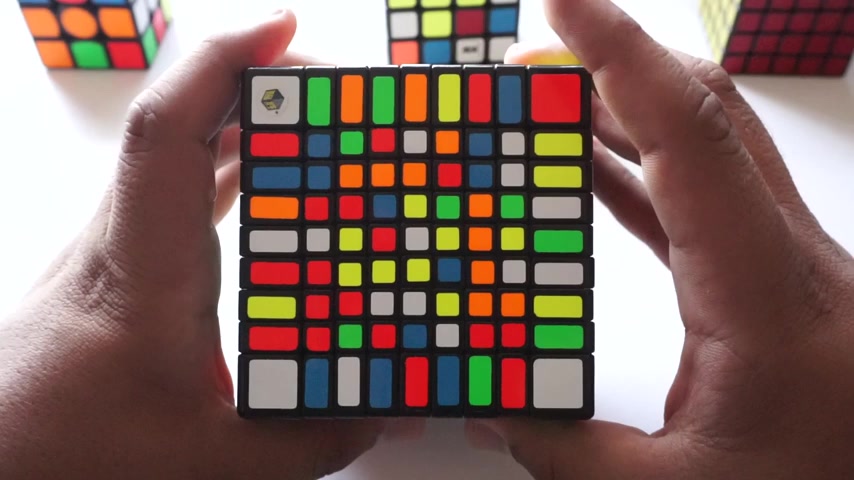
So this is the white side .
And the first thing that we're going to do is we're going to be starting by building this um center color right here .
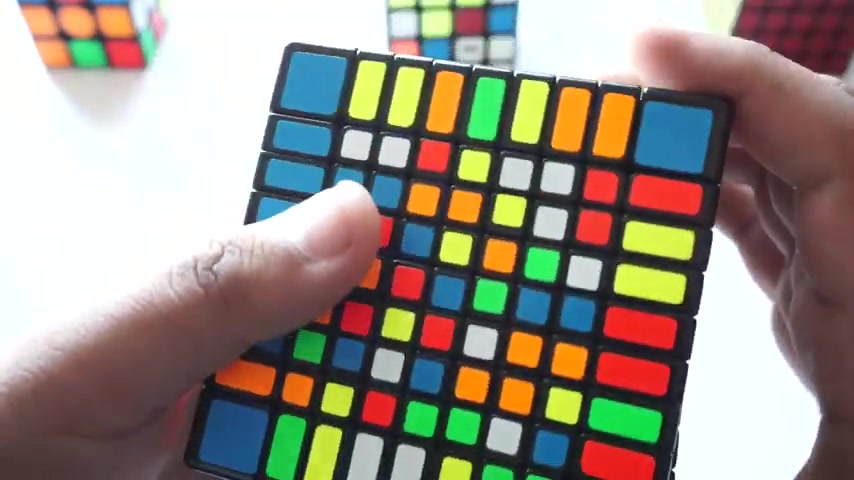
The building a one by 1234567 bar .
So to find that we look around the puzzle and you just want to keep experimenting different pieces .
So this one might be it .
So I push it down as you can see those two pieces were together and I would just keep testing out different colors , moving them down and you can see that I've added another piece right here .
So we just need to find 1 to 3 more pieces .
And so you could see that um this metal piece has three before it and three after it .
So if I found another piece like this 13 before and three after I would know that it will connect to this piece right here and you would just want to keep doing this process .
It's just a , it's just a matter of testing things out .
If things don't work out , then , um , you just keep going to the next phase and the next phase and the next phase until one of the pieces actually turns out to be the one that you're looking for .
OK .
So once we make it to figuring out this piece right here , you want to put it a vertical so that we can start working on the two pieces next to it .
That's gonna be this row and this row right here , the two rows next to it .
And then we just keep moving on to the row of this one and then we would just move on to the final row , which is these two edges , edges right here at the bottom .
So let's see .
So if you guys don't want to um mess up your work on this site , you can go the layer on top of it .
So you will be facing the site , you can just go on this side and you can use this space to build different pieces .
Um And you can see that we have a row right here that wants to be set , but we don't really have the pieces for it because they're all scattered all over the place .
So it really is just a matter of testing things out and see what works and what doesn't work .
And , um , yeah , that's one of the things that makes solving big puzzles .
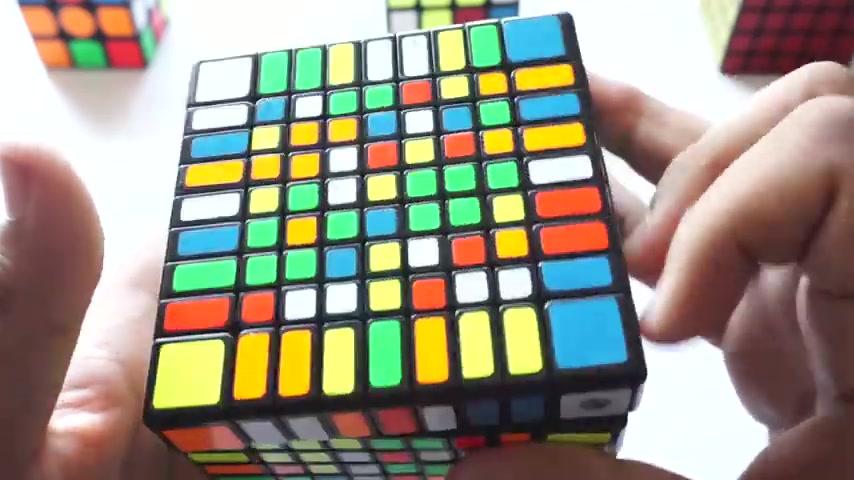
So I wouldn't say difficult , but I would say very , um , stressing is that scatter and they , to make the process a little bit more confusing than it already has to be .
So some pieces may look like the right piece , but you wouldn't know until you were actually testing it out .
And that's just kind of what the gist is all about .
So let's go ahead and solve these two rows and then these rows and then we solve the white side and we'll get back to you when the white side is solved and say one thing before continuing is that if you have a piece right here and you think it might be the right piece , you would go ahead and you would have your work down here .
And since it's there , what you would do is you would put that piece down and since we messed up some here , we would do uh uh youtube and then put that piece back up and that's going to fix um some misalignments that we may have and you can continue on with the process by solving for that .
All right , that was um pretty difficult to go ahead and get this thing to go ahead and work .
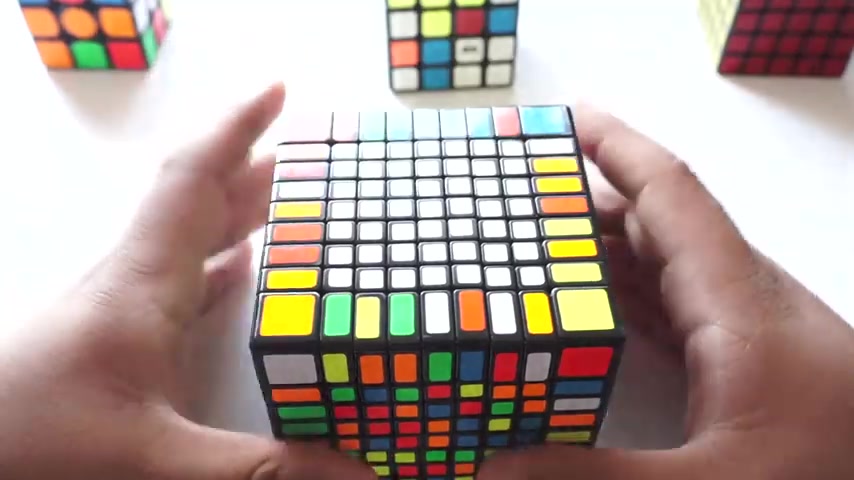
But now we finally have the uh we finally have the white side .
So , and now we're gonna be going on to the opposite side which is the yellow side .
Now to go ahead and put in a bar to go ahead and put in a piece , you would want to , um , say this is the piece , you would go ahead and put it in , then you do a youtube and then you'll put it back down .
And as you can see that doesn't , um , that doesn't mess up none of the work that we had .
So that's kind of the thing that you want to do .
So now that we have the yellow side solved and the white side solved also , we're gonna do the final step of the centers , which is completing these last four centers .
We do not actually need a three by three for this because the three by three already tells us what the colors are because we have yellow op was in white and then we have blue , red , green , orange .
And as you can see on the nine by nine , we have red , green , orange , blue , blue , red , green , orange .
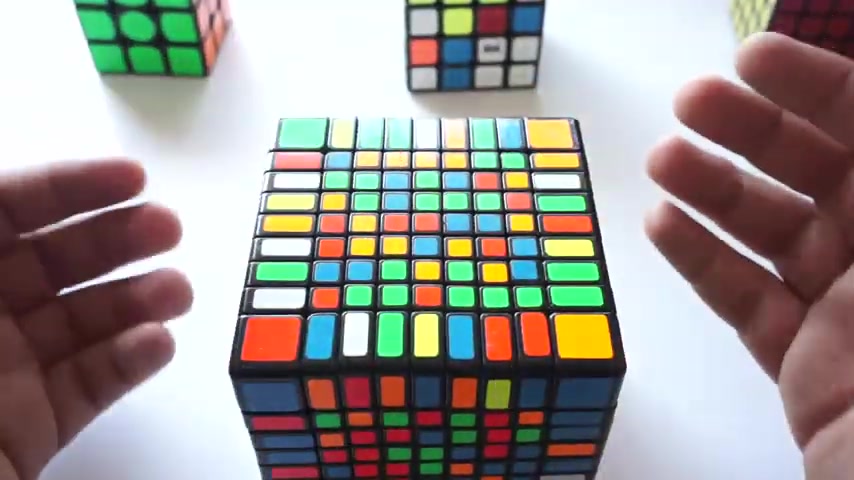
So we can see that we don't really need another three by three for this .
But just to make sure you guys understand that the center color defines what the center will be .
So you wanna have your white on the left and your yellow on the right and you're gonna keep turning views and slices only do not ever do , do , do any work on the white side or the yellow side as that will mess up .
Your progress and we do not want that because we're trying to solve this and we do not want anything bad to happen to the puzzle as we are solving it .
So we're gonna start off with red and that's by building the little piece right here and continuing on from there , continuing to build more off of the puzzle .
So let's get started .
All right .
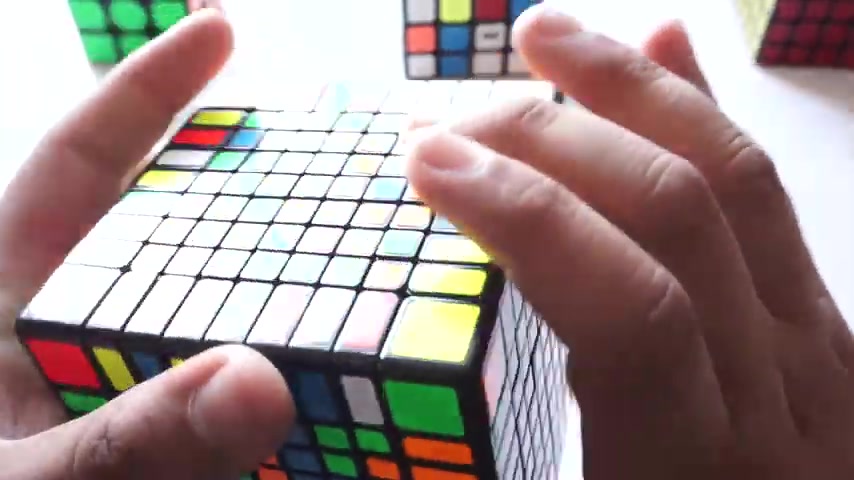
So now that we have the red side , the yellow side and the white side .
So we have three out of the six center .
So that's 50% done with the centers only in total , we have about 70% completed .
Now , I know that that seems a little bit disconcerting , but it gets easier and easier .
The more process , the more work that you do onto the puzzle .
So now what we're gonna do is now we're going to red and now this is going to be the green side and then we'll go on to the final two , which is what we're going to be doing for contouring .
And through that , we are going to use a method called contouring .
And I've gone through that before in other tutorials .
So this is just gonna be a little bit more in depth since this is a bigger puzzle and it requires a little bit more detail into understanding what is contouring .
So let's go ahead and say that you are at a level where you want to put in a green or an edge piece onto this side right here .
But you don't want to mess up any of the work that you have on any other sides .
So as I said before , with the yellow side , what you would do is you would put this edge piece right here in an empty space .
So you can see this is an empty space so you could put it in there .
And as you can see this red is over here and you want to put it there .
So very simple .
What we're gonna do is we're going to do a youtube and that creates an empty space right here so that we can push this up .
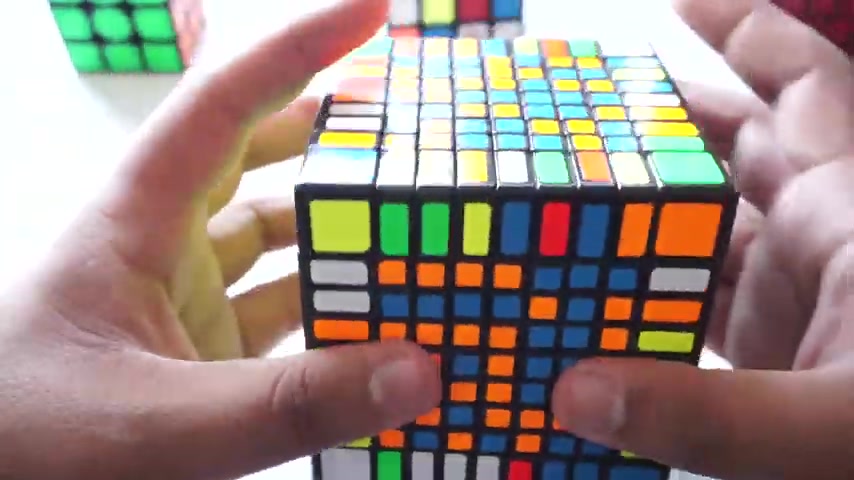
And in the process it solves that and we can keep our edge right there and we just continue building and building using that method until we make it to the last two centers to go ahead and give you guys some insight on what um solving the last two centers is like , basically , we have this entire section that wants to be solved , but we have very limited space .
We only have two centers to solve it in now because the rest of them have already been solved .
And at this point , the best thing to do is to use contouring .
Now , the first step that I like to do contouring first is to first build a little three by three section right here and then going on to building a five by five section .
And just leaving this outer ring .
If you already learned how to solve a five by five , then you would already know how and how to solve a contour , um using um different things .
So a contour , using the different appropriate things will change a piece on the different places .
And that's what it's going to do .
It's going to essentially switch these two pieces without moving anything else on the thing .
On the five by five , we learned that um to solve the centers , we , we use a variety of different tricks which I've gone through in my 555 by five tutorial .
You can go ahead and check that out as a little card up here and to go ahead and tell you guys , the essential thing is that we want to first build off this little center right here .
And once we do that on this nine by nine , we'll make this large square right here to solve for the last part .
And that's going to simultaneously solve this side and this side at the same time so that we have both centers solved in the nine by nine .
So the first step we want to do is to solve this little section right here .
And we can see that we have a case here where we have this bar and we have a bar right there .
We have a T .
So uh what you can already do is that you can move this edge right here .
One trick that you can learn is that if you have an edge and you have a T right here , then what you can do is you can do an rur prime and that's going to solve both bars right there and it solves both bars right there .
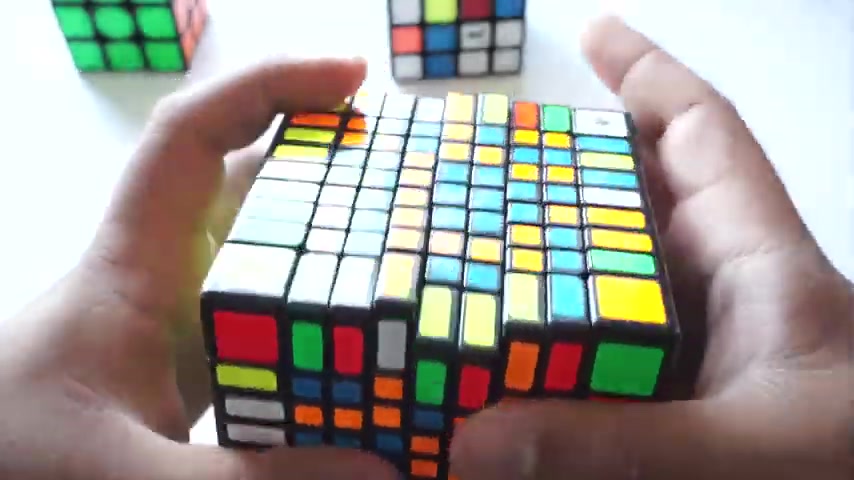
And then now we're just gonna put this piece on this piece and that's what we're gonna do into there .
And as you can see , we have solved this little three by three section right here on both sides of the , of the puzzle right there .
The next step that's going to be for us on this point is for us to do the next bar , which is this big bar right here .
So let's go ahead and see .
We have this edge right here .
Oh We have this edge right here .
They can come in like that and then we'll do A U two to go ahead and put that up .
And that brings a lot of the orange on there because you have a big orange piece right here and to put it in instead of putting it on this side where there's not that much .
If we put it on this side right here , there's actually more orange that's gonna come out .
And then we just have these little pieces that are left of our little outside box .
We only have a couple more pieces to go .
And for those parts , we would actually use contouring .
So I want to go ahead and move this piece right here to this piece right here .
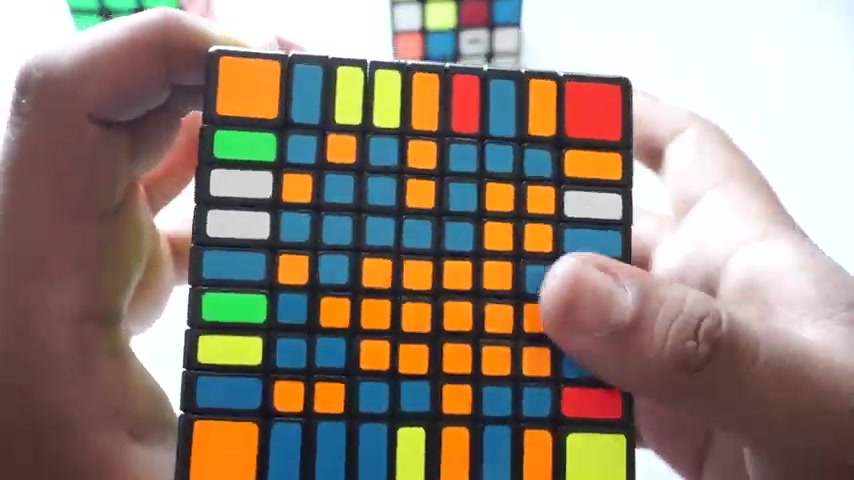
So we're gonna use both at the same time like that .
Since I use this hand , I would use F in the other direction .
Move this down .
Also do an F prime , move those pieces back up , do another F , move this piece back up and that's going to put those pieces where they're supposed to go .
So now we have almost this section .
We just need this piece and that's about it , these two pieces .
And so we can already solve this corner to solve the corner .
We would align the missing corner to there .
Do an rur prime , then put that corner on this side right here , do A U two and FU two .
And that's going to solve the corner in our last um section for this part right here , we'll be solving this little edge piece , which is right there .
So we're gonna solve that edge piece by using a contour .
We have already learned how to do contours like this before I did show a complex one just now .
And that's just to go ahead and make the process a little bit more faster .
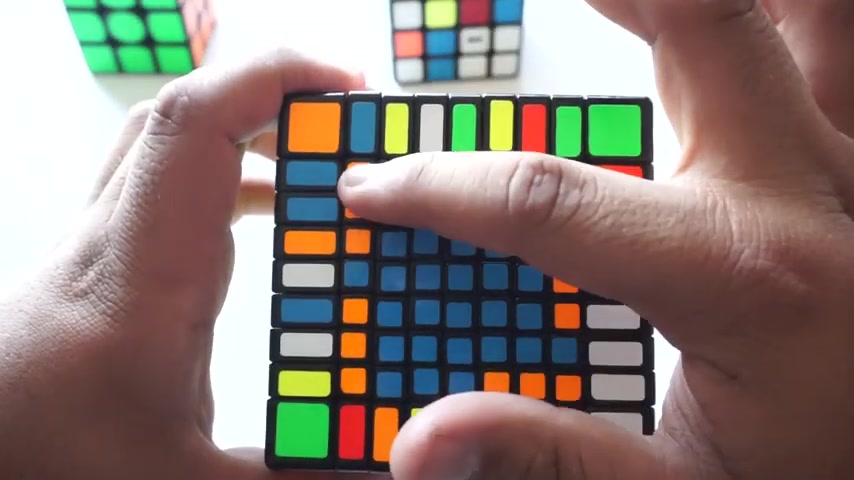
So now we can work on solving the outer edge right here and to solve for that other edge , we want to see pieces that could fit in there .
So right now , I can see that I can put this corner right here , those pieces right there .
So we'll put that down since I did it with this , I'll put this face down .
Now , there's two of them .
So we have to put both of these down too .
Move this back , move that up , do an F one more time and do an F right there .
And as you can see , as you can see it solved this piece and it solved that piece right there and we can continue on from there .
We see this big row right here .
I'm wondering , it looks like I can put two pieces right there , two pieces right there .
So I would do that .
Move it the other way , move those two pieces down , do an f move that back , move this back .
I move that back .
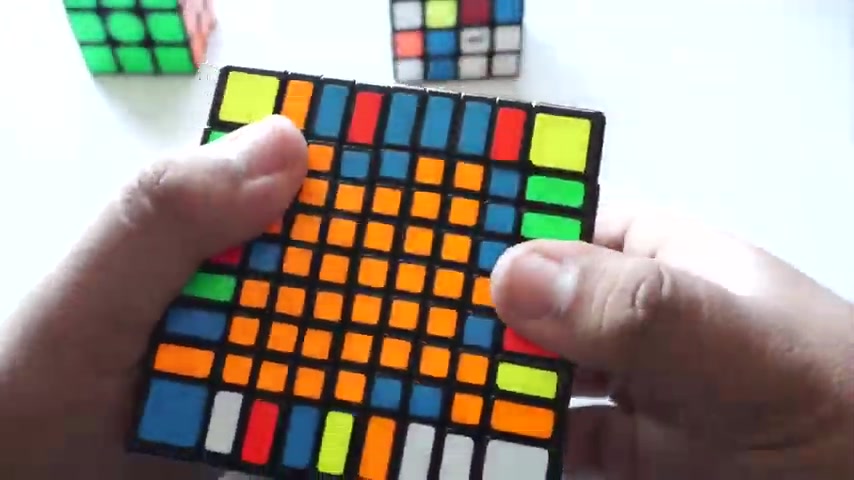
And I just doing this process multiple times just slowly solves the puzzle more and more until we get to a point where there's just a lot of little pieces for us to work with .
And essentially we have come down to a very few edge pieces left .
Alrighty .
Then we have solved every single center on the nine by nine .
And now the last step that we're going to go to is doing the first eight edges and then moving on to last four edges and then solving it like a big three by three .
And then that's going to finish off our nine by nine .
So this is by far the most tasking very , I would just say it's a very long process and I really don't like doing it , but um it's just uh things that you have to do , you wanna learn how to solve your nine by nine , then that would be it .
That's essentially it right there .
And uh yeah , let's go ahead and start off with the first eight edges .
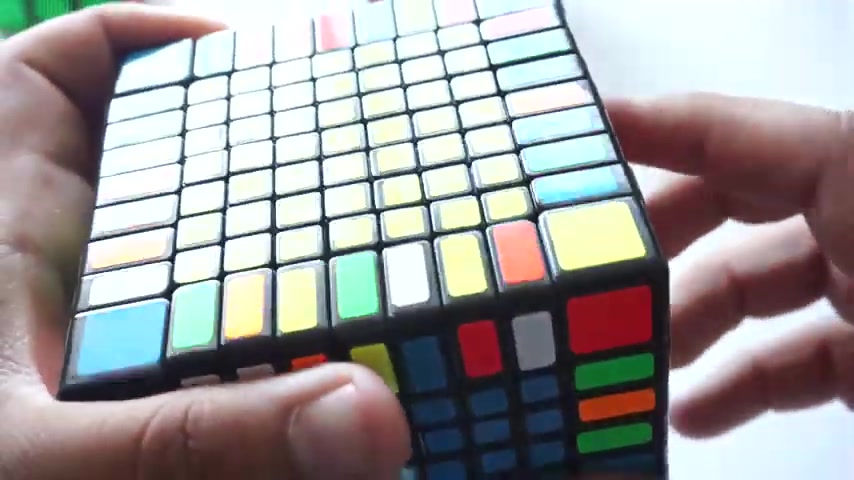
Alrighty , then we have gone to the first eight edges and so what we are going to do , right .
So we're at the first eight edges and what we're gonna do is we're gonna start off by solving all the white edges .
So that's the one with the white sticker and putting them down here on the white side .
And then after that , we're gonna be putting it on the yellow side which is up here and putting it with the stickers right here .
So let's start off with the white .
So I can see right here that I already have two blues and whites .
I would just keep looking for two blues and whites so I can see that I don't really see any right now .
Uh OK , so I see these ones but um , if I put them in , then they're on the opposite side .
So to flip them over in the opposite direction , I would first do an rur prime and then I would put them on this side , which is this side right here to go ahead and reverse the order and that is going to essentially put them together onto the right side .
As you can see , I'm already building off an edge piece right there and let's just keep looking for more pieces .
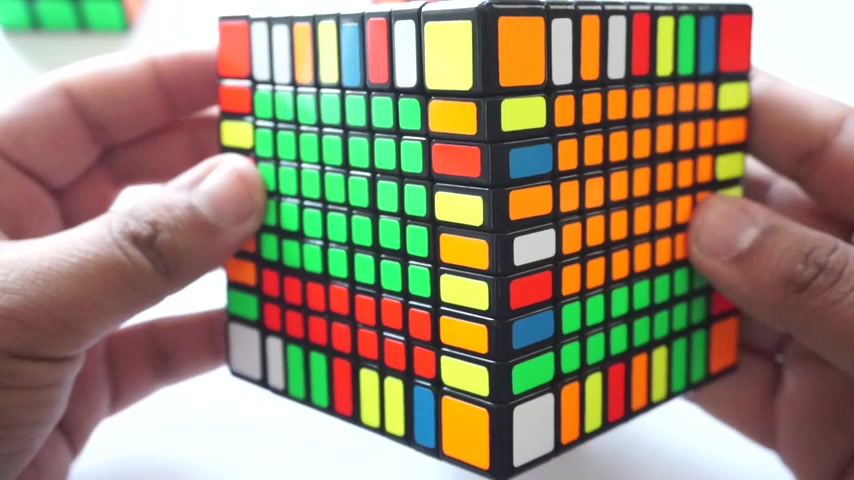
So one thing you guys probably already noticed is that I'm kind of messing up the order of how this piece and how the centers are .
Don't worry about that because as long as you keep doing the Rur prime and LU prime L prime algorithms then um it's gonna be fine .
Um It's not going to , it's not gonna mix up as long as you perform the algorithm correctly .
And once you're done solving all the edges , you just align them back together and they should be aligned back together .
If you have a case like this where it's messed up like that , then you have messed it up and then you would just have to restart your centers .
So just make sure they're all straight lines .
They're not like , you know , little squares in different areas .
As long as they're straight lines like this , then you should be golden and everything will be fine .
Just keep following the algorithm , keep following the different things and you will be good to go on what you do .
And that's essentially it from there .
If you want to go ahead and tell if this is the right edge or not , you can see that the blue is right here and the both of the edges are right there .
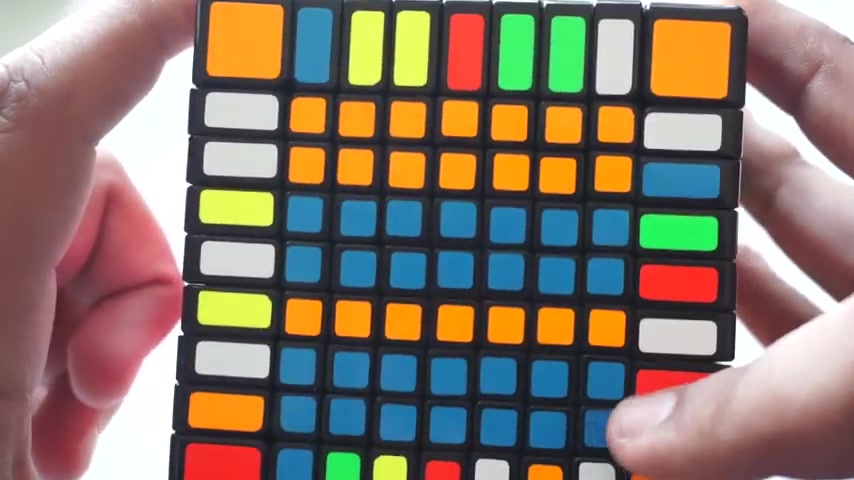
If you can see that both of them have the same color when they meet each other , on the same face like this is white , this is white and then the wrong they're on , these two need to be flipped because they're supposed to be um , opposite colors or the colors that are adjacent to them .
So if it's white , white and these two are blue , blue , then they're able to go incorrectly because once we put them in , on both sides , you can see that they do fall in correctly .
So that's just a good way of knowing um how to .
So that's just a really good way of knowing how to tell when the site that you're putting it on is on the right side or it's on the wrong side .
So that's a good way to tell to .
This is a really good way to tell if the edges that you're putting in are wrong or not .
So you don't have to put them in and then make a mistake and then you go back out and then you can just have to restart .
It just takes a lot of time .
OK ?
So let's continue looking for the right piece .
Um Never realized there was so much blue here .
Yeah .
Yeah .
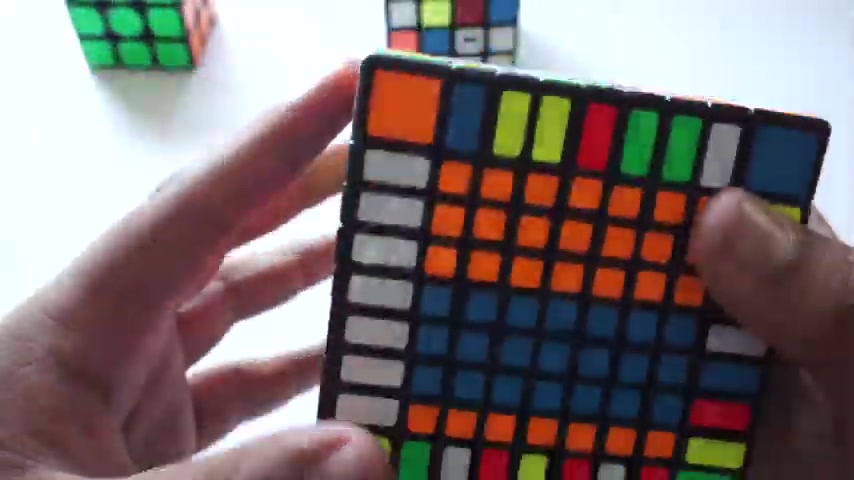
Here it is , right .
So we have this piece right here .
So we could see the blue and blue match , which means we can do the rur prime algorithm and this is white , this is blue .
So it is gonna fit correctly and we have solved the white edge .
And so to go ahead and put them in the right place , you would just see that the white layers up here , you would do an an L prime U prime just to put them on there and continue on solving the rest of them .
And then we'll get back to you when we reach the last four edges , right ?
And we have finished the centers on top for yellow and centers on bottom for white .
And now what we have left are the last four edges , guys .
This is it , this is right here .
So this uh is going to be broken down to just several parts um since we already have a middle edge , but that defines what the edge is already gonna be .
We're gonna work on , essentially , essentially what we're working on at this point is um this is the edge that defines everything .
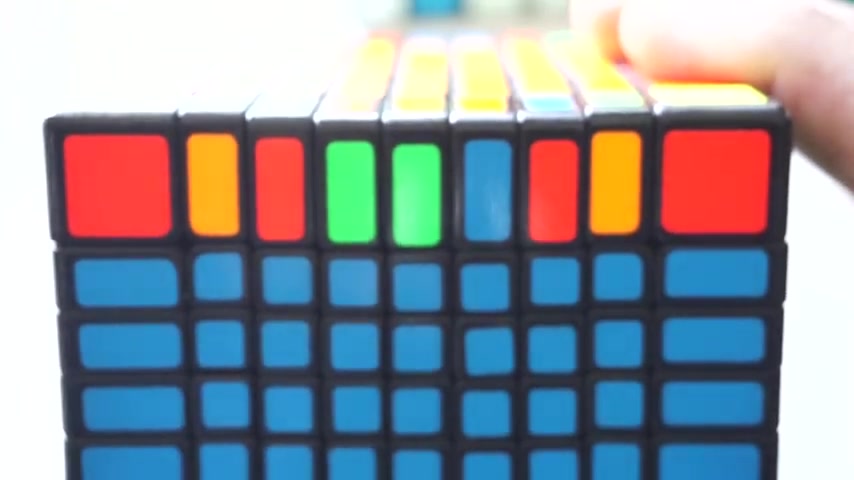
And once we have that edge , we work on these two right here .
Once we get these two , we'll work on these two and that's that we'll work on these two and that's going to solve the entire edge .
So the first thing for all the edges is to solve this middle part right there and that's gonna solve um essentially this part and that part together .
So yeah , let's go ahead and get started .
We have um first of all this edge , we can see that um these two are the same color , which means they won't go which means we have to reverse it .
And we also have to leave an edge outside so that we're able to essentially what you're doing is that you're just putting it in as a normal edge .
And we already know how to do that through the tutorial on the five by five .
We already know how to put in edges of any sorts like that .
So that's just essentially the whole point right there .
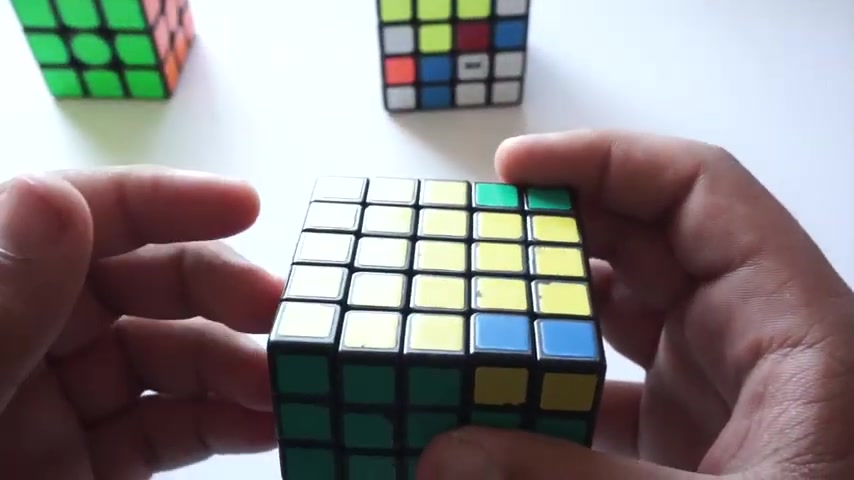
Just putting the edge on the five by five , we learned that edge parody happens when we have two um where every single uh edge is paired , but there's only two that are misplaced and we don't have any others to go ahead and use to replace them .
So then we're gonna have to follow an algorithm and the algorithm is shown like this on a five by five .
That way it's more simpler for you to see because on a nine by nine , it won't be that .
So the algorithm for this is gonna be this on screen and that is going to solve edge parody .
Now , that exact same algorithm will be used in this situation .
But instead of only getting the most outer layer , you're going to grab it to the part right here .
The 1st 41234 , the first four layers you're gonna use it .
So it's the same algorithm but say you're gonna be using these four layers to go ahead and solve it .
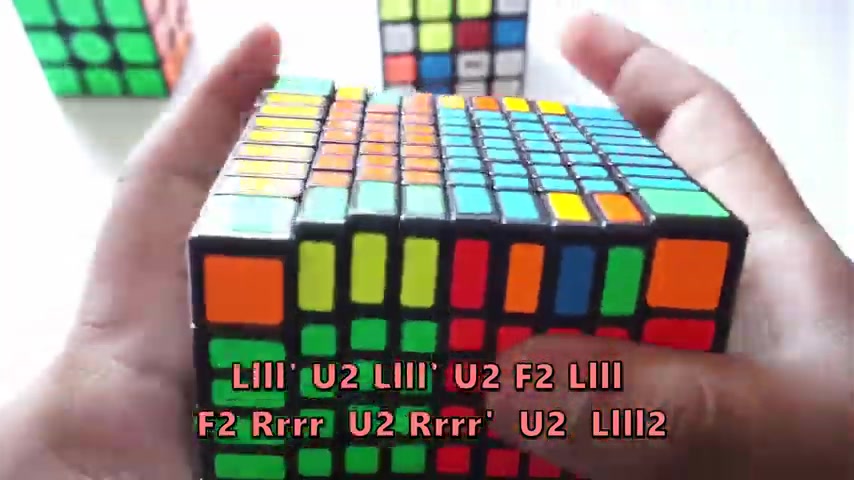
So it's gonna look like this and that solves this edge and it solves the other edge and that's essentially how we do it here .
So now we have um all of these edges solved .
Now , we're gonna work on these two right here .
So we're just gonna pretend this is a big edge and just work on these two like we did before for those .
So let's go ahead and work on those .
All right guys , this is the final part .
After solving every single edge , every single center , everything has been solved , everything has been scrambled up to this point .
Now , the final part is to solve the , basically the whole puzzle like a three by three .
Now when I say three by three , I mean , this is a corner , this is one big edge and this is another corner asking with the three by three , we have a corner , an edge and another corner , corner edge another corner .
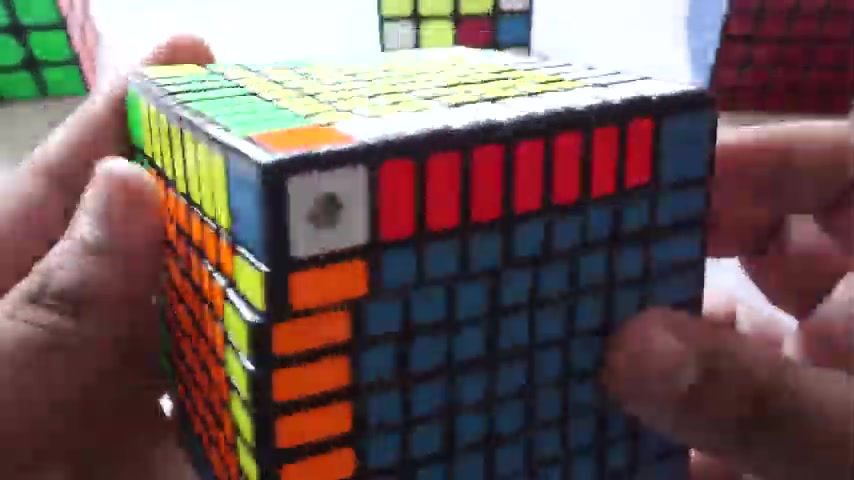
So this is a big three by three .
And since it's a big three by three , I've , you've already learned how to solve a three by three .
Because if you're doing this tutorial , you already know how to solve a three by three , I'll be coming out with an intermediate tutorial coming out soon .
And that is essentially how we solve it .
So let's solve this like a three by three .
Let's see .
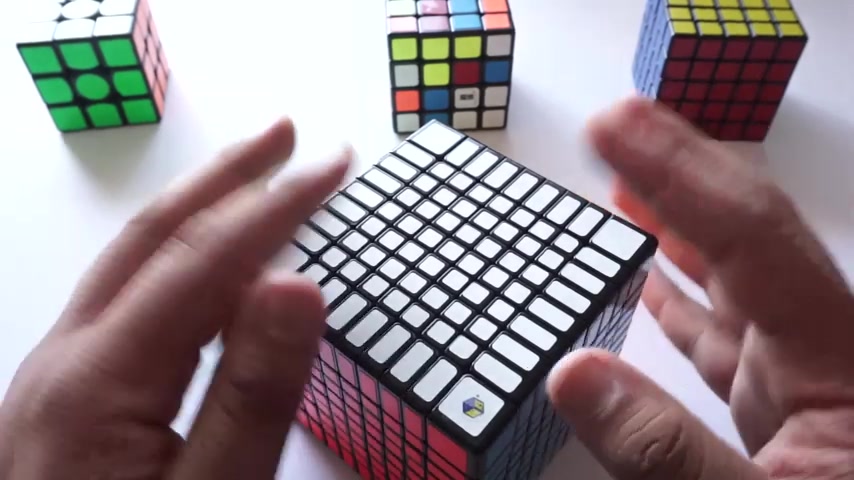
Oh And that is it , that is a solved nine by nine guys .
This is it , that was the end of the tutorial , but hopefully you guys enjoyed this tutorial .
I hope I really hope you guys learn how to solve your nine by nine .
And if you guys want to go ahead , give this video a like go ahead and subscribe to my channel and I'll have another series of awesome videos coming out soon .
I do have a very special surprise .
Um I am going to be um graduating from high school in a couple of weeks actually .
And because of that , I mean , I don't think that actually this video is going to come out next week .
I recorded this last week as of uploading this video and I'm , I'm uploading it uh for that weekend because I gonna be very busy trying to uh finish up my work on my end of the end of high school video that I'm working on for uh my school and for myself and for my friends and everybody .
So be patient on that .
That will come out on June 8th , which is the day of my graduation .
So be excited for that .
And um that's gonna be a week with uh bonus uploads .
So yeah , I'll go ahead and give you guys an update video on how this channel is gonna be after high school .
And uh yeah , if you guys like the video , give it a like , subscribe and hopefully this tutorial was helpful and I'll see you all in my next video .
Peace out guys .
Are you looking for a way to reach a wider audience and get more views on your videos?
Our innovative video to text transcribing service can help you do just that.
We provide accurate transcriptions of your videos along with visual content that will help you attract new viewers and keep them engaged. Plus, our data analytics and ad campaign tools can help you monetize your content and maximize your revenue.
Let's partner up and take your video content to the next level!
Contact us today to learn more.