https://www.youtube.com/watch?v=WLczkv7VpwQ
How To Setup & Customize a Rubik's Cube
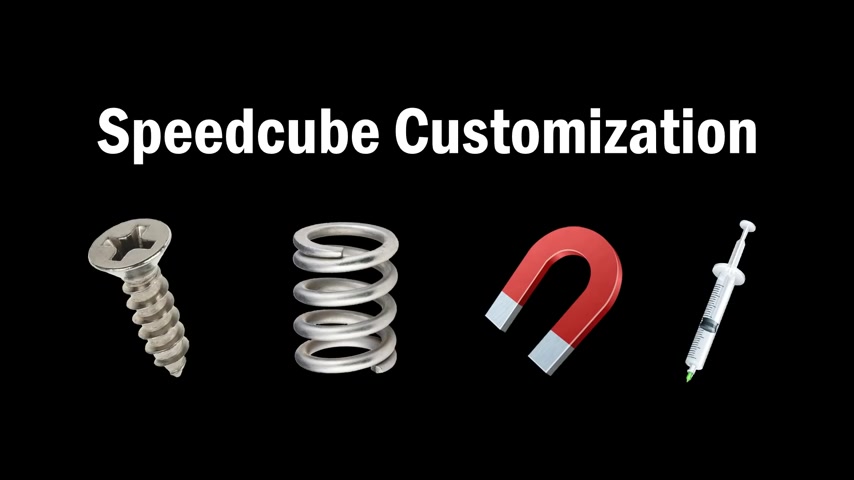
There are four ways you can customize the way you want your Speed Cube to feel .
And while it may seem like each new flagship Speed Cube comes with its own new customization system , some of which are very confusing .
I'm looking at you 10 Yun V two , these systems all accomplish the same things in the end .
So as long as you understand how each of these customization options work , then you'll be able to quickly learn to customize any new cube that you get .
The first thing to know about is the screw depth .
This also goes by axis distance or a centerpiece travel .
I don't know why there's no standard name for this .
But if you see any of these words , then this is probably what they're talking about .
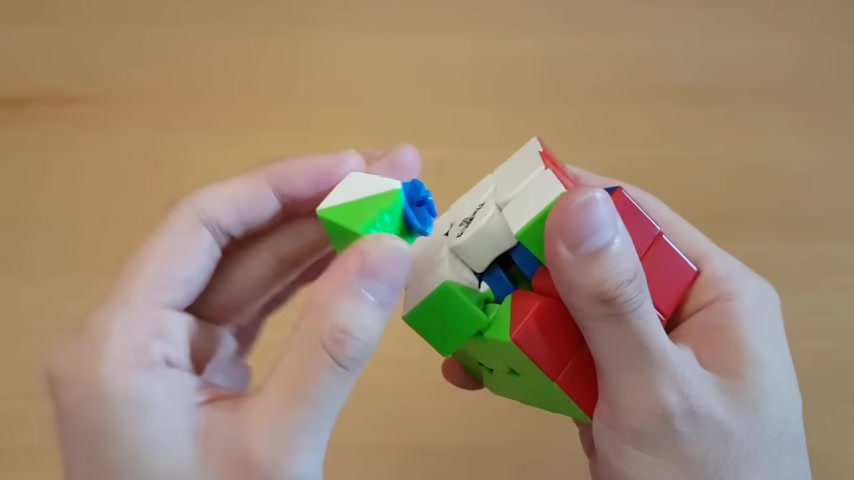
The way to adjust the setting is by popping out a center cap .
And if you see a screw head , then this is it sometimes there's more than just the screwheads and we'll talk about that later .
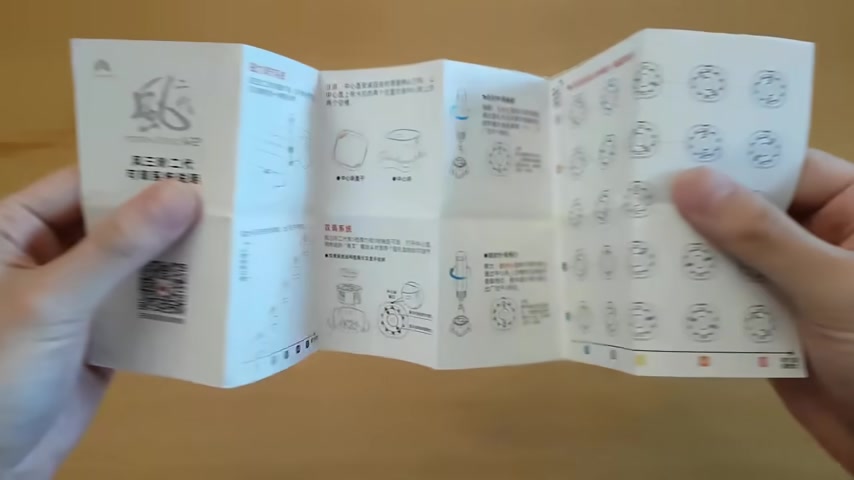
But if you don't see crew , then there are usually two customization systems in here and it usually is the thing closer to the middle and to be sure , make sure you check the instruction booklets as long as you can read Chinese or just flip it over for a screw , it's clockwise to tighten it and counter clockwise to loosen it .
And for a different system , check the instructions for how it works .
What the screw depth does is it changes how much each piece is allowed to move .
The main thing you want to look at when adjusting the screw depth is the corner cutting .
You can test different amounts of corner cutting as I'm showing here and see whether it's easier or harder or just not even possible on certain settings .
Usually the corner cutting is better when the cube is looser .
But if you make the cube too loose , you'll also have to start worrying about pops and corner twists and the cube just generally feeling very flimsy on newer cubes , a piece popping out of the cube during a solve is not very likely but can happen if your cube is too loose , what's more likely is corner twists and this isn't really something you should worry about as you are changing the settings of your cube .
But once you find the settings , you like then go do a bunch of solves .
And if this happens very often , then you should tighten it .
You'll also want every side of the cube to have the same screw depth , which is easy if there is a number system .
But if there are screws , it can be hard to tell if the sides are even .
So what I do is I pull apart at the edges and push in on the other side .
And this compares blue and green here where you can see that green is a lot looser and this is what it would look like for two sides that are roughly even the next setting is the spring strength or compression or tension .
Basically , anything to do with springs .
Now , spring customization is not available in every single cube .
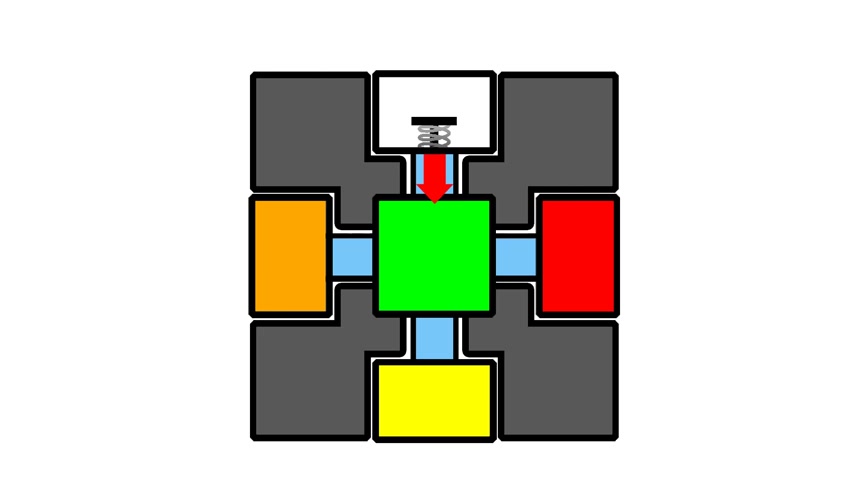
If it is available , it's usually the setting under the center cap that is closer to the outside .
And this works differently on pretty much every single cube .
So you'll have to go read the instructions or watch my review on that cube or I how it works .
The purpose of the springs in the cube is to not allow all the pieces to move freely within the space that they can move .
Instead the force of the spring pulls all of the pieces into the center .
So it's almost like gravity on the cube .
And when you change the strength of the springs , it changes how strong this force is .
And what makes this different from the depth is it doesn't change how far the pieces can move only how easily it can move within that space .
If you have a cube without springs , then the pieces can freely move wherever they want .
However , the cube won't fall apart because the screws are holding it all together and somehow even without springs , a cube can still corner cut , but the pieces will jiggle around .
So it has some overlapping effects with the screw depth .
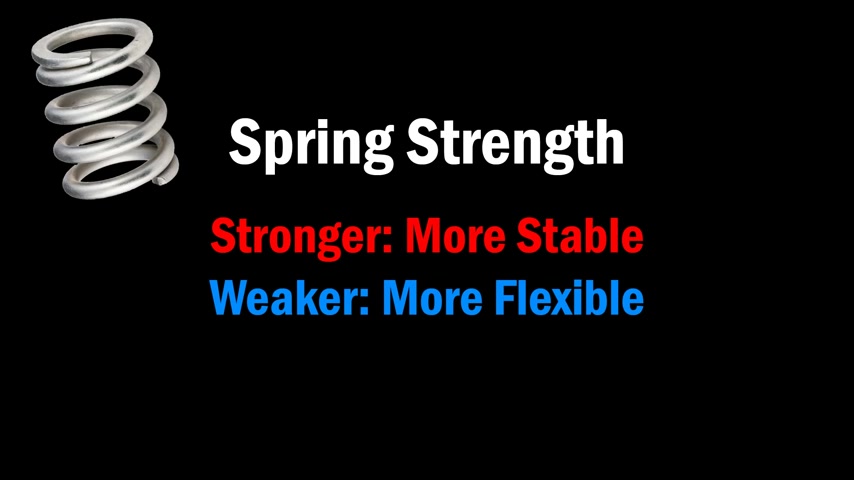
But the main thing that it does is it affects the flexibility of how this cube feels .
If you make the spring stronger , the cube will feel more stable .
And if you make the springs weaker , then the cube will feel more flexible .
So you'll just want to set this one depending on your preferences because neither stable nor flexible is necessarily better than the other .
Oh And if you have an older system , you can technically change this , but you'll need a different set of springs , you'll have to take out the screw and springs and switch in different springs , which is a very tedious process .
Next , you can also customize the magnet strength .
The setting is usually found on the outside of the cube , on the edge pieces .
Each system looks a little different , but they generally are pretty straightforward .
And again , some cubes don't have the system .
One thing that it does is it can perfectly align the layers on each of your turns .
Now , this mainly affects flick layers as if you're turning the sides here , your hand has full control and it doesn't really matter that magnets .
The other thing .
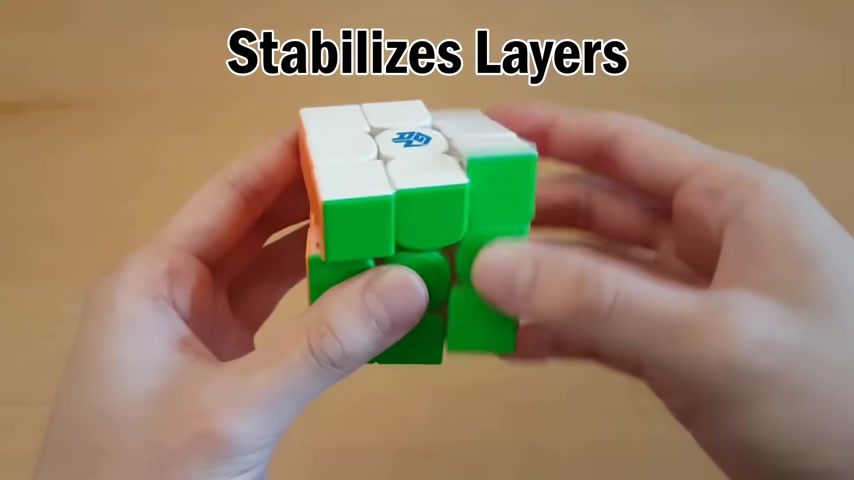
And I would say the more important thing that it does is it stabilizes any layers that you are not holding as you do turns , you're not perfectly holding the rest of the cube that isn't turning and sometimes it can miss a line on a non magnetic cube making some of your turns harder .
However , the magnets really help hold the cube in its cube shape .
So you don't have to use corner cutting too much .
The magnets can also affect the speed of the cube .
As of course , if you have stronger magnets , then the layers will click into place better .
And therefore you need more force to get a turn started .
They can also especially slow down the slice layers because as you turn this , you're going across two layers of magnets at once , which means that these turns can be harder if your magnet's strength is too high .
My advice for magnets is to only make the magnets as strong as they need to be but not any stronger .
The reason for this is while it is true that stronger magnets will help the turns align a little better and weaker magnets won't when you are turning very fast .
That doesn't really affect things .
I don't think having the layers be able to align perfectly , really helps with mistakes much .
What's more important is not feeling like the cube is flimsy while you're turning and that the magnets aren't so strong that they control the cube more than you do .
And finally , there is lobe or lubricant .
I usually start by adding weight one from speed cube shop as it lasts a long time and keeps your cube feeling good .
I have a video on exactly how I do this and at the time I used weight five but I think I prefer weight one now as I've changed my preferences to slightly faster cubes .
And if it's for a cube that is pretty much too fast already , then this might just be all I need .
But for cubes that start out a little slower , I'll often add something else as well .
I add Martian .
If I want the cube to be a little bit faster .
Lunar is like Martian , but it just makes the cube even faster than that .
And Stardust makes my cubes faster than the speed of lights .
And you don't really need a guide on how to apply these .
It says right here , just six drops break in and enjoy and all you gotta do is just drip it into the cube like that .
But I mainly use startups for bigger cubes as I want these just to be as fast as possible .

You'll use Lobe mainly to control the speed of the cube .
It can also affect the feel of it a little bit .
And by a feel , I mean like the texture of the insides .
When you turn the cube , I don't really care about that part .
So I don't know much about it .
So for me , Lobe is just controlling if the cube turns fast or slow and keep in mind , the faster you make your cube , the more often you'll have to little bit to keep that speed .
Now , with all these options , it can be overwhelming how you're going to approach this .
Here is the order that I recommend going in work on the screw depth first because this affects the most important things such as popping , corner , twisting and corner cutting .
Think about screw depth as setting the limits on what your cube can and cannot do .
And then everything else is a minor adjustment within that next set the spring compression to give you the type of flux ability that you want , whether you want a more flexible or a more stable cube , then set the magnet strength in a way that complements this and don't just set it to what makes the magnets feel nice .
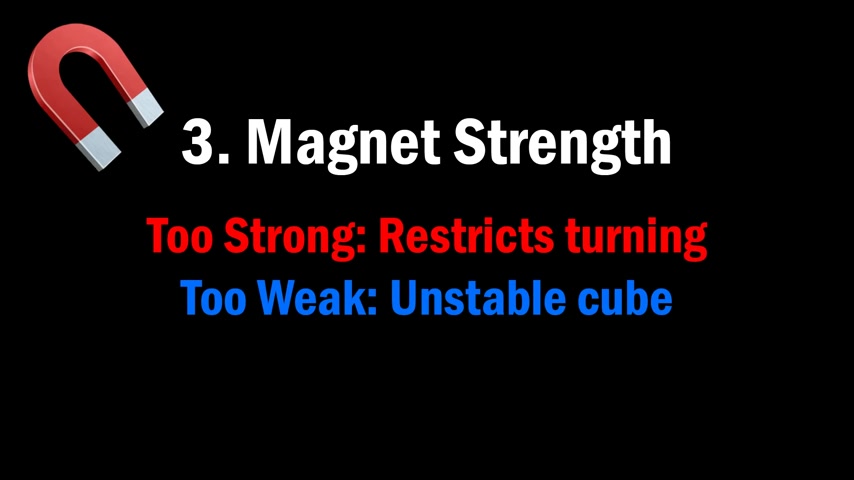
You'll want to do fast turns to help you determine if the magnet settings are good because if the magnets are too strong , they can restrict your turning .
And if they are too weak , then your cube won't feel stable and then apply lobe in a way that fits your turning style , whether you want this cube to be faster or slower .
And why did I say the 10 and V two system was bad ?
Well , that's because there's a screw and a number system both for screw depth .
And this doesn't make any sense because the whole point of the number system is to prevent you from getting inconsistent screw settings .
But you still have a screw so you can still mess it up in the core .
You can only adjust the screws and the springs .
Yet there are three different customization settings in here makes no sense .
If you're wondering about the specific cube that you have or you're wondering which settings I use for any cube , then you can watch the separate review I have on that cube .
Assuming I've made a review on it .
Usually if a cube isn't that great , then I don't make a review on it .
So yeah , if there's no review on it , that's how you know your cube sucks .
Just kidding .

Don't get mad at me anyway , if you have any more questions then feel free to leave it in the comments .
Thanks for watching and I'll see you all next time .
Are you looking for a way to reach a wider audience and get more views on your videos?
Our innovative video to text transcribing service can help you do just that.
We provide accurate transcriptions of your videos along with visual content that will help you attract new viewers and keep them engaged. Plus, our data analytics and ad campaign tools can help you monetize your content and maximize your revenue.
Let's partner up and take your video content to the next level!
Contact us today to learn more.