https://www.youtube.com/watch?v=hukvtqq_cpY
Easy Beginner Tutorial - How to solve a Rubik's Cube - Beginner Method

Hey Sean here from speed cube view dot com .
A few weeks ago , I published a video explaining some steps on how to transition from a beginner Cuba to an intermediate one .
This video is a little out of order because it's focused on those of you who want to learn how to solve a Rubik's cube .
For the first time , there have been multiple times in my life when I picked up a Rubik's cube and after trying and failing to solve it , I just put it down .
That was before the internet .
And as an adult now I decided to finally figure it out .
By the end of one afternoon , I was able to solve it without looking at my notes or online .
It is not hard to solve but to be fast , it takes practice and no , there is not one move that you just do repeatedly until it is solved that does not exist .
There are two parts to solving a cube .
The first one is being able to solve certain sections intuitively .
This means just by watching how pieces move and putting them in the correct places without a memorized pattern .
The second is what are called algorithms .
These are a series of steps to move select pieces around .
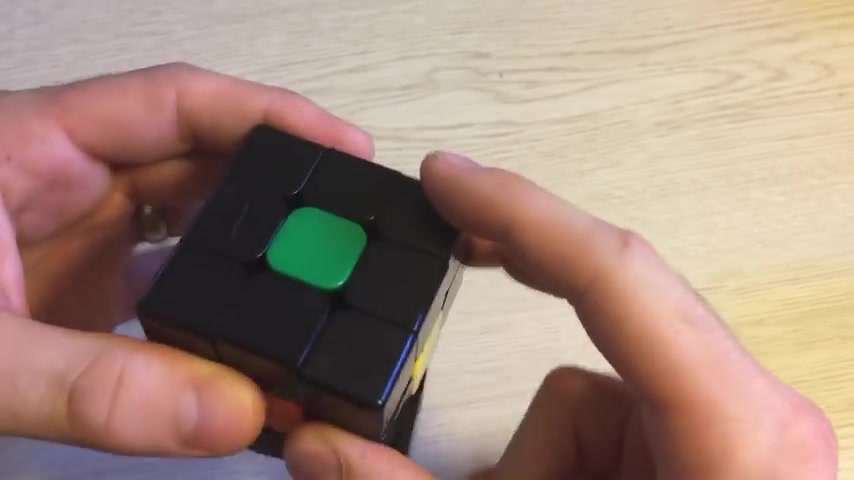
Now remember that a Rubik's cube is not 56 movable stickers or colors , the centers never move from their spots and there are only 20 total moving pieces .
I can mix a cube up in any which way .
And the white center will always be opposite , yellow , blue , opposite green and red , opposite orange with the standard color scheme .
There are multiple methods to solving a cube .
And I'm sure those of you who can already solve it would like to add some pointers in the comment section below .
I will be going over how I learn , which is usually referred to as beginner method or layer by layer method .
The first to do is to intuitively solve the cross on one of the sides .
Now , I strongly recommend switching up what colors you solve on each time .
It's a good technique to have .
If you want to quote speed solve , I'm using a special cube that will only show the pieces we are working with .
Now , when making the cross , remember that it is the entire piece that we are putting into place , you may make a cross .
But the goal is to do so with the other color of the edge piece matching the center color on the size of the cube .
This may be a slow process to learn how to manipulate the cube without messing up the other pieces .
But keep it , it will get easier with time after you finish the cross , we want to insert the four corner pieces on that face .
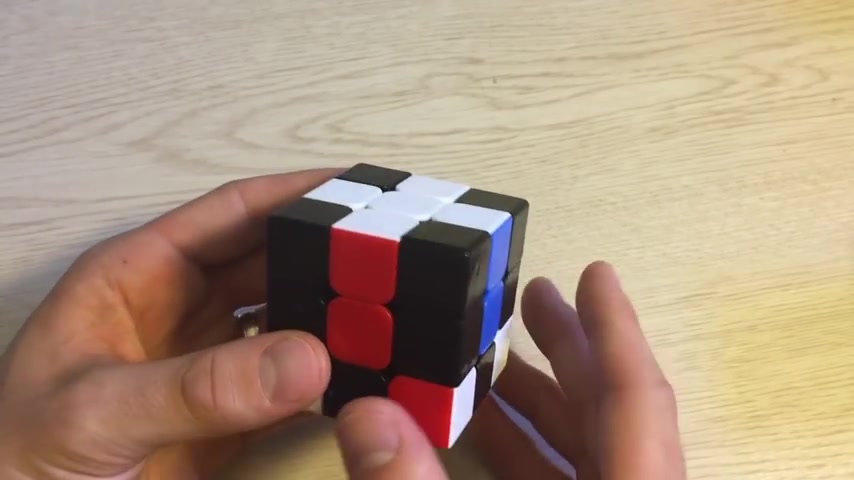
What you will want to do is align the corner under the spot it needs to go into .
We will be doing our first algorithm .
This one will be called the corner twisting algorithm .
It is moving the right face down the bottom layer to the left , the right face back up and the bottom layer to the right .
Now , the notation that's used to describe that is R prime D prime RD .
If you want to take a quick break to learn about the notation , I've put a link in the description to my video on that .
Now , that algorithm you'll either have to do 13 or five times data into place if the corner is already in the spot but not facing the right way .
You just need to do the same algorithm , but either two or four times if the corner is in another corner spot on the top face and either start with a different corner or do the corner twisting algorithm once with a random corner to kick the correct one out onto the bottom layer .
So it can be inserted into the correct spot .
Now , we have to insert the edge that goes on the sides , flip the cube over .
So the side you have solves on the bottom , what you will do is find the edge that should be inserted on the side above the corner piece that was just solved , then put the edge above the center that matches the side color .
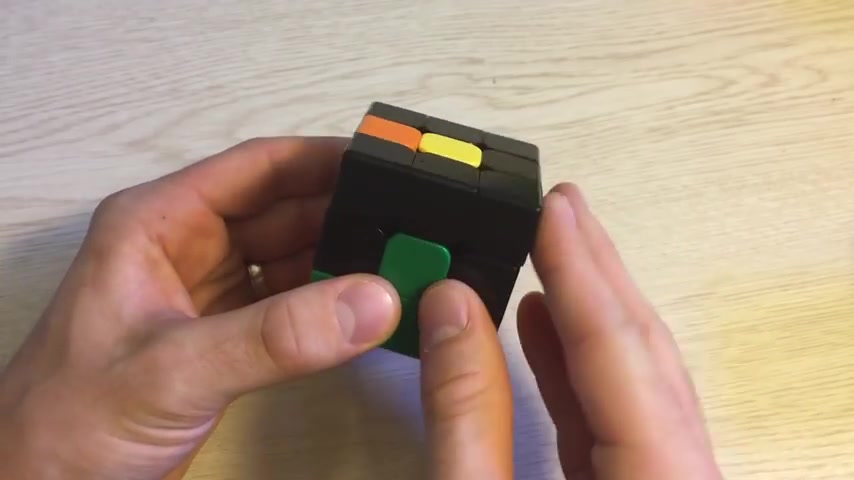
So you get an upside down T on that face , have that face in front .
And if it needs to be inserted on the right , you do , you are you prime our prime U prime F prime UF it needs to be inserted on the left side .
You do U prime L prime , UL UFU prime F prime .
The parentheses are just help organize the way it looks and do not mean anything as far as Q movement .
Now , what is really happening is you are bringing the corner up to pair it up with the edge and then reinserting them together just like the corners .
You may need to insert an incorrect edge piece because the one you need is in the wrong spot already or flip the wrong way .
Now we get to orienting the top layer , we need to get the same color all facing up .
First , we do the cross .
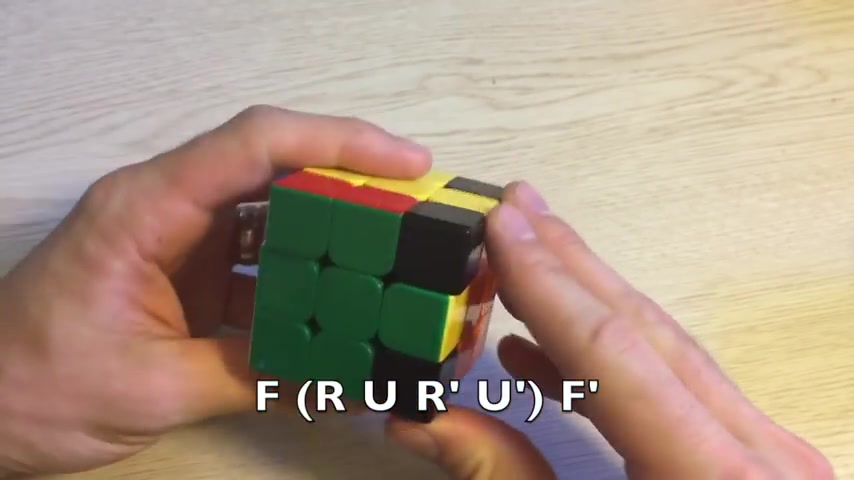
All you need to know is the algorithm Frur prime U prime F and it's very similar to the corner twisting one if you already have a cross and you can skip this step if you have a bar , have it face horizontal and do the algorithm .
If you have an L or AJ shape , turn it so it's on the top left corner and do F and then Rur prime U prime twice followed by F prime .
If you don't have any edge pieces flipped correctly , do the algorithm once Frur prime U prime F prime and you should get an L shape again .
Next .
When you to twist the corners , you will either have none of them twisted correctly , one of them two or all .
Now you start at your first corner and do the corner twisting algorithm R prime D prime RD , either two or four times .
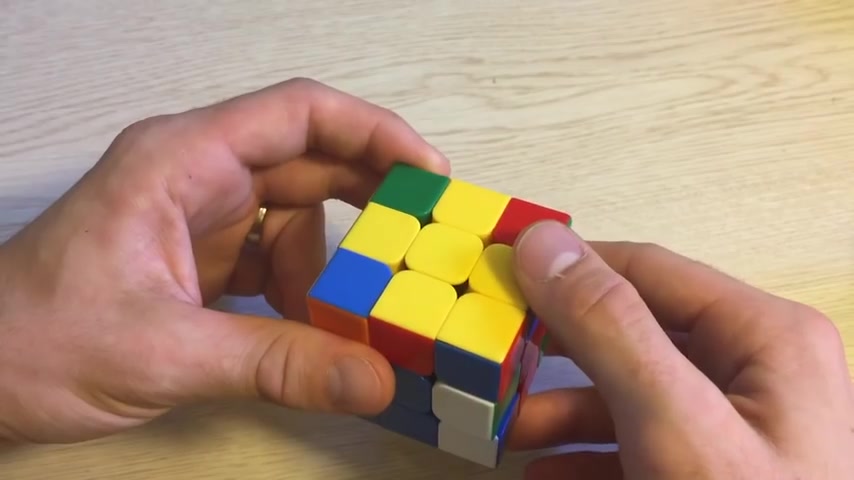
Now , here's the important part .
First , make sure you do the final D move at the end , the corner will look correct , but you need to do that final D move to not mess up the entire cube .
Again , it will look a little messed up here .
But what you do is only move the top face , putting the corner , you need to adjust in the place .
The previous one was you keep doing this around the cube only moving the top face and doing R prime D prime RD .
You'll do the algorithm a total of either six or 12 times .
After that is done , we need to permute the top layer , putting the pieces in the correct place on the top .
We'll start with the corners .
You can tell what is set up correctly by what is commonly referred to as headlights .
If you have headlights around the entire cube , your corners are all set .
If you have one set of headlights , you need to do an algorithm .
And if you have no headlights .
You need to do that algorithm twice .
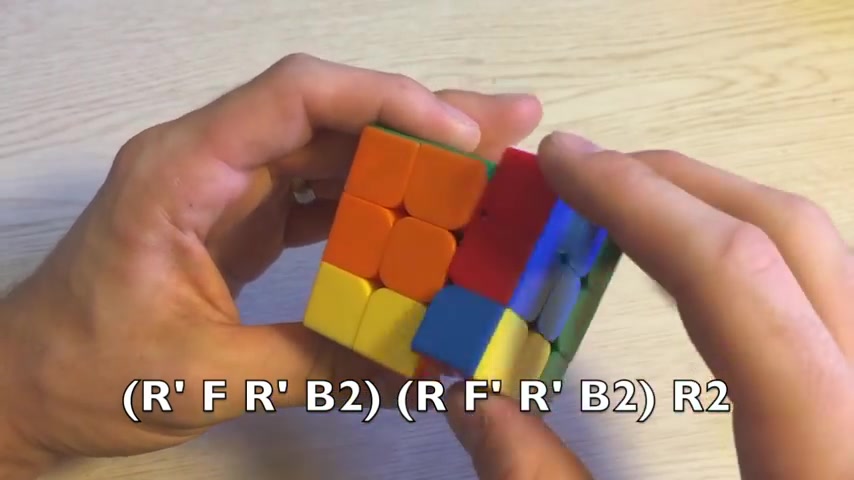
If you have nothing matching , you do R prime fr prime B two RF , prime R prime B two R two .
Now these algorithms will get into your muscle memory and in time you won't even need to think about what is happening .
Your fingers will just be able to execute the algorithm with ease .
If you have one pair of headlights , you do the same algorithm but make sure the headlights are pointing in the back .
Lastly , we need to take care of the edges .
You'll either have three misplaced , four misplaced or none of them .
If none of them are misplaced , then congrats , you have solved the Rubik's cube .
If four of them are misplaced , you do the algorithm are U prime Ruru are you prime R prime U prime R two ?
That will get you to just having three misplaced ?
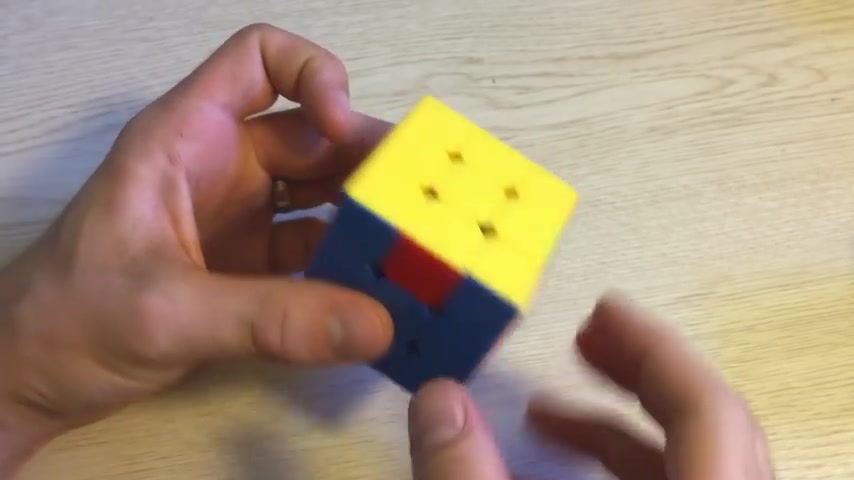
Then with three misplaced , you put the solved side in the back into the algorithm one or two times a cube should be solved .
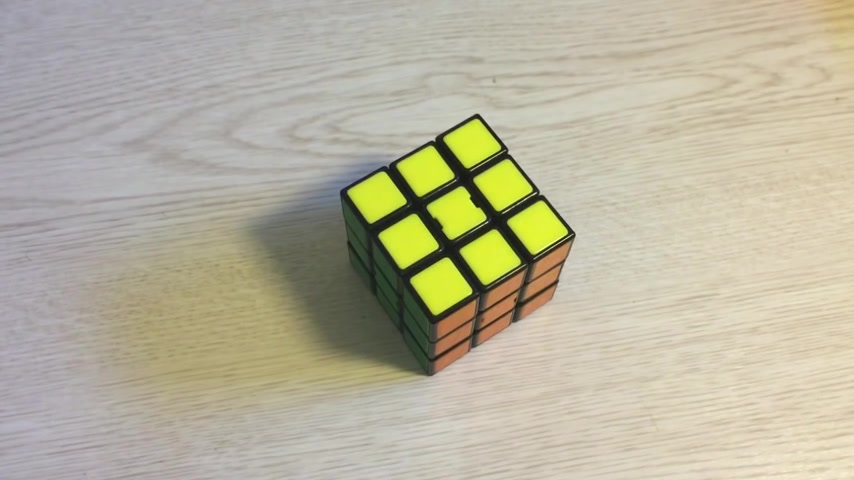
Now , there are other shortcuts you can learn such as doing the algorithm with the left hand to lower the number of steps or repetitions .
You need to do certain cases like the edges on the last step .
There are also other algorithms .
So you can solve certain steps in less moves as well as solve multiple steps in the same time , start with this and definitely check out other videos and forums .
If you'd like to check out the video on moving from beginner to intermediate , please do so .
But remember it takes time and practice .
Thank you for watching .
Please leave your thoughts and questions in the comment section below .
Please like and subscribe for more videos like this in the future and as always stop by speed QV view dot com for more news and reviews .
Are you looking for a way to reach a wider audience and get more views on your videos?
Our innovative video to text transcribing service can help you do just that.
We provide accurate transcriptions of your videos along with visual content that will help you attract new viewers and keep them engaged. Plus, our data analytics and ad campaign tools can help you monetize your content and maximize your revenue.
Let's partner up and take your video content to the next level!
Contact us today to learn more.