https://www.youtube.com/watch?v=4da4mRs-0iA
How to Draw Naruto
Hi , Cutie Winnie here today , we're gonna draw Naruto .
So let's get started to draw the router .
Let's first start drawing his face .
So I'm going to come right here and draw the bottom of A U .
So this time I'm not starting straight um up and down , I'm kind of giving a slight angle , do the same thing on the other side and go ahead and connect it and , but right there , central and then go back up there .
So we have his face in .
So then now let's come back to where we started and we're gonna draw his eyes .
So I'm gonna come right to the edge in about this area right here and I'm gonna draw a curve going towards this area right here .
So just draw a curve about right there .
And then we're gonna do the same thing on the other side , come right across .

So we'll say about this much right here and we're gonna do the same thing stronger right towards the edge .
So just two big curves then from there , we're gonna come right to the center of this curve and draw oval .
So right here , this nice big size oval and let's come over here on this edge and just draw a soft curve .
And then at the bottom , let's draw a soft , another soft curve .
So we're the same thing over here , drawn oval and come right here , round it off and at the bottom , just a soft curve and then let's come back in here and we're gonna give a little highlight in this area .
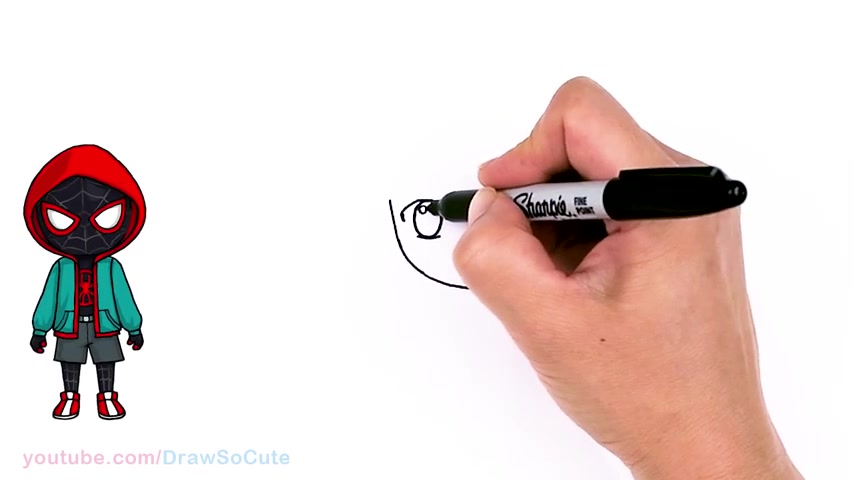
So I just draw a circle and then in the center , we're gonna draw an oval and if you like , you can give another highlight .
So let's come in here and draw another circle first and then draw the highlight .
I mean , draw the oval in between .
But if you have one of those white , a white out pens , you don't need to draw the ovals , um draw the highlights first .
You can do that after you color everything in .
OK .
So same thing here .
But if you don't , it's easier if you just draw the highlights first .
So two circles and then right inside the center , strong oval and shaded in and then I'm gonna come right back in here and just thicken the top curve up and same thing here .
OK .
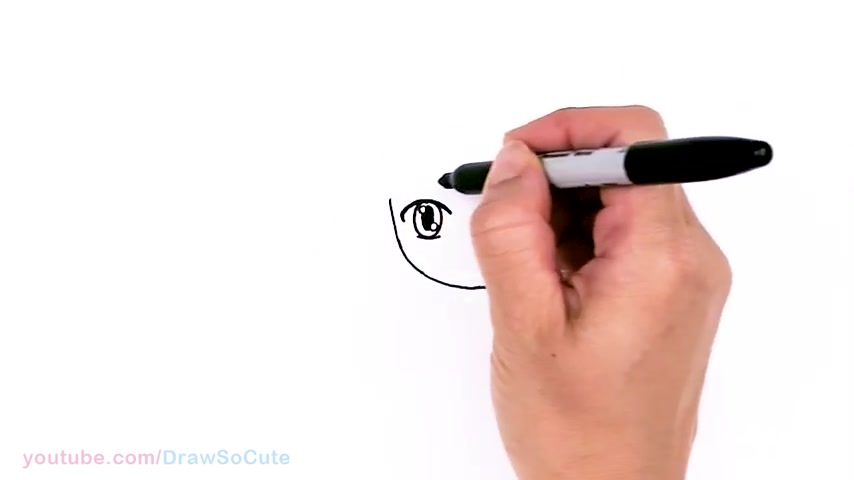
So then from there , we can go ahead and in about this area right here .
Now it's the same level .
We're gonna go ahead and connect it with a curve for the headband that he wears .
So about right here , just curve and connect and then let's come back almost forgot his mouth .
And so let's come to about in this area , we're gonna draw his mouth .
So gonna go right here .
It's kind of straight .
I'm just gonna give a little curve towards the center wobble a little bit and then come right back up and then you can cap it off .
I know it kind of looks really weird right now .
But once you color this part in , it'll all come together and then now his brows .
So right here , I'm just gonna draw a curve and then go up her slanted brow .
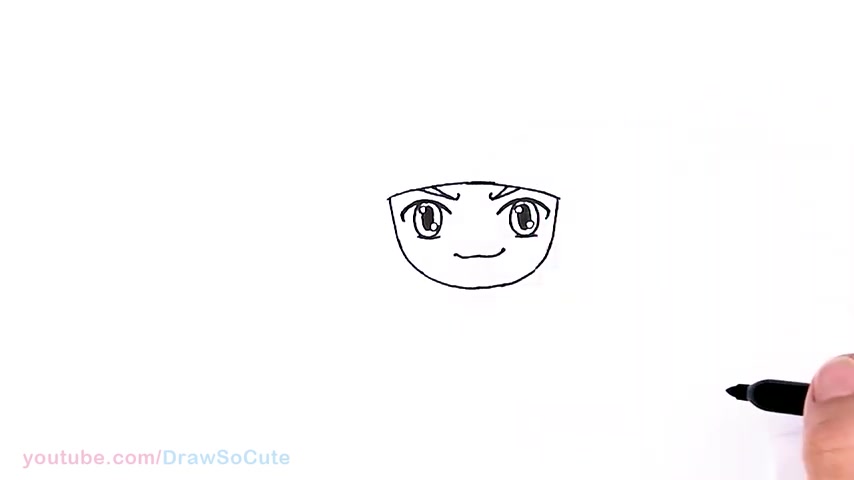
So same thing here curve and then go up for his brow there and then his whiskers that's on his face right here .
So , um , let's say about this area , I'm just gonna drop three of them .
He needs these uh , these whiskers to make him complete .
Of course , right .
So three there .
Now it's all coming together from there .
Let's go ahead and draw his ears in this area right here .
Drop big and then we're gonna come inside for some details , just two curves and same thing over here .
Nice big ears from a retail and two curves .
So then now let's draw his headband .

So let's come right in between the space and we're just gonna wobble curve at it's about the same level and I'm gonna bring it into picking it up .
Let's bring it in .
But before I go all the way across , I'm gonna stop right here because I know there's some strands of hair that I'm gonna zig zag across right here .
But if you're using a pencil , definitely do that later and just continue this curve .
So then now I can go ahead and finish my curve right by here .
And then as I come to this side , we're gonna stop once again to draw two more strands of hair and then complete their headband .
OK ?
So then let's draw the um little metal plate right here .
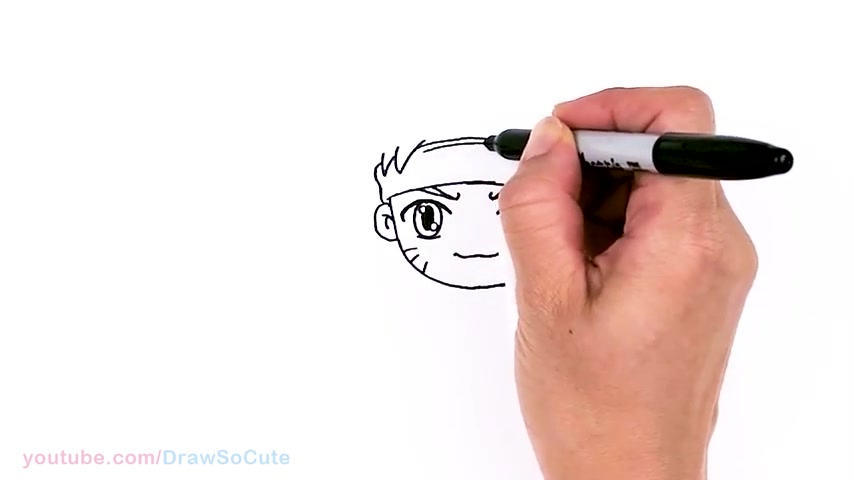
So right in the center , just follow your top and round it off , then continue and follow the bottom curve and then let's draw the leaf uh village symbol .
So right in this area , right in the center , I'm gonna draw an angle line and then a swirl , see , make sure I'm doing this right .
OK .
One swirl OK there and then this product sticks out .
So it's like at an angle that comes out there .
I got the Le Village symbol and then now let's finish off his hair .
So I'm gonna come right back to where the band is and I'm just gonna draw a bunch of zig zags .
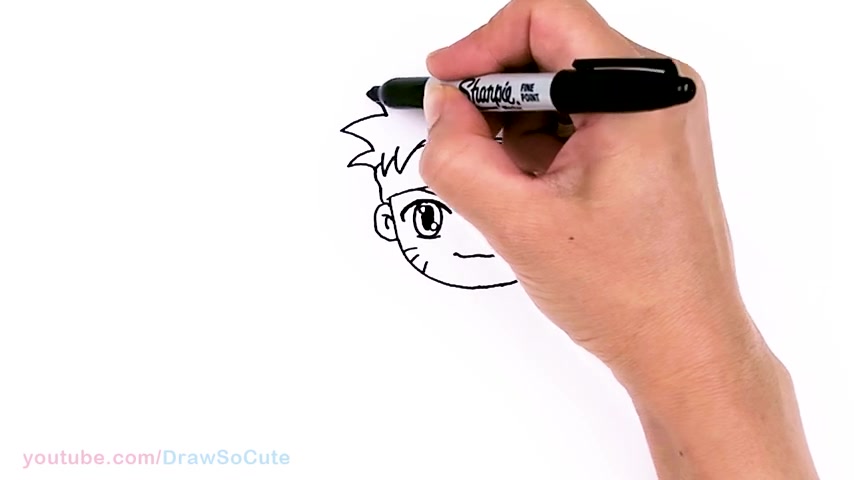
So , um this part right here , same thing pretty even .
So I'm just gonna make sure I draw that .
So I know to come right back to there and I'm gonna go up bunch of zigzags .
So towards the center kind of even .
So it makes it a little bit easier for me to draw , but you don't have to definitely make it even at all .
So one more there , something like that .
Now we have his hair in this side looks like it's a bit off .
Right .
So I'm gonna , looks weird on this side .
I think it went out too much there and now I'm just gonna erase that nothing you can't fix .
Right .
Ok .
So then from there let's draw his body .
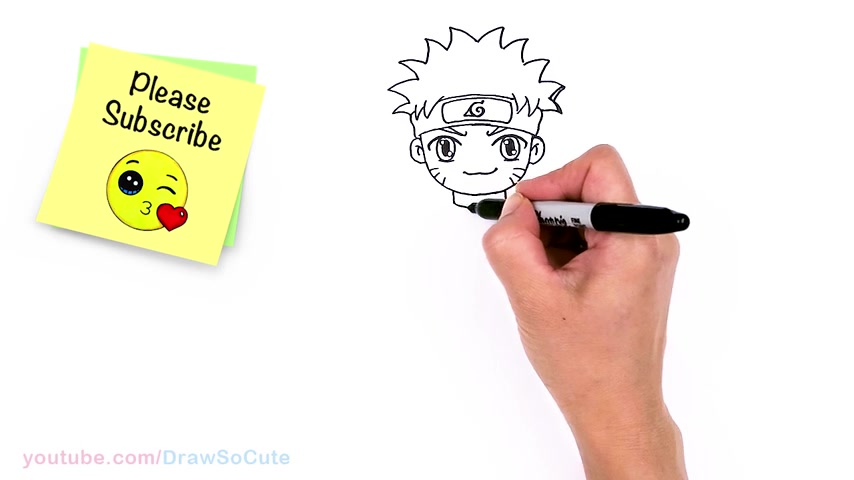
I'm gonna come right here and draw a thick the collar on him .
Go right there and connect and then I'm gonna dry showers that come out .
Yeah .
And now let's kind of figure his armpits would be about right here in here .
So let's come out with a slight angle line .
OK ?
So then now let's come back right .
Let's come in here .
Finish off the jacket part .
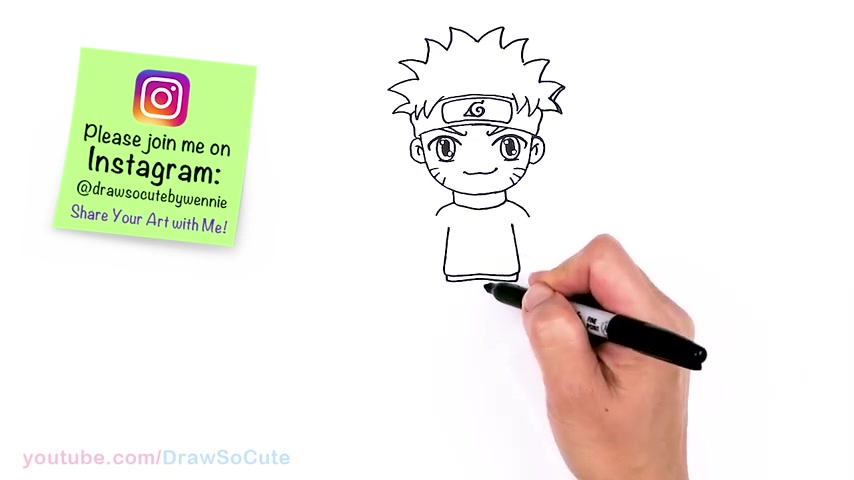
So I bring it in a little bit and I'm gonna connect it with a slight wobble , give a little bottom cuff right here and then um let's see here .
Let's come down nice and low .
So I go right here .
Draw a slight angle line and two lines coming from the center .
They're gonna come back to the side to start his pants .
Ok .
So then let's bring this down .
So I'm having his feet kind of apart .
So let's work on this foot first , this leg first .
So we're just gonna bring it down , flared out a tiny bit towards the bottom and can it's the same thing over here .
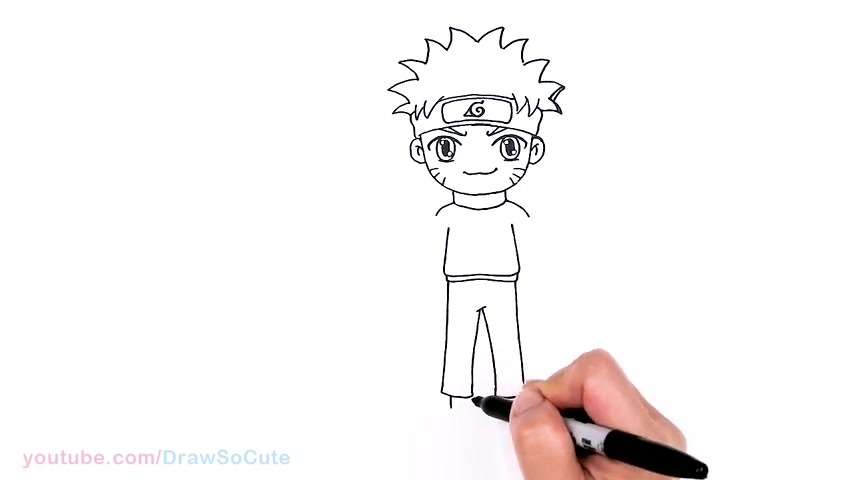
Ok .
So then now we can go ahead and draw his legs that comes out of the ankle part .
So just two slight angle lines connected and then sock area connect that and then now his shoes are gonna come out to a curve and this part comes down and round it off and connect .
So then for some details , we're gonna come down here and draw a curve all the way across and then open toe .
So right here , we're just gonna drop big curve and then just of indication of toes to two , three curves .
OK .
So , same thing on the other side .
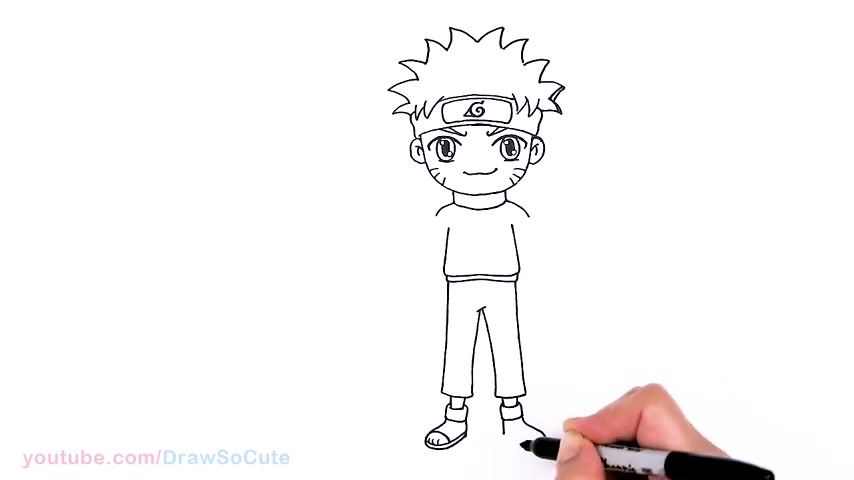
Hm there .
OK .
So then now we can go ahead and draw his arms and I'm having them to the side in the fist .
So right here , let's come out angle a little bit because it's gonna bend , bend right here and here and then he has these cuffs .
So I'm gonna bend it right here with a curve , bring it down with this angle continuing down and about right here connected again .
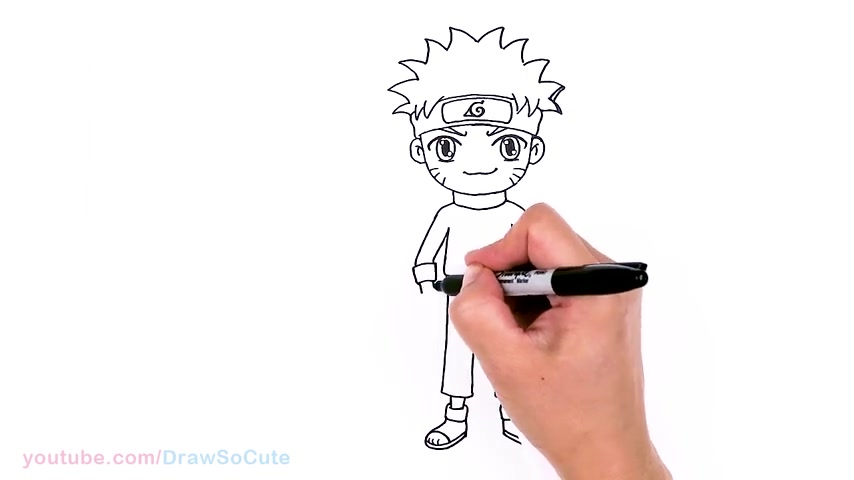
So we're still continuing down at this angle , come down and then for his fist .
So two curves that come in , wobble out again and then just go ahead and connect and right in this area right here , just draw a little curve .
So same thing on this side about right here , we're gonna start to bend , start to bend and once again , same thing curve and we're still continuing at this angle .
All right , there and his right here .
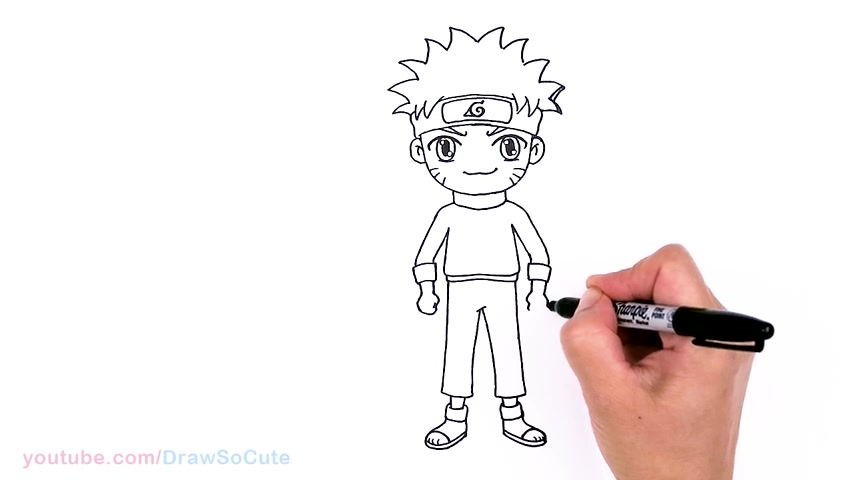
And so once again , same thing Wobble curve come out then connect in a little line right there .
OK .
So then now we can finally go in with all the details .
So right here , let's come back up and we're gonna break this in the center two lines and you can lightly draw in some lines right here if you like .
And in the center is a zipper part .
So another two lines right in the center and then some horizontal lines and let's bring this line down all the way into his jacket part right in the center .
And then there's gonna be a little zipper tab and then continue the zipper all the way down .
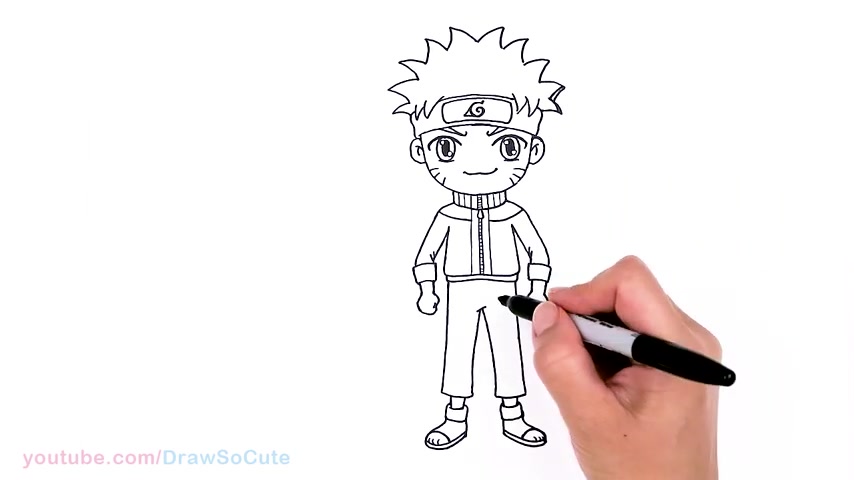
And then right here , I just bring this up a little bit more about in this area .
We're gonna draw a curve then same thing all the way across .
And let's see here .
Got some crease lines right here .
OK .
So then from there his pants .
So let's come down the center line for some details .
You can draw this little curve right here if you like the curve here and then the band , of course , that's on his leg .
So say about right uh right here , go ahead and draw a curve and another curve all right there .
And in the center , it's gonna be a darker band .
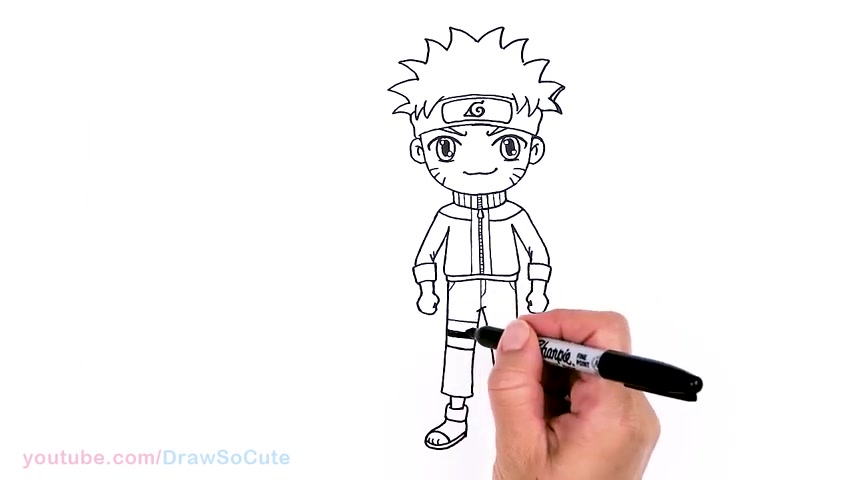
So I'll go ahead and shade that in and then there's another one here .
And so then there's also this little bag thing right here .
So pocket thing that goes on right here .
So I'm just gonna go ahead and add that right there and another band right here .
I hope I have all the details , right ?
But that is pretty much it .
I hope for um my drawing here of Naruto and I really hope I had made it fun and easy for you to follow along with me and that you love how he turned out .
Thanks so much for watching and if you loved it , please make sure to subscribe and turn on your notification bell so you won't miss any new draw .
So cute videos .
Do better .
Are you looking for a way to reach a wider audience and get more views on your videos?
Our innovative video to text transcribing service can help you do just that.
We provide accurate transcriptions of your videos along with visual content that will help you attract new viewers and keep them engaged. Plus, our data analytics and ad campaign tools can help you monetize your content and maximize your revenue.
Let's partner up and take your video content to the next level!
Contact us today to learn more.