https://www.youtube.com/watch?v=l2dgZAzcsBk
How to Draw Mega Charizard X _ Pokemon
Hey there today , I'm gonna show you how to draw Mega Charar X .
So we're gonna draw the character in a standing position , but he's gonna be facing in that direction there .
So we'll have the head in the body and then the legs this way .
OK .
So let's start with the eye .
We're gonna start with the top of the eye coming from the top down in an angle to the front of the eye .
From here .
I'm gonna take this corner and just draw a curve going up from here .
Let's draw the side in the bottom of the eye .
So from here , we're just gonna come down a little bit and draw a curve for the back side of the eye .
We're gonna take this point and draw towards the front of the eye here .
Give you a little gap .
We're just gonna draw a little line just tucked underneath that brow .
We're here , let's draw the iris and pupil .
So up here it's gonna draw a curve going down and then in here we're gonna draw the pupil .
So it's like a little hollow circle from here .
Let's move over to the center of the face and just draw a curve going up .
We're gonna move over again and we're gonna draw a curve going up to match sort of this line here .
This is the opposite side of the brow .
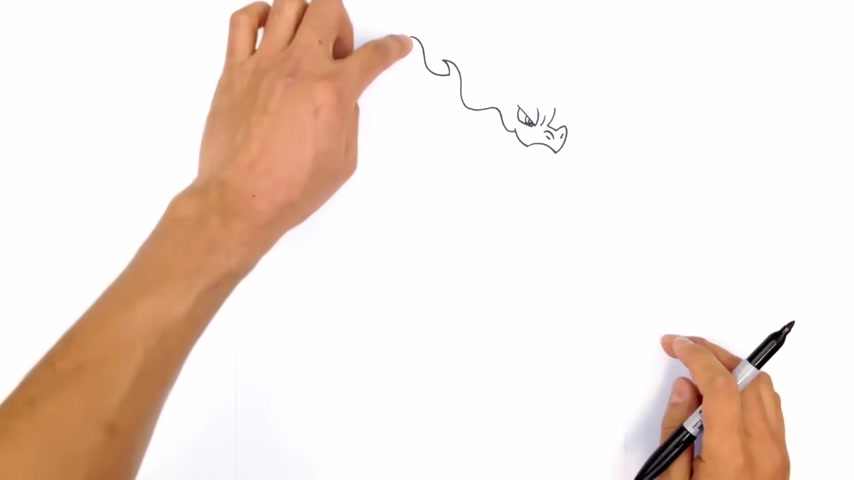
Let's go and draw the front of the face .
So from this point , we draw angle line coming down .
Now , this is the bridge of the nose .
From this point , I'm gonna curve up and over to the right now .
We're gonna work our way down towards the mouth .
From up here , I'm gonna curve down to the front of the mouth and we're gonna draw curves going all the way back to the edge of the mouth here .
So what I'll do is I'll take this point and draw a curve going back like so and then from here , I'm gonna curve up just underneath this eye here .
Just a curve going up .
Let's draw a little bit of nose detail .
So up here , it's gonna draw a little curve for the upper part of the nostril .
And then in here , we're just gonna step down a bit , just draw a little angle line for the nostril .
And then on this side , we're just gonna draw an angle line in the opposite direction .
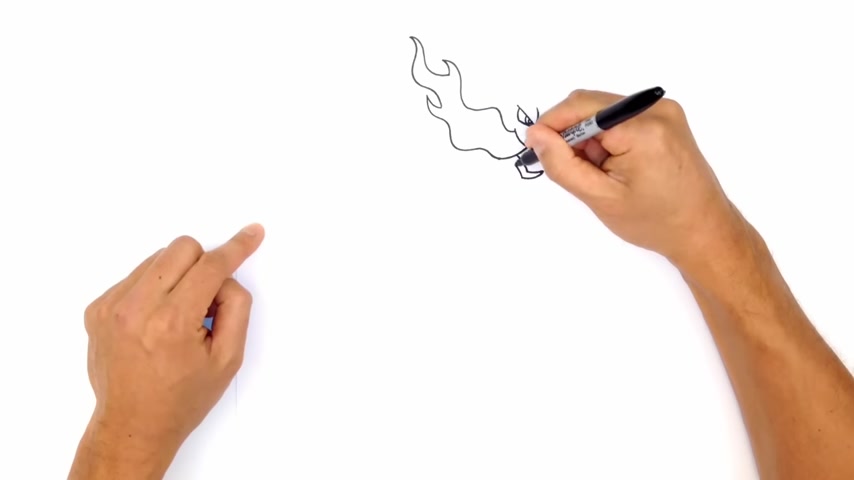
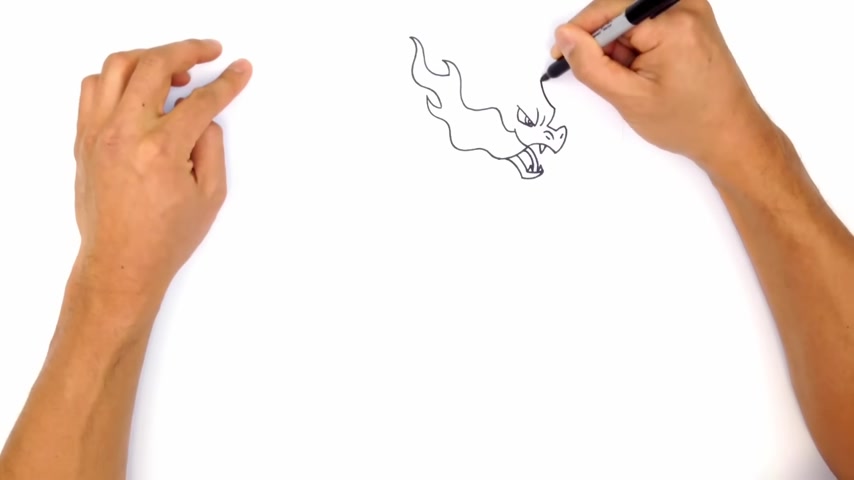
Now , from here , let's draw in the big flame that's coming out of the mouth .
Now , this flame gets tucked or drawn on top of the , the head and the neck .
So we're going to draw this in first .
So up here , I'm just gonna step down just a little bit and just draw a curve going up and around .
So it's just gonna be a series of waves and you can draw this way you like , it doesn't have to match exactly the way that I do it .
So we're drawing the flame sort of in this angle this way .
So when we get to the top of this curve , I'm just gonna pull this back a little bit from here , I'm gonna curve up and out .
OK .
So I'm just gonna pull that out there .
So this is gonna be the tip of the flame .
We're gonna work our way back underneath this mouth here .
So from here , I'm just gonna curve back in the opposite direction , curving around and then back down from this point , I'm gonna curve in the opposite direction going up .
It's a little hook from here .
I'm gonna work my way down with a bunch of like wiggles and waves and tuck this underneath that side of the mouth here .
So going back to the tip , I'm curb in , out in out and then right here where that little break in the mouth is , it's gonna curve this right into that point .
Now , from here , let's draw on the top row teeth .
So there's one tooth here .
So I'm just gonna draw a curve coming down and going back up , tucked underneath that mouth .
Let's draw the mouth open .
So we're gonna go down to the edge of the mouth here and draw a curve going down from here .
We're gonna curve up and sort of across for the front edge of the mouth .
Now , from this tip , we're just gonna taper out so it gets a little bit wider in the back .
And then from here , we're just gonna curve out towards the jaw along this row here along this bottom part of the mouth .
I'm just gonna draw a couple of teeth .
So two sharp things .
So up upside down V up here , right where the flame meets the mouth .
I'm gonna draw a curve going down towards that tooth from here .
Let's draw another curve for the tongue .
You just tucking that back in like that .
OK ?
Now , let's work our way back to the top of the head .
From here .
There's two horns that kind of stick up here .
So what I'll do is I'll take this point at the front of the brow and just draw a curve going up from here .
I'm gonna curve down up until the skull .
OK ?
So I'm gonna take this point and start to taper out .
So it gets a little bit wider as it gets to the top of the head from here .
I'm gonna draw a curve overlapping that line .
So from back here , I'm just gonna draw a curve like this here .
Let's take this horn and draw the same thing right over here .
So I'm gonna do an overlap down here and draw a curve going up and from this point , I'm gonna curve it back down and it's getting wider as I get to the bottom of the skull .
Let's draw some separation lines on those horns .
So along here , I'm gonna draw a curve up here , I'll draw a curve here .
Let's draw the horn that goes in reverse back here .
So up along this horn , draw a curve point backwards from here .
I'm just gonna curve in and then just kick it backwards .
So it goes along the spine of the neck .
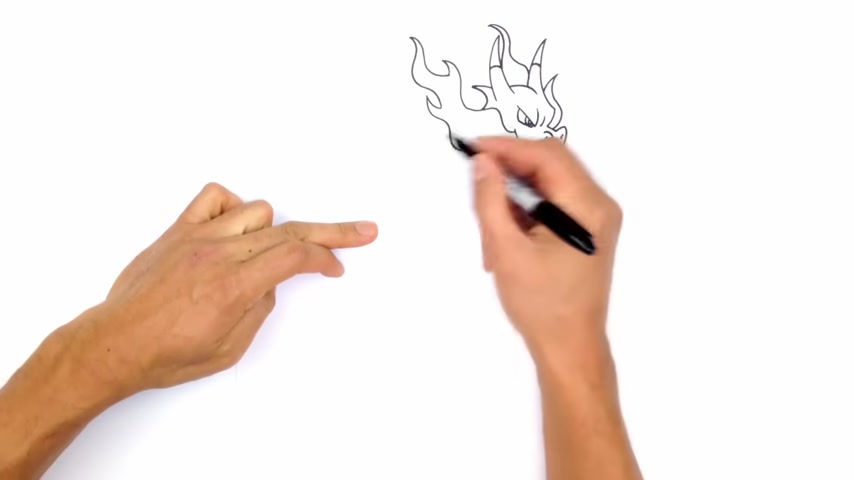
We're gonna take this flame and draw some coming out to the back behind the head .
So back here , you're gonna see some coming up above this eye .
So right above this nose bridge , I'm gonna curl up like this and take that point and just curve in behind the head , you know , probably see some more flames coming out this way .
So I'm gonna start this up here .
And again , you can do this any way you like .
It doesn't have to fall exactly the way I do it from here .
I curve back and then just tuck that in behind that horn .
Ok .
So we got the main part of the head .
Let's get into the neck and the body .
So the neck , I'm gonna draw on a curve coming down towards the arms down towards the feet .
So I'm gonna have to locate the arms somewhere up here .
So the shoulders would be located up here .
So if I work my way back here , the line of this neck is gonna come down this way towards a shoulder .
So here I'm gonna draw a little line like this .
Ok .
So this is gonna start me off on the back of the spine and imagine a curve going towards my finger .
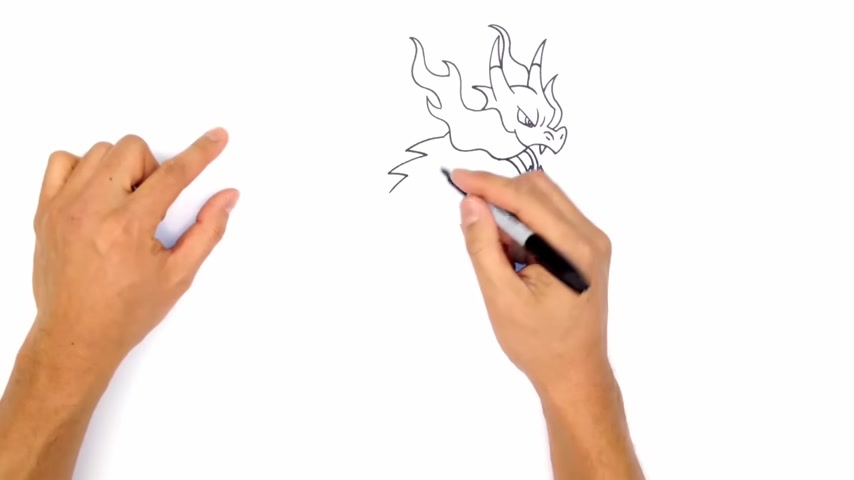
He's got some spines along the back .
So from this point , I'm gonna curve out and I would curve this back in to make a spike .
Let's do one more and do another spike here and we pull that back and we're slowly working our way towards my finger here .
From this point , I'm gonna curve a line towards the shoulder .
Now , here , this seems to be a , a hump for the shoulder bone or the joint .
So I'm gonna do is I'm gonna do an overlap .
Just draw a curve like that , just crossing over that line from here .
I'm gonna curve back .
Now , the shoulder has two horns coming out of it .
So I'm gonna draw one behind here .
So this is the top of the hump .
There's gonna be a horn coming in from behind .
So up here , I'm gonna draw a curve , this curve gonna taper out so it gets wider and just tucks in behind that shoulder and I'm gonna draw separation just like I did with these horns up here .
I'll draw a separation line up here .
Let's take that horn and just flip it over and draw one in the front .
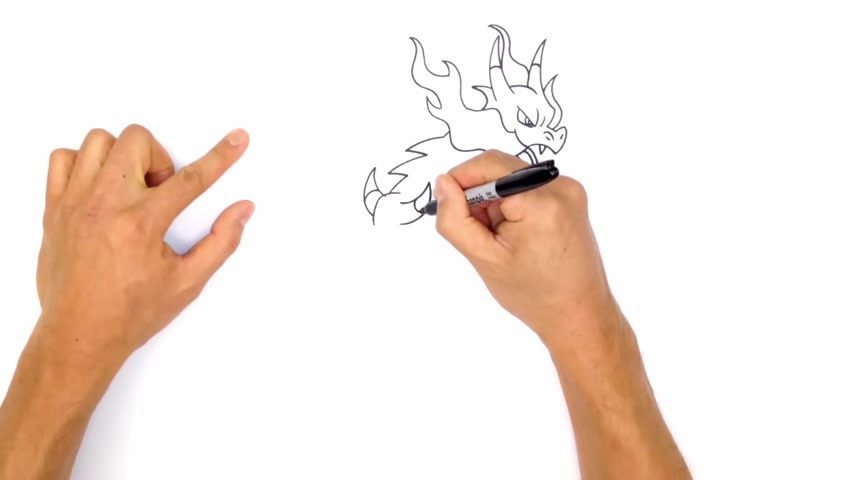
So starting somewhere here , I'm gonna draw a horn curve up like this and then curve that back in and then we're gonna draw separation at the tip .
Now , we can go in and draw the rest of the arm here .
So I'm gonna have the hand sort of in a claw pose .
So let's draw the back of the arm first .
So up here , I'm gonna curve down towards the elbow and the elbow .
I'm gonna draw a curve towards the hand .
Now , from here , I'm gonna have to draw a series of overlaps for the finger .
So from here , I'm gonna draw the first knuckle .
So a little curve coming down and then curving back up , we'll do an overlap here .
I'm gonna curve out just overlapping that line like a T .
Now from here , I'm gonna curve in and then I'm gonna curve around like this from here .
I'm just gonna draw a line straight up .
Now , I'm gonna have to draw a curve for the thumb .
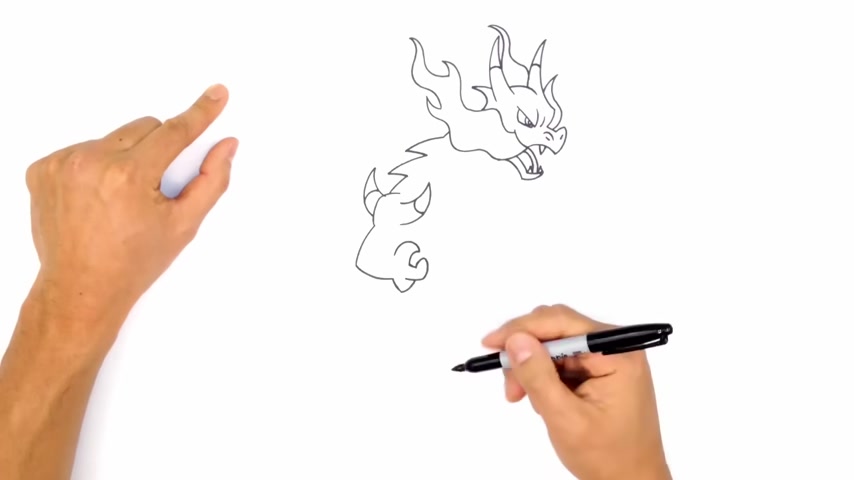
So from here , I'm gonna curve around to a point and then hook all the way around the back of the hand from here .
Let's draw a claw .
So I'm just gonna draw a little point like this up here on this thumb .
I'm just gonna draw a separation line from this wrist .
I'm just gonna go back .
We're gonna do a little bit of an overlap here and just draw a curve going up towards the armpit .
OK .
So we got that arm , let's get into the neck and the body .
So the neck is gonna follow this curve and the body is quite round at the bottom here .
So I'm gonna take this belly down to probably somewhere around here .
So we're gonna imagine this head coming down .
So from here , the neck , the front of the neck , we just curve like this .
From here , I'm gonna do an overlap and just curve out the belly towards my finger .
So coming up a little bit , I'm gonna curve out towards the front of the belly , then curve back towards my finger right here .
OK .
So now we're gonna have to draw the leg overlapping the body here at some point .
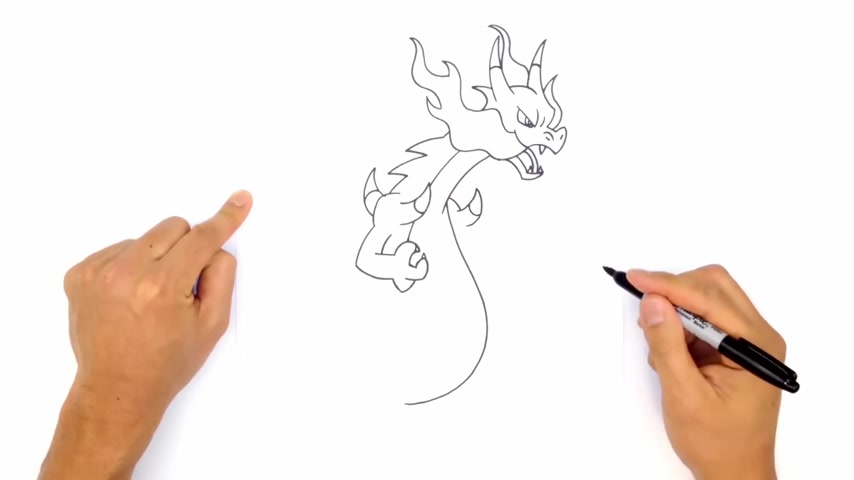
Let's finish off the neck .
There's a separation line that divides the , the belly color and the body color .
So up here , I'm just gonna draw a curve in behind that horn .
OK .
So I'm following that same curve at the front back here .
This is gonna come down .
Now , this is gonna come down somewhere here , but I have to draw on the leg before I get into that .
But let's draw on the other arm and shoulder first .
OK .
So from here , I'm gonna take that arm and just imagine it flipped over behind this body .
So up here you can see the top edge of this shoulder .
I'm gonna come down like that from here .
I'm gonna draw a horn just like this overlapping .
So curve going up , then curve going back and I'll draw that separation line for the shoulder and the horn from here , I'm gonna do an overlap coming back down to the inner part of the elbow .
Now , from here , I'm gonna draw in the hand of the forearm going towards the hand .
So let's draw a curve going towards the palm .
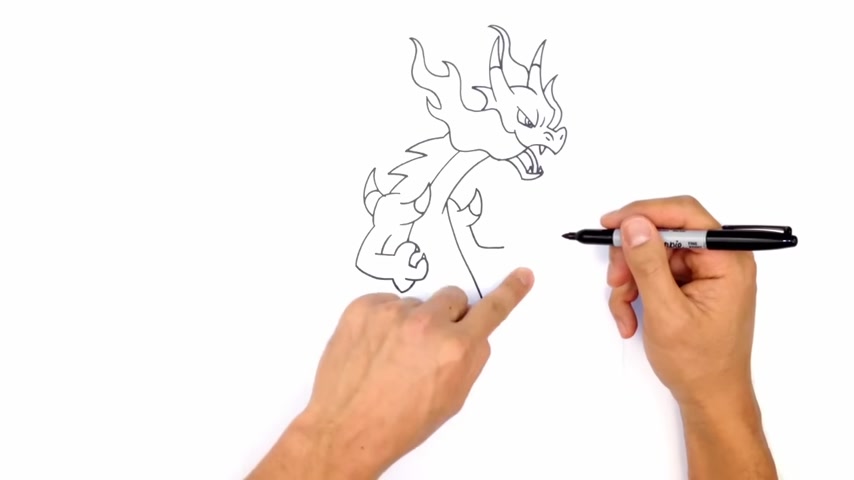
Now I'm gonna draw the bottom part of this arm first because I'm gonna have to draw the bottom row of fingers because they get drawn on top of the fingers on top here .
So the bottom here , I'm gonna draw a curve out towards the hand from here .
Let's draw on the first finger from here .
I'm gonna curve around like the hook from here .
I'm gonna move out a little bit and draw a curve .
That kind of looks like a sideways rain drop from here .
I'm just gonna do the overlap and draw a curve like this for the first finger .
I'm gonna have to draw a finger like that behind here .
So I'm gonna go up here on this finger and just draw a curve .
Now , let's draw that sideways rain drop again .
So we're going from the tip around and then back to the left side , go up here and just draw a curve and tuck that in behind that finger .
Let's go up here and draw one more finger .
So up here by this nail and draw a curve now from the tip of the finger , curve around and back from here , I'm just gonna tuck that in behind and then right here somewhere , I'm just gonna draw a curve overlapping that wrist .
OK .
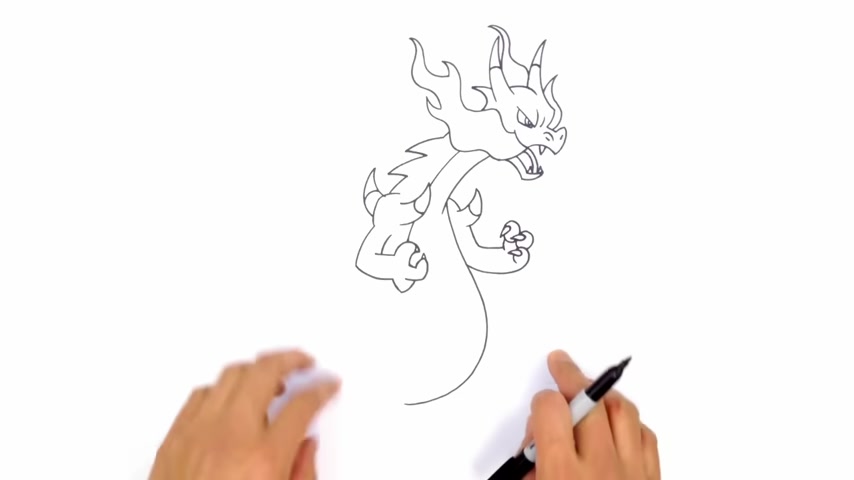
So we got that arm , let's get into the legs .
So this leg , it's got a big meaty sort of thigh here .
OK .
So what I'm gonna do is I'm gonna take this and just draw the inner part of the thigh first .
OK .
So up here , I'm gonna draw a curve coming down towards that point .
From here , I'm just gonna curve in .
So it's like a little sharp turn going in towards the ankle .
It's gonna close that little gap off there .
Let's go to the back .
So this curve of the spine is gonna come down this way .
So I'm just gonna draw a curve coming down to the top of the thigh can see I'm trying to line this all up .
We're gonna draw the back of the thigh first .
So from here it's gonna draw a curve going around like this for the back of the thigh .
Now , from here , I'm gonna do an overlap .
So I'm coming back a bit and drawing an angle line .
So you see the thighs still overlaps it a bit .
I probably want to come in and just overlap it even a little bit more from here .
I'm gonna draw them back from the foot .
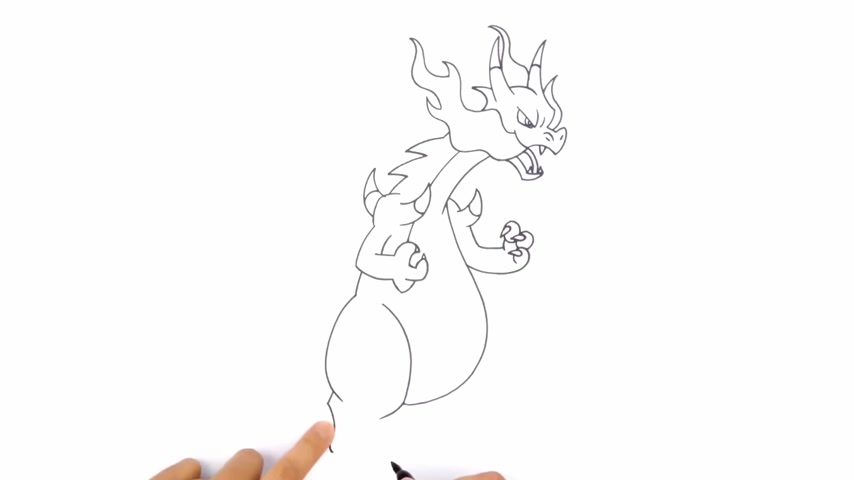
So from here , I'm gonna curve in and then I'm just gonna round out the side of the bottom of the foot .
So you can see it's sort of like a reverse s here from here , I'm gonna draw the first nail .
So from here there's three claws .
So from this point , I'm just gonna curve and round out the front nail .
From this point , I'm just gonna curve in to the back of that foot there .
Let's draw a couple of overlaps .
So from here , I'm gonna draw a curve going to the tip .
Now , from this tip , I'm just gonna tuck that in behind that nail .
Let's try that one more time .
So from here curving to the tip of the nail and then pushing that in behind that foot up here , I'm just gonna do an overlap and just tuck that in behind that nail down here .
I'm gonna draw a little curve for the knee cap and up here just a little line like that just for a little bit of detail .
Let's go and finish off this belly line .
So this line is gonna continue behind that hand and just behind that thigh like that .
Ok .
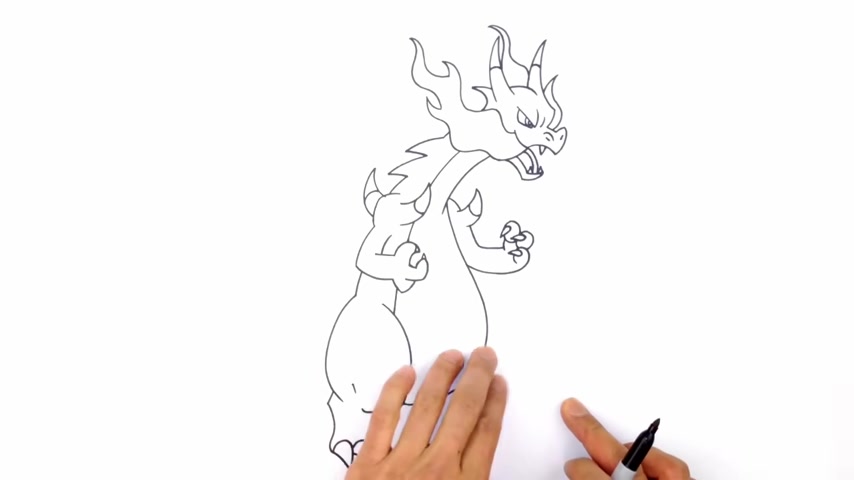
So you can see the separation of the belly and the side of the body to draw the leg on this side here .
So I wanna try to line up the top of the thighs .
So from here , I'm gonna draw a curve coming down towards the ankle .
So from here , I'm gonna curve around and just pull that in from the back .
I'm gonna start from down here and just draw a straight line angle towards that ankle .
From here .
I'm gonna do an overlap and round out the back of the heel .
Now , from here , I'm just gonna round up the heel and go towards the front of the foot .
Let's draw those nails .
So from here I'm gonna curve around to the front of the nail .
I'm doing the same thing I did on the right on the left side there and just connect that .
Let's draw a series of overlaps .
So I'm doing another nail and then just connecting the tip and then one more up this way and then tucking that in again .
And then from up here , I'm just gonna draw a curve going to the front of the foot .
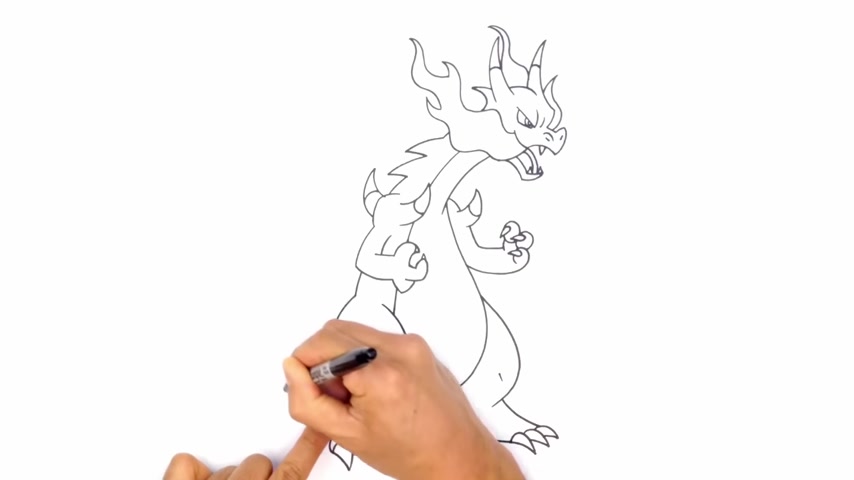
Let's draw a little line like that just for the kneecap .
Now , from here , let's draw the tail .
So I'm gonna have the tail swerving around up here towards the flame .
So we're gonna start down here .
So I imagine this belly because the belly is connected to the tail .
It's gonna start right around here and curve all the way around .
So I'm gonna start on this side making sure it's lined up , just draw a curve and hook this behind the body like that .
Now up here , I'm gonna have to draw the top part of the tail .
So somewhere up here , I'm just gonna draw a curve like this going upwards from down here .
I'm gonna do an overlap and just taper the tail .
So it looks like the tail is turning and getting thinner as we go , we're gonna draw separation for this belly line .
So imagine this line coming down , it's gonna go underneath the leg and out this way .
So we're gonna start out here and just draw a curve like this and then on the back side , we're gonna do an overlap and just draw a curve on the back side there .
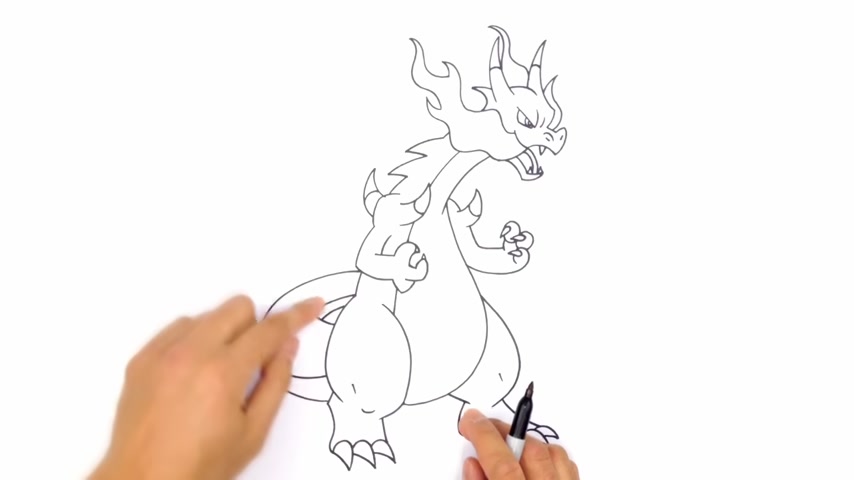
So it kind of does look like the tail is sort of turning on itself from here .
We're gonna imagine this tail coming up this way .
OK .
So the body tail out behind the body .
So it's gonna start up here and curve up .
We would take that point and imagine it coming back this way and curving up to a point .
Again , we want to take that separation line and just draw a little bit of that on the tail here .
Now , let's draw on the flame on the tip of the tail .
So around here , I'm gonna start it back here .
And again , we're just gonna do a series of waves that go up like that .
So it's sort of like a little wave that goes along from here .
I'm just gonna come back and get a little bit thicker as I come back .
So I'm gonna make a break as I come down here , I'm gonna go in the opposite direction .
OK .
And come back again and then down like this and swoop around , take that line and just bring it back into the tail .
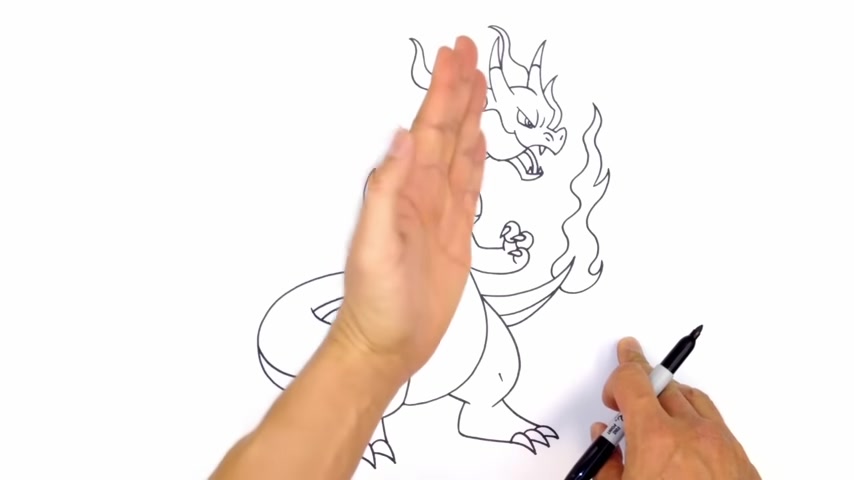
Now , the final part , we're gonna have to draw some wings .
Now , this is probably the trickier part of this lesson .
We have one big wing on this side , but the other wing sort of is an angle in behind the body .
So starting up here , we're gonna start the wing right where the shoulder is , it's gonna come up .
So what we wanna do is draw the stump of where the wings connects to the back .
So up here , I'm gonna draw a curve like this .
Now , it's not closed off .
You want to see it open on that side from here , I'm gonna curve up into the left , from this point , I'll curve in the opposite direction up towards the right from here .
I'm gonna draw the big claw kind of like this and stuck right on that joint on the wing .
So I'm gonna do an overlap here drawing a curve and then I'm gonna taper this out as I come back up up here , it looks like I wanna make it look like this claw is stuck in the joint .
So up here , I'm just gonna draw a curve like that .
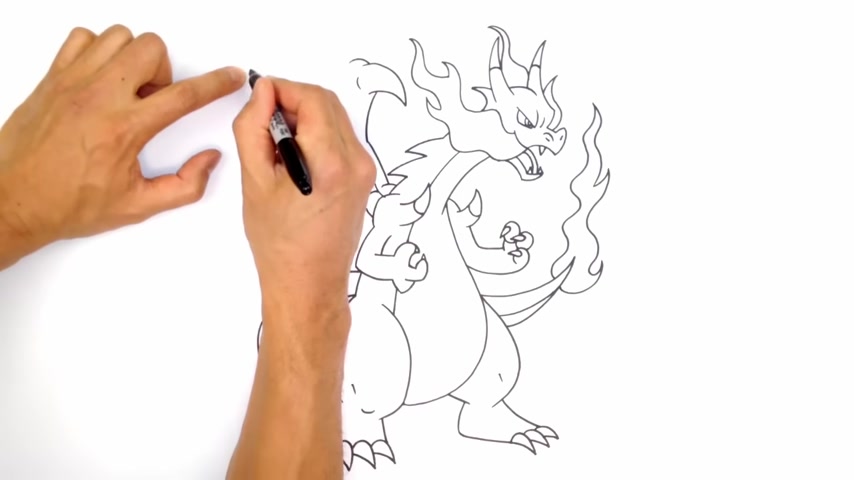
And then up here , I will draw a curve , it hook like this from this point , I wanna curve out to the tip of the wing .
So somewhere out here .
I just wanna draw a curve like that .
Now , I'm gonna taper this up into the wing joint here .
So curving in now it gets thicker as I get in towards that cloth .
From this point , I want to curve out .
I wanna round out that tip a little bit and then I'm gonna follow this line on the inside here just going all the way in behind that claw .
Now , the wing itself is just a series of little , almost like big giant feathers that stick out .
So I'm gonna have to draw a couple that come out this way and this sort of curved with this wing .
So I'm just gonna start at the top because I'm just gonna probably run out of space as that come down this way .
So starting up here , one draw a curve going to the tip of one , we're gonna go in the opposite direction .
Now , curving in .
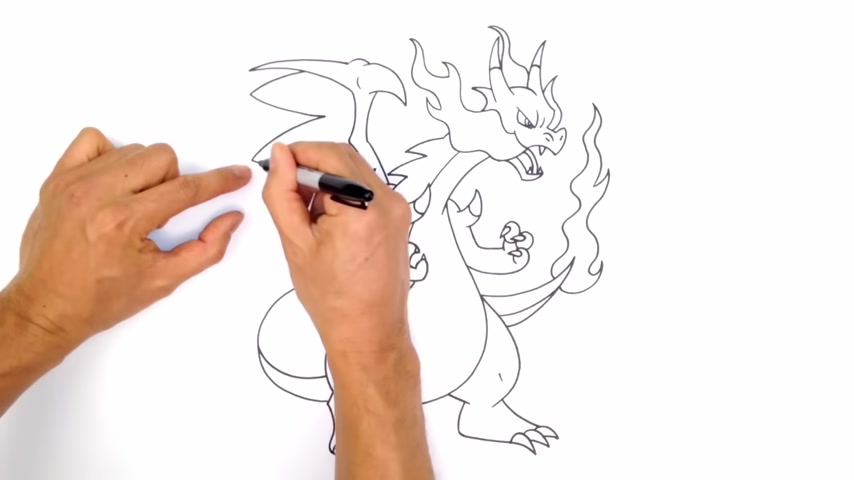
Now , you don't , it doesn't really matter if you go too far in or too wide or too far back .
We're just gonna do a series of these .
We're just gonna draw a curve like this and curve it back right up there and draw another one .
So I'm using my left hand finger to sort of measure out .
So I got one here , one here .
I wanna make sure that it's sort of evenly spaced out coming out this way , going back .
I'm gonna draw the next one over here me towards my finger .
Now I'll tuck that back in and then I'll probably draw one more back like that .
So we got one wing .
Let's draw the last one here .
This one you're only gonna see a little bit of it because it sort of turned like that .
So the easiest way to do this is I'm gonna draw it from back here .
I'm gonna draw a curve .
OK .
So it's coming in behind that flame .
I'm gonna go up the curve like that .
And then from here , I'm just gonna curve it down behind that head .
So here I'm just gonna draw a cur towards the joint .
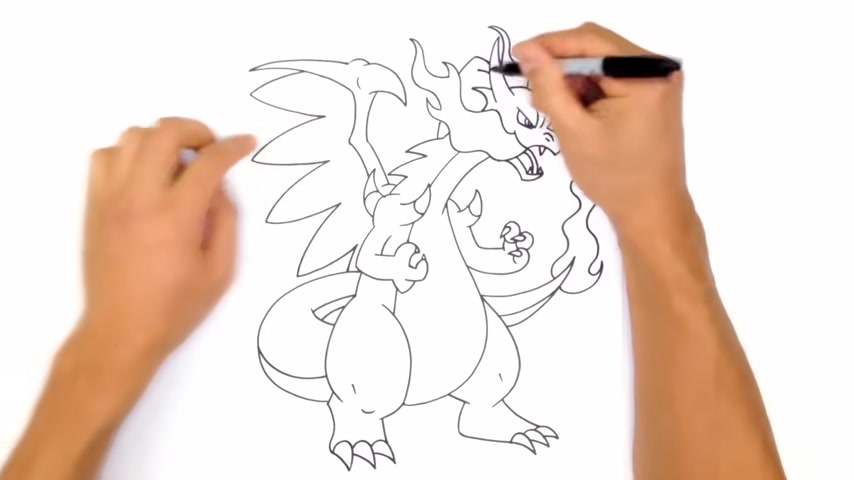
So it's almost like doing this thing in reverse .
I'm gonna take this and just tuck that in behind that flame .
We're gonna draw a couple of these feathers in behind here .
So I'm just gonna draw one here coming down and I bring this up and just tuck it in behind that claw and I might do one more tip down here and I'll probably just extend it all the way and it looks like that wing is sort of on an angle like this and I think that's it .
Oh , let's add a little bit of chest detail .
So here just two angle lines tucking in towards each other and I think that's it there .
We have it .
There's mega charar X .
I hope you enjoyed this session .
Please give us a like and check out our website at triple W dot cartooning for kids dot com .
I got a ton of content in there .
I have contest details and winners list .
Thanks for watching and we'll see you again soon .
Are you looking for a way to reach a wider audience and get more views on your videos?
Our innovative video to text transcribing service can help you do just that.
We provide accurate transcriptions of your videos along with visual content that will help you attract new viewers and keep them engaged. Plus, our data analytics and ad campaign tools can help you monetize your content and maximize your revenue.
Let's partner up and take your video content to the next level!
Contact us today to learn more.