https://www.youtube.com/watch?v=6ZLALKiM3KU
How to Draw Ash Greninja _ Pokemon
Hey there and welcome back to the club today .
I'll be showing you how to draw Ash Grin Ninja from Pokemon .
So let's get started with the eyes .
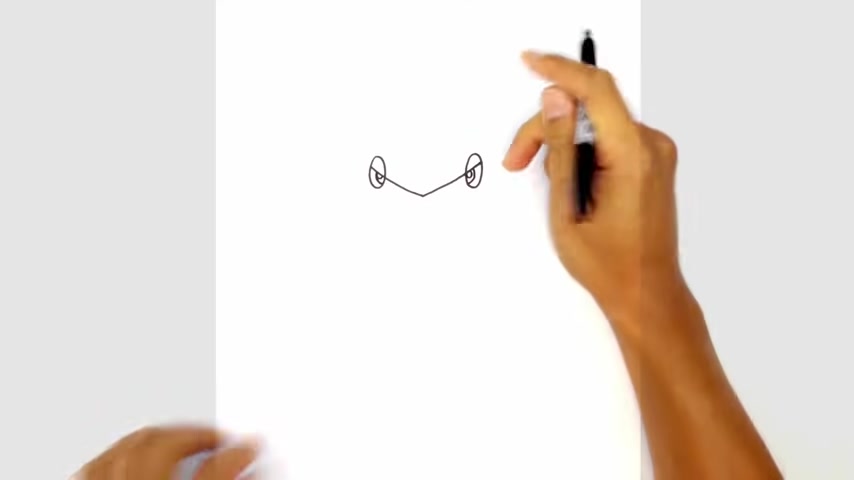
I'm gonna draw two equally sized ovals on the left and on the right for the ice .
So starting on the left side , I'm gonna draw an oval .
Let's leave quite a bit of space in the middle and we draw the same oval on the right side starting from the top , making sure they're lined up at top and bottom from here .
I'm gonna cut through these ovals for the eyelids down to the center .
So just below the eye line , I'm gonna start on the left side , I'm gonna intersect a curve going down towards the middle of the face and curve back up and intersect the oval on the right .
Let's go ahead and draw on some pupils .
So just in the center of this oval , I'm gonna start up here on the brow line and just curve towards the inside of the eye .
Let's do the same thing on the right side , we draw a little highlight .
So on the top corner here , I'm just gonna draw a small circle .
And on the top left of this A , I'll draw a small circle .
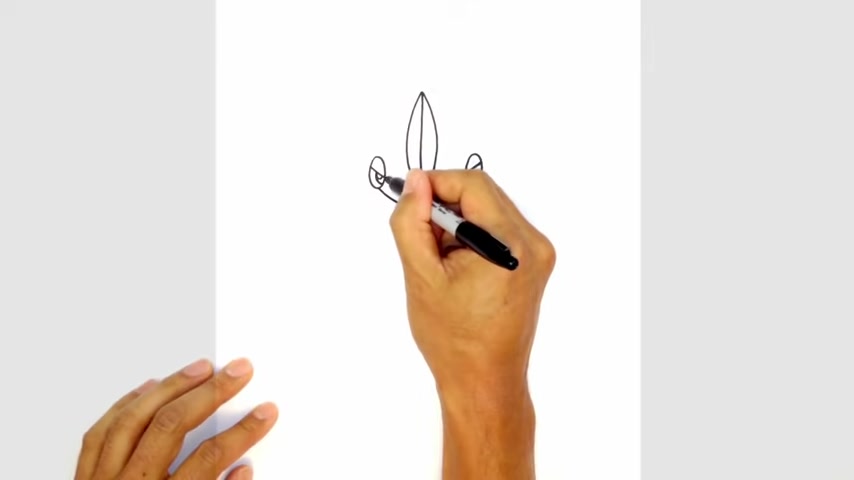
Now , we're gonna draw a straight vertical line down the middle to the top of that lift starting from the top .
So we're gonna go pretty high here .
We gonna start up here and just draw a straight line down the middle from here .
I'm gonna take this top and just curve out and just touch that bottom line and we'll do the same thing on the right side .
So curbing out and then coming down towards the bottom , let's go ahead and draw in the bottom chin .
So down here , we're gonna draw a sort of a rounded point for the chin .
So just on the side , not on the very bottom , but just on the side of the eye , we curve down and just round out the bottom , we're gonna go up on the right side .
So curving up and into the eye on the right , let's give them some nostrils .
So on the left here , just draw a little curve and on the right , we'll draw a little curve .
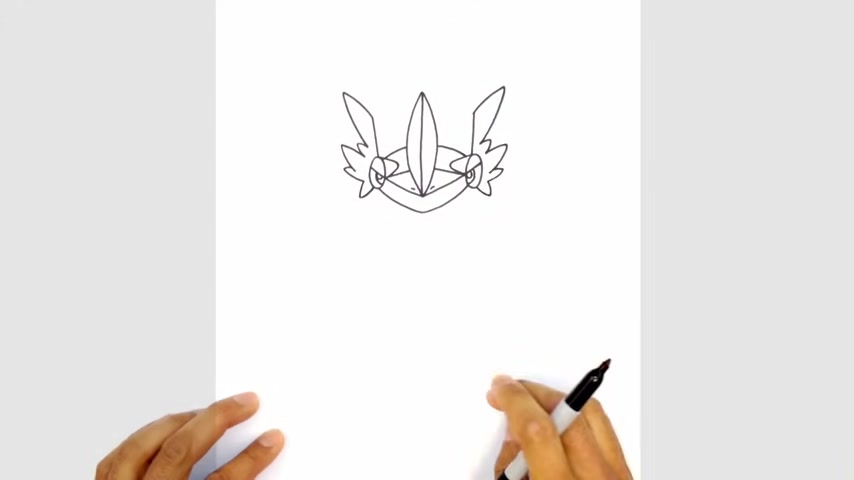
Now let's draw some angled lines with the detail inside the head .
So from this corner of the eye , we're just gonna angle up towards that curve and on the right , we'll do the same thing curing in like that .
Now , from the top of this eye , we're just gonna round out and come back to that point there .
So from the very top , we're gonna come in and then just do a kind of a hard turn back into the bottom edge of that corner .
There , do the same thing on the right side .
So coming out and then back in and then up here , just on this curve , we're gonna draw a curve going up towards that center point to do the same thing on the right side .
So curving up from this point , we want to draw in the sort of the flares on the side of the head .
So just on the top of this eye , I'm gonna draw an angled line going out to the left slightly .
So right about here , let's do the same thing on the right side , making sure they're roughly the same height .
Now , from here , I'm just gonna flare out the sides of the head .
So from here , I'm curve out and then I'm gonna pull this back in with a curve coming in just towards that eye .
Let's do the same thing on the right side so we can balance this out .
So curving out .
Now , we're gonna curve back in , rounding it out , curving back in .
We're gonna do a couple of little ones along the side here .
So here we go out and then we'll curve that back in , let's go to the right side and do the same thing so out and then back in the reason why I go back from left to right , just make sure that I bounce things out as I go from here , I'm gonna curve back out with a longer curve and then I'm gonna curve back in right about there .
Just do the same thing on the right .
So curving out and then pulling that back in .
Now , these are the little ones on the side here .
So I'm gonna do a little overlap .
So coming up on the left side , curving out and then pulling this back in towards the eye , leaving a little gap , do the same thing on the right side .
So overlapping and then pulling that back in .
Now , the final one , we're just gonna draw these ones angle downwards .
So we're gonna curve down and I'm gonna pull that with the curve back underneath the eye , do the same thing on the right side .
So coming down and tucking that in underneath the eye from here , I'm just gonna finish off the top of the head .
So right here on the corner of the eye , I'm gonna go up , just draw a curve , going up to the center doing the same thing on the right side .
Now we're gonna just draw the connectors .
So from here on this point , I'm gonna angle down and I curve this up into that center point .
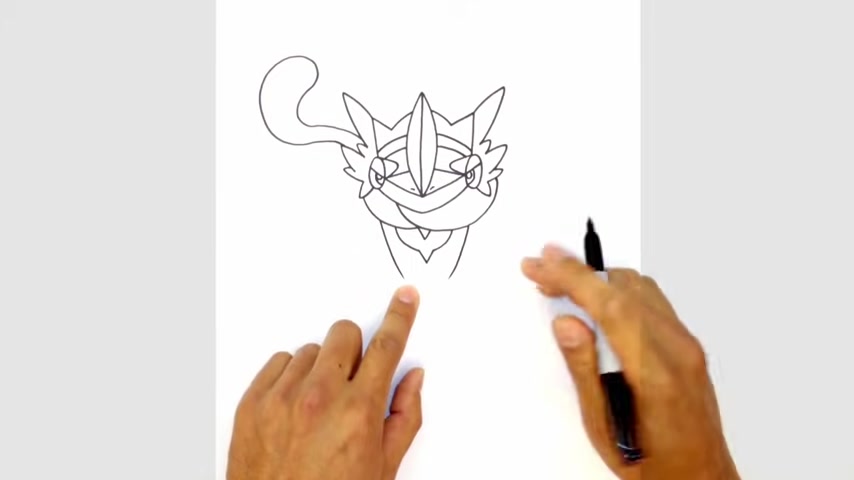
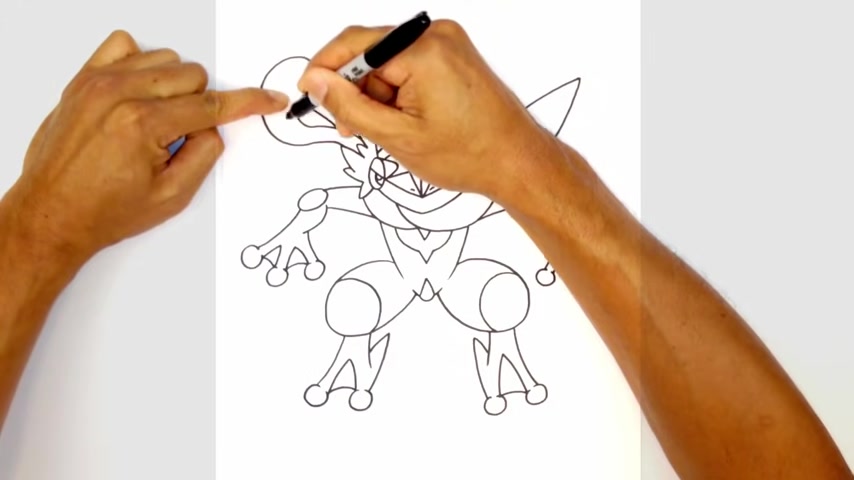
I'm gonna start on the inside this time on the right curve down and then angle up to that point , let's draw in the tongue wrapped around the head .
So just left of center , I'm gonna come to here , I'm just gonna curve around towards the right side .
So curving around and then back up underneath the flares on the right side and then over here on the left , I'm just gonna tuck one in underneath .
So it looks like it's sort of wrapped around the head from here .
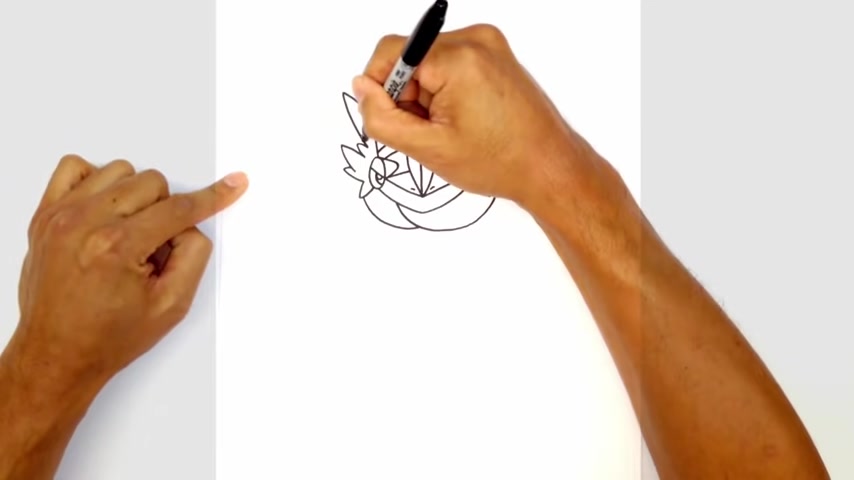
This tongue is actually gonna go behind the head and scroll up on the left side of the head here .
So what I'm gonna do is I'm gonna start on this side .
So imagine this curve around behind the head .
I'm gonna curve down and out to the left and I'm gonna switch directions .
I'm gonna curve out towards the right and up .
We're gonna make this tip really big .
So we're just gonna curve around and then bring this back and then start to get a little bit narrower as I get in towards the head .
So you can see it's tapering in .
OK .
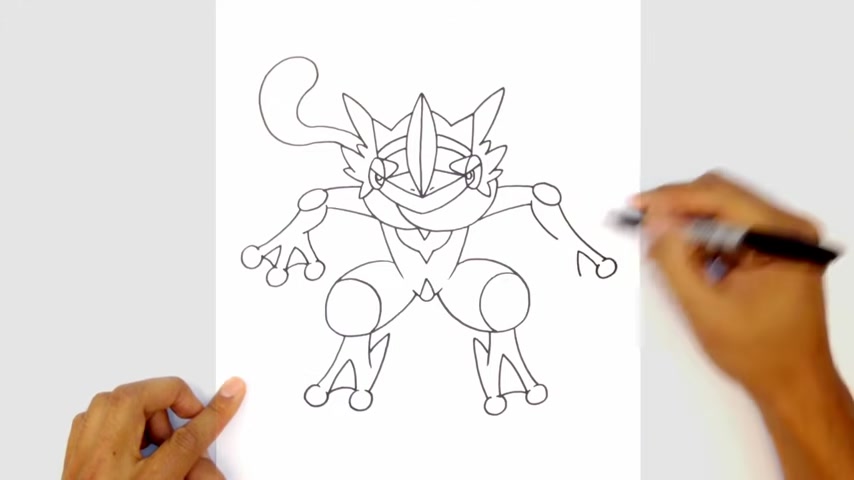
So we got the head , let's get into the body .
So just below the chin here or the tongue here , I'm gonna draw a V right in the middle , little V shape there .
And then on the side , I can move out and just curve almost like the half circle coming down along the bottom , on both sides , leaving a little gap at the bottom , the bottom here .
I'm just gonna connect those two points with a V like that .
Now , on the side , we're gonna draw the sides of the body , we're gonna move over on the left side .
I'm just gonna draw a curve coming down .
Let's do the same thing on the right side .
So , coming down like this , now this goes in towards the legs .
I'm gonna have the legs bent up , but we're gonna have to draw on the lower torso here .
So what I'm gonna do is I'm gonna draw a curve that goes along the bottom just to finish this off .
But in the middle , it's got this little piece that comes in .
So what I'm gonna do is I'm gonna start here and draw a little bump like this and then I'm gonna come up towards a point in the center .
It's like that from these points .
I'm just gonna curve up so it looks like it's aiming to that point , but I'm gonna leave a little gap here .
All right .
So we got the two sides .
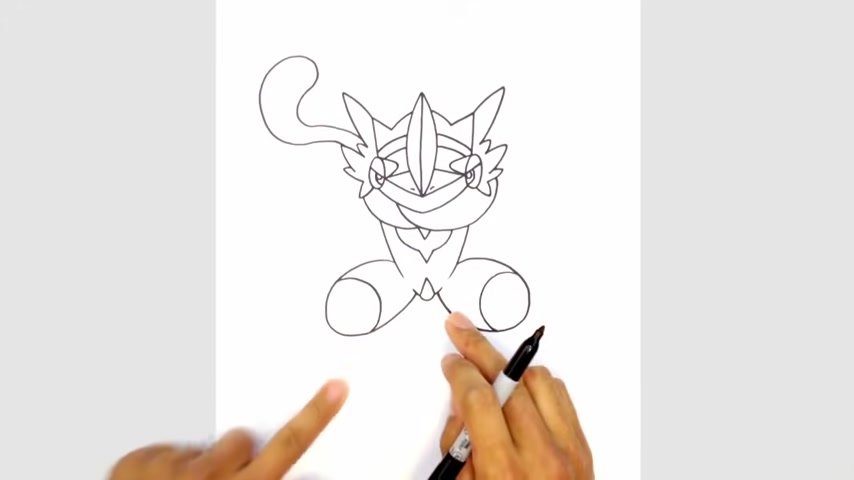
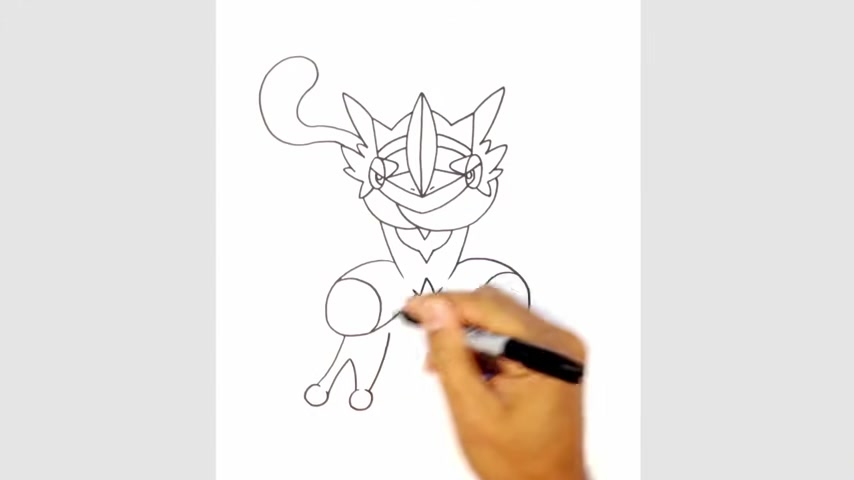
Let's get into the legs now to make the legs really simple .
I'm gonna start up here on the side of the body curve around and wrap this underneath this little curve here , starting on the left curve around and it gets big at the tip of the uh , uh knee cap and it comes back in .
So this is the knee here .
I'm gonna draw that little plate on the knee .
So up here , I'm gonna round it out and just pull that back in along the bottom .
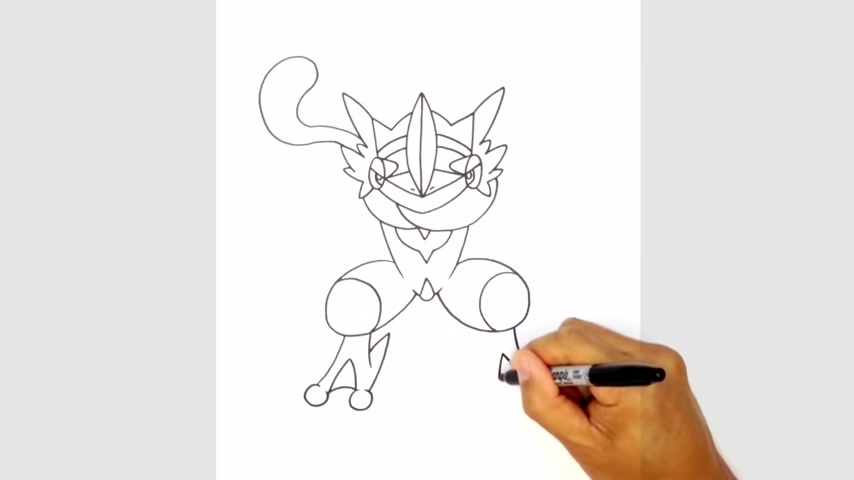
Let's take that and draw the exact same thing on the right side .
So we're gonna start on the top , curving around to the knee and then pulling it back into that point , starting here on the side of the body on the right curving around and then tucking this underneath the center torso .
There up here , we're gonna draw that same curve starting on the right curving around and then back to the bottom of the knee .
Now here , because the legs are bent , you're not gonna see the shins , you're gonna see the feet coming out this way .
So it's got these big two big toes with these balls on the end .
So right underneath this knee , I'm gonna draw a curve going out and towards the left .
So it's got a nice little curve like this at the tip .
Here , we're gonna draw a circle , but I'm not gonna close it off .
I'm just gonna do a slight overlap .
So here I'll do an overlap , draw a circle .
It's almost like ac shape .
It's got a little open end there from here .
It's gonna do another overlap and curve up from here .
I'm gonna curve back down in the opposite direction .
This now I'm gonna draw that same C shape , but I'm gonna turn it so that the opening is facing straight up .
So right here , we'll do an over that round out and then just keep that little end open from here .
I'm gonna draw a curve going up towards that little spike at the back of the heel .
So coming up , now we're gonna pull this back in the opposite direction and we're just gonna stop right there .
We're gonna draw the back side of this toe .
So up here , just gonna draw a curve overlapping that point .
We're just gonna close that off a little bit .
Now , in , in between the toes , he's got this little wedding .
So right here where the overlap is on the left to the right , we're gonna draw a curve going up and then back down .
Very simple foot .
Let's do the same thing on the right side .
So we're gonna start on the outside again underneath the knee right here and curve out .
So I'm gonna draw that C shape .
Now , this time the opening is gonna be aiming up that way .
So starting up here , I'm gonna curve around and close it off , but we're gonna leave a little opening there , do a little overlap and curve up towards the inside of the toes and then we curve in the opposite direction coming down .
Let's draw that open ended C again with the open opening at the top around like that .
Now , from here , we're gonna flare out towards that heel that spike in the heel coming up trying to make sure that we're lining up the tops from here .
We're gonna come down in an angle .
Now , I'm gonna draw that curve just to finish off the back of that toe like that All right from here .
01 thing , let's draw on the webbing between the toes .
So from here we'll curve in like that .
Let's draw on the arms , I'm gonna have the arms coming out to the elbows and then down to the three fingers that are kind of like this .
So , starting up here beside the eye height .
So just along the bottom of the eye , we're gonna move across here , I'm gonna draw a curve curve going out .
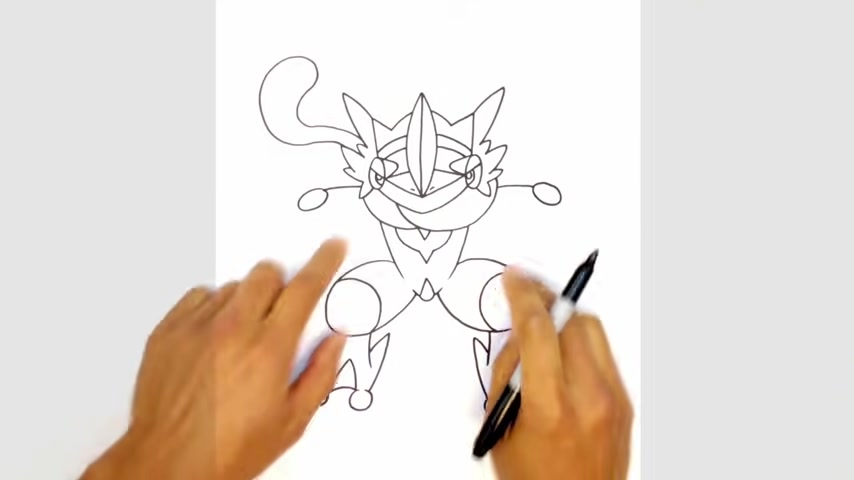
It's got a little bit of a bend curing like this , that's coming this way on the ends here , I'm just gonna draw an oval that's angled this way , starting from that end of that line , draw a little oval like that .
Let's go to the right side and do the same thing .
So start it from that point , we'll draw an angled oval like that .
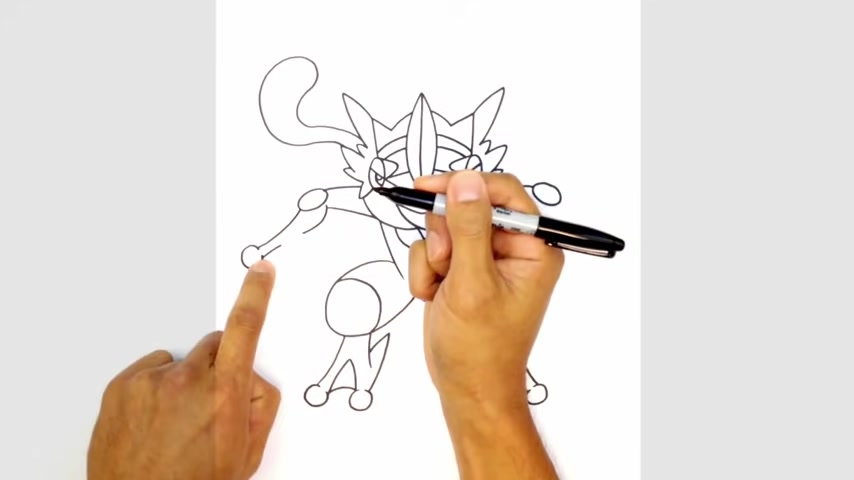
We draw the inside part of the arm .
So down here , we're gonna come out and come in towards that point , that elbow , but it's gonna get a little bit narrower as we come in .
So from here , it's gonna curve down tuck that in underneath the tongue on the right side , we curve up towards that elbow , leaving a little gap on the end .
Let's go to the left side and draw on this arm .
So from here , from this elbow point , this little oval , we start here on the end and curve out .
Let's draw on the inner part of the arm So we're gonna draw an overlap , drawing a curve coming in towards the wrist .
Now , we're gonna go back to this side and we're gonna draw on the fingers just like how we did the toes .
We're gonna do an overlapping open-ended circle circle with an open end there .
We would draw a curve with an overlap .
OK .
So you see , I'm overlapping here , curving in toward the middle of those fingers , then curving in the opposite direction .
For the second finger , we draw that open ended circle again right here and then we do an overlap coming up and we're gonna come down in the opposite direction .
Let's draw that open ended circle one last time , right ?
Like that .
Now , we're gonna connect here to that wrist .
So we're gonna do a little overlap here .
So from here , make sure it overlaps a little bit coming in towards that finger in between the fingers .
We're gonna draw a curve for the webbing just to cross like that .
Let's do the exact same thing on this side .
So let's start with the inner part of the arm .
So right here , we're gonna do an overlap coming in towards the wrist , on the outside .
On the end of this oval , we're gonna curve out towards the finger .
Now we're gonna draw those open ended circles .
So here I'm gonna start with an overlap coming around .
Now , up here , we're gonna do an overlap coming in towards the middle of the fingers and curving in the opposite direction down , do that open ended circle again .
Now we're gonna do an overlap coming up again out in the opposite direction and we'll do one last fingertip with this .
Now , we're gonna do an overlap and come in underneath that forearm coming in like that .
All right , let's draw in the four pointed wings coming out on the top and on the bottom .
So on the right side , you're gonna see it pretty clearly because there's nothing overlapping here .
So starting on the side of the head here , we're gonna draw a curve curve going to the point .
Now , we're gonna curve down in the opposite direction and just tuck this in underneath the arm .
We would do the same thing on the left side , but you could see that the tongue is covering most of it .
So I wanna make sure that we line up the top .
So it's gonna come out to about here , the tip , but we want to draw that curve .
So you're only gonna see a little bit of it on the top and on the bottom , it's gonna tuck into the top of that arm .
So I just sort of wanna imagine a line coming from the tip of my finger down towards the arm .
We would draw some little stripes on the inside .
So on the right side here , we're gonna start on the inside curved , we'll draw a thicker sort of band and then up here we're gonna draw it sort of narrow .
So this , the line spacing is a little bit tighter .
So you can see that this one is smaller , this one's bigger .
We do the same thing on the left side , curving this way that way .
And now there's one up here curving along like that .
Now , he's got two more wings coming down this way .
So we're basically taking this , flipping it over and drawing them down this way .
So what we're gonna do is we're gonna start in the armpit area and curve down to the tip of the wing , which would be right here .
So curving up into the armpit .
Now this is gonna tuck in underneath the knee .
So we're gonna go in the opposite direction up .
We do the same thing on this side .
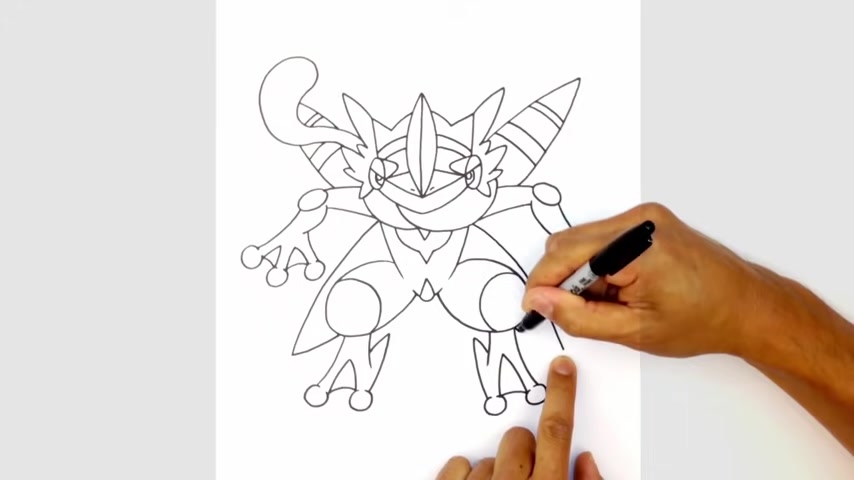
Starting down here in between the knee and the finger coming down and then curving in underneath the knee .
We're gonna draw some stripes just like we did here .
So starting up here , we're gonna draw one curve into the knee and then a small one there .
And then up here , we're gonna draw the spacing a little bit wider , do the same thing up here , two curves and then right here , he's got two little ones here .
And the last final thing is I'm gonna add a little lightning bolt on the side beside the eye .
So right beside this eye , I'm gonna go up in an angle , come straight down , we go up in an angle again .
Now we're gonna come back and just trace this out , but we're gonna get a little bit wider as I come down just like that .
Let's do the same thing on this side .
So we're going up in an angle straight down , up in an angle and then coming back and opening up that space in between and that is pretty much it there we have it .
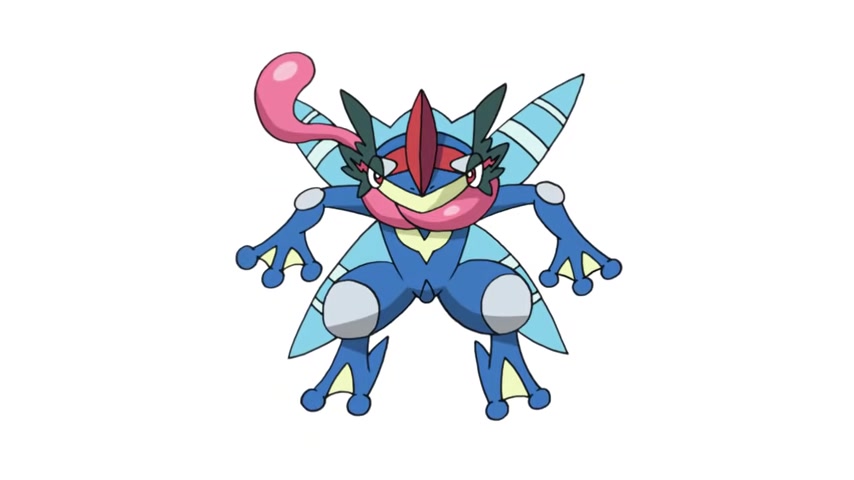
There's ash green ninja from Pokemon .
I hope you enjoyed the session .
Make sure you check out our Pokemon playlist .
I add a new one every Tuesday .
Thanks for watching and we'll see you again soon .
Are you looking for a way to reach a wider audience and get more views on your videos?
Our innovative video to text transcribing service can help you do just that.
We provide accurate transcriptions of your videos along with visual content that will help you attract new viewers and keep them engaged. Plus, our data analytics and ad campaign tools can help you monetize your content and maximize your revenue.
Let's partner up and take your video content to the next level!
Contact us today to learn more.