https://www.youtube.com/watch?v=-LWbfy3AWzw
How To Solve Rubik's Cube - 7 Easy Steps (RECAP)

In this video , we will learn an easy method to solve the Rubik's cube .
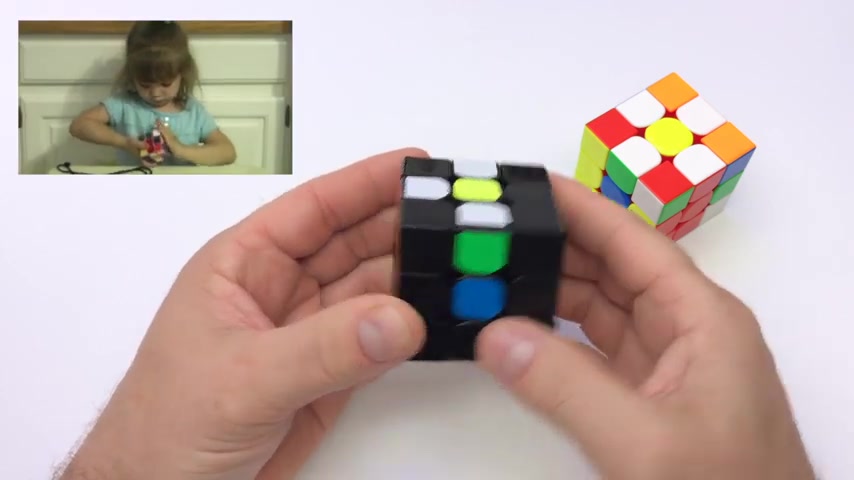
This is the same method that Emily used when she was just three years old to solve the cube .
We believe this is the easiest method to learn to solve the Rubik's cube because it focuses primarily on understanding how the cube works and what is necessary to solve it .
I get a job , we must first form a white cross on the bottom by placing the four white edge pieces in the bottom layer with the adjacent colors matching their centers .
The beginner method to do this is to place all the white edge pieces on the top with the yellow center sticker .
This may take one move or two , make sure not to knock out one of the edges that you've already put in .
When you insert a new one , just turn the top up layer if need be .
Now we turn the up layer to orient the edges one at a time .
So the adjacent color matches its center , then we spin it down with an R two slapped aside and we have a solid white cross .
All the edges are correct with their respective center colors .
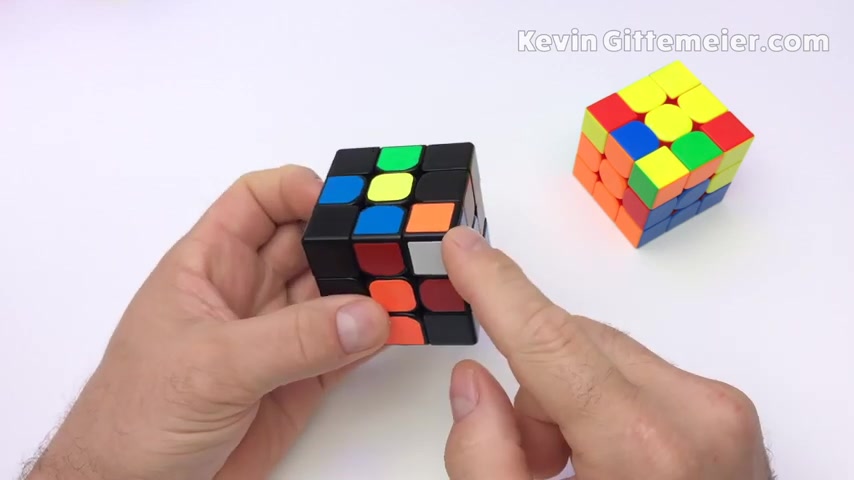
Once we have the white cross on the bottom , we only need four corners to finish the first layer , the bottom layer to do this .
We find a corner on top with a white sticker facing to the side , not facing up , then we place it above its intended location .
This is orange blue .
So it goes above the corner between orange and blue .
A quick shortcut to do this is notice the side color and then just match it up with its center color .
It's wrong , wrong , correct .
Do the same with this .
Just look at this blue and a quick shortcut is just when it touches that blue , you're good .
That's the intended location and let's do it with this one green and then that's where that one goes .
Ok , let's go back to our orange blue .
We want to insert this corner piece without knocking out our edge piece .
An easy way to do that is if the white stickers on the right side .
In this example , you slap the white and perform right up right prime .
If it's on the left side , slap the white , left , prime up , prime , left .
The slap in the white side was just a memory trick Emily used to use when she was three .
If we do the wrong way , it's pretty obvious and easy to fix .
So now we have all the corner pieces in the correct location .
So basically your corner pieces have to match these centers .
If the white corner sticker is facing up , you can't insert it that same way .
What you wanna do is just bring that white sticker down any number of ways you can do it right up , up right prime and then just insert it like you normally would or from the other side , if a white corner is on the bottom , but in the incorrect location , just kick it out any way you like , move it to the right spot and insert like you normally would if it's in the correct spot , just orient it incorrectly , kick it out again , kick it out any way you like but try not to kick it out with the white sticker facing up .
That'll save you a few steps .
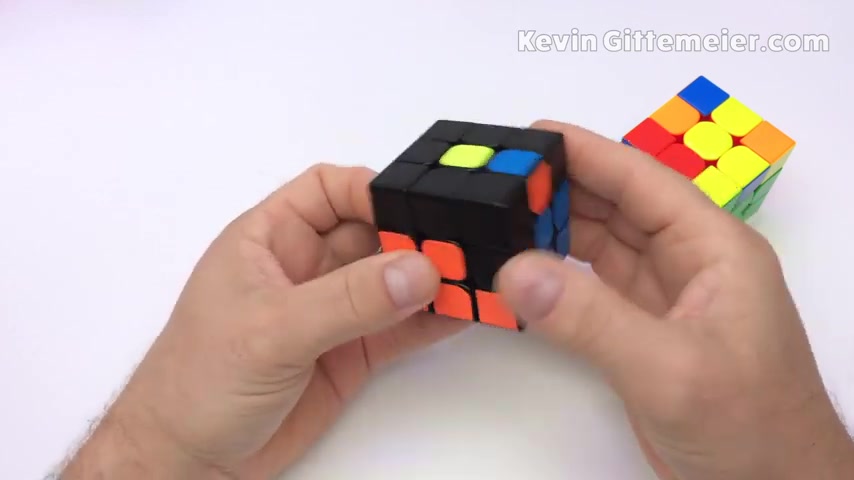
In order to solve the second layer , we need to locate and place the four edge pieces relative to their correspondence centers .
First , we look on the top layer for an edge piece with no yellows , yellow is a top layer color .
So no middle layer edge can have a yellow .
Once you find an edge with no yellow , notice the color on the side , not the top and spin the top until it matches its center color .
Notice its intended location .
We want to get it here without disturbing the first layer .
What we're gonna do is take the corner out , pair it up with this edge and reinsert them both together like this one simple way to do that is notice the color on top and then find its center , turn the top layer , the up layer one turn away from its center .
So again , the blue blue one turn away .
Now take the corner piece beneath where that edge piece goes and move it up towards the edge piece .
Chase it right up right prime .
Now , move that corner back over .
It's an empty spot where it goes .
So here we have the edge , here .
We have the corner now just insert this corner piece as you normally would slap the white side and you can see it paired up with that edge .
We call this sequence special rabbit because you kick out the corner , chase the edge , but the edge ran away because it's a special rabbit .
So we go back to the starting point .
How do you catch a special rabbit ?
You knee up on it , pairing the edge and corner before reinserting both if an edge is already in the second layer , but in the wrong location , just kick it out and then reinsert the corner .
Now that edge is out , line it up orange away from orange .
So let's look at this on this cube green away from green , kick the corner towards it , put the corner back in the starting spot , connect him reinsert if you have one in backwards , same thing , just kick it out any way you like solve the corner and then just solve it as you normally would .
Again , it's not important to memorize the turns but rather understand the principle of connecting corners and edges before reinserting , try to understand what we are doing in this step , we are catching special rabbits .
Now , for the last layer , we will learn some shortcut sequences called algorithms .
The more you know , the faster you will be able to solve the cube .
But to start with , we are only going to use a few .
We go over more .
In part two , the algorithms that we're gonna use won't disturb the first two layers that we've already formed .
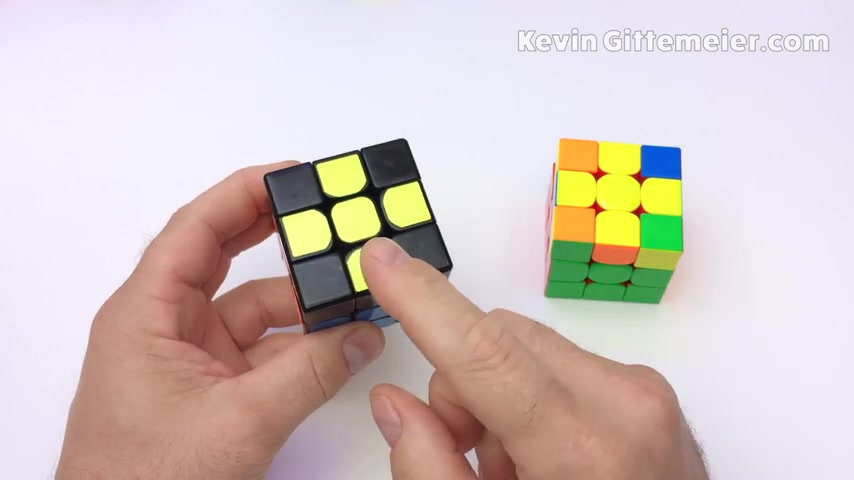
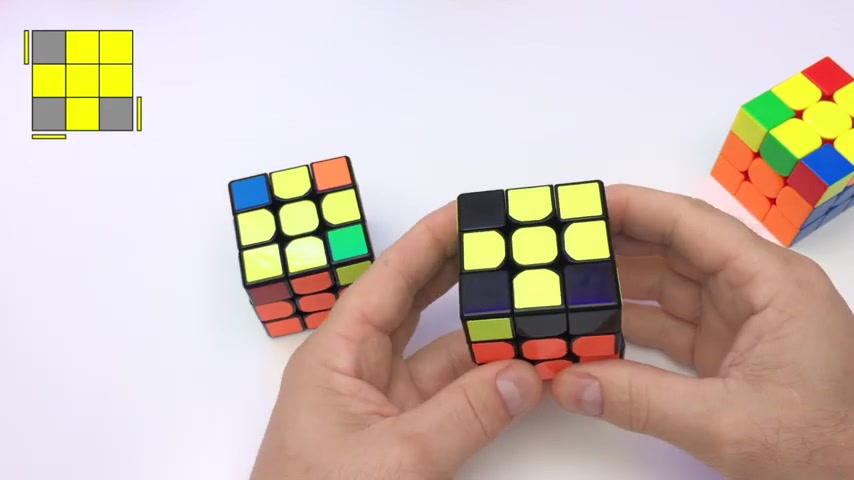
The first step to solving the last layer is to place the four yellow edges on top forming a yellow cross to do this .
We perform one easy algorithm 1 to 3 times depending on the situation .
If we have two yellow edges on the top forming a line , we hold the line horizontal and perform the algorithm once front right up right prime up prime , front prime .
Now we have a yellow cross disregard any corner pieces .
We're only looking at the edge pieces .
So this is a line just as this is there .
We have the cross again , disregard corner pieces .
We're just looking at these right now .
If we have two yellows perpendicular to each other , we hold them in the 12 o'clock , nine o'clock position and perform the algorithm twice once creates the line and then again , creates the yellow cross .
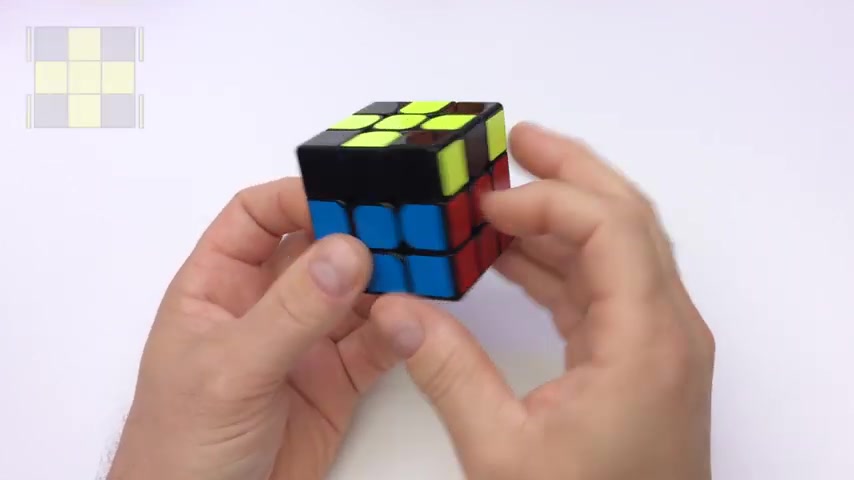
Now we must orient all the corner pieces .
So the yellow sticker is on top facing up .
This is called orient last layer or OL L .
Once you have the Yellow Cross , there can only be seven possible arrangements each with its own algorithm to get all the yellows on top , we are only going to learn two though one forward and backward and one other easy one , a variation of the Yellow Cross algorithm .
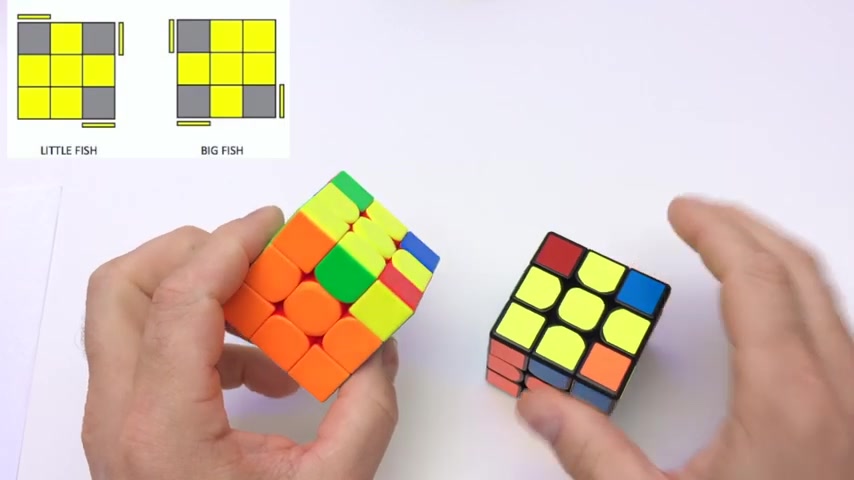
First , we start with the fish patterns which get their name because someone thought this looked like a fish .
Notice that although these two patterns look the same from the top , they are different .
Because of the way the yellow stickers are oriented on the sides to solve little fish .
We hold the cube so that this corner is on the left side and then on the right , we have a yellow sticker facing us to solve .
We perform the little fish algorithm right up , right , prime up , right up , up , right prime , which gets all the yellow corners on the top .
If there's no sticker right here facing you , then you have big fish and you have to hold it like this .
And we perform the inverse of little fish algorithm which is right up , prime up , prime , right , prime up , prime , right up , prime , right prime .
Once you know an algorithm well , it becomes intuitive to perform it forward and backwards .
And one quick practice trick is if you have this solved and you perform little fish right up , right , prime up , right .
Uh uh right , prime , it actually makes big fish .
So you just do the inverse .
If you do big fish , it makes little fish .
So that's a quick way to , to practice .
Now , we look at two crosses with no yellow corners on top .
The first of which we call double fish has two yellows on the left and two yellows on the right .
The second which we call no fish has two yellows on the left .
But then a yellow facing us and then a yellow to the back to solve double fish place the yellow corners on the left and the right sides and perform little fish twice .
Hence the name double fish .
So to solve no fish place the two yellow corners that are on the same side to the left and perform a slight variation of the yellow cross algorithm instead of front right up , right , prime up , prime front prime , we perform lowercase F which is double front , right up , right , prime up , prime , lowercase F prime .
Then we do our standard front , right up , right , prime up , prime , front , prime .
That's pretty easy to memorize because it's basically the same exact al algorithm , you just have to learn when to apply it .
So if we get one of the three patterns that we don't know , just perform little fish until you get one that you do know .
So this one just became double fish .
This one just became big fish .
And sometimes when you perform little fish .
You still don't have one , you know , just do it again .
And this one became uh no fish .
This allows us to solve four of the seven possible oll arrangements for the yellow Cross with only two algorithms , one of which we already learned and used , we now have our first two layers complete and all the yellows on top , we just need to position the top correctly relative to the centers .
First , we'll fix the corners and then the edges which will solve the entire cue .
A quick and simple shortcut to correct the corners is to find a side that has two corners .
The same color place these to the back and perform an axis rotation X .
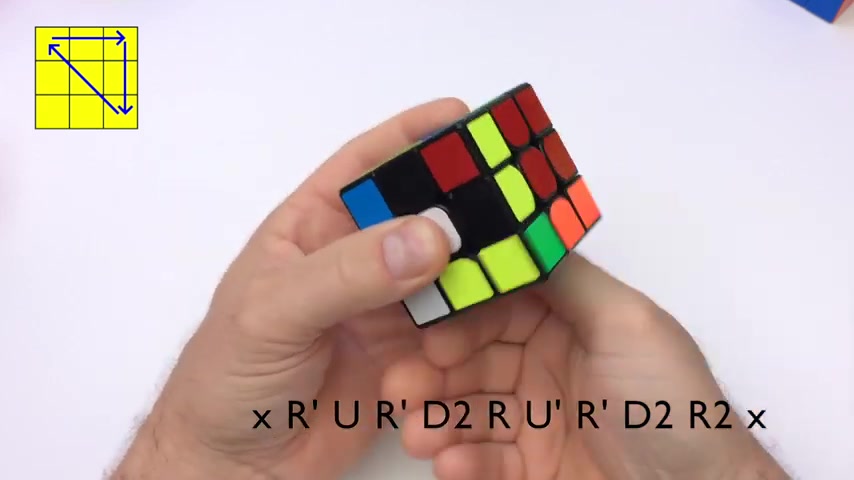
Then the algorithm right prime up right prime down down , right up prime , right prime down down , right , right .
At this point , all your corners will be fixed .
If no side has two corners , the same just perform the algorithm once , then it will have two corners of the same , find them , place them to the back and do it again .
Now we turn the top so that the corners match .
And then at that point , we just have to fix the edges .
We are looking for three edges out of place , not four .
As in this case , we'll go over this in a little bit .
When we have three out of place , we put the solve side to the back .
And then we look to see if this edge on the left is supposed to go to the right .
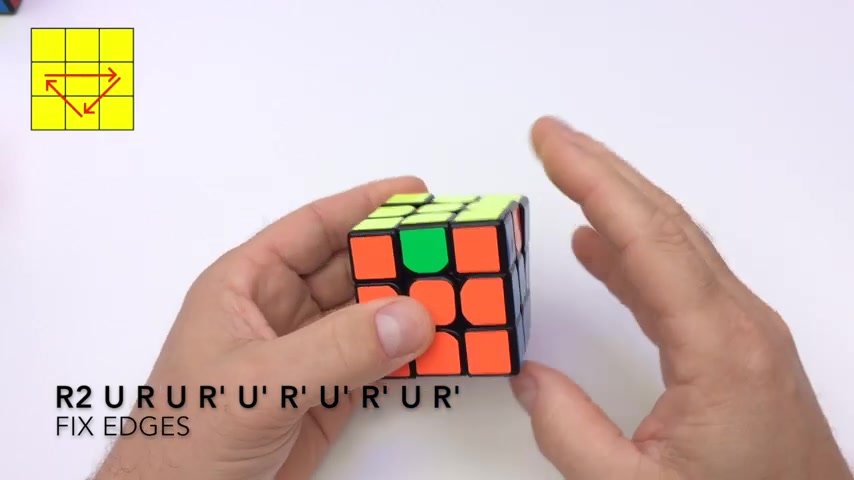
If it does , as Emily would say this one goes here , I do it once we performed the algorithm just once .
Now , if the south side is on the back and this edge piece does not go to the right , we have to do it twice .
So and then now this piece does go there .
OK .
Here's another example of all four edges wrong but wrong differently .
Last time , these two needed to trade this time , they need to trade diagonally .
So let's perform the algorithm once and at this point , we have a solid side .
Then we , we put it to the back .
We'd see .
Does this go here ?
No .
So in this case , we'll have to do it two more times for a total of three , the entire cube is now solved .
Or as Emily would say , man , I'm my God .
While this may seem difficult .
At first with a little practice , it becomes quite easy .
We learned the principle by which we plan to solve the cube and we only had to memorize a few easy algorithms .
The rest is just practice and patience .
Are you looking for a way to reach a wider audience and get more views on your videos?
Our innovative video to text transcribing service can help you do just that.
We provide accurate transcriptions of your videos along with visual content that will help you attract new viewers and keep them engaged. Plus, our data analytics and ad campaign tools can help you monetize your content and maximize your revenue.
Let's partner up and take your video content to the next level!
Contact us today to learn more.