https://www.youtube.com/watch?v=biPIok68DCk
How to Draw Captain America _ Avengers Endgame
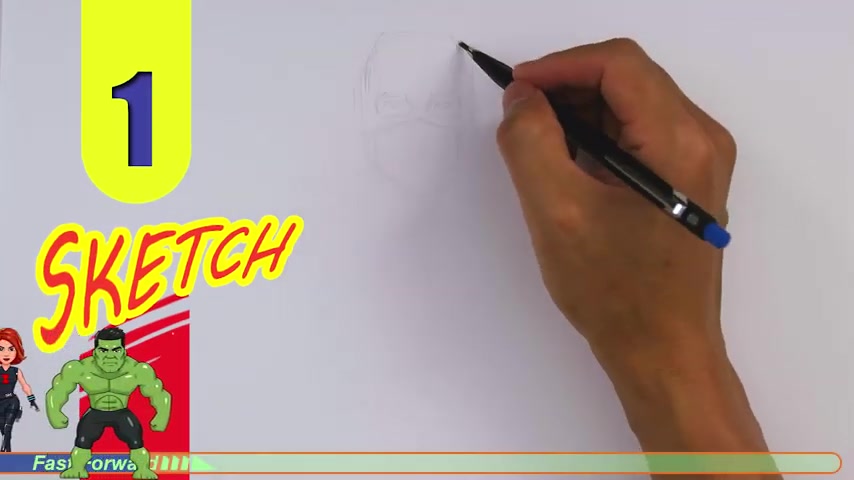
Hey , welcome back to and let's draw Captain America from endgame .
So let's get started with a quick sketch and then I will show you line by line on how you can draw this .
All right .
So let's draw this and to begin , we're gonna start out with the eye socket area first .
So in the middle here , I'm just gonna draw a little bracket like this .
Ok ?
And then once you have this bracket on the top , you just come across .
So that's gonna be like the eyebrow area .
And then on the back here , just draw the opposite bracket , just come back in .
I know it's a little bit tricky .
And then once you have these , just kind of connect them and close everything off .
The beginning is always the hardest .
But once we have some shape in it should get a lot , a little bit easier .
All right .
And then from there , we're gonna draw in the inside on the , what is I ?
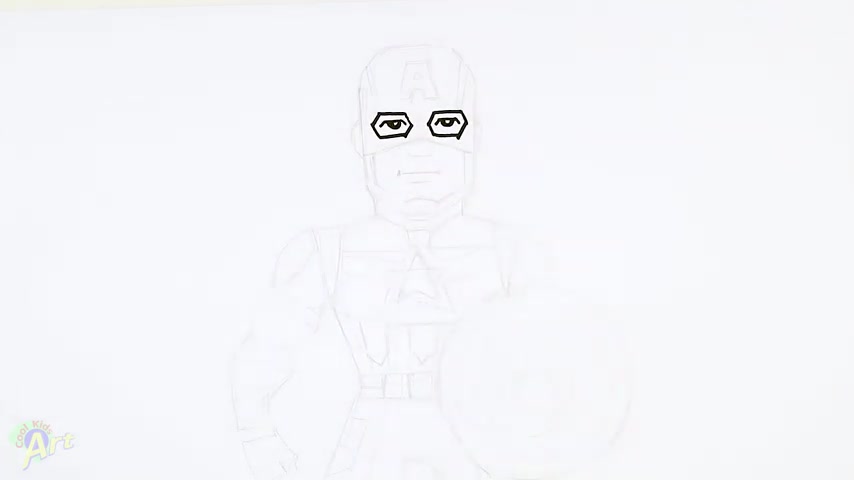
So right in there , I'm just gonna draw one line across and then on the corner just kind of dip it down .
So this is gonna be the top of his eyelids and then from there for the eyeball right on the top here , draw a little half circle coming down and then I'm gonna shade around it .
I'm gonna leave a little bit of a highlight , you know , it gets a little bit small .
OK ?
So those are his eyes and then from there , we're gonna draw his snow .
So we're gonna come down right on the corner of his eye just come down .
You can make two little marks and then we'll close it off at a slight angle on the bottom and that's gonna be his nose and then for his mouth just come down little line like this .
And then for the lower lip , just a shorter line .

And then on the corner here , let's just add a little bit of a crease here .
All right .
And then now we can draw in the uh the mass area .
So we're gonna draw the inside of the , the mass area first .
So just come right here and right above his nose and then we gonna slam down all the way here .
So come out all the way to right to the side , the edge right there .
And then we'll come down straight past this lip and then this is gonna be the top of his chin strap .
So we're gonna come down and then on this space here , just give it a little bit bump going up .
Ok .
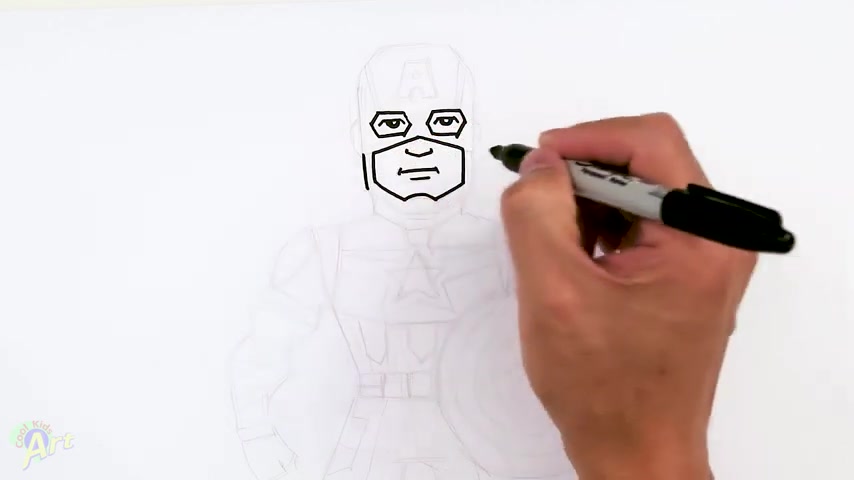
And then let's finish up the , the straps down here on the side So I'm just gonna come down , it's pretty much the same line and then now to finish up the jawline just come down again , just follow the , the line on top and then the bottom here just close it off .
I know it was a little bit strange to work from the bottom .
I think this one is a little bit easier .
All right .
So now we'll go up and finish up the top of his head .
So from this line here , we just keep going up and then for the top of its head , we just gonna round this off , round off the corners a little bit and then come in just round everything off with a nice curb .
Ok ?
And then that's pretty much the shape and let's add in his ear .
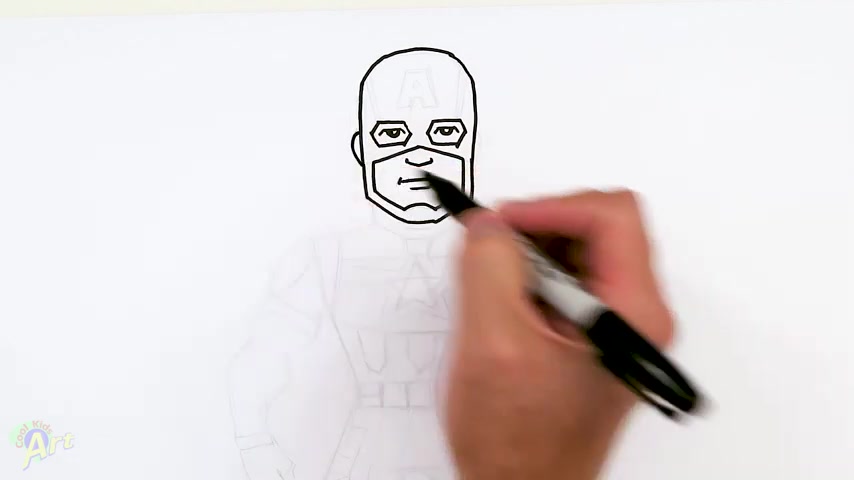
So right on the eye just come out the corner of the eye just come out to the side and a low curb .
All right .
And then for some details on this mass right on the corner here , I'm just gonna draw , I'm gonna try to draw two lines .
It's a little bit harder with this uh thick sharpie here .
So around the corner just go out and then one more .
All right .
And then finally for the uh letter A .
So right in the middle here , come across and then just come down with a slant .
So that's gonna be the outside .
We're gonna come in , leave a little bit of a cap and then just go up , same slant as this a little bit shorter , just stop and then close it off .
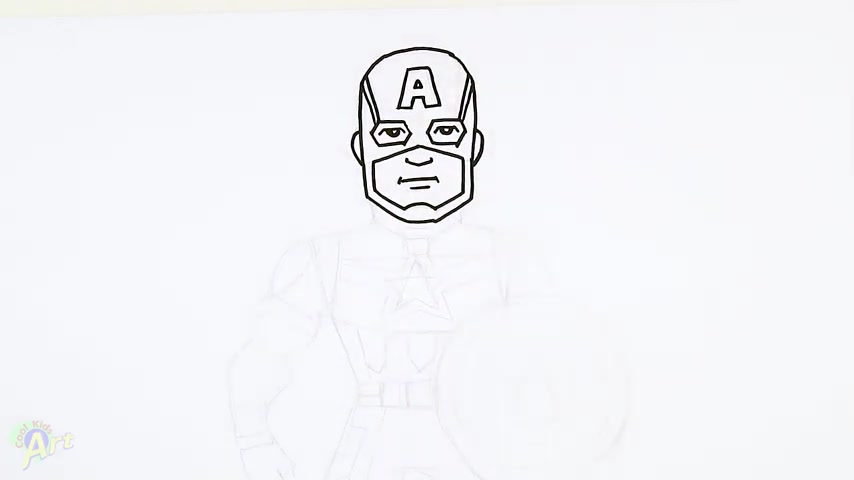
And then for the inside , this part's easier , we just draw a line and this little angle inside .
All right .
So that's the head and let's move on to the body .
So for its neck just come in and just kind of come down so nice and wide neck and then let's come in .
It's almost the same line as this , which is coming in and coming up , coming across to close it .
All right .
And then right in the center here just come down and we'll close that off first .
All right .
So now we're gonna draw the body in the shield and this part gets a little bit tricky .
So right here , we just go out nice and wide for a shoulder .
And then when I come in , here's this armpit just come down .
I just need to pump it again and then from here just draw a line going up .
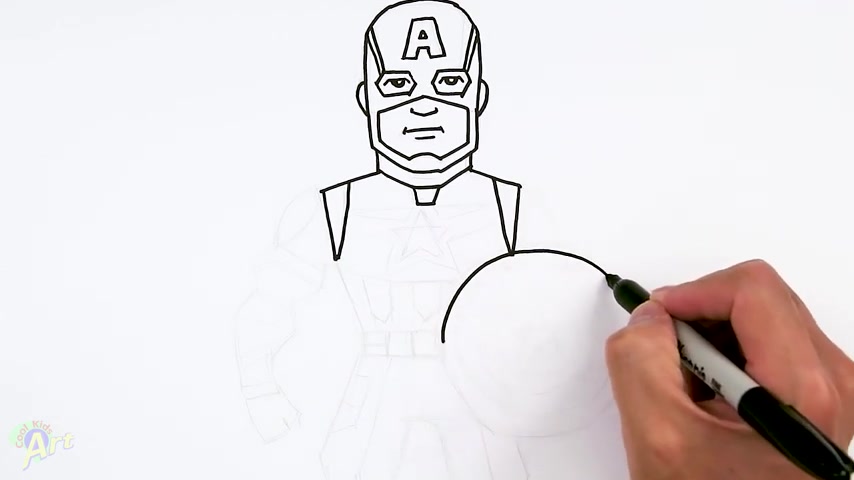
So this is gonna be the strap on his shoulders , ok ?
And then from here , I'm gonna draw his shield .
So this is gonna be one big shield facing us and this is the tricky part .
So right here around the armpit area , I'm just gonna draw a really big circle .
I know mine is gonna be even though I have some sketch lines , it's still hard to draw a nice circle .
But you get the idea .
Uh you can use any kind of drawing a to help you if you , if you want to or you can just kind of freehand it like this .
OK ?
So this is gonna be a shield .
So now let's join the rest of the body .
So right here you got taper in .
So right around here , we'll come across , this is gonna be his belt to finish off the belt come down .
So we just kind of come into the shield because we can't see it , obviously .
Ok .
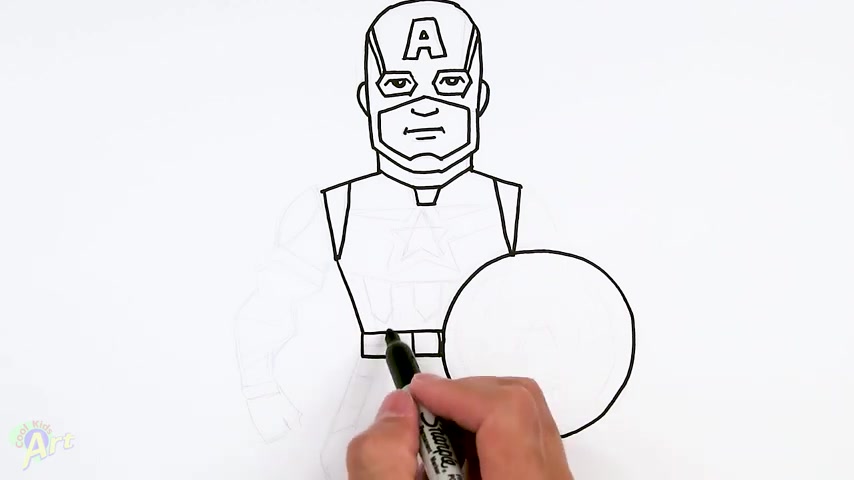
And then here's this belt buckle right in the center and just , let's just go ahead and finish this area up .
So one line across it's got some pouches here .
So we just draw one line in the middle .
All right .
So , yes , the spacing is a little bit tricky here .
So now let's finish up the arm right here , but let's start on this side since we can't see most of this arm .
Ok .
So here's the armpit , shoulder coming down bicep bracket , come up here bracket and we can actually close this off first .
And now for the lower arm flare out .
So we're right around here and then this one's gonna curve .
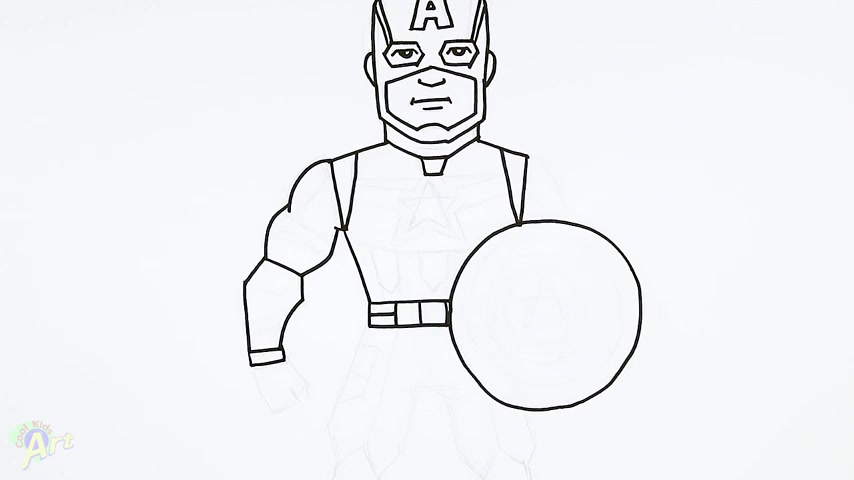
This one is straight down , close it off and let's add one little section here and then for his fist come down with a little hook back of the fist and then just close it off .
All right .
And then let's finish up this arm now .
So we should be able to , uh see his shoulder only .
So we just kind of curve down and just go right into the shield .
All right .
And then from here , uh , let's just , let's finish up the arm detail here .
Um , right on the shoulder here .
It's got a little shoulder pad just come down .
So same thing here just gonna go to the corner and it's got a strap here .

So I'm gonna come across and then on this strap on the bottom just come up , leave a little bit of space and then we'll slam it down .
OK ?
And then we gonna draw one line here , top of this glove and then it's got another strap inside , but with a slant .
So I'm just gonna draw a little two little slant lines .
OK ?
I know it's a little bit uh complicated .
It's got a lot of little details on this uh on this costume here .
All right .
So now let's draw in the middle part .
So right here it's got a star .
So right underneath the middle , right here , I guess the easier way to draw a star is you can just kind of draw the two little angles coming down first and then just go back up toward the middle and close it off first .
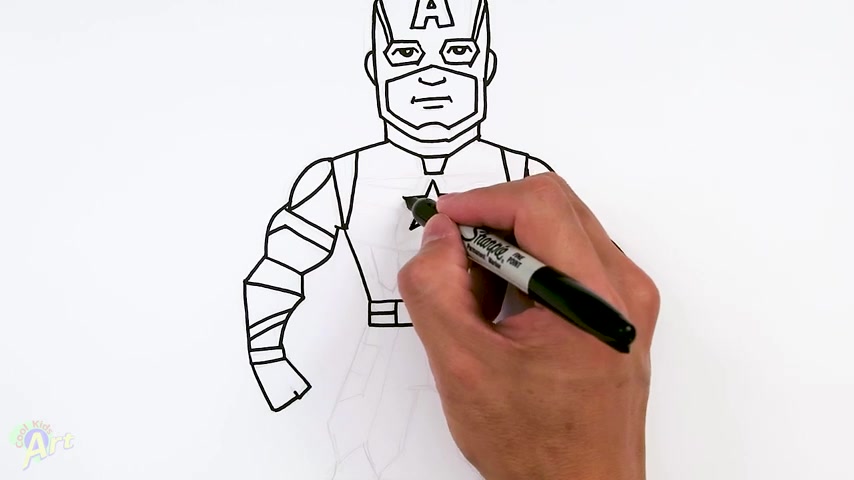
And then now we're gonna come in , come up here , come out and then just kind of come in to this center here .
OK .
So the only thing is you gotta have to erase out that line here to get the star .
All right .
And now let's add in some details to uh his suit here .
So right in the middle , right underneath the star , which is gonna draw one line across and it should probably hit the shield right here , depending on how , how big you made the shield .
And then from here just kind of slam it up toward the armpit and then for the stripes on the bottom here just come right above the uh belt area , which is draw a little angle like this and then just go up .
So we're simplifying the uh shape here as it gets a little bit too complicated .
OK .
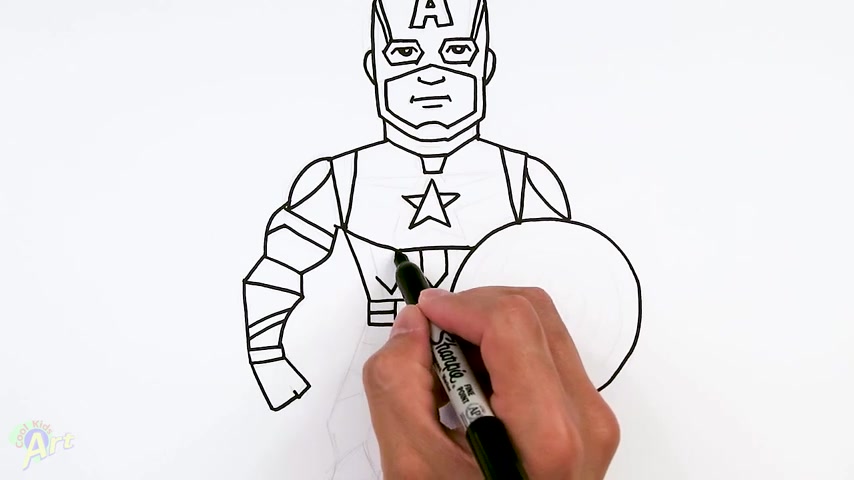
So let's V shape and then come over here , draw another V shape and then from this line just go up , slam it up .
So this is gonna be red and this is gonna be white .
All right .
So now for a little bit more detail right here , just come straight across and then right here just come down into the star and just go up .
So these are yeah , smaller details .
I mean , if you can skip them if you want , but it's kind of nice to have them .
OK .
And then one more .
So we're gonna come down here , this little corner right here , just come down , just kind of bracket the star right here .
OK .
So just come around whatever line you have up here .
OK .
And then from this corner just give it the same slant as this 555 .
All right .
So let's stop there .

I know it's very complicated with the uh auto build designs .
So let's move on to the bottom , uh finish up his legs and then we'll come back and do the shield .
OK .
So right here in the middle , come down like a little mark and then come back to the middle and add a little bit more folding here .
And again , I'm gonna draw this cipher since this leg is kind of partially hidden .
So let's come up here , slap down and come in , come back to the middle , come over a little bit down , just kind of taper it in .
And then for a sleep pad , just go up first inside here .
We got slant and then same thing here , same angle , just close it off for the bottom of the knee pad , ok ?
So for here , we'll start on this side .

So come down , slant , you still aside for reference and then you can kind of imagine the uh the width of his leg .
So we're gonna start right around here .
Yours might be a little bit different , but just kind of keep the uh the whiff of the leg in mind , ok ?
And then angle top the knee pads and then same thing on the side , just come down , just finish it V shape on the bottom .
All right .
And then for the lower leg .
So we'll flare out and we can actually close this first .
It's gonna be one of his straps , lower leg just keep going down .
This one is almost straight down , close it off .

And then for a shoe storm coming down and the side a little bit , come on a little bit more and then we'll close this off and then let's just go ahead and finish it a little line for the bottom of the sole .
All right , same thing here flare out and let's close that first .
Then we got curve , just use the other side for reference , come down , close it off .
And then same thing here .
Don't shape coming down , just come on a little bit more on this side , the same detail here , ok ?
And then since we're down here , let's just go ahead and finish up the strap .
So here's the top of the strap , that's one and then we'll add one more in the middle here , ok ?

So top of the strap , one , one more in the middle .
All right .
And then for the little details here , right in the middle here , we can just gonna draw one lines go up .
So from this point , just go up and it's got a little power chair .
So we just come down and on the bottom here , just go with a slant .
And then right in the middle , we draw a little line .
So this part I think is red .
All right .
Lots of little details .
All right , it looks pretty cool though .
I really like the design on this .
OK .
So now for the shield , uh this part is a little bit tricky because of all the little circles .
So here's the big circle , my draw , the smallest one inside here .
So just try to space it as best as you can just draw a small circle inside .
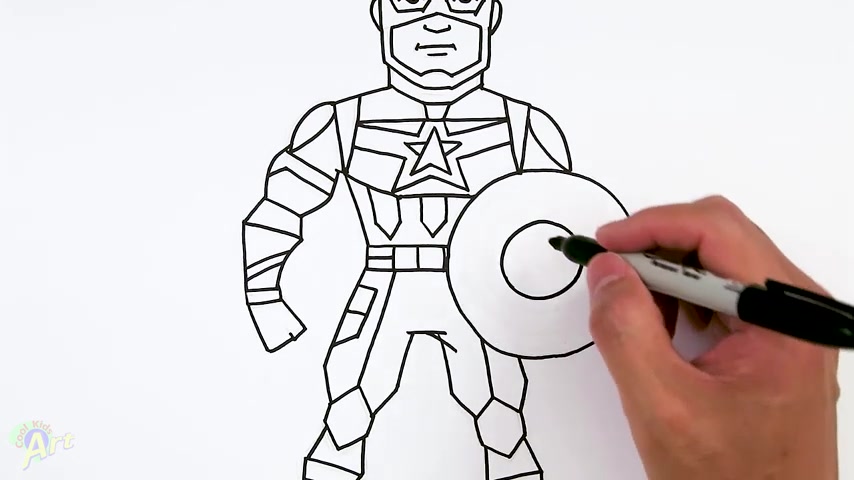
And then in here it's gonna be the star so we can draw it the same way .
Um Right here , just draw a little angle and then come back up here and then again , come up here , just go out and then come back in to this point here and then just erase that part out .
All right .
And then now it gets a little bit easier since we have these circles already .
So I'm gonna draw one more around the smaller circle .
So this part is gonna be uh red and then I'm gonna draw one more right inside of the big circle .
So that part is gonna be red as well and that will finish up the shield .
And that is it for this version of Captain America .
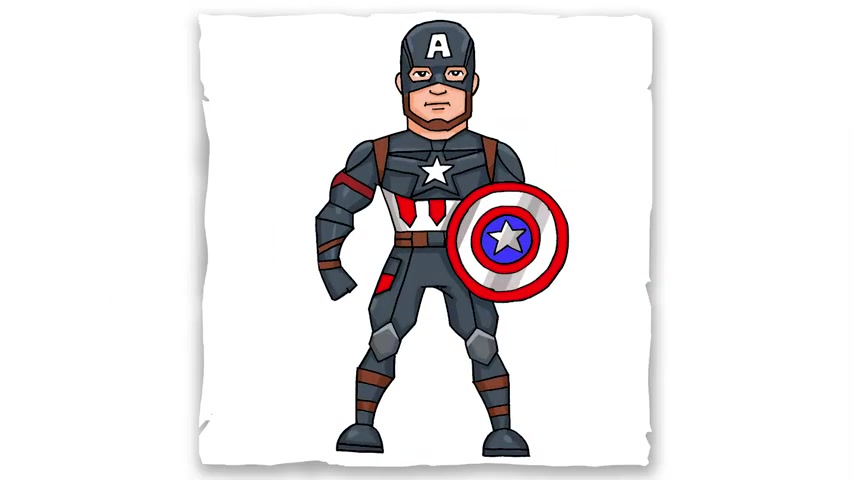
Hope you guys liked the way it turned out .
And if you do , please do , give me a thumbs up , subscribe if you haven't and I will see you next time .
Are you looking for a way to reach a wider audience and get more views on your videos?
Our innovative video to text transcribing service can help you do just that.
We provide accurate transcriptions of your videos along with visual content that will help you attract new viewers and keep them engaged. Plus, our data analytics and ad campaign tools can help you monetize your content and maximize your revenue.
Let's partner up and take your video content to the next level!
Contact us today to learn more.