https://www.youtube.com/watch?v=AaFkBQaJDW4
Flashing BIOS and Installing Windows 10 - MSI MEG X570 Ace Motherboard
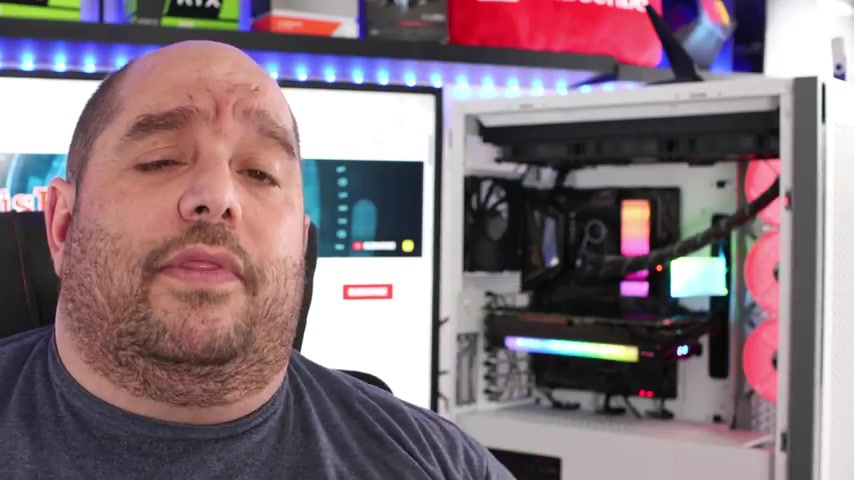
So we've completely built and wired a system here on this bit for you around the M si Meg X 570 A motherboard .
It looks beautiful and everything , but it's not going to do anything without an operating system .
So in this video , I'm going to show you how to flash your bias , install windows 10 and then install all of the drivers , get your system up and running so that you can start playing your own games , edit your own videos , your own photos , do anything and everything you want to do .
So let's get started .
All right .
So before we start , we're going to need two thumb drives , we can get away with one .
That things will be a lot easier with two .
So the first one is going to be a Windows 10 install .
Now , if you don't know how to make it , I've made a video before I'll link it up above on how to make from start to finish a Windows 10 drive .
Now , afterwards , the second drive is going to be a driver and bias drive .
So that's going to be where you have your latest bias to flash your for and then all the drivers for your system , that way you can get gaming and get started and everything real quick .
Now to get the drivers ahead of time , of course , we're going to need another PC .
So let me show you where to get all those drivers .
So first off , we're going to go to M si dot com , then we're gonna click on products , motherboards Meg series .
Then we're going to scroll down .
We're going to click over here on A MD X 5 70 then that's going to bring us the Meg X 5 70 A .
So we'll click there .
So then we go to support and then here we're going to download the latest and greatest bias .
It is a beta bias .
I don't mind downloading beta biases , but some people don't feel comfortable .
You can just download this one .
I'm going to download this one .
So I'll just click here to download .

Then we'll go to the driver's tab , select your operating system , the onboard P ID E sata drivers and the system and chips set drivers .
We're going to skip these just for now .
Then we'll go to onboard VG A .
If you're going to be using CP with onboard graphics available , we'll just download that here , land drivers , download the Bluetooth Intel network , the wifi and real tech PC IE Ethernet drivers and then we'll download the onboard audio drivers .
Ok .
Then afterwards we'll go ahead under utility , select your operating system .
And then download M SI center and then we're going to get the NAIC drivers from the Microsoft Store .
So we'll hold off on that one now , realize install Namik three when using real tech HD audio drivers .
So after we install the real tech drivers , then we'll install these .
So we're done here .
Next , we'll go to A MD dot com .
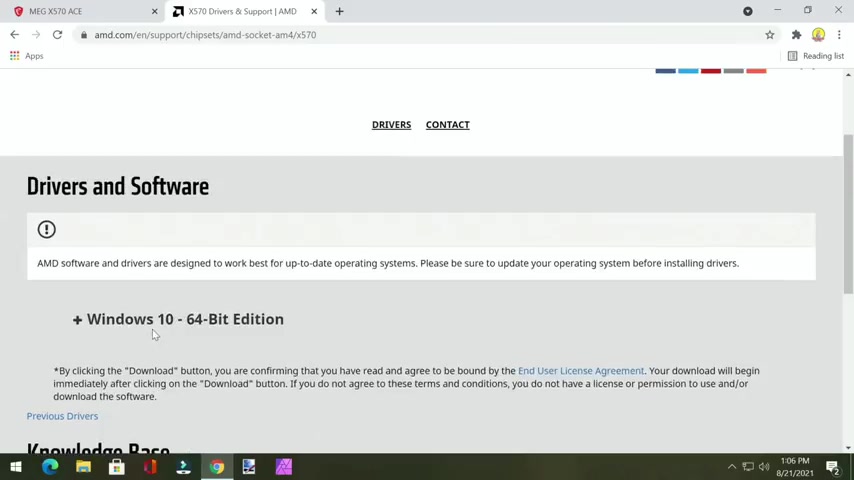
We'll go to drivers and support , scroll down a little bit , go to chips set A MD socket M four X 5 70 click submit .
So here we're gonna go ahead , scroll down a little bit and click to expand Windows 10 .
We're going to download the A MD chip set drivers and then the A MD rate installer drivers and then a MD ray drivers and then store my drivers right over here .
And then finally , depending on your video card , I'll be using an NVIDIA video card .
We'll go to drivers here on NVIDIA dot com , ok ?
And we're actually everything selected perfectly , but go through this , make sure you're selected correctly and click search and download and download again .
Ok .
Then I'll click here , show and folder .
I'm going to go ahead and cut this one and paste it in here .
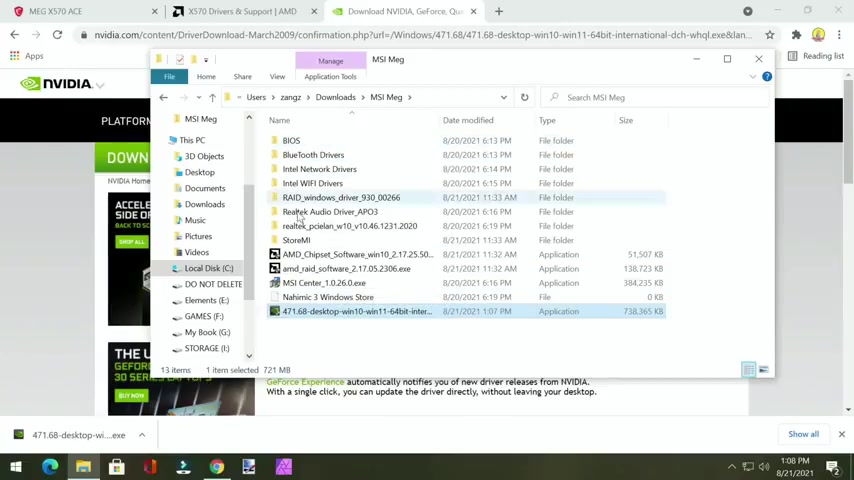
So what I've done with every single driver , for example , I'm gonna just click and drag this one into that folder so you can see that AM four ray driver here .
Now , these were initially all zipped up and everything .
So what I do I double click on it , right ?
Click on the folder inside and then paste it right into the directory I created and I go back and delete the zip .
So now we have the uncompressed bias , the uncompressed Bluetooth network , wifi Raid , real tech audio PC IE land store , my and for raid the video drivers .
That's its own self extracting utility .
So I'll leave it like that .
The chip set driver , the A MD raid driver and M SI center .
I left this here .
This is just a text document so that I can remember to download the ham three windows off of the windows store .
So some of you might ask , well , Iggy the chip set and the Raid , they were on the M SI site .
Why didn't you download it from there ?
Why did you download it from A MD ?
They don't make the motherboard .
A MD doesn't make the motherboard but they make the CPU and they make the chip set .
They sell the chip set to M si evga a gigabyte , all those different companies and they utilize that chip on their board .
Amy makes the drivers and then M si gigabyte evg A whoever puts those drivers on their website , Amy's gonna have them first .
Everyone else is gonna have them later .
So I get them from A and B because they're newer .
So that's the only reason I do that .
So now I'm going to pop in a blank thumb drive .
Ok ?
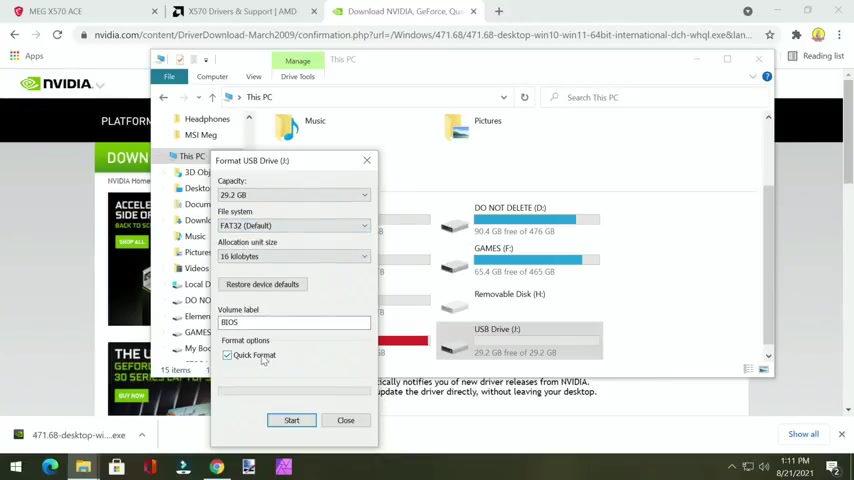
Now , even if it's not blank , what I recommend you do is because you may not remember if it's fat 32 ntfsx fat .
It has to be formatted as fat 32 .
And that way , you know , you're on that thumb drive .
So right , click on it format .
We'll name this one Bios and then we'll leave it as whatever capacity file system .
Fat 32 make sure it's not ntfs or X fat has to be fat 32 .
Then we can leave the rest on default .
Make sure there's a check under quick format and start .
OK .
This is only going to take a few seconds .
OK ?
Now that it's done , we'll click .
OK ?
Close this here .
And now what we're going to do is we'll go back to where the Meg folder is that we created that has everything extracted and then we'll just select it all .
Cut it and paste it right into the thumb drive .
Now , while that's copying , I do this all because it just makes things so much easier .
Some of you may not have access immediately to a Ethernet cable to plug into the back of your machine or maybe you don't have wifi just yet putting it on a thumb drive .
That way you can carry it with you , pop it in the machine , install it .
And when you're done , then you have wifi access or then you have Ethernet access so you can download everything else .
So the first one you're going to want to install is your chip set .
Your chip set is the base of your system .
You're not going to build a house on a swamp because it's just gonna fall apart and whatever .
So chip set , then you build everything on the chip set drive again your foundation .
So then you would install your Ray Ethernet , your Bluetooth , your wifi , all your connectivity , then your sound and lastly your video .
So now with all that done , we can take both thumb drives , start flashing the bias , taking care of everything and then installing windows , let's get started .
So the first thing we're going to do is flash the bio .
It isn't 100% necessary to flash the bias before installing the OS .
But it's typically better because there's so many fixes inside of a bias update .
So let's start with that .
So just going to go ahead and pop in that thumb drive that we just created .
So while you're booting up , start spamming the delete key .
And now when you're in the bias , go ahead and press enter on the M flash , it'll tell you system will auto reboot and enter flash mode .
So press enter to go in , when you first get into the bias , it's going to kind of look like an old FTP client A S client if you know what any of those are .
But anyway , select your thumb drive , then we'll go to Bio and then here we'll find the bias .
We just downloaded , I messed up the initial video , but I'm going to redo it to show you how the bias flash works .
Then we'll click .
Yes , to start the flash over the years .
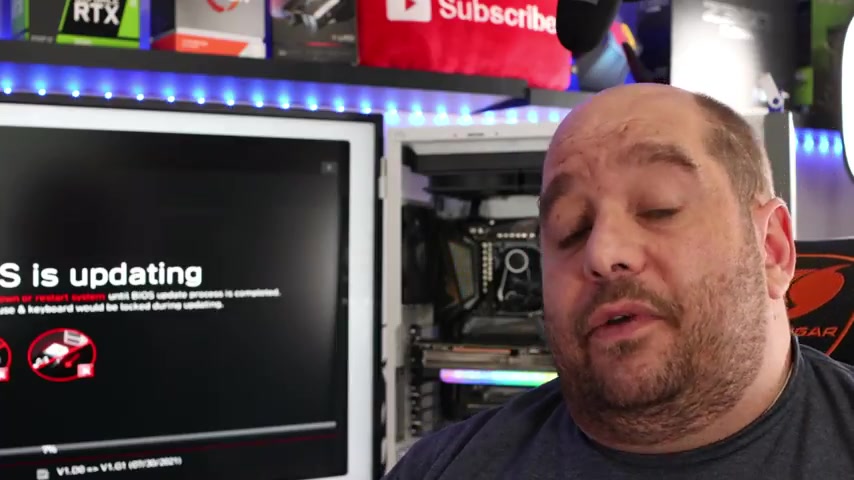
The level of difficulty to flash .
A Bio has been significantly reduced before this was always heart pounding and it is still relatively heart pounding if the lights go out .
But there's always different sorts of recovery methods .
So don't worry too much on that .
All right .
So now that we're restarting after the flash , just go ahead and press the delete key to enter the bias .
So now that we're in the bias after updating to the latest version , now we're going to go ahead and configure everything .
So first off , we're going to enable X MP for X MP compatible memory .
So we're going to go ahead now into memory since we already have X MP enabled here , we can see all the memory and it is already all configured for us .
Then we're going to go into storage .
Now , here we can see the Sata drive , which we are going to be disconnecting to install windows and I'll go over why that in a minute .
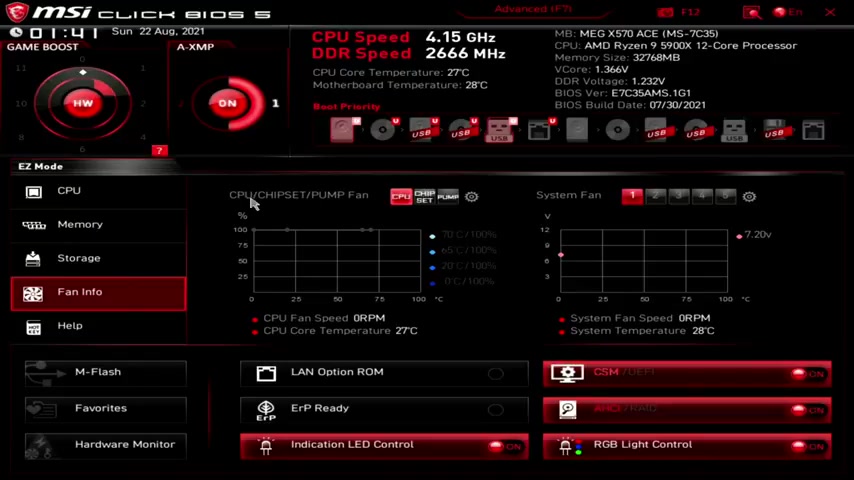
Then the Soran rocket , we have the M 0.2 drive .
Then here we go into fan info .
Here is the CP chip set pump , fan CP , fan speed set to zero because we are liquid cooled .
And then we can see here CPU core temperature is 27 degrees .
If we click on pump here , it's going to the pump header that we connected the liquid cooling unit into .
We can see the pump fan speeds at 1551 RP MS .
Pump temperature is 27 degrees and then here shows all the system fans .
Now , if we go into advanced here are where typically I prefer to work under settings , will go into advanced PC subs settings , resize bar .
We're going to go ahead and enable that which enables above four G memory PC IE by one GEN switch .
I'm going to switch that to gen four .
The G Force Rx 30 80 is a GEN four card , but it is backwards compatible .
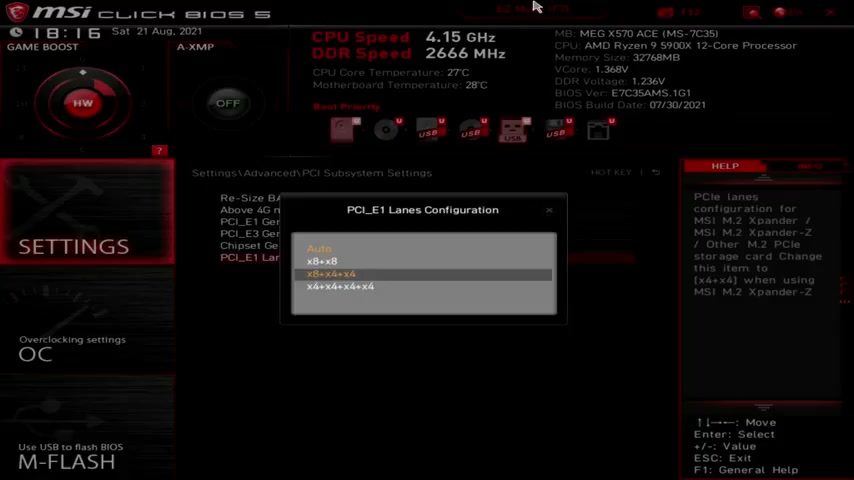
So auto would work , but I'll go ahead and leave it at four CP GEN switch .
I'll set that to four and currently I don't have anything under the PC IEE three slot .
So I'll leave that to auto PC IE one lanes configuration coming in here , auto probably will be the best , but we put in on two cards .
It'll be eight by 83 cards , eight by four by four and then four by four by four by four .
Then I go back here onboard land controller enabled land option , rom disabled .
Perfect .
Everything's set correctly here .
This is enabling the onboard wifi module .
This is set right here .
Now here under sata mode , we can select raid , but I'm going to go ahead and leave it under HC I HD audio controller .
We'll leave that enabled power set up .
That's fine .
This is when the lights go out and they come back on .
I prefer for my PC to stay off rather than turning on and off .
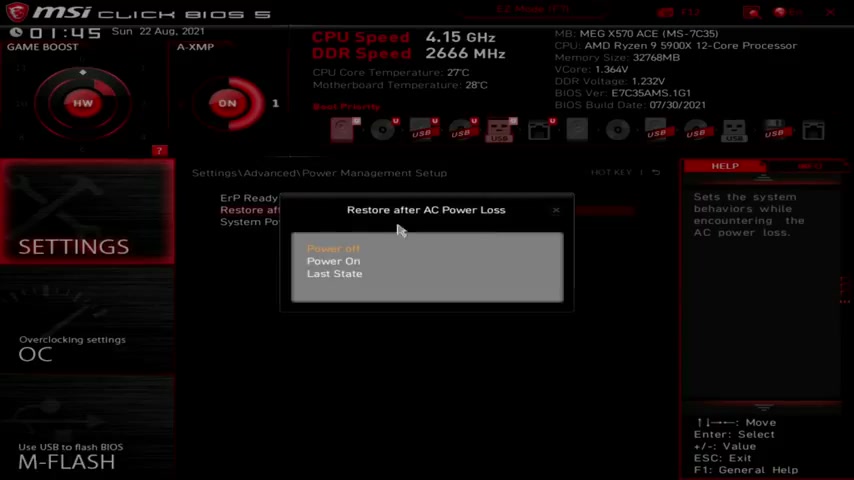
You have these options and I leave system power , fault protection , disabled windows , OS configuration bias .
UEF I CS M mode .
You want to keep UEF I and overclocking , we're going to leave everything stock , especially for windows install and boot .
This is going to change the minute we install windows .
So don't worry too much about this .
And then let's see anything under over clock .
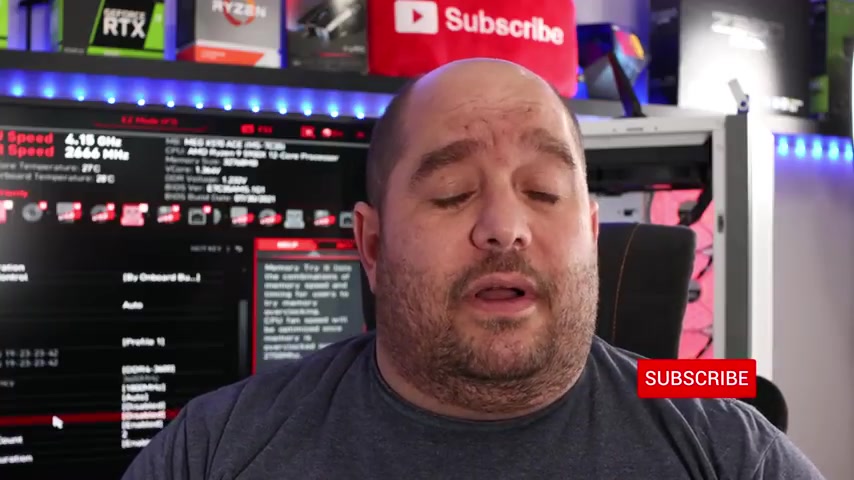
So we'll come down here to frequency now it's set to 4000 .
Now I'm going to want to for the windows install just for now to keep it safe .
I'm gonna bump it down to 3600 and the F clock to half of that .
So 1800 I am down clocking the memory and everything below X MP to make sure windows install goes without a hitch .
If you have issues during the windows install , that may not become apparent during the install .
You could run into bigger issues later on in windows .
When you're done installing windows , then you can go back and set all your memory settings , just a personal recommendation and we'll leave all this as is .
So we'll hit F 10 to save and exit now before we actually click .
Yes , let's go ahead , remove the thumb drive with the drivers in it and then put the Windows 10 installed in there .
Same looking drives .
Now , the way I like to do it is I also like to unplug additional drives that I may not need for the install and then plug them back in afterwards .
That way we don't delete the wrong drive .
Ok .

So after we configure and set up the Bio , now just boot back into the bio , then we'll select here the thumb drive on the thumb drive that has windows 10 on it .
We'll click , hold and drag and bring that up , that changes the entire boot priority .
And then we'll go ahead F 10 to save and exit and yes .
OK .
Then we'll select 64 bit .
All right .
So first screen , we'll go ahead select our languages and our keyboard input method and click next and install now .
Ok ?
Now if you have a windows key , go ahead , enter in here for now .
I'm going to go ahead and click .
I don't have a product key .
Then select the win version of windows and click next .
I accept the license terms .
Make sure to read through all of that and then click next custom install windows only .
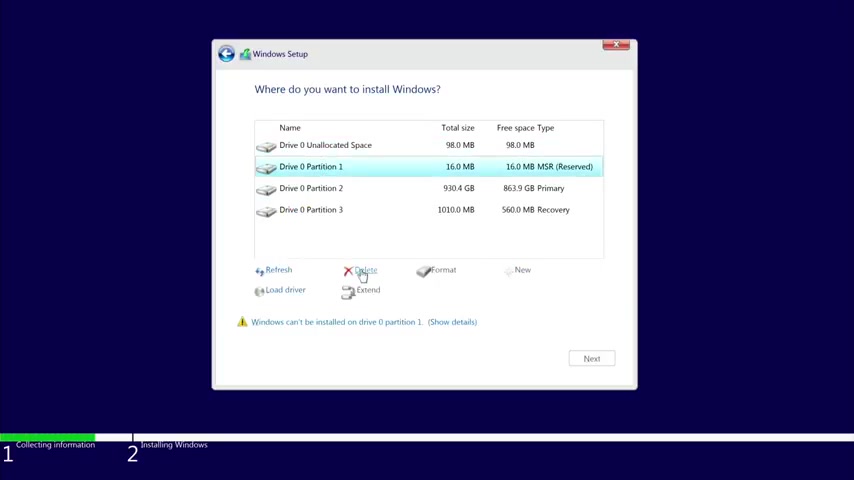
Now you'll notice there's partition 1234 , but they're all drive zero .
So this is one drive , I'm gonna go ahead and delete every single partition .
Ok ?
Now , if you don't see a drive here , you're going to pop in that second thumb drive that has all the expanded raid drivers and everything .
Then you click , load driver browse , we'll go to that bias one that has all the drivers into it and then raid windows , drivers , windows , 10 X 64 bit .
And then we'll go into MV , Raid Sata or MVED I DMV , ME CC .
And then since I don't have anything Ray , it's not going to show up .
So I'll just go back here and then we're using a HC I , so just leave that selected and click next .
Now , depending on the type of raid you have , if you have an external raid card or you're setting up raid within the bias , the location of the raid drivers may be different .
But I was just showing you if you do have raid , how you go about finding those drivers , just make sure they're on that second thumb drive with all the drivers so you can find it quick and easy .
All right .
So now this part where it asks you to restart , click , restart and then take out all the thumb drives and let's go into the bias in the bias .
Now that we have windows installed , we're going to look for that .
This one right here , the windows boot manager will click hold and drag that one to the very front and F 10 save and exit .
All right .
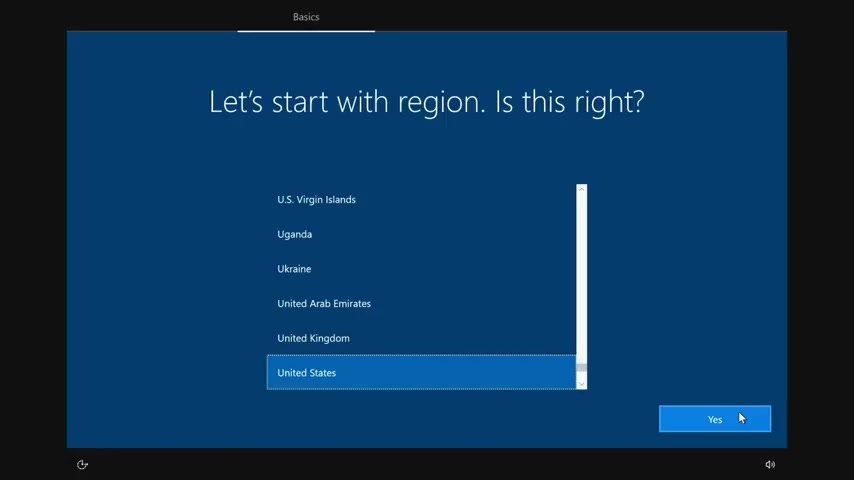
So here we'll select our region .
Click , yes , then keyboard layout .
If we have a secondary .
So prior to this install , I made the latest update for Windows 10 for the install thumb drive , which allowed it to detect the wireless adapter that comes with the meg .
So you can see right over here it's detecting my network , which is amazing .
Still creating the thumb drive is a good backup just in case , but we can always download it right when we're in Windows .
Ok ?
One second while I connect and choose next personal use and then create a pin , select what you want to enable and disable from here .
Right ?
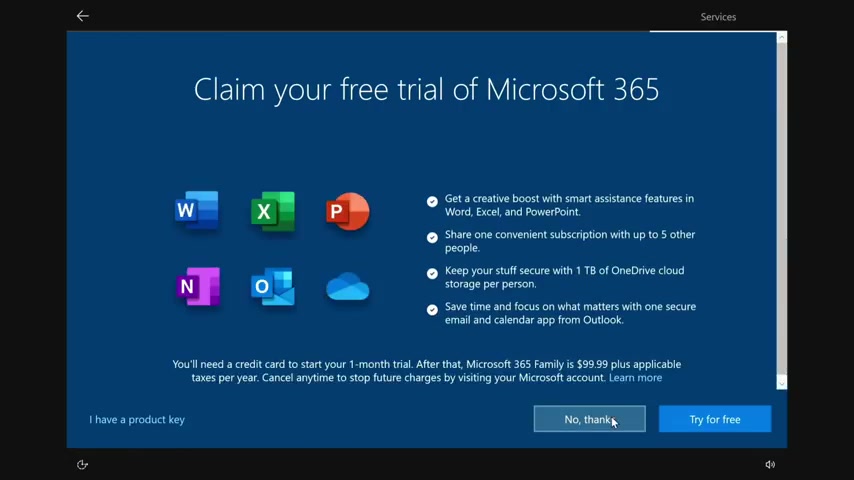
I'm gonna go ahead and skip this for now .
No , thanks .
Only save files to this PC .
I don't want to use one drive , but if you did , you would select that claim your free trial of Microsoft Office 3 65 .
I already have a product key .
Thank you .
But I'll put .
No , thanks here .
Let Cortana know .
Thank you .
All right .
So because I used my previous email that is attached to this , I have my background .
I have everything from my main PC .
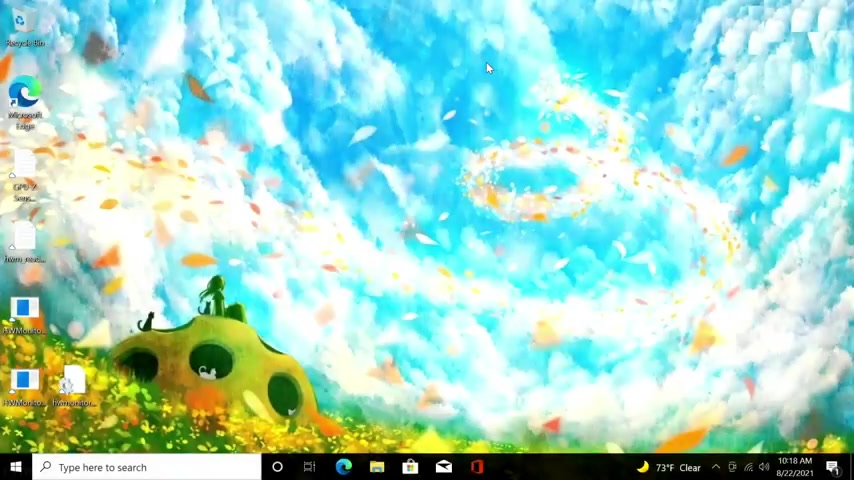
So now while we do have the drivers , what I want to do is I'm going to go to a windows update and we're going to go ahead and download all of the updates , view optional updates , driver updates .
I'll skip that one .
So I'm skipping the display driver one because I don't want windows to touch that .
Now , other drivers , it might not let you do that because it has to install them actually , like for example , the A MD driver , the , as a driver and those other drivers , it'll force you to install those because it's doing it for you .
So I'm gonna choose to cancel that .
I'll download that on my own from my keyboard and my mouse .
But after you let windows download whatever it wants because it's not going to give you an option , then we have on the thumb drive or you could download it afterwards , all those drivers that we're going to install ourselves and I'll explain why in a minute .
All right .
So we'll just click , restart now .
All right .
So after the update , everything's good , now we'll go into file explorer this PC and then we'll find that by a thumb drive that we created .
I put it back in .
I would highly recommend just copy everything into a folder on the root of your C drive called drivers .
This might take a minute right now that everything has been transferred over .
The first thing we're going to want to install is the A MD chip set driver .
Also personal preference .
I disabled U AC .
A lot of people go crazy , but I prefer not to have Windows question everything I do .
Ok .
Then we'll go ahead and install all that stuff there .
Ok .
Then we'll click close here and then right , click on the start button , shut down or sign out and restart .
I know many of you hate this .
But if Windows or a driver asks you to restart , there's typically a good reason behind it just go ahead and restart .
You don't want to pile a bunch of programs on top of that previous restart because that restart could cause something to update on the back end , messing up those other programs .
So when Windows ask you to restart , restart , took like what , four seconds back at the desktop just restart .
All right .
Now that we're back in Windows , go back into file explorer .
This PC will go back to the drivers now , since we're not using raid , so now we'll go into the network drivers and install drivers and software .
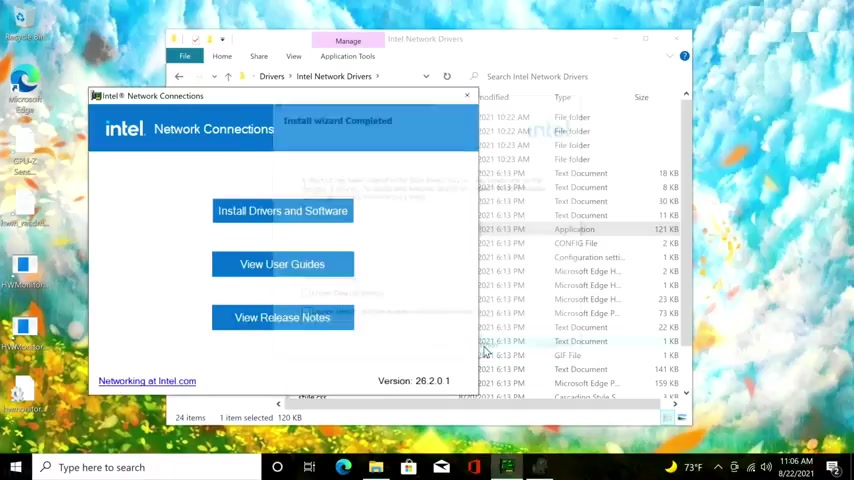
All right , that's installing the network drivers .
Ok .
Close that out .
Come back to wifi drivers even though they're already there .
These are updated .
So we might see a disconnect down here for a second .
All right , disconnected .
Came back up quick .
Now we install the Bluetooth now that we're done there .
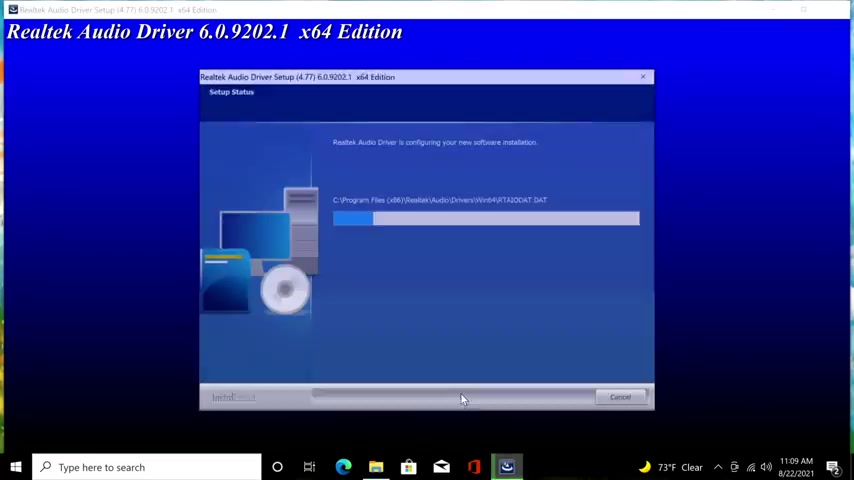
Real tech PC IE land and finish .
Now we'll go ahead and install the real tech audio drivers .
Like always it asks us to restart .
So I'm gonna click .
No .
And then manually restart , then we'll go back to the drivers at this point .
We'll download that stuff , just copying the name to a search and install it .
Ok .
Just got installed .
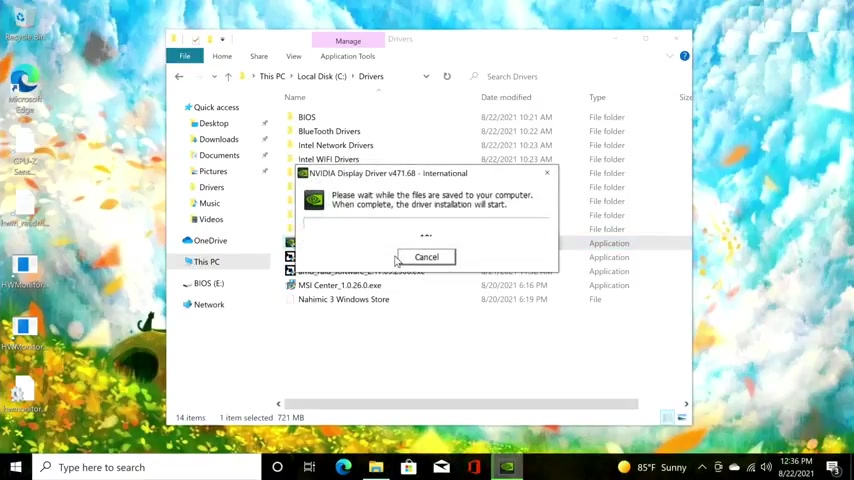
So go ahead and close this out and now we'll install the video drivers even though we are in a clean install of windows .
I always recommend to check , perform a clean install when you choose custom nine times out of 10 .
I'm going to do ad du regardless and choose for DDU not to allow Microsoft Windows to do its own driver updates .
But I'll probably do that at another point .
It won't install updated drivers unless it doesn't see drivers or the drivers I have are just that old , but I'll save that for another video .
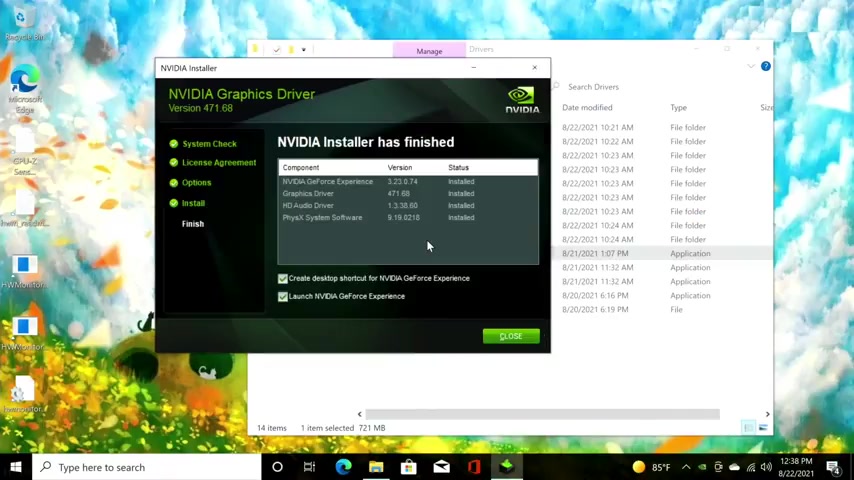
You've seen a few already next and then close and then we'll install the M si center and click finish .
So I've taken you from start to finish how to build your machine , how to wire machine and then now how to install windows configure and install all the drivers on your machine .
Now , mind you , I haven't gone back in and changed the memory speeds yet , but since I'm using more than likely different memory than you , it's going to be a little bit different X MP will typically take care of you .

But I like to go in set X MP and then set the FCL K , set the F clock and the memory speeds to what they show be .
And when I said 3600 megahertz before , that's if you have over 3600 if you have 3000 , 200 or 3000 , you'll set it at that speed .
If you have over 3600 it's best to set it at 3600 install windows .
That way , you know , for a fact that during the install , there's not going to be any kind of weird issue .
So if you have any questions , comments concerns , please do leave them down below .
I love to help you guys out and I answer every single question you may have .
As always , please do click like and subscribe .
It helps me out so much to grow my channel .
That way I can keep bringing you bigger and better videos just like this and my new lens that I feel like has done an amazing job in this video .
And you know , if you want to buy me a cup of coffee , go for it too .
That always helps grow the channel iggy with this bite for you up .
See you guys .
Are you looking for a way to reach a wider audience and get more views on your videos?
Our innovative video to text transcribing service can help you do just that.
We provide accurate transcriptions of your videos along with visual content that will help you attract new viewers and keep them engaged. Plus, our data analytics and ad campaign tools can help you monetize your content and maximize your revenue.
Let's partner up and take your video content to the next level!
Contact us today to learn more.