https://www.youtube.com/watch?v=-C4ymdHyxY0
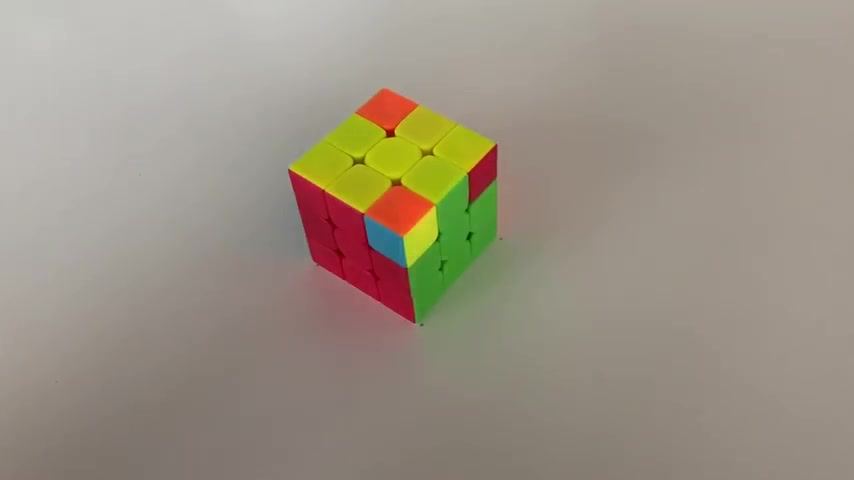
How to Solve a Rubik's Cube - The Better Tutorial with Patient Female Teacher - Solve your cube now!
Hi , this is Melissa Roo gaming .
And today I'm gonna teach you how to solve the Rubik's cube .
This is the first of eight videos that are going to go over each of the steps and tell you everything you need to know to solve the Rubik's cube .
It's my hope that after you've studied this series of videos , you will be able to solve your Rubik's cube .
OK ?
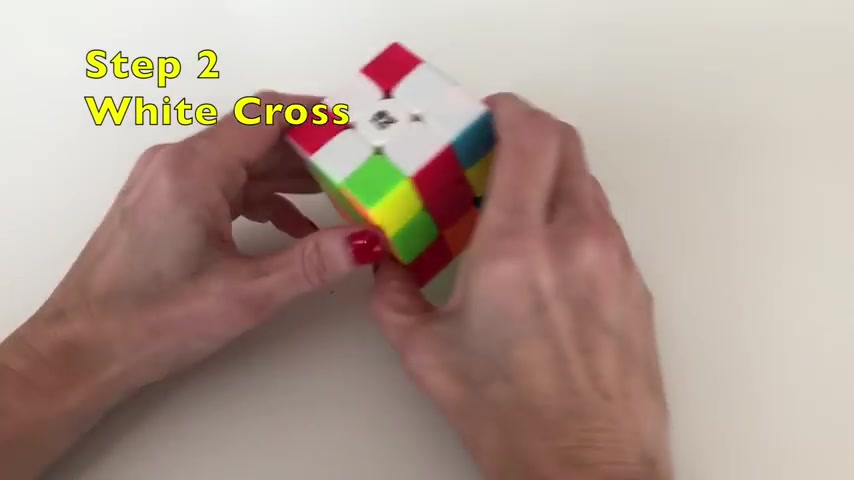
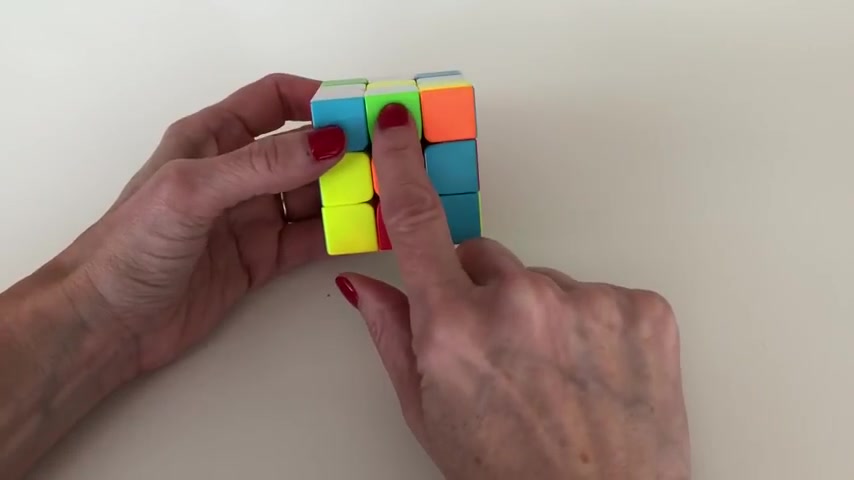
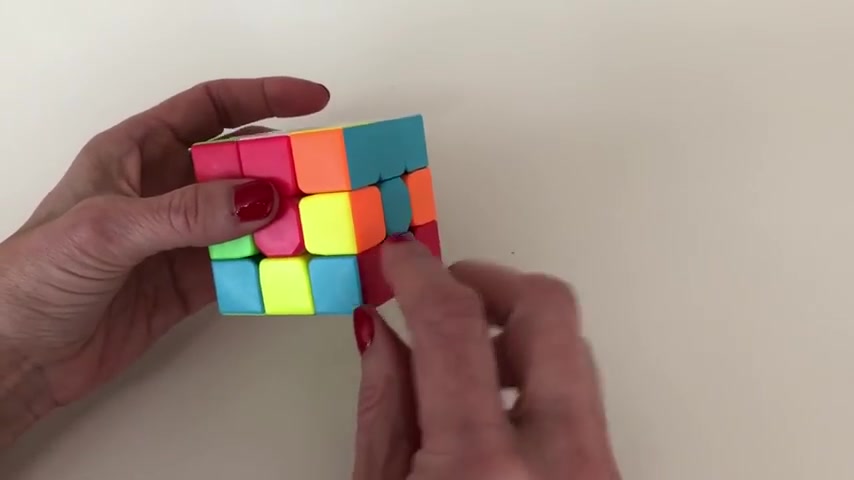
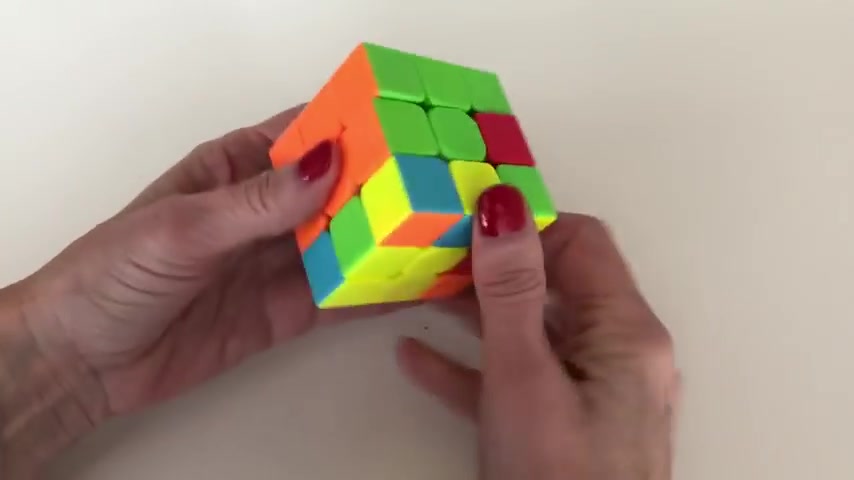
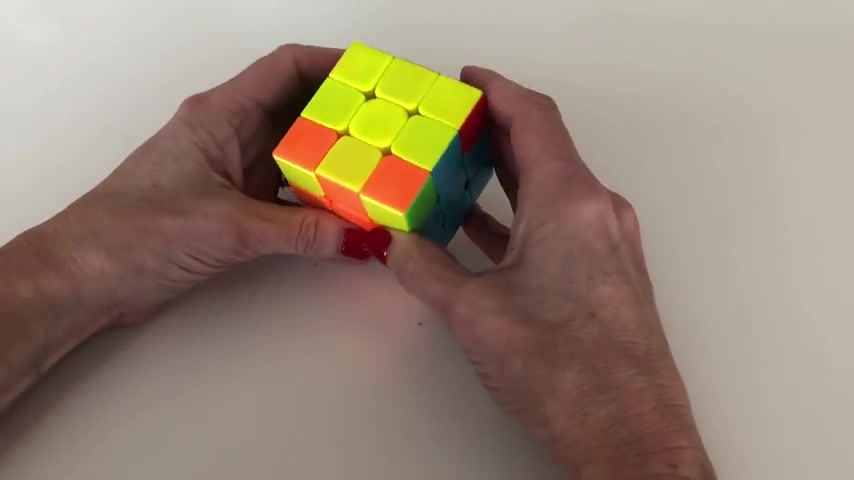
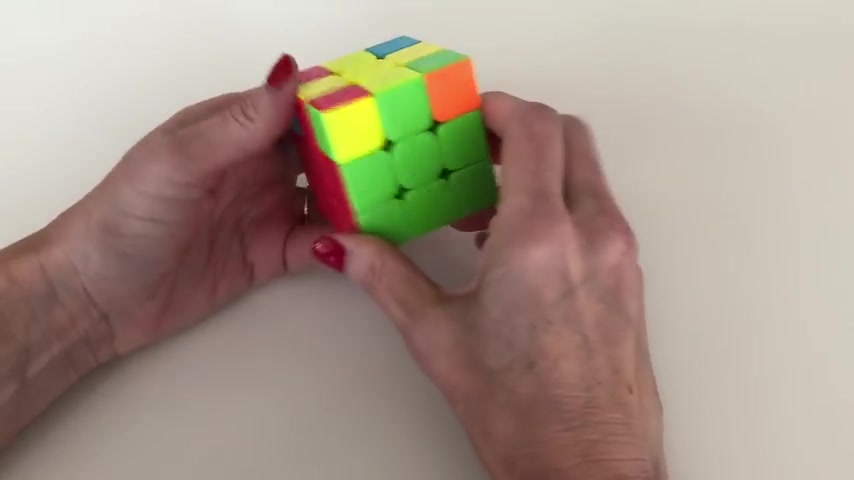
The first step of solving the Rubik's cube is to solve the Daisy and by the Daisy , I mean that what we're gonna try and do is bring all four of the white edge pieces and bring them around the yellow center .
And at this point in the process , we are not , we're not gonna be worried if these pedals are aligned with the center colors below that will come in the next step .
So that's the first step we're gonna do .
So let me show you how to do that .
OK .
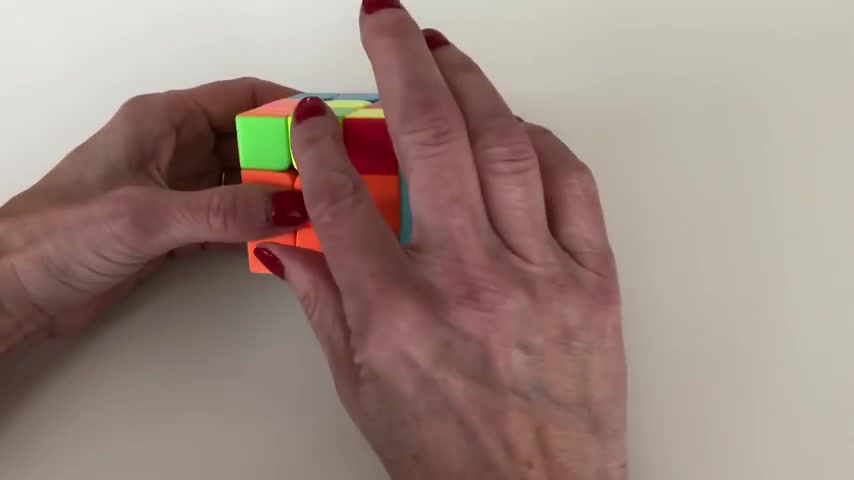
So making the Daisy , what we're gonna wanna do is first put the yellow center piece on top and then we're gonna look around the cube for the white edge pieces and the white edge pieces can be in five different places .
You could have an edge piece on the top layer like this .
You could have a , a white edge piece on the middle layer like this one .
You could have it on the bottom layer like this one or you could have it in the underneath position like this one or it could already be in the top uh centered around the yellow uh middle uh which is where we're , what we're trying to do here .
So um let me start with the , the situation where it's on the middle layer because that's actually um uh the ideal place to work .
So when you have a white edge piece on the middle layer , all you need to do at that point is rotate it into place .
And the good thing to , to know about uh the middle layer is that you can put that you can uh rotate that around the cube so that you could put this white piece anywhere you need it .
So you could rotate and put it into any position around the cube like so , so we'll go ahead and put that one into place .
OK .
And now let's look for uh the next edge piece .
And so here's one on the bottom layer .
And so when it's on the bottom layer , all you need to do is rotate it .
So it's on the side .
So you can either rotate it uh clockwise like this or counterclockwise like this and that'll put it in the middle layer and then it'll be ready to shift into place so you can put it around the yellow center like .
So , so then we'll look for another piece .
Um Let's see .

Uh this uh um this one , we actually , we , we ended up moving .
So let me show you what would you , you would do if this were on the top like this .
So if it were on the top , then you would just do that same move .
But in reverse where you uh either go clockwise to put it on the middle layer or counterclockwise one rotation to put it on the middle layer .
And then from there , you can , you can rotate it to where you need it .
So for example , in this position , I don't need to put it here because there's already a white piece here .
So let's rotate this like this .
And then you can put this white piece up here by rotating like that .
OK .
So now we've got three pedals around the yellow center and then the last piece is on the bottom .
And so when it's on the bottom , um all you need to do is rotate it into place , making sure that you're underneath the slot you're trying to fill .
So if you know if it was sitting here like this , you would , you would first rotate it .
So it was under the spot you're trying to fill and then just do 100 and 80 degree rotation Now we've got all four white petals around the yellow center and we have created the daisy .
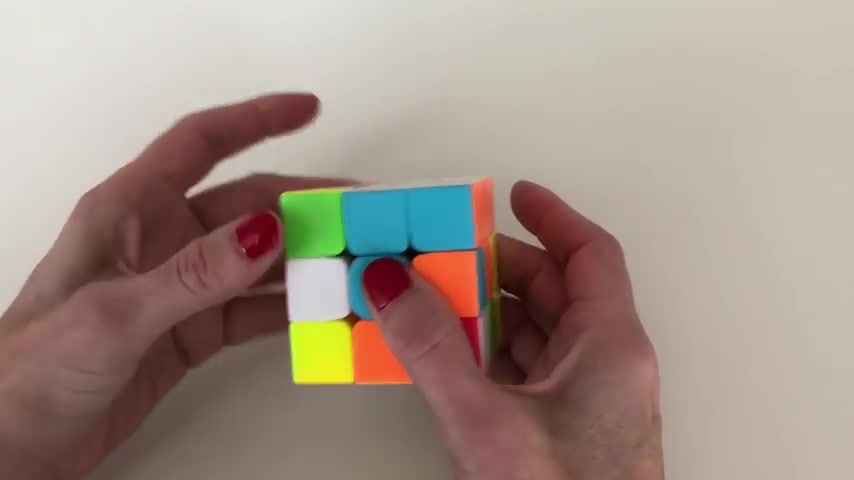
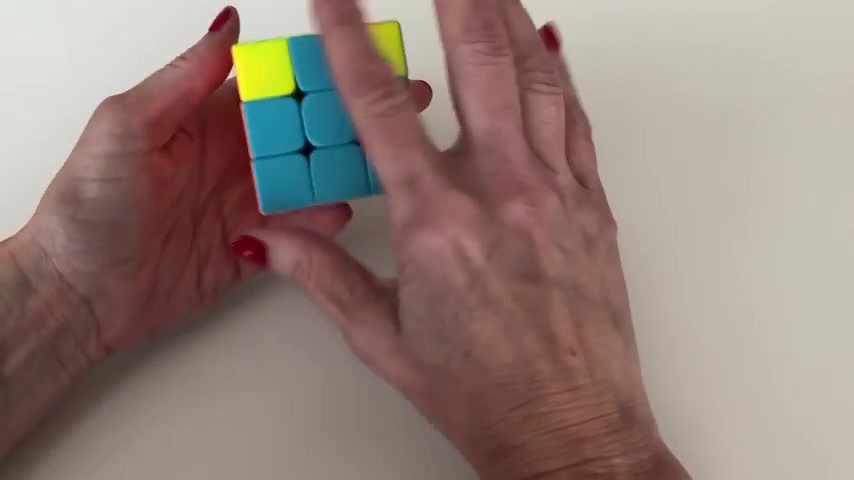
Now we're on to step two , which is creating the white cross and the white cross is going to look like this .
It's gonna have , we're gonna have the state where we have the four white edge pieces around the white center .
And uh the white cross is going to align with the center colors around the cube like .
So it's very easy to create the white cross after you have created the daisy .
So all you need to do at this point is look at each of your white petals and look at what color is next to the white side .
So here this has green on this side of the edge .
And so what we need to do is line up the green center with this green edge .
So let's bring the green center over here .
And then once we do that , we do 100 and 80 degree uh rotation of this face .
And when we did that , we , what we've ended up doing is bringing this white edge piece .
So now it's aligned with the white center and also aligned with the green center .
So let's flip that back over to the yellow dot side and let's continue around the cube .
So here is an edge piece with blue .
So we want to bring the blue center to align with that blue edge to 100 and 80 degree rotation of this face , bringing that piece down to the bottom .
And then we continue rotating around our cube .
We see this is already aligned with orange .
So we just need to do 100 and 80 degree rotation .
You rotate around here one more time .
This edge piece has red .
So let's align that with the red center and do 100 and 80 degree rotation .
And you have created the white cross that aligns with the centerpieces of each of these colors , OK .
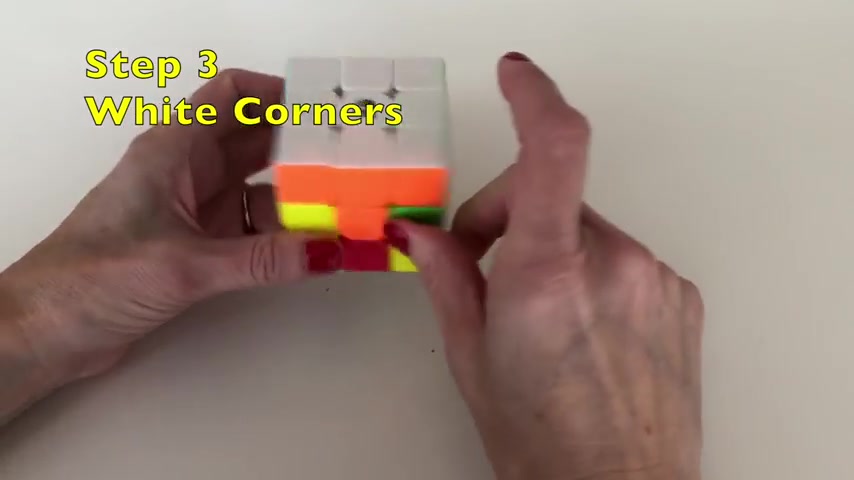
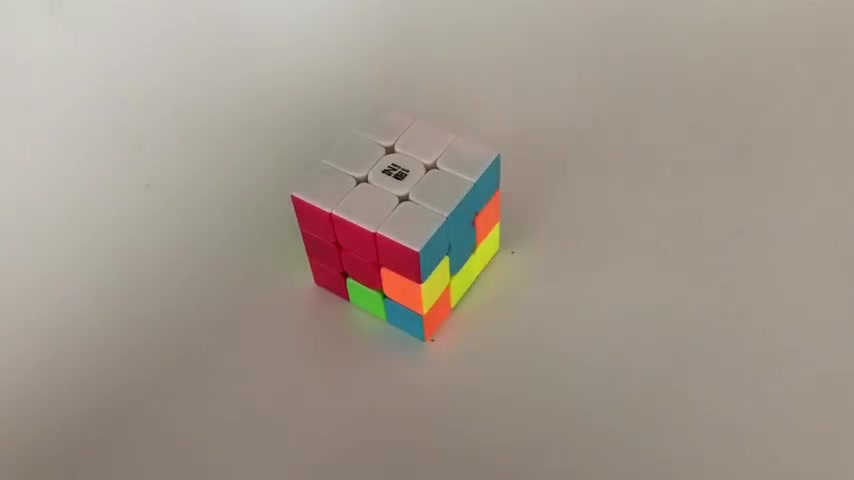
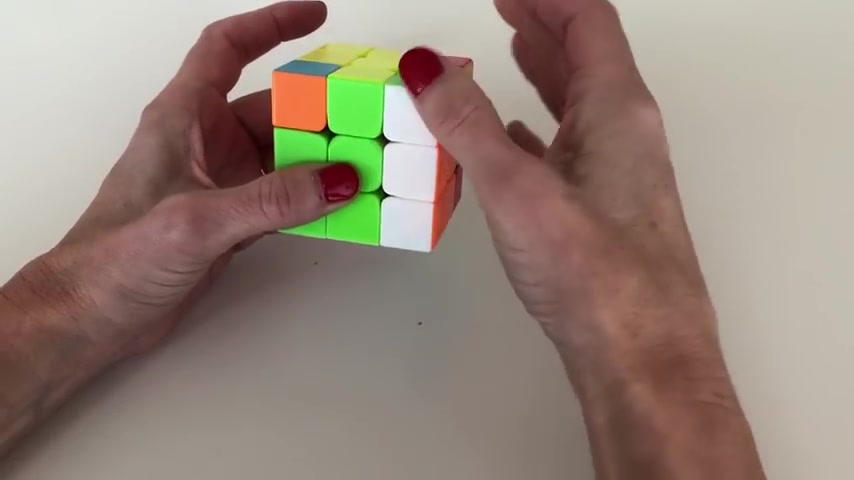
The third step in solving the Rubik's cube is to place the white corners around the white cross .
And when you have done that , you will have solved the first layer of the Rubik's cube .
And so this is what it's gonna look like when we place the white corners .
OK ?
So now we're going to place the white corners around the white cross .
And so we're gonna look for the white corners and they can be in three different places .
They could be on the bottom layer , which is actually the ideal place for us to work .
They can be on the top layer like these two or they can be on the underneath .
So first , let me show you what you do when it's on the bottom layer because that's the ideal situation .
What you're gonna wanna do is look at the other colors that are on this corner piece .
So we have orange and blue and so we're gonna want to rotate this piece .
So it's between the orange and blue centers .
So let's bring that piece here between those two center colors .
And what we're gonna want to do is bring this piece up to the top and to do that , we're gonna have uh we're gonna do this one methodology .
We're gonna have the white piece facing us and then we're going to move it away from where we're trying to go , which is here .
So move it away , bring down the slot , we're trying to fill , bring our piece back , filling that slot .
We've aligned those two pieces so that these colors match and then we can rotate that into place and we have placed that corner successfully .
So now let's look around the cube and find um another white corner piece .
And so here's one up on the top .
And so what we're gonna need to do is we're gonna need to do a step to bring this piece um to the bottom layer .
And so what we're gonna do is we're gonna rotate the face like this and that brought that piece down where we needed it , but we don't want to mess up our white cross .
So , so what we're gonna do is we're gonna move that piece away for a second and then we're going to move our white cross back into place .
And now we've got our white corner piece down on the layer , the the bottom layer where we need it , we see that it's green and orange .
So we're gonna rotate it to be between the green and orange centers .
Uh We're gonna have the white piece facing us and now we're gonna place it in the normal method .
We're gonna move it away from where we're trying to go , bring down the slot , we're trying to fill , bring our piece back , filling that slot .
We've aligned those pieces and we can rotate them into place .
OK ?
And now we're going to look at the situation where you've got a white corner piece on the bottom .
And so when that happens , what you're gonna wanna do is look at the colors of that piece .
So here's a piece that's got blue and red .
So first you're gonna wanna do is position this piece to be between the blue and red center .
So let's bring that around , it's between the blue and red centers .
So it belongs up here .
And then we're gonna need to do this method to get the piece on the bottom layer rather rather than the underneath layer .
So we're going to turn uh we're gonna bring down this side like so and bringing these white pieces down .
And when we did that , we actually moved that white piece .
So it's now on the back side here .
So now rotate it at the bottom 100 and 80 degrees .
So now our white piece is here on the layer that we need it .
Now bring these white pieces back into place for storing our cross .
And now we can work with this white corner piece .
Now that it's on the bottom layer , it's blue , it's got blue and red on it .
So put it between the blue and red centers face it so that the white piece is facing you .
We want to put it up here .
So move it away from where you're trying to go , bring down the slot , you're trying to fill , bring back your piece , you align these , rotate them into place .
OK ?
And then the last one is here , it's uh got red and green .
It's between the red and green centers .
We want to bring it up here .
So we're going to do that method again where we bring down this , this uh column that ended up kicking that white piece out to this layer .
It's in the back now .
So rotate 100 and 80 degrees to bring it up to the front , move these white pieces back into place , restoring your white cross , then bring this white piece to be between the green and red centers .
So bring it back over here , have the white side facing you and move it away from where you're trying to go , bring down the slot , you're trying to fill , bring your piece back .
You've now aligned all those pieces and you can rotate them into place .
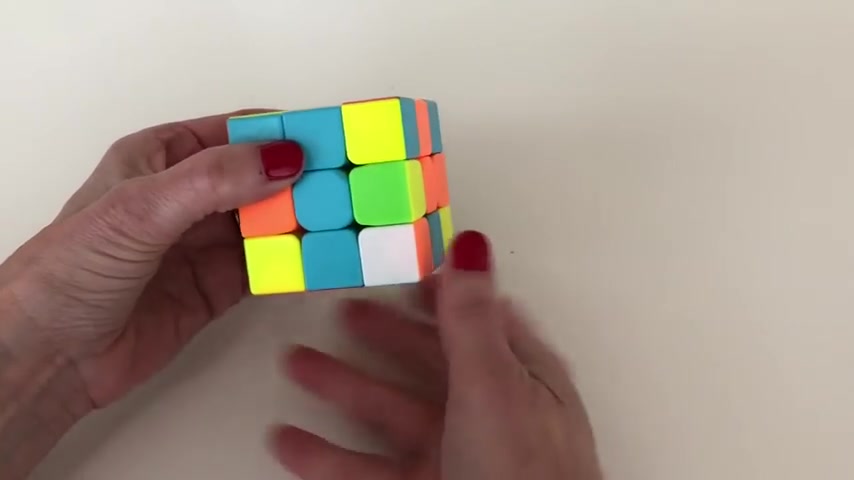
And we have placed all four white corners and we have successfully completed the white layer of the cube .
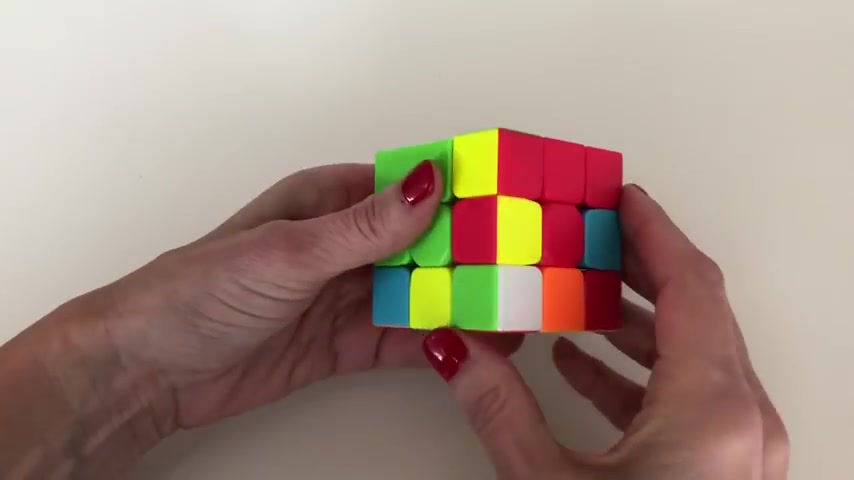
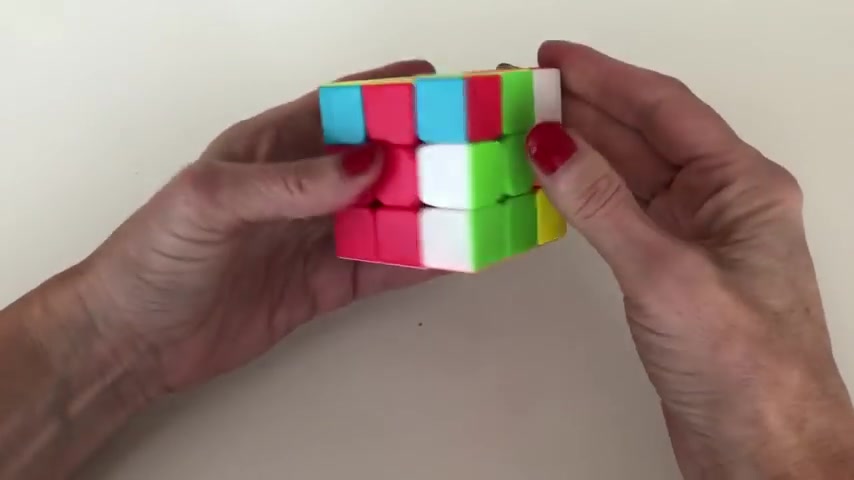
Now we're on to step four of solving the Rubik's cube and step four is completing the second layer so that you will have layers one and two completed of the cube .
OK .
So in order to complete the second layer , what we need to do is find edge pieces on the bottom layer and bring them up into the right position .
And so what we're gonna do is look on the bottom layer and we're going to look for edge pieces that don't have yellow on them .
So here's an edge piece that has blue and orange on it .
And here's one that has green and orange on it .
So these are the types of pieces we're looking for .
So with that piece , what you're gonna wanna do is align it with its center .
So here's uh green and orange with the green facing uh up .
So rotate that .

So it aligns with the green center like so , and then we can see that the orange is over here .
So this , this orange and green uh edge piece needs to go here between the orange and green centers .
And so what you do here is you do this methodology where um you move the piece away from where you're trying to go .
So uh we're trying to go over here on the left , so we're gonna move it to the right , we bring down the slot we're trying to fill , bring our peace back and then we bring those white pieces back into place , restoring our white cross .
And then you'll see that we have um a white corner piece now aligned with that edge piece and those are nicely aligned .
And now what we're gonna do is the same method that we just used in that prior step for placing a white corner .
So we've got a white corner , it's between the orange and green center .
So it , this is where it belongs .
And what we're gonna do is have the white facing us , move it away from where we're trying to go , bring down the slot , we're trying to fill , bring our piece back .
We've aligned these pieces , rotate them into place .
OK ?
And so we've now placed that edge piece along with putting that corner back where it belongs .
So now we're gonna go and look again on the bottom layer for a piece that doesn't have yellow on it .
So here's one blue with orange , we're gonna wanna align this blue with the blue center like so and so this is blue and orange .
So it needs to go over here between the blue and orange centers .
So what we're gonna do is move it away from where , where we're trying to go , bring down this slot that we're trying to fill , bring our piece back .
So aligning it with blue again and then we're gonna want to rotate these pieces up into place .
So we restore our white cross and then we have , we see that we still have this white uh corner piece that needs to be placed .
So we're gonna place it the way we uh always place white corners which is move it away from where we're trying to go , bring down the slot , we're trying to fill , bring our peace back , rotate this column into place .
And we have placed this edge along with that white corner back again .
So now we have the situation where we're looking for another piece with no yellow , but you can see that all of these edge pieces have yellow on them .
And so what is happening is that we've got edge pieces that have been placed in inverted on the cube .
And so we're going to have to um first we're gonna have to kick them out and then rep replace them again .
So to kick out a piece , you just go ahead and place a yellow piece up into that slot .
And so um you can place any piece you want .
So let's go ahead and place this yellow piece .
We're gonna put it here .
And so what you do is um you move it away from where you're trying to go .
So we're trying to go here .
So let's move it away from where we're trying to go , bring down the slot , we're trying to fill , bring our peace back , rotate these white pieces back into place to restore our white cross .
And then look over here , you see that we have the white corner piece that needs to be placed .
It's green and red , which is between the green and red centers .
So do our normal method , move it away from where we're trying to go , bring down our slot , bring our piece back , filling that slot .
We now have a nice white column , rotate that into place .
So you can see we put that yellow and blue piece in here .
This is just gonna stay here temporarily .
But now you can look on the bottom and you can see that we now have a non yellow piece down here .
So we now have our red and green piece .
We're gonna rotate that .
So it aligns with the green center like .
So since it's got red on it , it needs to go over here .

So we're gonna move it away from where we're trying to go bring down the slot , we're trying to fill , bring our piece back , aligning the green , put these white pieces back into place on the top , restoring the white cross and then look over here and , and we're gonna place that white corner in our norm in our normal method which is move it away from where we're trying to go bring down the slot , we're trying to fill , bring the piece back .
We now have a nice white column , move that into place and we have placed the corner back .
But we've also put that red and green uh side piece into place .
OK ?
And now we're gonna do that one more time .
So again , we've got a case where we've got an inverted piece .
So first we're gonna kick it out .
So let's go ahead and put this green and yellow piece into its place .
So we want to put it here on the right .
So let's move it away .
So we'll move it to the left , bring down the slot we're trying to fill , bring our piece back .
So here is that green and yellow piece again , bring these white pieces back into place .
Restoring our white cross , go over here and see that we need to place that white corner up here .
So move it away from where we're trying to go , bring down the slot , we're trying to fill , bring our piece back .
We now have a nice white column , move that into place .
OK .
So we put that yellow and green piece here temporarily , but now we should have the blue and red piece down on the bottom layer .
And so here it is , let's rotate it .
So it aligns with the red center like so it's red and blue .
So we want to put it over here between red and blue uh centers .
So uh move it away from where we're trying to go , which is here .
So move it away , bring down the slot we're trying to fill , bring our piece back , aligning the reds again , bring those white pieces up to the top to restore our white cross .
Look over here and you see you have a white corner that you need to place .
So do the normal method which is move it away from where you're trying to go , bring down the slot you're trying to fill , bring your piece back .
You now have a nice white column , bring that up into place .
And we have placed that blue and red corner where we , I mean edge piece where we need it .
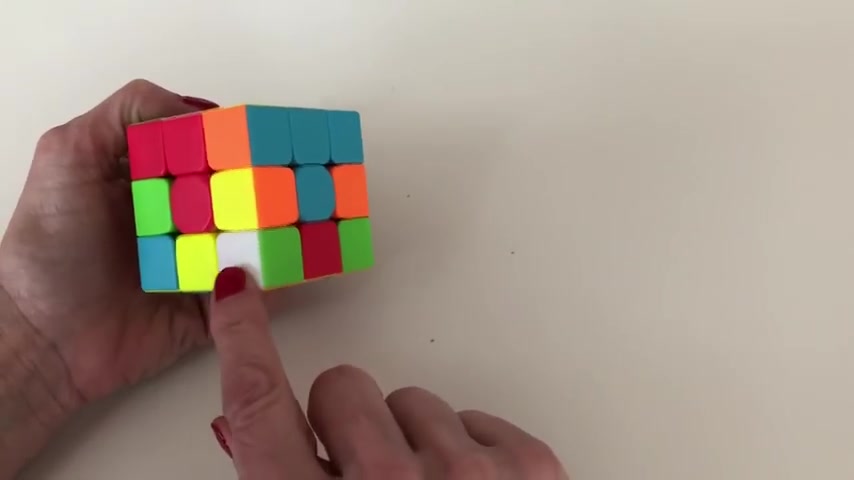
And so we've now placed all the edges and we have successfully completed the second layer , OK .
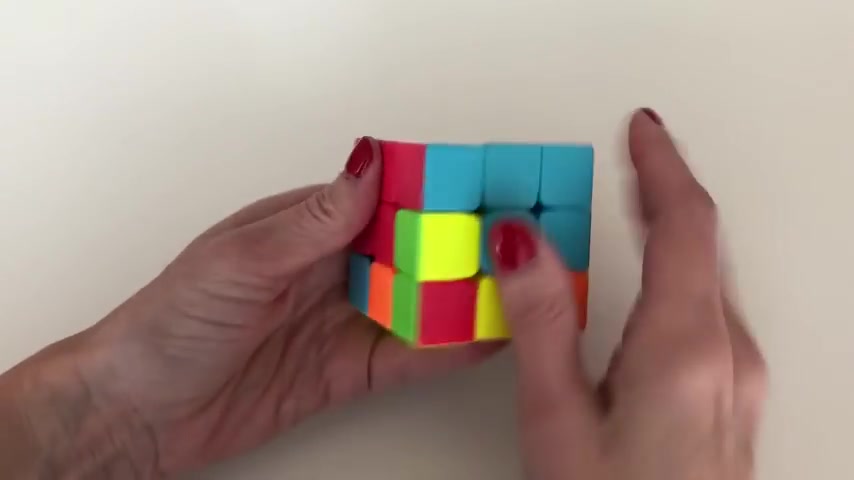
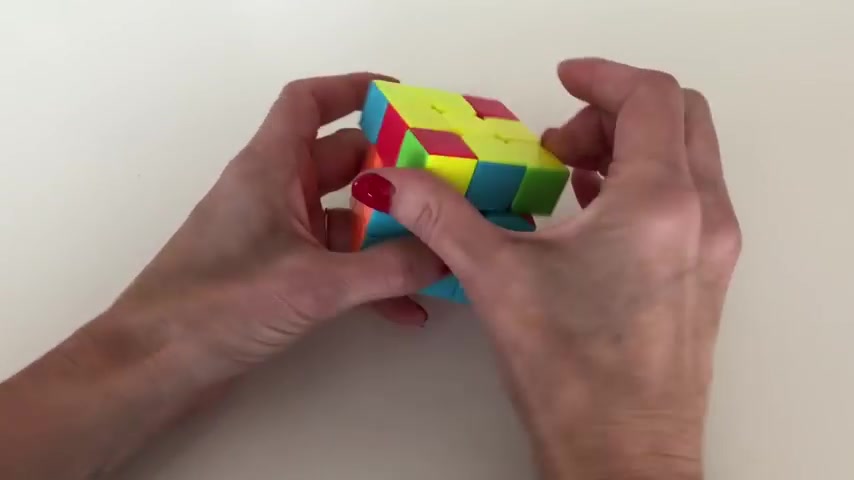
Now we're on to step five , which is making the yellow cross .
At the end of the step , you will have a yellow cross that looks like this and um it won't be aligned necessarily with the center colors yet .
Um but that'll happen in the next step , OK ?
After you've completed the second layer , you're going to want to make the yellow cross and so flip over your cube and so that the yellow dot is facing up and then what you're gonna wanna do is look to see what you have um with respect to the yellow edges .
So you can either have the scenario where you have a dot Which is what we have here .
A yellow dot You could have the situation where the yellow edges are uh facing like if these two yellow edges were facing up , we would have the situ situation where we would have a yellow L and then you could also have the situation where um let's say this yellow was facing up and this one was where you'd have a yellow line and then at the end state , you'll have uh all yellow edges facing up so that they form a yellow cross .
So , um this is in the dot uh uh situation and so this is actually sort of the first step where you , where you have to uh the beginning step .
Um And then you , you're gonna progress where you're gonna go from the dot to the L to the line to the cross .
So you're gonna use that same algorithm um over and over to go through each of those uh sequences .
So what you're gonna do is uh with the yellow dot facing up , you're gonna do this algorithm that I call the lefty , that I call the face clock algorithm .

So looking at the front of your cube is if it's the face of a clock , you're gonna turn it uh or rotate it clockwise , then you're gonna bring up the right side , then you're gonna rotate the top clockwise , you're gonna bring down the right side , you're gonna rotate the uh top backwards .
So now you've got this white column and then you're gonna bring that down into place .
And so you can see now we've got the L situation I was talking about .
And so when you have an L , you're gonna want to take the legs of the L .
So one's pointing towards you and one's pointing to the right .
So then holding it that way , you're gonna do that face clock algorithm again .
So turn the face of the clock clockwise , bring up the right side , turn the top uh clockwise , bring down the right side , turn the top uh back .

So actually counterclockwise , and then you'll have this white column , bring that down into place and then you can see that we now have the yellow line that I was talking about .
And then when you have the yellow line , you want it to face you horizontally .
So either hold it this way or this way .
And then you're gonna do that face clock out algorithm one more time .
So turn the , the face of the clock clockwise , bring up the right side , uh rotate the top clockwise , bring down the right side , rotate the top back .
So now you've got this white line and then bring that into place and you have created the yellow cross .
OK ?
Now we're on to step six , which is what I call , aligning the TS .
And so by the TS , what I mean you're gonna do is you're gonna have this yellow cross and it's going to be aligned with the center colors like so and the TS are , you're gonna see when you flip the cube over where you see uh the letter T um on each face like .
So , so by aligning the Ts , it means that we , our cross now is aligned with the center colors .
And so that'll be the state at the end of the step .
OK .
So now we're going to align our Ts .
And so after you've created the Yellow Cross , you're gonna look at the situation to see how well your yellow cross is aligning with the center colors .
Now , sometimes it's gonna look like nothing is aligning like you have zero matches or you only have one match .
But actually , you should always be able to get at least two of the spokes of the cross to align with the center .
So if you rotate the top , you can then check and see like like here it looked like none , none of them matched .
But if you rotate the top , you can now see like oh orange aligns , this one doesn't red aligns and this one doesn't .
So we've actually got two sides aligning red and orange .
And so this is the case where , um so you always will get at least two aligning if you uh if you play with it a little bit .
And so you'll either have the case where the opposite sides align or two adjacent sides align .
So this is a case where the opposites align .
So what you want to do there is put a good side , the red side in the front here and the other good side , the orange side in the back and then what we're gonna do is this algorithm that I call the right 1 80 algorithm .
And it goes like this , you bring up the right side , you swivel the top 100 and 80 degrees 12 , you bring down the right side and then you bring back the top once , bring up that right side again , bring back the top one more time .
Now made that white column , bring that down and then you check your TS and you could see that we now have this situation where blue is aligned , red is aligned and then these are not aligned .
So now we've actually got the case where the two adjacent sides are aligned .
And when that happens , what you're gonna want to do is hold the cube .
So the good side , one good side is on the back and the other good side is on the left .
And then you're gonna do that , that right 1 80 algorithm one more time .
So you're gonna bring up the right side , you're gonna turn the , the top 100 and 80 degrees one to bring down the right side , bring back the top once , bring up the right side , bring back the top one more time , bring down that right side and then uh realign those Ts and you can see all four are , are now aligned and we've uh aligned artist .
OK .
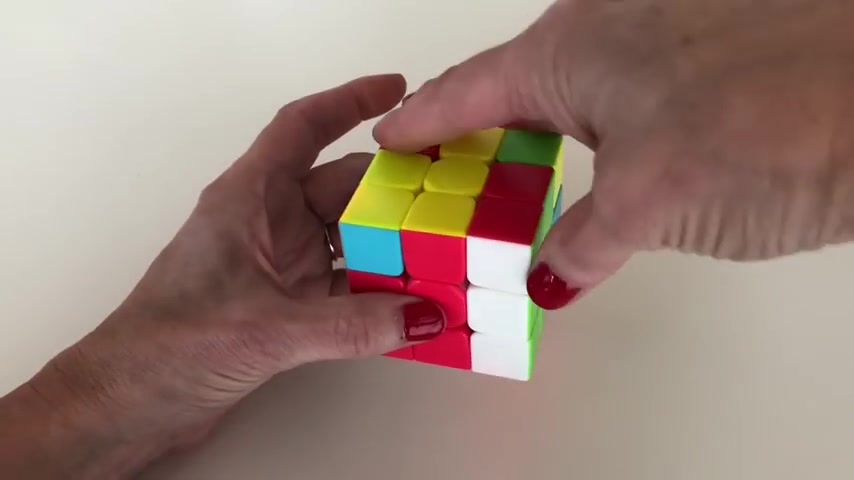
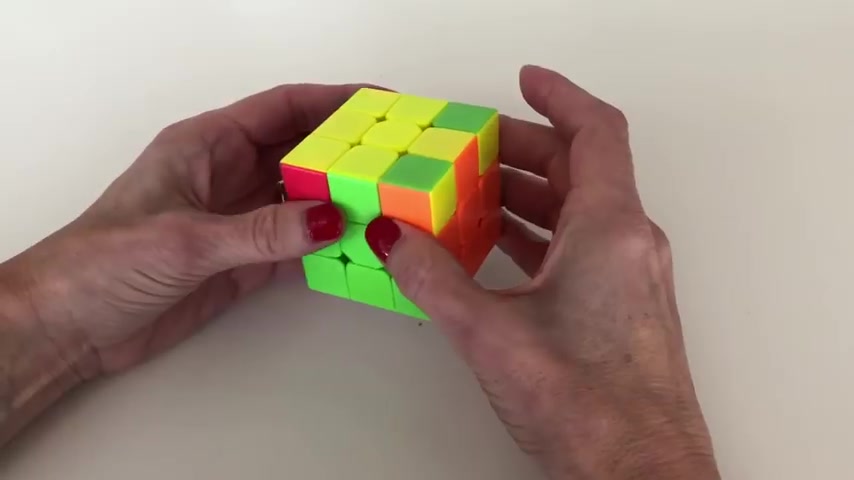
Now we're on to step seven which is placing the corners .
And so in this step , we're going to be placing the corners so that they match the colors of the centers .
Um So we're not trying to get them perfectly oriented , but we're trying to get the right colors here .
So this is between blue and red .
So we want this piece to be blue and red .
This is between this corner is between orange and blue .
So we want orange and blue .
This one's between green and orange .
So we want green and orange and this one's between red and green .
So you want red and green .
So this is what it's gonna look like when we're done with the step of placing the corners .
Ok .
So when we're trying to place our corners , the first thing we're going to do is look to see what colors we have in place .
Um We're trying to see how many of our , of our colors are correct .
And so you're gonna have the situation .
We where either all four already you got lucky and all four are already uh the right colors um in each of the corners , you could have the case where one is right or where zero are , right ?
So let's check .
So this corner um has yellow has uh orange and green , but we need orange and blue .
So that's not correct .
This one we need green and orange , but we have orange and blue .
So that's not correct here , we need red and green , but we've got red and blue .
So that's not correct .
And here we need blue and red , but we've got red and green .
So that's also not correct .
So we have four corners .
Um None of which are correct .
So we have zero good corners .
So what we're gonna do is we can hold the cube any which way so that the yellow is on top .
And we're going to do this algorithm that I call the lefty algorithm .
So you're gonna bring up the left side , you're gonna rotate the top clockwise , you're gonna bring up the right side , you're gonna rotate the top back .
You're gonna bring down the left side , this white column , you're going to bring this white piece back so that you have a white column here and then you're gonna bring that down and then you're going to realign those Ts .
So those are lined up again and then we're gonna check the corners .
So this corner is not the right colors .
That's not the right colors that isn't , but this one now is .
So we're between green and orange and this is a green and orange corner .
So this corner is now uh properly um in the right position or it's uh it's not oriented , right , but it's , it's , we placed it in the right place .
So now what we're gonna do is we're gonna put that good corner here on the right and we're gonna do that lefty algorithm again .
Bring up the left side , turn the top clockwise , bring up the right side bring the top back , bring down this white column , bring this white piece back , bring down this white column , realign your Ts and then check your corners .
So that corner is correct .
This corner is correct because it's red and green like it needs to be .
This one's got red and blue like it needs .
This one has blue and orange like it needs and then this one has green and orange .
So we now have successfully placed all four corners .
OK ?
So now we're ready for the eighth and final step of solving the Rubik's cube .
And this step is orienting the corners .
So we've already placed all the corners um so that the colors are right .
And now what we're gonna do is the final step to reposition those to fully solve our cube .
So what you're gonna wanna do is I like to hold it so that I've got some bad sides like th these are bad corn .
Actually , all four corners are bad right now .
But let's go ahead and put position it so that you've got these yellow faces facing off to the right and then holding it like this .
We're going to do this algorithm that I call the right 1 80 left 1 80 algorithm .
The right 1 80 is exactly the same algorithm that we did before when we were aligning the TS in step six .
But uh this time you do that as the first half and then the second half of uh you do the second algorithm which is the left 1 80 which is the mirror image of the right 1 80 .
So let me show you that .
So holding those yellow uh bad corners off to the right , holding the the the cube like this , we're gonna do the right 1 80 .
So bring up the right uh rotate the top 100 and 80 degrees .
Bring down the right side , rotate the top back once , bring up the right side , rotate the top one more time creating that white column .
Bring that down .
OK ?
Now , holding the cube in the same stationary , go ahead and do the same thing on the left side .
The left 1 80 bring up the left , rotate the top 100 and 80 degrees 12 , bring down the left , rotate the top um back , bring up the left , rotate it one more time , bring that down and check your corners .
You can see these corners are now good .
So let's rotate the cube , put some bad corners off to the right and let's do that right .

1 80 left 1 80 again , bring up the right , rotate this 100 and 80 bring down the right , rotate back , bring up the right , rotate one more time , bring down the right and then do the left 1 80 bring up the left , rotate 1 80 bring down the left side , rotate one more time , bring up the left side , rotate one more time , bring down the left side and we check that we still have two bad corners .
So let's do that step that step again .
The right 1 80 left 1 80 bring up the right , rotate 1 80 bring down the right , rotate back , bring up the right , rotate one more time .
Bring down the right now , bring up the left side , rotate 1 80 bring down the left , rotate one more time , bring up the left , rotate one more time , bring down the left and we have solved our Rubik's cube .
Are you looking for a way to reach a wider audience and get more views on your videos?
Our innovative video to text transcribing service can help you do just that.
We provide accurate transcriptions of your videos along with visual content that will help you attract new viewers and keep them engaged. Plus, our data analytics and ad campaign tools can help you monetize your content and maximize your revenue.
Let's partner up and take your video content to the next level!
Contact us today to learn more.