https://www.youtube.com/watch?v=-llpRt6V12A
Traditional Beginners Hatha Yoga Lesson 1 (Full Version )
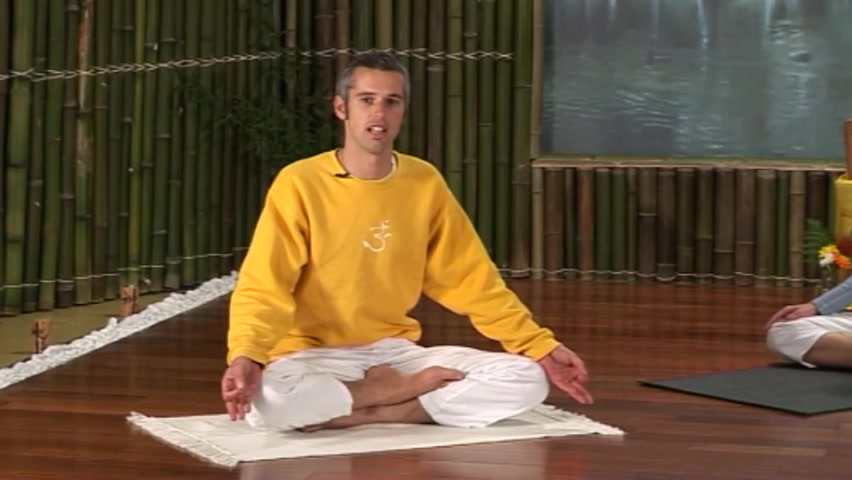
Hi , my name's Ram .
I'm from the Shiven and yoga center in New Plymouth , New Zealand .
Welcome to this beginner course series .
This is gonna be a seven class uh series starting with the first two classes just 60 minutes and the remaining five will be 90 minutes each .
So you can just start this class just lying on the back , just relaxing for a moment .
You just bring the arms and legs apart a comfortable distance with the palms facing upwards , just take a couple of deep breaths there , just feeling the abdomen rise as you inhale and fall as you exhale , just take a few deep breaths .
Just try to relax any tensions in the body .
Let go of any thoughts in the mind .
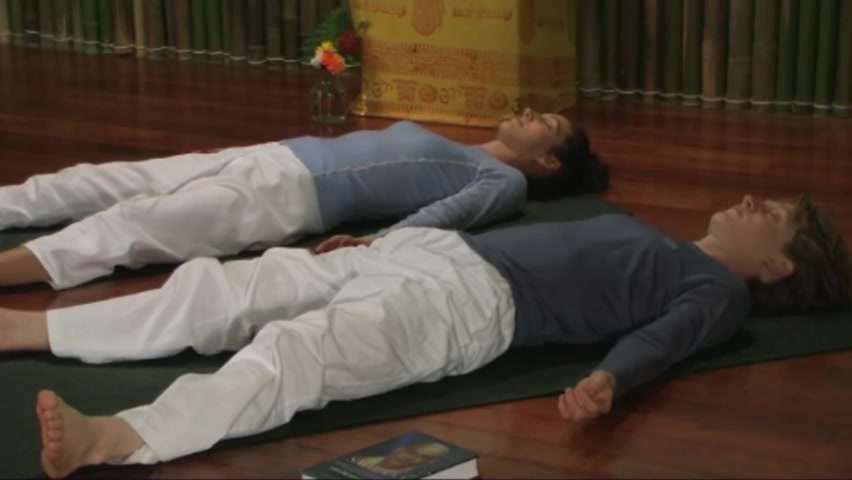
Just let yourself relax completely good and slowly bring the legs together and stretch the arms above the head .
Give the body a nice big stretch and release and gently roll to the right side and slowly sitting up .
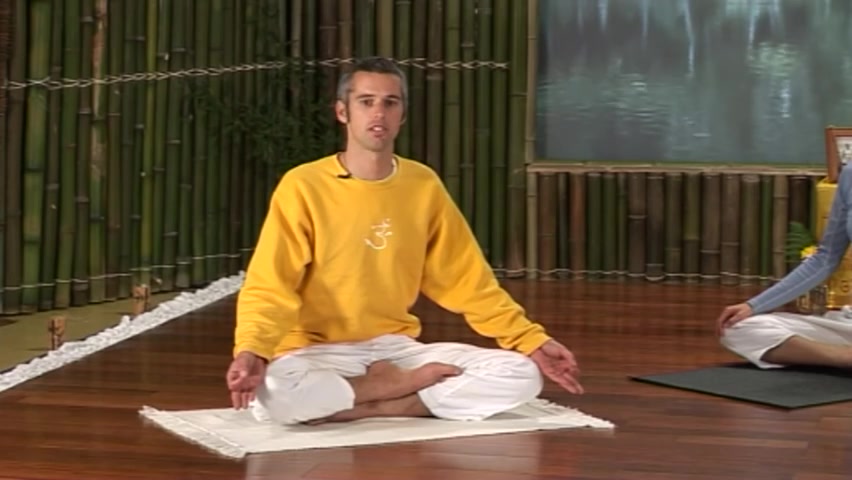
You just come to a comfortable cross leg position .
So we just began each class just with a short prayer that's in the Sanskrit language .
So this prayer is basically , it's just asking to remove any obstacles from your yoga practice .
And just saying , thank you to our teachers and to the teachers of where the yoga knowledge comes from originally .
108.379 --> 210.929
OK .
So welcome to the first class of this beginner's course .
This course is basically gonna be structured on five points of yoga , which we're calling a proper exercise through the practice of yoga , Arnas , proper breathing , through the practice of Pranay yama .
And first of all , just learning how to use the diaphragm when you breathe proper relaxation for the practice of and a guided relaxation .
At the end of each class , be learning just a little bit about proper diet and then also positive thinking and meditation .
So we'll get going straight away today just with some simple exercises called eye , neck and shoulder exercises .
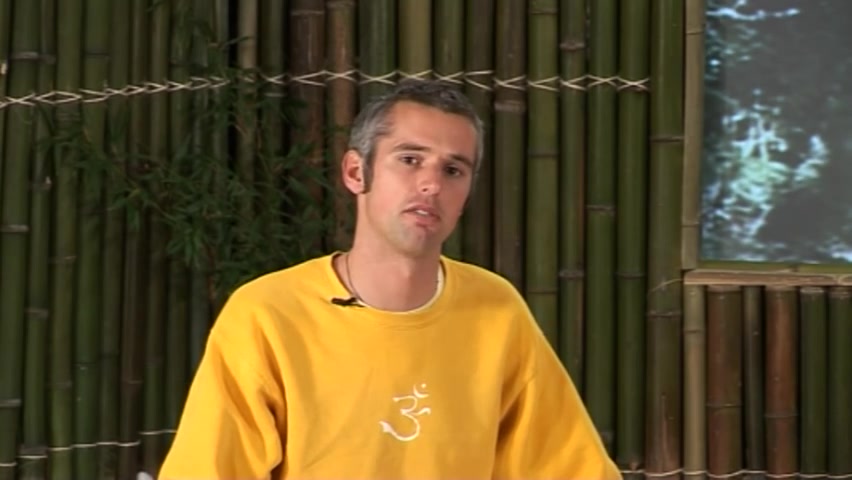
So the eye exercises we're gonna do is helping to strengthen the muscles and the eyes in each eye .
You have six sets of muscles behind each eye with time , these muscles are getting weaker and weaker .
And often if you're wearing glasses , the eyes still get worse and worse and you can knitting stronger and stronger glasses .
These exercises will help to increase the strength of your eyes .
Therefore , improving your vision .
If you do them on a regular basis , you can also get rid of your glasses if you keep up the practice for long enough .
So you start off with these exercises by sitting in a comfortable and straight position , just sitting cross leg , if you can , if you need to , you just sit on a cushion or anything to make yourself comfortable .
And we're just gonna start by making small movements with the eyes .
So here you try and keep the spine straight , the shoulders relaxed and just moving the eyes .
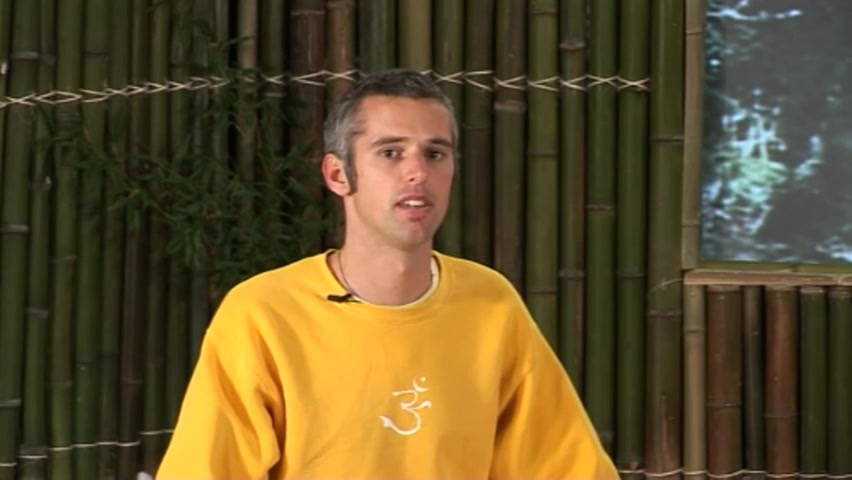
So we start off just by looking up with the eyes and looking down and looking up and looking down and looking up and looking down , looking up , looking down , looking up , looking down , looking up , looking down and just close the eyes for a moment , relax the muscles of the eyes and you open the eyes again .
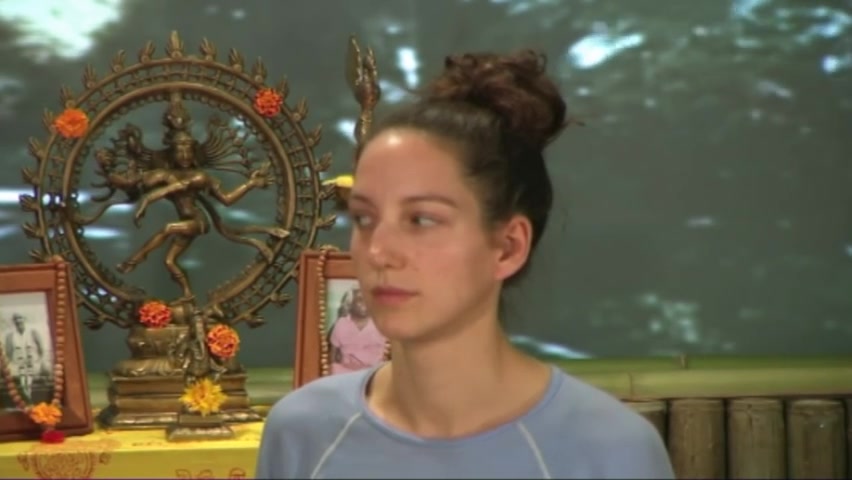
Now we look to the right side and to the left to the right , to the left , to the right and to the left , to the right and to the left , to the right , to the left , to the right and to the left and close the eyes again , relax the eyes just let the muscles of the eyes relax and opening them again .
And we go for diagonals .
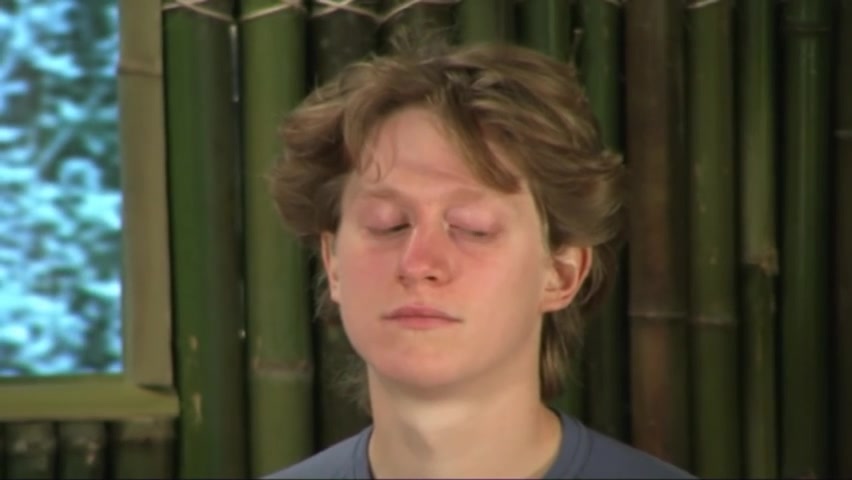
So this time you're looking a diagonal up , right and down , left up , right and down , left , up , right down , left , up , right down , left , up , right down , left , up , right down , left , close the eyes , relax the eyes for a moment .
Just feeling that stretch for the muscles of the eyes and opening the eyes would go the opposite direction .
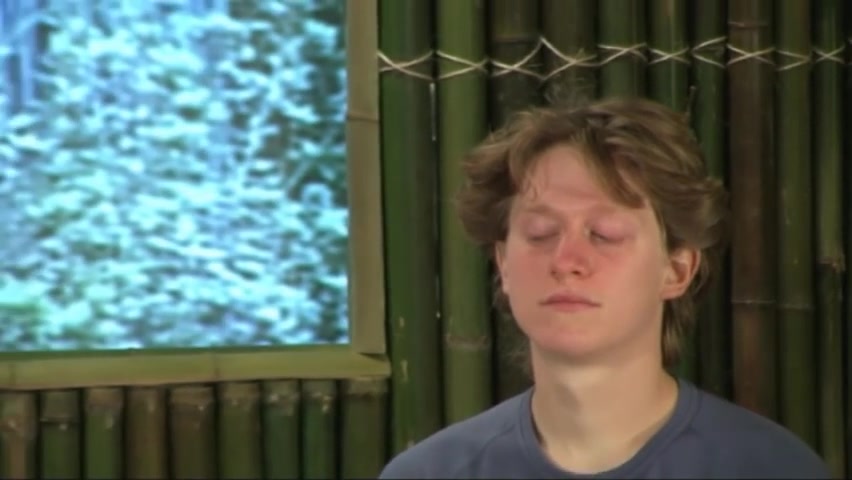
So looking up left down , right up , left and down , right up , left down , right up , left down , right up , left down , right up , left down , right up , left down , right up , left down , right and close the eyes , relax the eyes .
Then you open the eyes again and this time we make some rotations .
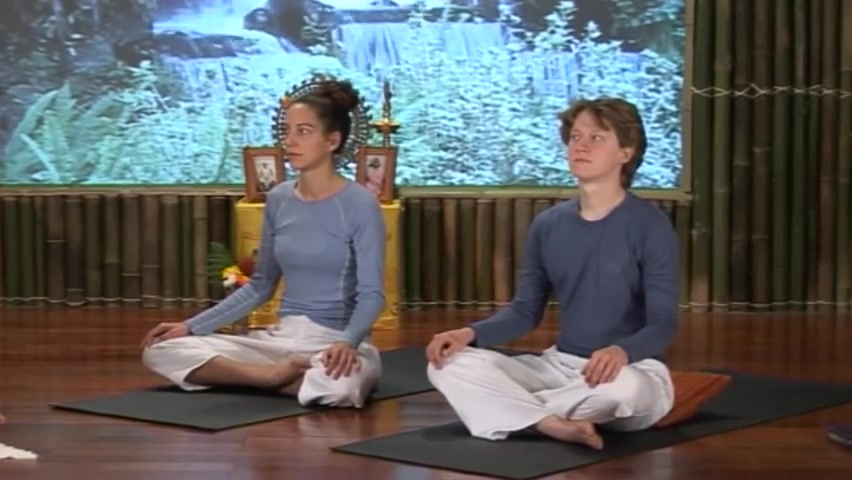
So you start by looking up into the right down and left up right down , left up , right down , left up , right down , left and we go the opposite way .
So looking up left down , right up , left down , right up , left down , right up , left down , right and close the eyes .
Relax the eyes for a moment .
Good .
And then opening your eyes again .
We just finish off this exercise .
You just stare at the tip of the nose making yourself go cross eyed , feeling a good stretch for all the muscles in the eyes there .
Just holding it there for a few seconds , feeling a good stretch in the eyes good and then close the eyes , relax the eyes and rub the palms together in the hands just trying to create some heat in the palms .
Once you have some heat there , you just cut the hands over the top of the eyes , keeping them closed , just letting the heat from the hands , just relax the muscles in the eyes and then release the hands down .
Good .
So that's the eye exercises .
These exercises are just helping to strengthen the muscles of your eyes .
So you feel as you're doing them , you're stretching the muscles there .
If you slowly increase that with time and just keep building it up , that will help to improve your eyesight with some time .
So we move on to now some neck exercises .
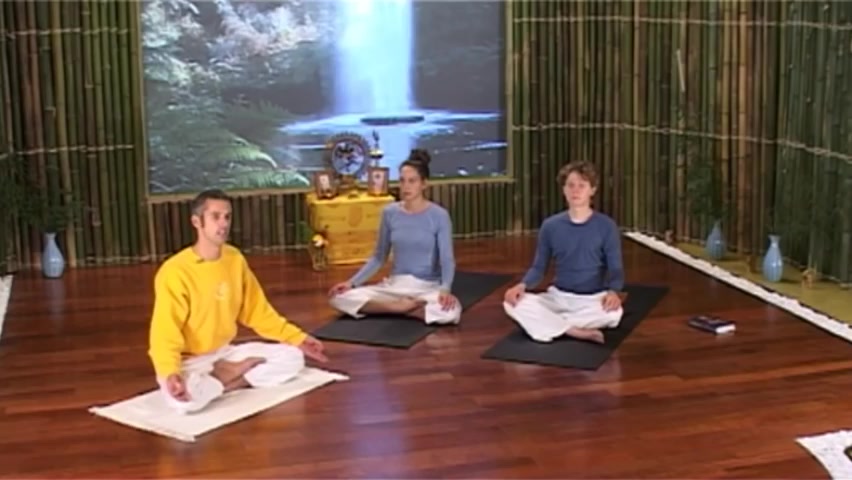
So once again , you just try and sit as straight as you can with the spine straight , the shoulders relaxed any point if you need to , you just shake the legs out in between , if it's getting difficult to sit cross leg .
And so when you're ready , you're just sitting in a comfortable position .
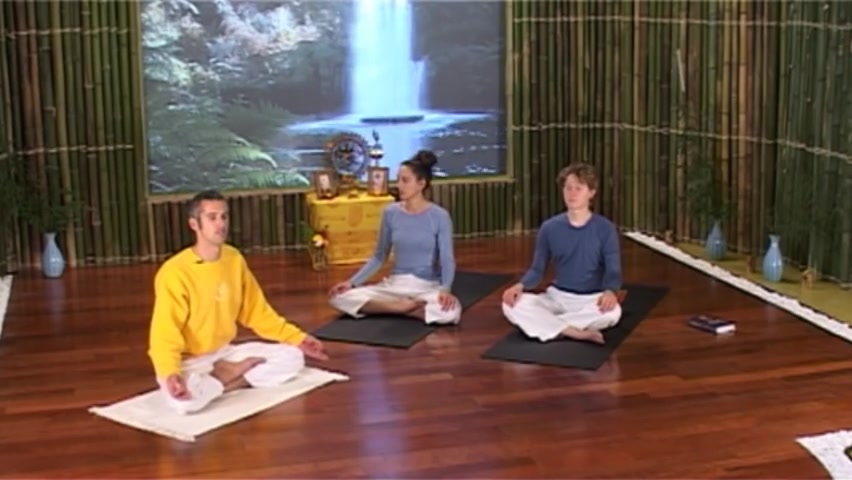
And we just start by turning the head to look slowly over the right shoulder and then over the left shoulder and over the right shoulder and over the left shoulder just keeping the shoulders still and over the right shoulder and over the left shoulder and over the right shoulder and over the left shoulder and over the right shoulder and over the left shoulder and over the right shoulder and over the left shoulder and then bring the head slowly straight .
And now you drop the right ear towards the right shoulder , just keeping the shoulder still , not bringing the shoulder up and then bringing it slowly over to the left shoulder , left ear towards the left shoulder .
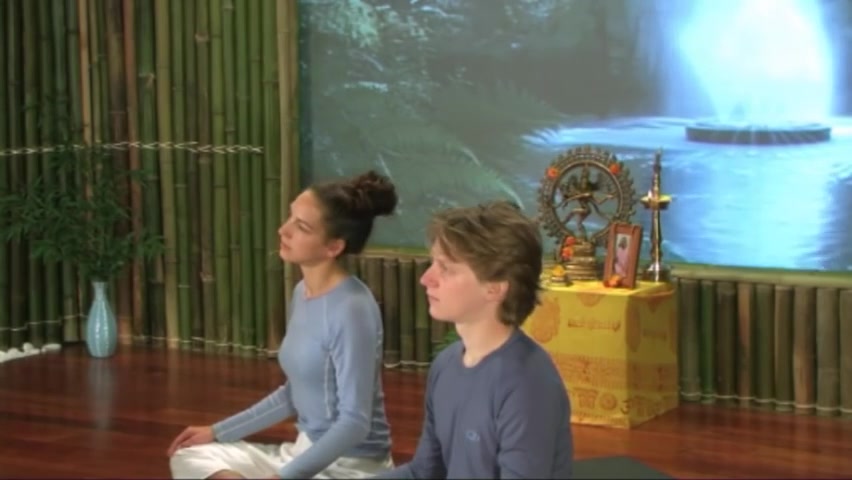
And then over to the right side and over to the left side and to the right side and to the left side and to the right side and to the left side and to the right side and to the left side and to the right side and to the left side and bring the head slowly straight .
And now we incorporate the use of the breath here .
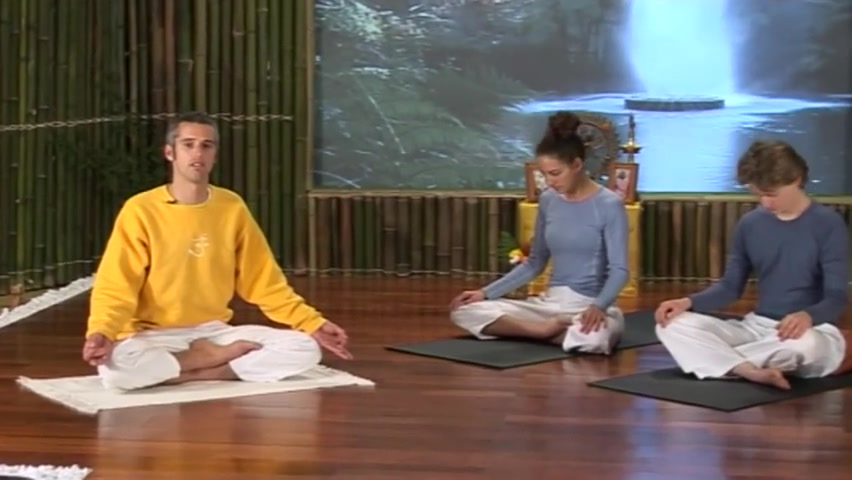
So you exhale , dropping the chin forward and down and inhaling slowly up and back , ex sailing forward and down , inhaling up and back , exhaling forward and down , inhaling up and back , exhaling forward and down , inhaling up and back .
Ex sailing forward and down , inhaling up and back .
Exhaling forward and down , inhaling up and back good and bring the head slowly straight again .
Good .
Now we go for some rotations of the neck .
So here you want to make one slow and steady movement just flowing with the breath the whole time .
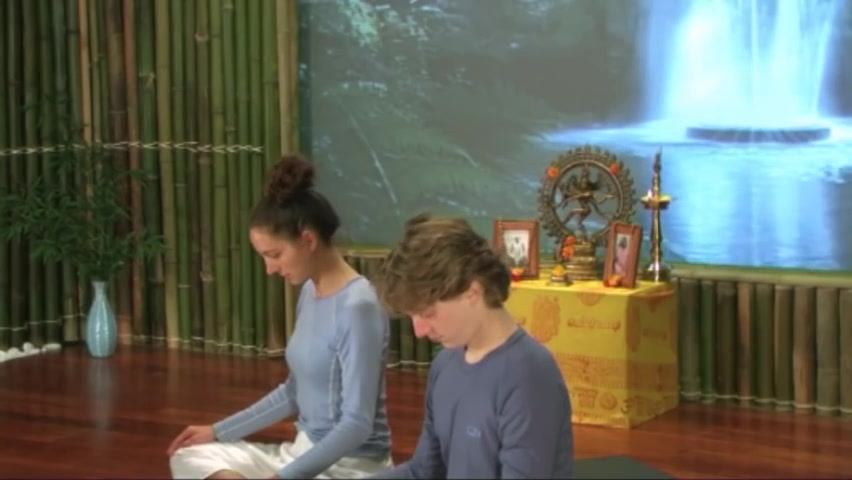
So you exhale , dropping the chin forward and down again , then inhale slowly bring the right ear towards the right shoulder and continue inhaling and bring the head all the way back .
And then you start to exhale , bring the left ear towards the left shoulder and slowly bring the chin forward and inhale slowly right and back .
Exile left and forward , inhale right and back .
Exile left and forward in inhale right and back .
Exhale left and forward .
Then we go the opposite way .
So you inhale left and back xo right and forward then how left and back .
So right and forward , how left and back .
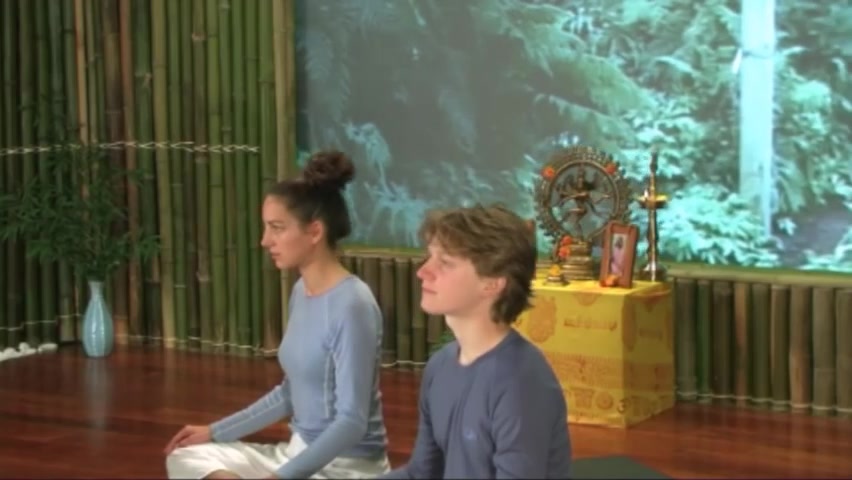
So right and forward , inhale left and back , exhale right and forward , good and bring the head slowly straight , good .
So these exercises are just helping to loosen up any tension in the neck .
We often hold a lot of tension there and also just to give a little bit of flexibility there also .
So we go now for some shoulder exercises .
So here we just start making circles with the right shoulder .
So you just wanna roll the shoulder forward , making big circles trying to keep the arm completely relaxed .
So you're just moving the shoulder , making as big a circles as you can just getting rid of any of that tension there good .
And then slowly roll the shoulder backwards , making big circles , keeping the arm as relaxed as you can .
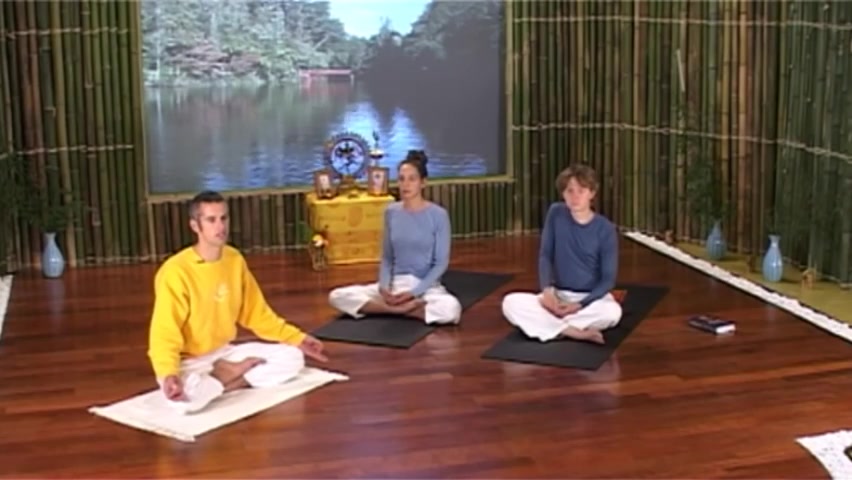
Trying not to move the whole arm just focusing on the shoulder good and then relax the right shoulder and you roll the left shoulder forward , making big circles there making them as big as you can .
Just getting rid of any of that tension there on the shoulder and then roll the shoulder backwards and making big circles backwards .
Just trying to focus on just the shoulder moving , keeping the arm completely relaxed good and then relax the left shoulder .
There we go for both shoulders at the same time .
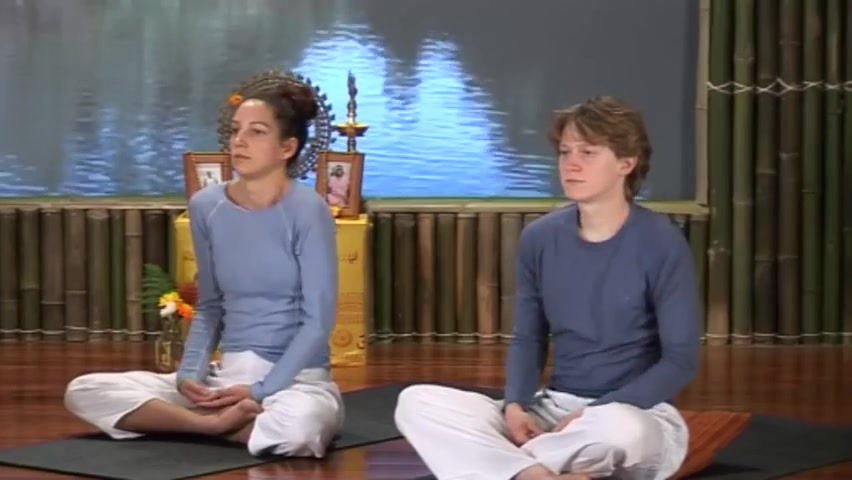
So you make big circles rolling both shoulders forward , keeping the arms relaxed good and then roll them backwards , big circles good and relax the shoulders and then squeeze the shoulders to the squeeze all the tension there as hard as you can and release and squeeze them again .
Squeeze , squeeze , squeeze and release and one more time , squeeze all the tension and relax good .
And you can slowly stretch out the legs just gently roll back on the mat for a moment into what we call the corpse posture .
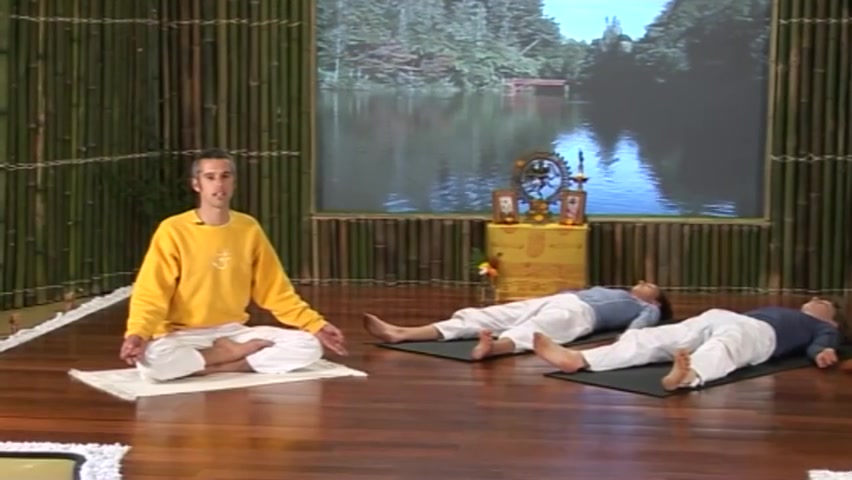
Just lying on the back with the arms and legs apart .
So the legs about a foot and a half to 2 ft apart and the arms on about a 45 degree angle with the palms facing upwards , you just take a couple of deep breaths there and just let the body relax completely .
So the eye exercises are helping to build the muscles and the eyes strengthening them , the neck and shoulder exercises just helping to release tension in those areas and just helping to give a little bit of flexibility there .
Also good .
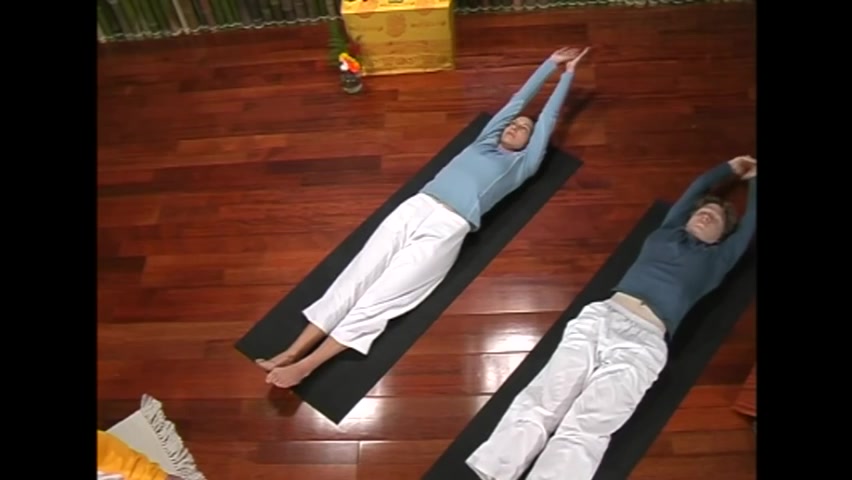
Now you slowly bring the legs together again , stretch the arms above the head , give the body a nice big stretch and you lose and you gently roll to the right side and slowly sitting up , coming to a comfortable cross leg position again .
So I mentioned at the start , we'll be talking a little bit about the five points of yoga .
The second one being proper breathing .
So we just go into that a little bit now .
So we're gonna learn an exercise called the abdominal breathing .
But before we go ahead with that , I just explain in yoga , it's always good that we're breathing through the nose .
The reason for that being is because the nose has the filtering system inside it already with the nose hairs and the mucous membrane , these two things are helping to filter out any impurities or dust in the air that you're breathing in .
Also , when you breathe through the nose , it's helping to regulate the temperature of the air coming in .
So when you're breathing through the mouth , you have all sorts of impurities coming in , straight into the lungs from the air that you're breathing and also the temperature of the air .
If you're in a cold environment , you can feel that the air comes in as quite cold .
So it's always a good idea to breathe through the nose , not only in yoga , but just in your life in general .
So in yoga , we're gonna start with the abdominal breathing .
This exercise is just a beginning exercise to learn how to breathe properly , just using the diaphragm .
So due to poor habits , poor posture , uh poor habits and breathing , etcetera , we tend to develop poor breathing habits and to counteract this , we learn a few exercises just to help to use the lung capacity correctly .
So for the abdominal breathing , we're gonna learn how to use the lower portion of the lungs breathing from the abdomen .
So here if you like , you can just place one hand on your abdomen and just sit as straight as possible .
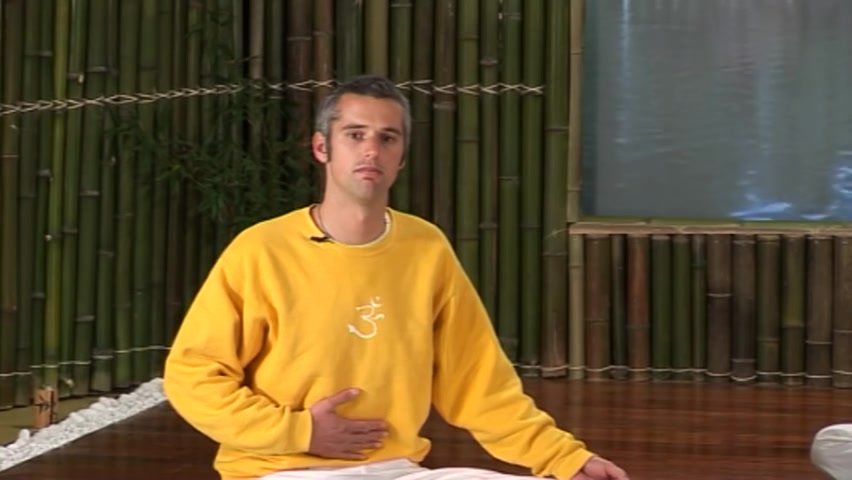
And here as you inhale , you just try and feel the abdomen blowing out like a balloon and exhale , pull the abdomen in how blowing it out .
Exhale , pulling it in .
So here you wanna focus on just the abdomen moving .
So you're trying to use the lower portion of the lungs here where the abdomen and the lower back are , the lungs are coming all the way down there and down a little bit lower .
We're just working with this portion of the lungs today .
This is a good place to start .
Just to learn how to use the diaphragm .
When we breathe in the future classes , we'll be taking a little step further .
Good .
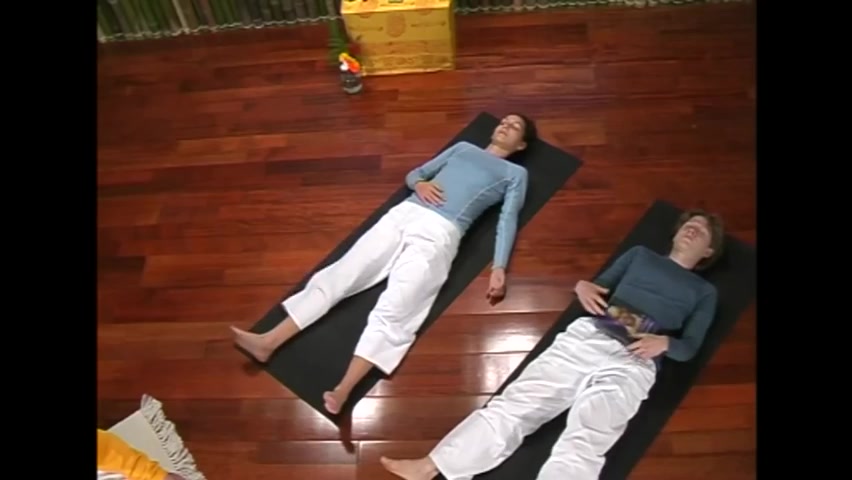
If you like , you can try this one lying down on your mat , you can either continue to place your hand on the abdomen or if you have a book handy or something , you can place a book on the abdomen .
If you have the book , it's quite a good way because you can feel the abdomen and the ear coming in , rising the book up and you slowly let it rise down .
So just taking deep breaths as you inhale , feel the abdomen rise , moving the hand up or the book up and as you exhale , you let it sink down in how rising it up , exhale , letting it sink down , taking as deep a breath as you can just filling that lower portion of the lungs of each inhalation and exhaling completely , pulling all the oxygen out good .
So this is what we call abdominal breathing .
And in the next class , we take this one step further to what we call the full yogurt breath .
But for today , this is a good place to start good .
And you can slowly bring the legs together again and stretch the arms above the head .
Give the body a nice stretch and you gently roll to the right side and you can slowly set up again .
Ok ?
And so I also mentioned the first point of yoga that we're learning is proper exercise through the practice of yoga Arnas .
So yoga Arcena is a scientific posture , which is steady and comfortable and you're helping here to move the circulation of blood from one area of the body to another and increase the circulation in general .
Also , the Yoga Arnas are helping to stretch , strengthen and tone the muscles of the body .
And it's also providing a good simulation for your internal organs here .
So now we're gonna go for some simple leg raising exercises .
These exercises are just helping to stretch and strengthen the muscles of the legs , the hamstrings and the calf muscles and also help to build your core strength for the abdomen and the lower back muscles .
So we're gonna demonstrate these here with and Brian here and then you can go ahead and try them at home afterwards .
So you just watch first .
So you just start by lying down on the map .
The palms facing down the arms alongside the body .
You want the chin slightly tucked in towards the chest and the shoulders to be relaxed , the feet and legs are together , we start with just some single leg raises .
So here you inhale , slowly lifting the right leg up .
You want to make sure that the knee stays straight .
You just come with the leg as far as you can keeping it straight and you exhale slowly down and inhale the left leg up , just keeping everything relaxed , just making sure that the knee stays straight and exhale slowly down good .
So we do a few of these .
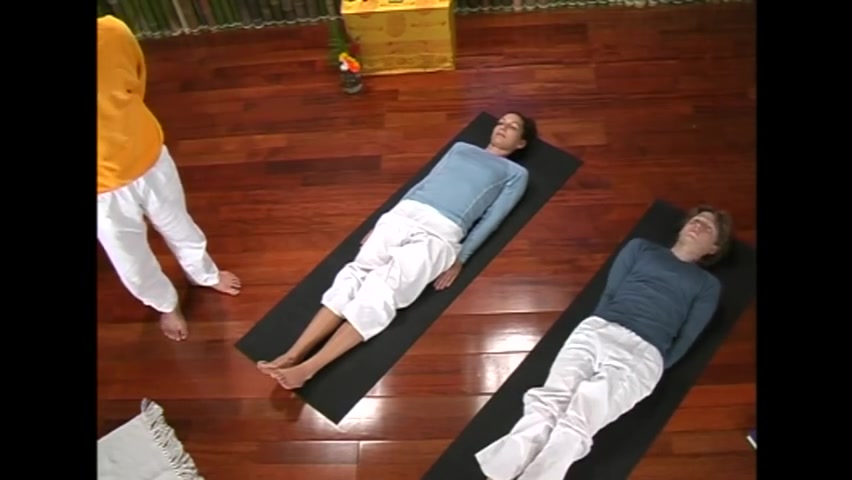
It's important just to come up as much as you can comfortably .
So you don't try and come too far and bend the knee .
You just come up wherever you can get to comfortably keeping the legs straight and then we go for some double leg raises .
So here if you can , you keep the arms alongside the body of the palms facing down .
If you have any trouble with the lower back or a weaker abdomen , you may need to bring the hand underneath the buttocks .
So you just slide the hands underneath there , keeping the elbows straight and this just helps to support the back here .
You once again want the chin tucked in towards the chest .
You want to keep the shoulders and everything else relaxed .
So here we're slowly inhaling , lifting both legs up just to 90 degrees , making sure , the lower back stays on the ground and exhale slowly down and in and exhale down once again , trying to keep the legs as straight as you can .
Ok .
So we'll try this one at home now .
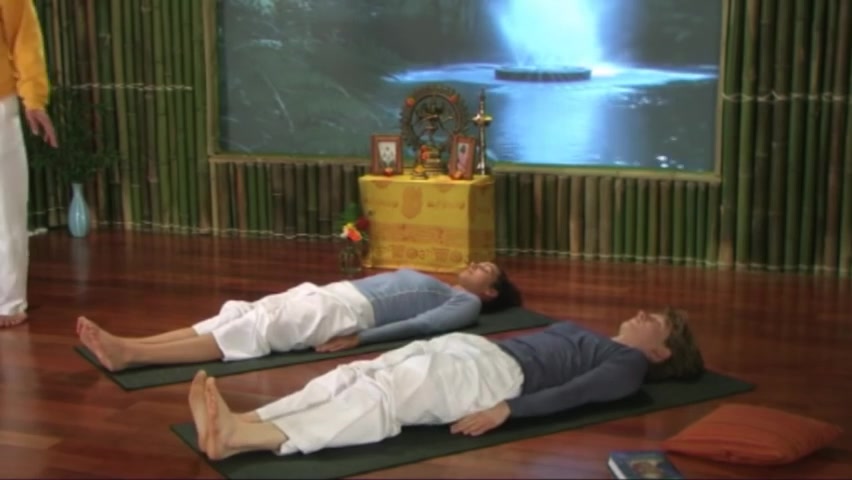
So you can lie down on your mat and you bring the arms alongside the body with the palms facing down the feet and the legs are together and we starved to single leg raises .
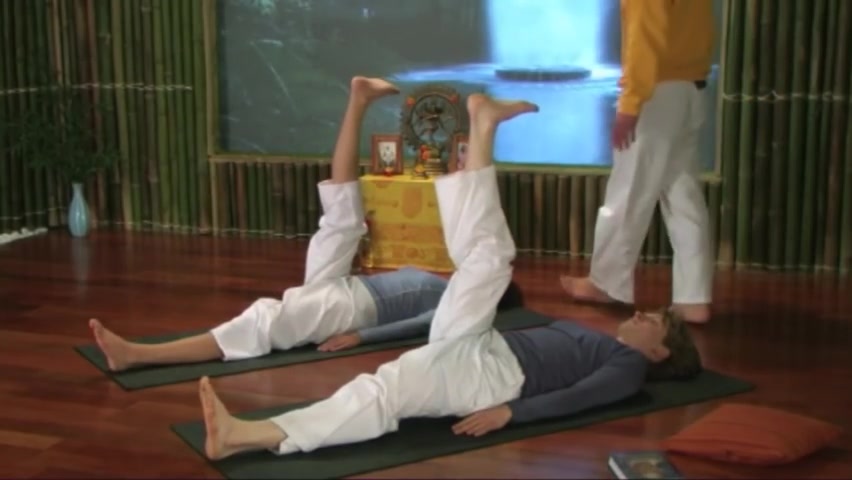
So when you're ready , you're slowly inhaling , lifting the right leg up , keeping the knee straight and exhale down in how the left leg up and exhale down in how the right leg up , knees straight and exhale down in how the left leg up , exhale down in how the right leg up , exhale down in how the left leg up , exhale down in how the right leg up , exhale down in how the left leg up , exhale down in how the right leg up , exhale down in how the left leg up , exhale down good .
Just relax there just for a second , just take a deep breath there .
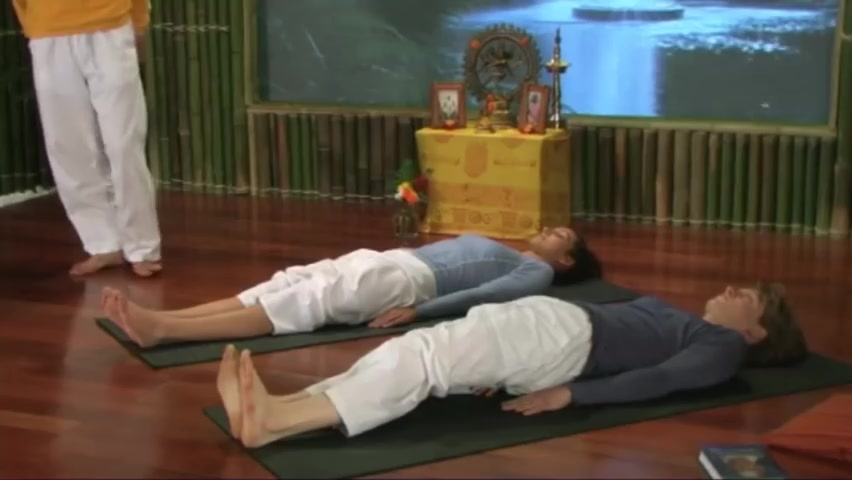
Now we go for the double leg raises .
So if you have any trouble with the lower back , you can bring the hands underneath the buttocks .
If you want , you just try it with the arms alongside first .
And if it's too difficult , you can always slide them under them .
So just making sure the feet and the legs are together , the chin is slightly tucked in towards the chest and the shoulders are relaxed .
And when you're ready , you slowly inhaling , lifting both legs up and exhale down , inhale up just to 90 degrees and exhale down , inhale up and exhale down , inhale up , exhale , down , inhale up last one and exhale slowly down good .
And you bring the arms and legs apart again , just take a few deep breaths there and relax just for a moment .
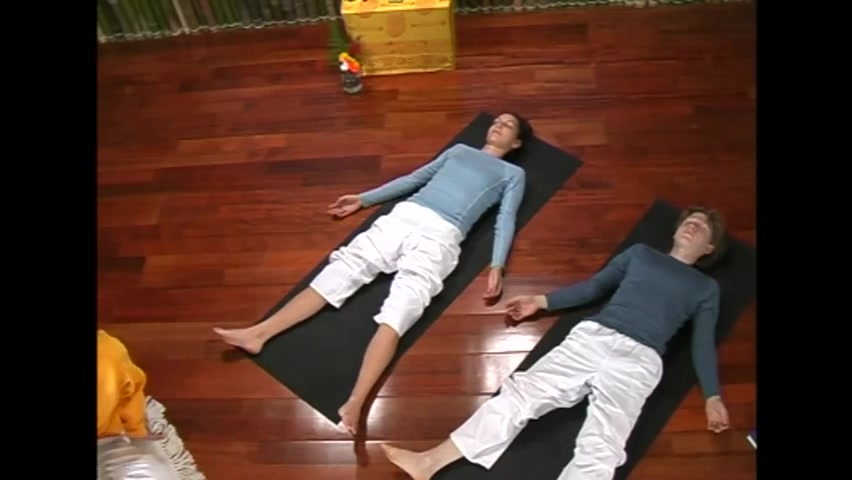
Just bringing that focus once again back to the abdominal breathing , just feeling the abdomen rise as you inhale and slowly let it fall .
As you exhale good .
You're slowly bringing the legs together again , stretch the arms above the head , give the body a nice big stretch and release and then you generally roll to the right side and slowly sitting up , coming back to a comfortable city position .
Good .
So we talked a little bit about just proper exercise that we're gonna be going into at the start of the class .
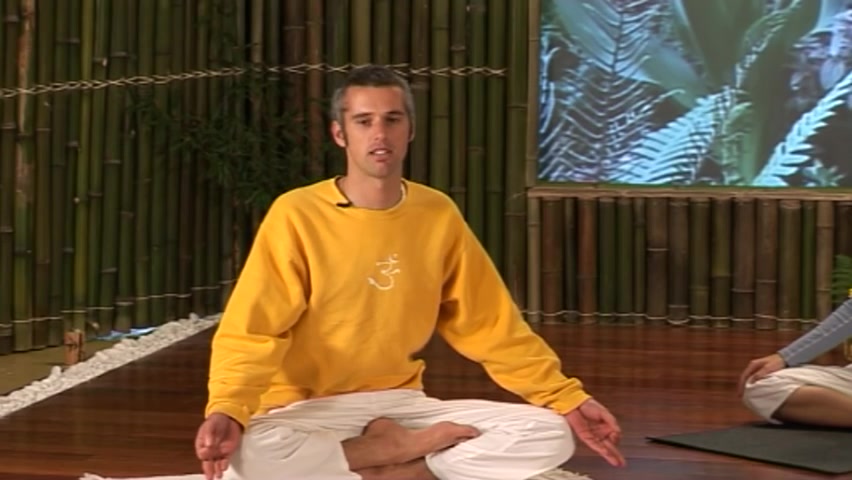
So the proper exercise is through the practice of yoga , Arnas , a yoga Asena is a scientific posture , which is a posture which is steady and comfortable when you're holding it .
These Arnas are helping to increase the circulation in the body and particularly it moves the circulation of blood and concentrates it to one area .
And in doing this , you're helping to strengthen and tone the muscles of your body and also increase the flexibility .
So we're gonna go ahead and learn the first yoga arsenal today , which is called the shoulder stand or Southern Garcia and Sanskrit .
So we're gonna demonstrate this one here with Brian and Gager here first and then you can try it at home afterwards .
So you just watch here first .
So for the shoulder stand , you start in a similar way to the double leg raises , you start lying down on the back , the arms are alongside the body palms facing down the feet and legs together and the chins slightly tucked in towards the chest .
Here , you slowly inhaling , lifting both legs up .
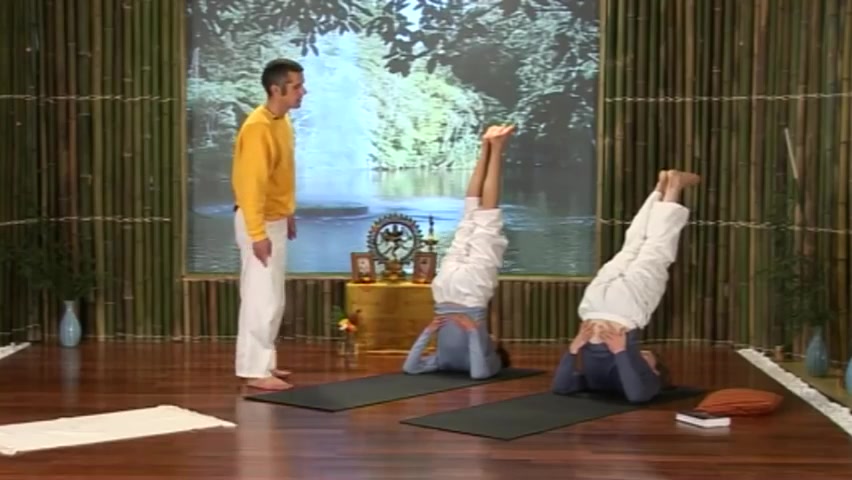
You keep inhaling , lifting the hips up and you bring the hands to support the back .
So here you want to make sure that the fingers are pointing inwards towards the spine and the thumbs are coming around the side of the body .
If that's a little bit difficult to come up like this one , you can also try just rolling up like a ball .
So you just start just from sitting up and just bringing the knees into the chest , bending them , just rolling yourself back , just like a backwards roll and bringing the hands to support the back once again .
So from here , you wanna make sure that the feet and the legs are completely relaxed , they're together but relaxed , the muscles in the face relaxed .
You also want to try and bring the elbows as close together as you can bring the hands as far down the back as you can .
If you like , you can also try to bend the knees in towards the forehead from here .
It's easier to bring the elbows closer together and the hands further down the back towards the floor and then you come up straight as much as possible .
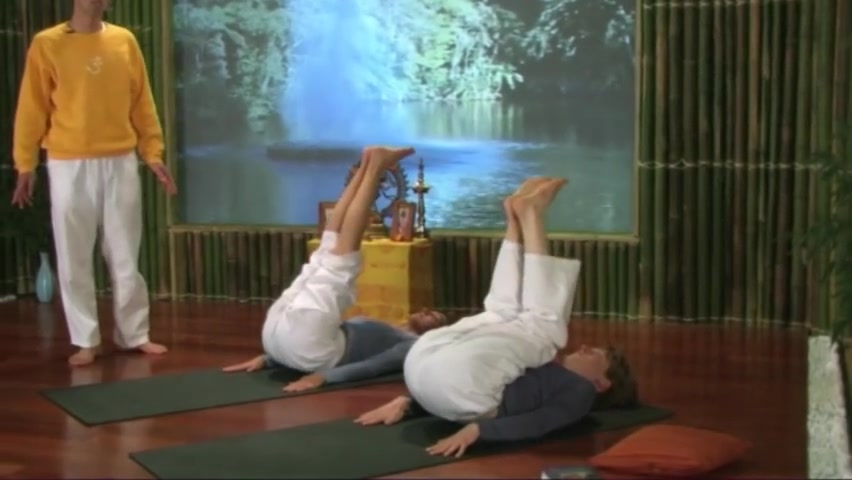
You want the trunk to be as straight as you can , the legs to be as straight as you can .
But wherever you get to at first is fine , even if you're coming with everything quite bent and the feet are quite far back .
That's ok .
Wherever you get to is fine .
Wherever you're comfortable is ok .
It's always important when you hold the yoga , Asena to only stay as long as you're comfortable , never go to the point where you're in any discomfort or pain to come down from this arsenal , you bring the legs behind the head to about a 45 degree angle .
You release the arms flat down on the mat , using the arms as brakes , you slowly roll yourself gently vertebrae by vertebrae coming down .
If you can do it with the legs straight , that's good .
Otherwise you can always bend the knees and just bring the feet down like this good .
So the shoulder stand is an excellent Asena .
As you're getting a rich circulation of blood in the throat area , this is stimulating the thyroid gland .
The thyroid gland is helping to supervise the other glands in the body .
So this is helping with the growth and development of the body .
It also helps to increase the circulation of blood and help to keep the heart rate at a steady comfortable rate .
Also , you're getting a good stretch for your neck and shoulders and it helps to elongate the spine also .
So you can try this one at home now .
So you just lie down on your mat , on your back .
You bring the arms alongside the body with the palms facing down the feed and the legs together , the chin tucked in towards the chest .
Slightly from here , you inhale , lift your legs up the hips up and bring the hands to support the back .
If you have a little trouble with that one , you can also try just bending the knees and just doing like a backward roll and then coming up that way .
So from here , you just take a moment to let the body adjust , just take a few deep breaths , focusing on that abdominal breathing , breathing as deeply as you can .
If you need to make some correction to yourself , you can always bend the knees to the forehead from there .
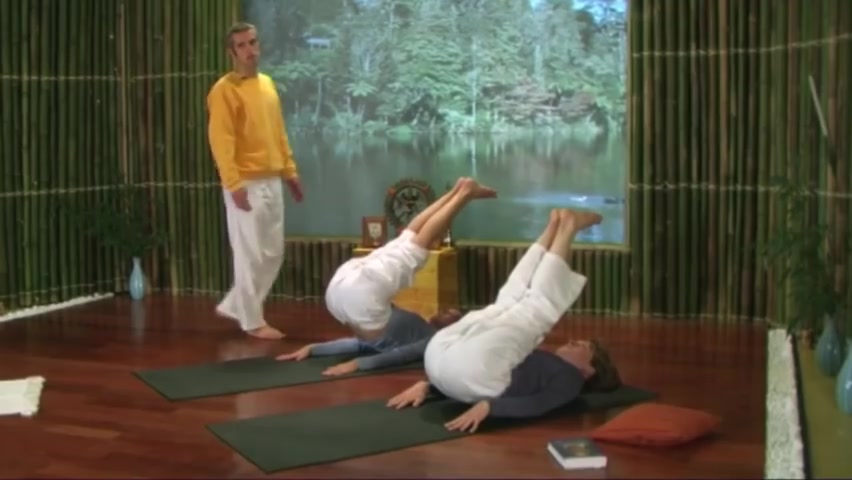
You just try and bring the elbows a little closer together , the hands a little further down the back and then coming up straight .
Once again , just taking a few deep breaths .
Yeah .
Only hold it as long as you're comfortable bending the knees to the forehead is also a good place just to take a little break .
If you want to just bend the knees there for a moment and then you bring them back up once you've taken a little rest , God , and now we come down from the posture slowly .
So you lower the legs to about a 45 degree angle behind the head and release the arms flat down on the mat and slowly using the arms as brakes .
You roll yourself down gently , vertebrae by vertebrae .
If you need to , you just bend the knees and bring the feet down .
Otherwise try and keep the legs straight and just bring the arms and legs apart again , take a couple of deep breaths there and relax .
So the shoulder stands also an inverted posture .
So this is giving some relaxation to your heart as the blood is flowing freely downwards towards the skull and brain .
Good .
We try this one once more .
So you just bring the arms alongside the body again , the palms facing down the feed and the legs together and keeping the chin slightly tucked in towards the chest .
And when you're ready , you're slowly inhaling , lifting both legs up , you bring the hips up and bring the hands to support the back .
So just making sure that the fingers are pointing inwards towards the spine , the thumbs are coming around the side of the body just taking a few deep breaths there .
And then if you feel you need to make some correction to yourself , you can just try and bend the knees down .
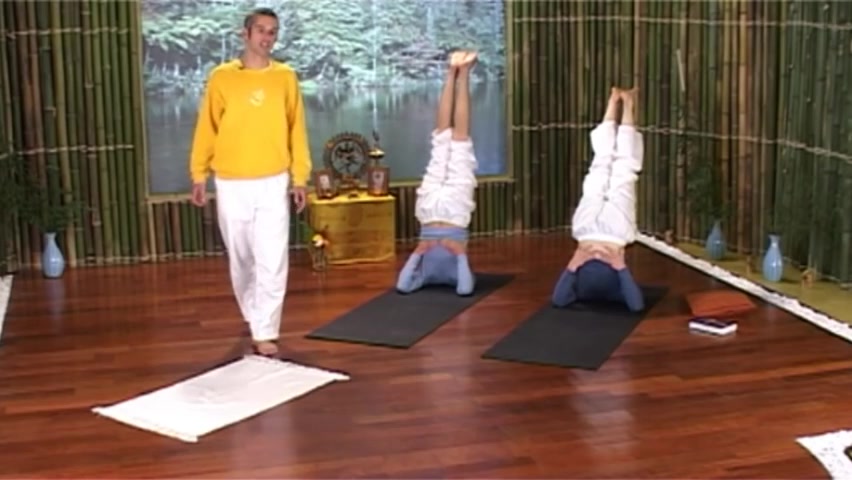
If you want , you try and bring the elbows a little closer and the hands a little further down the back and then coming up straight , once again , just bringing all the focus to the breath , the abdominal breathing , breathing deeply , just trying to let the body relax as much as possible .
Good .
And then we get ready to come down .
So you slowly lower the legs a 45 degree angle behind the head , release the arms flat down on the mat and slowly roll yourself down , gently , gently vertebrae by vertebrae , uh and slowly coming down with the legs and bring the arms and legs apart , take a few deep breaths there and relax .
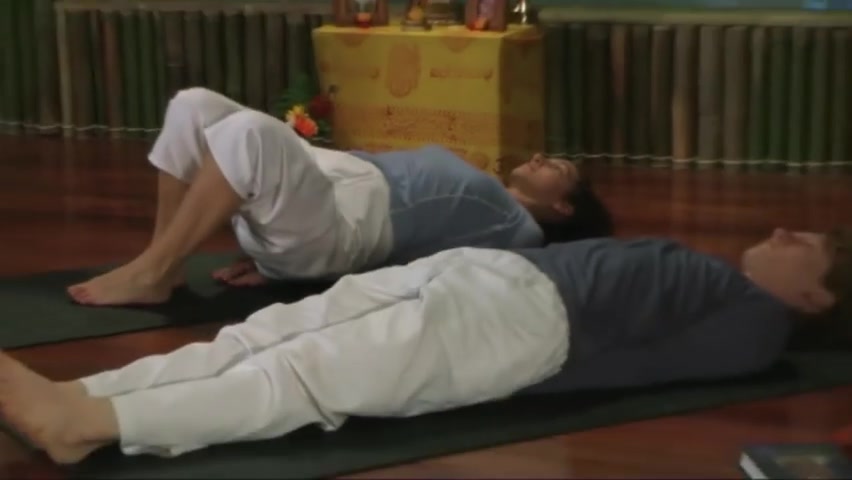
It's always a good idea just to have a short relaxation in between each Arna , just gives the body a chance to relax the muscles to relax and also lets the benefits of the Arna just sink in good and slowly bring the legs together again , stretch the arms above the head , give the body a nice big stretch and release and then gently roll to the right side and slowly sitting up again .
So when we do the yoga , we want to as much as possible keep the balance in the body .
So if we're doing one arse and a bending one way , we generally do a counter posture and bend the other way unless we're doing a balancing stretch from the left side to the right side .
So in this case , the shoulder stand has a counter posture called the fish or mats , Asena .
So we're gonna demonstrate this one for you and show you first and then you can try it at home afterwards .
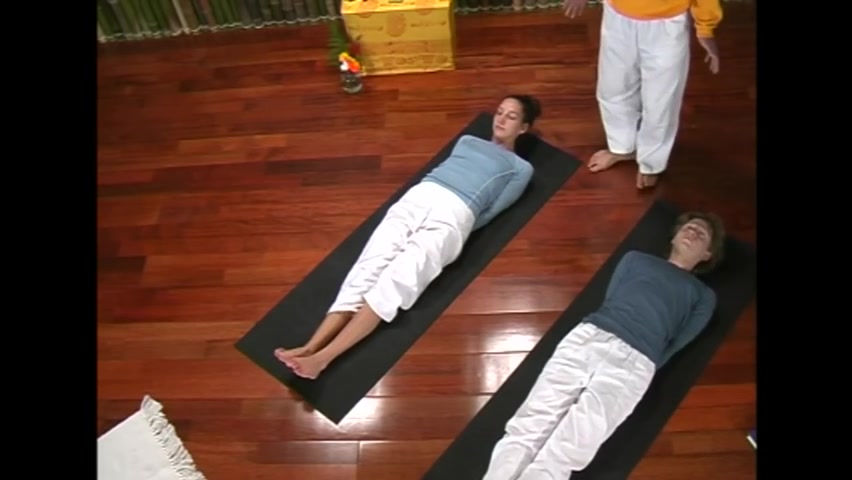
So this one you start by lying on the back and here you try and bring the arms underneath the body with the elbows as close together as you can .
So you're keeping the arms straight and the palms facing down from here , you push down on the elbows , inhaling , lifting the head up to look towards the toes .
So you're bending the elbows and then you push the chest up , high , opening it and drop the head slowly back on the map .
So here it's important that all the weight , almost all the weight is pushing down on the arms and the elbows , the head just has a very small amount of weight on it .
Only the feet and the legs are together but completely relaxed .
What happens here in this Arcena in the shoulder stand , you are bending the shin inwards here , you're stretching the throat outwards .
So this is strengthening your thyroid gland here before you were giving good stimulation and a rich supply of blood to this area .
Now , you're stretching at the opposite direction .
Also having the chest pushed up open wide , the respiratory system is wide open here .
So it's important to breathe deeply .
So this Asena is giving the good counter stretch for the shoulder sand .
And also this is extremely good for the respiratory system .
This is good for any breathing conditions like asthma or so on .
This is also very good to release the tension in the neck and the shoulders .
So to come out of this posture , you push down on the elbows , slowly , inhaling , lifting the head up and exhale slowly down .
It's important as much as possible just to try and keep the feet and legs relaxed , not tensing there .
So we try this one at home now , so you can lie down on your mat .
Once again , you try and bring the arms underneath the body .
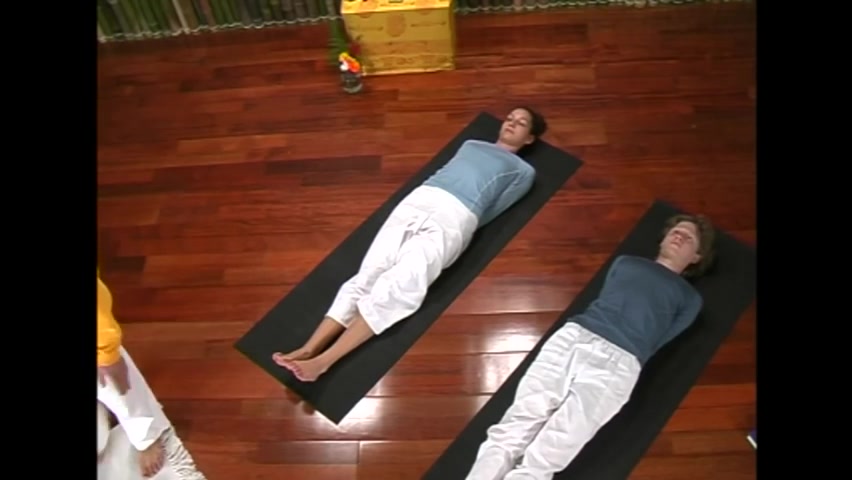
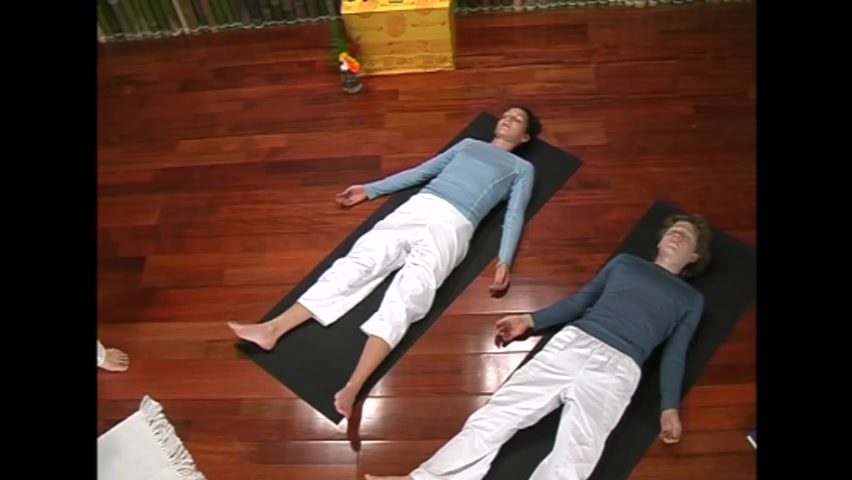
So you may need to rock from side to side once or twice just to bring them under , trying to get the elbows as close together as you can keeping the arms straight and the palms facing down and here with the feet and the legs together , you slowly push down on the elbows , inhaling , lifting the head up , trying to bend the elbows forward and then pushing the chest up high , dropping the head gently back on the map for all the weight pushing down on the arms and the elbows of the head just gently resting there , the feet and the legs are completely relaxed and breathing deeply here , just taking a few deep breaths , feeling the abdomen rise as you inhale and let it fall as you exhale good .
I'm pushing down on the elbows slowly , inhaling , lifting the head up to look towards the toes .
And exhale down , bring the arms and legs apart just for a moment .
Just take a couple of deep breaths .
There we do this one once more .
Just relax just for a moment .
Good .
And we go once more .
So when you're ready , you bring the arms underneath the body again , the palms facing down , trying to bring the elbows as close together as you can really to get them under there , keeping the feet and the legs together .
You inhale , pushing down on the elbows , lift the head up to look towards the toes , opening the chest up wide and drop the top of the head gently back on the map .
All the weight is pushing on the arms and the elbows and the feet and the legs are completely relaxed .
Breathing deeply here , taking deep breaths , feeling the abdomen rise as you inhale and fall as you exhale .
Breathing deeply good .
I'm pushing down on the elbows again .
Slowly inhaling , lifting the head up and exhale slowly down good .
Then you bring the arms and legs apart again .
Just take a few deep breaths .
You can roll the hair gently from side to side once or twice and relax .
So the fish ma Ana is giving a counter stretch for the shoulder stand .
It's helping to strengthen the thyroid gland , also releasing the tension in the neck and shoulders and it's extremely good for the respiratory system .
Let's take a few deep breaths and relax just for a moment .
Ok .
Good .
So you can slowly bring the legs together again and stretch the arms above the head .
Give the body a nice big stretch and release .
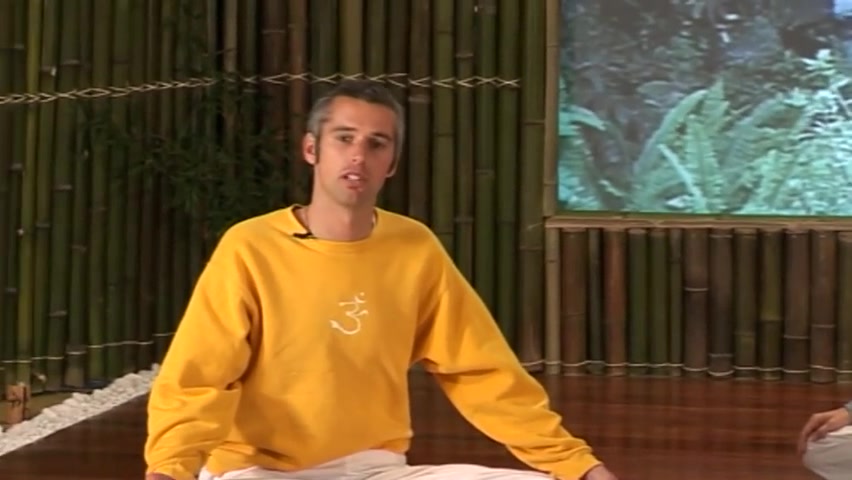
Then you gently roll to the right side and slowly sitting up , coming to a comfortable cross leg position again .
So we've talked a little today about proper exercise from the practice of yoga , Arnas .
We've talked a little about proper breathing and we just talked briefly about proper relaxation , proper relaxation is very important because most of us are leaving a very sort of stressful life these days .
And we have a sort of false idea of what relaxation is .
Most people are thinking just sitting in front of the TV , having a glass of wine or something is relaxation .
But this isn't giving you proper relaxation and yoga , proper relaxation is what we call relaxing the body , the mind and the soul .
So in order to do this , we have a posture called or the corpse posture .
And then we go through a small guided relaxation where we relax each part of the body internal and external .
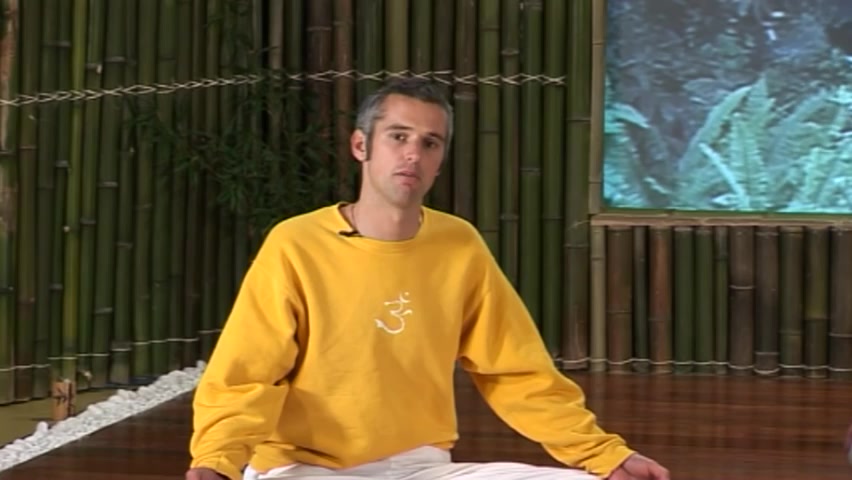
And then we also try and relax the mind afterwards .
So we're just gonna demonstrate what we do for a final relaxation at the end of each class .
And then you can go ahead and we'll do it with you afterwards .
So you just watch Brian and Gunga here first .
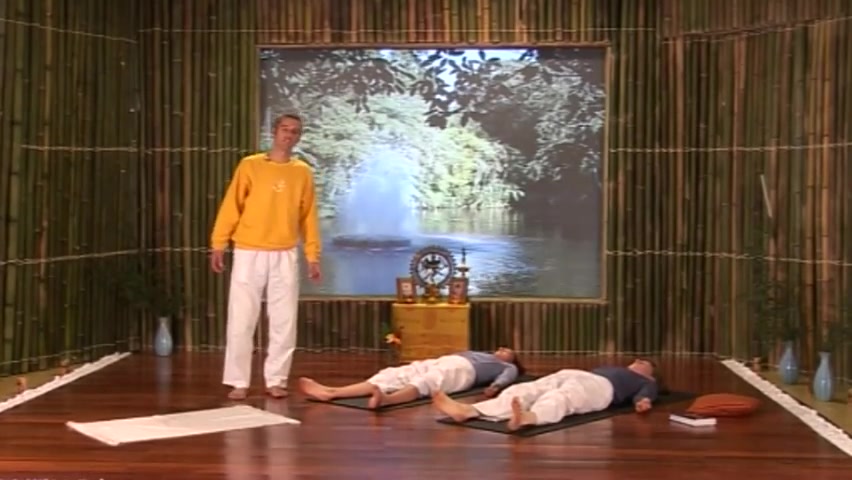
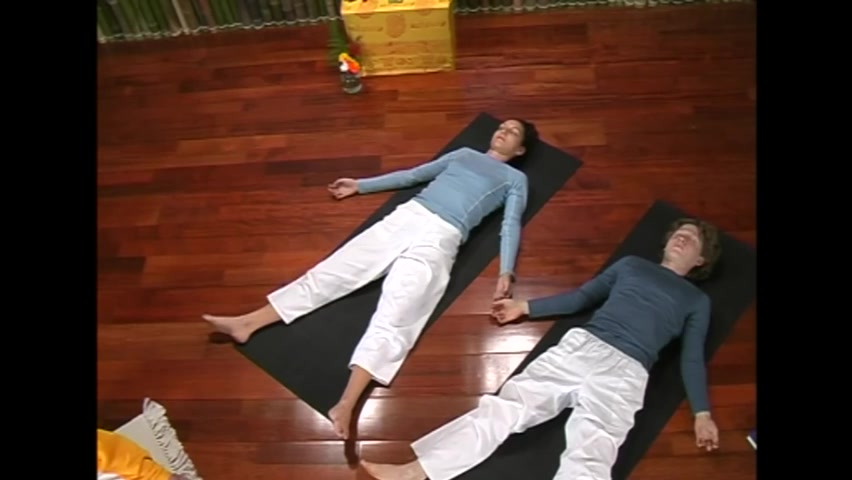
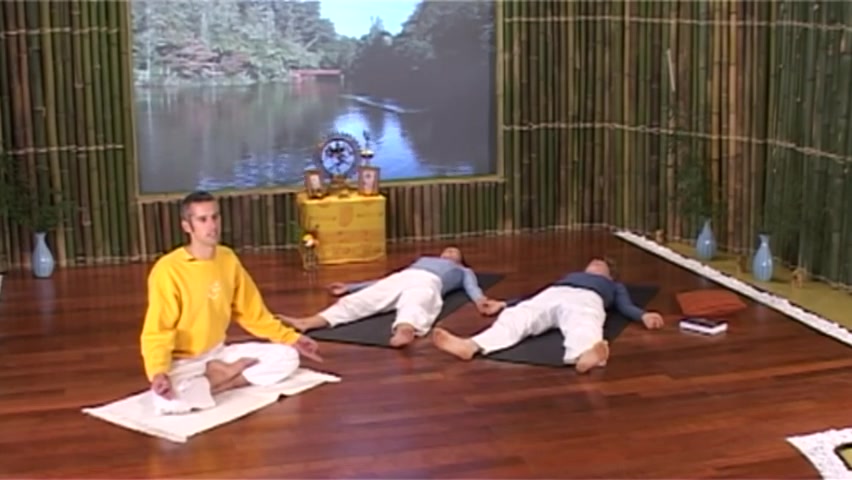
So you start by lying on the back in seva or the cop's posture here .
You want the body to be completely free and relaxed on the floor .
It's good for the feet to be around a foot and a half to 2 ft apart .
The arms on about a 45 degree angle from the body and the palms facing upwards , everything should be completely relaxed and no tension anywhere at all .
So , first of all , we start by tensing the various parts of the body , it's a good idea to tense them first and then you get rid of any of the tension that's already there .
And also the muscle understands to relax .
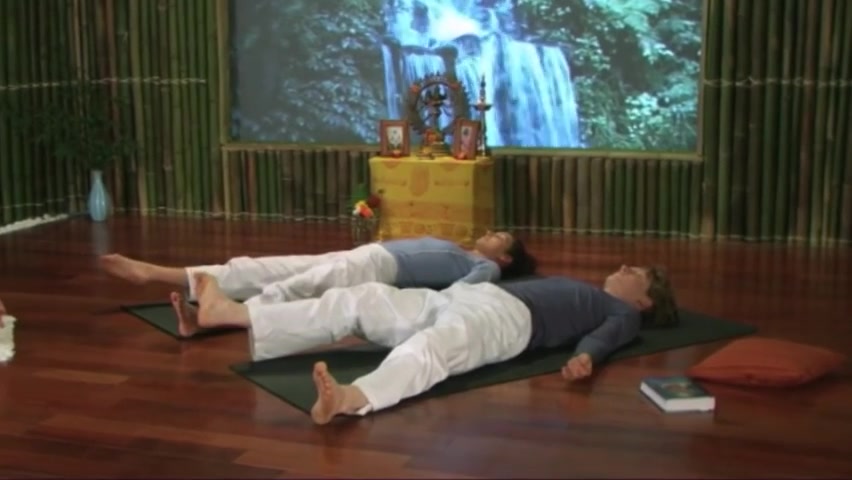
So we start by lifting the right leg up a couple of inches , you tense it stretch it and then just let it drop , relax , lift the left leg up , tense and relax .
Lift both legs up a couple of inches , tense and relax .
Then we lift the hips up and tense there and relax and squeeze the abdomen .
Push the lower back down , tense and relax and you lift the chest up , pushing down on the elbows , tense and relax .
You squeeze the shoulders towards the ears , squeeze , squeeze , squeeze and relax .
Lift both arms up a couple of inches , make fists and rotate the fists , open the fingers wide , stretch them and relax .
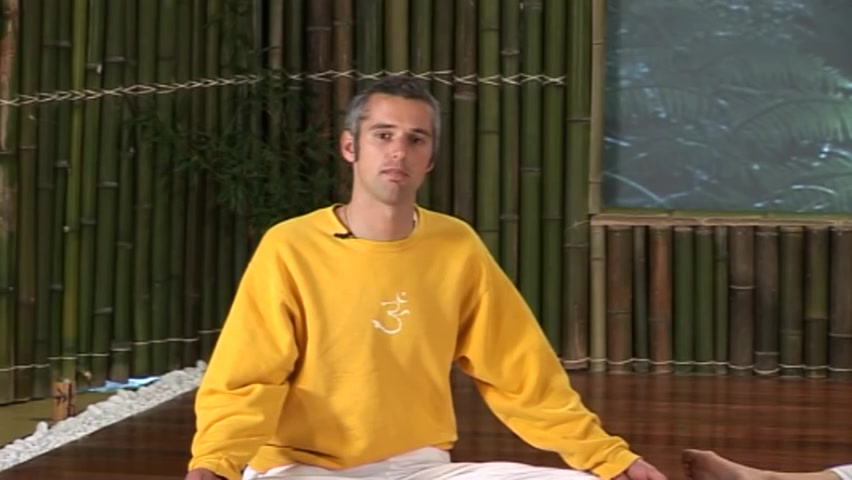
Then you squeeze all the muscles of the face towards the nose and make a sour face , tense and relax , open the mouth wide , open the eyes wide , look up , stretch out the tongue tense and relax .
This one's very important as there's so many muscles in the face .
Just by doing this .
It's good for the face to be able to relax completely .
Then we roll the hair gently from side to side once or twice and you bring the head slowly straight again .
This is what we call the tensing and relaxing part of the relaxation just to help the muscles to relax properly .
So now we take a few deep breaths and then we go through each part of the body and relax it mentally .
So I'll say you mentally repeat after me .
So you visualize your body's picture in the mind , just keeping your eyes closed .
And I'll say I'm relaxing my toes , my feet to my ankles .
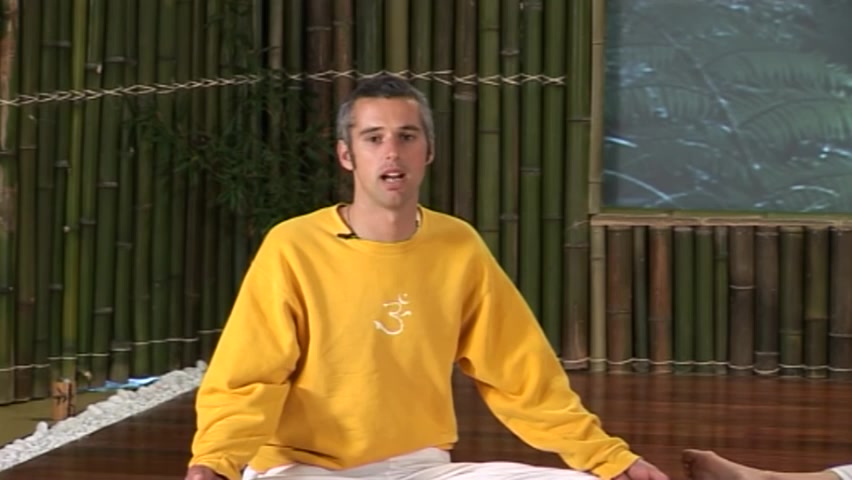
And then you mentally repeat to yourself , I'm relaxing my toes , my feet to my ankles .
Then I'll say my toes , my feet and my ankles are nice and relaxed .
And you mentally repeat my toes , my feet and my ankles are nice and relaxed .
We go through each part of the body like this , working all the way through up to the head .
And then we go for the internal organs .
So I'll say I'm relaxing my heart and you mentally repeat , I'm relaxing my heart .
And then I'll say I'm relaxing my kidney .
And you mean to you repeat , I'm relaxing my kidney .
And even if you don't know where your kidney is , which is what you may think how can I relax it if I don't know where it is ?
It's ok because as long as you're saying that mentally , then you're working with the subconscious mind here .
So the brain automatically sends a message to the kidney for the kidney to relax and then the kidney relaxes .
So even if you're not too sure where it is , it's ok , the brain will take care of that for you .
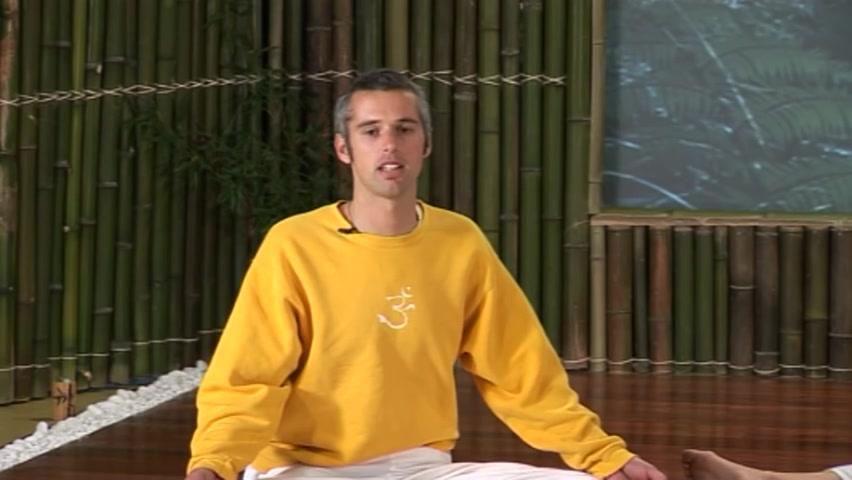
So we go through all the internal organs there and then we just continue just taking a few deep breaths in the end , just for a few moments of silence , just to let the body and the mind relax completely .
And then I slowly reawaken you from the relaxation .
Just asking you to make a few small movements with the fingers and the toes .
And you gently bring the legs together again and you stretch the arms above the head , giving the body one last stretch and you loose and gently roll to the right side and you slowly sit up and then we just conclude it there afterwards .
So you can try this at home now and we go through the full final relaxation .
So you just lie down on your back and sena the corpse posture .
So you bring the arms and legs apart .
So the legs are about 1.5 to 2 ft apart or a comfortable distance .
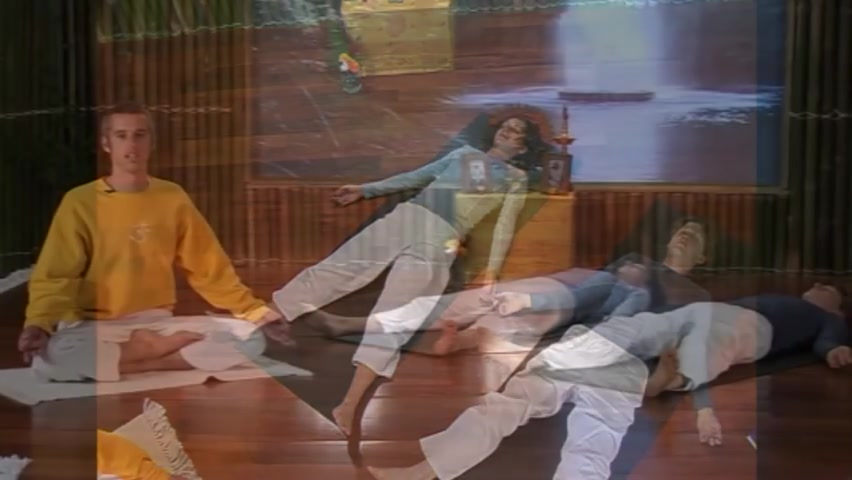
The arms are about a 45 degree angle from the body with the palms facing upwards and you just let all the body parts be completely free and relaxed on the floor .
Good .
So we start off just by tensing and relaxing the body .
So you just lift the right leg up a couple of inches , tense , it stretch it and relax and lift the left leg up , tense and relax .
Let it drop and lift both legs up , tense and relax and lift the hips up , tense and relax and squeeze the abdomen .
Push the lower back down , tense and relax .
Lift the chest up , push them down on the elbows , tents and relax and squeeze the shoulders towards the ears .
Squeeze , squeeze , squeeze and relax .
Lift both arms up a couple of inches .
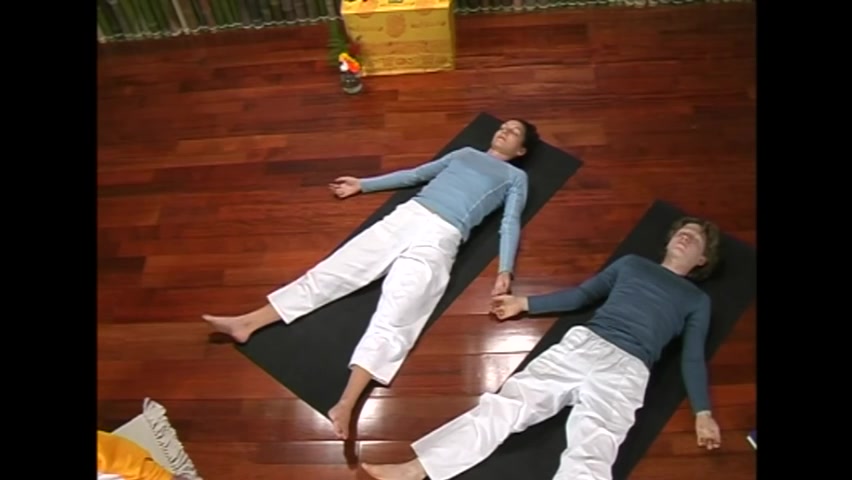
Make fists , rotate the fists , open the fingers wide , stretch and relax good and squeeze all the muscles of the face towards the nose .
Make a sour face , tense , tense , tense and relax , open the eyes wide , look up , open the mouth , stretch out the tongue tense and relax and roll the head gently from side to side and relax good and then make any final adjustments just to make sure you're completely comfortable .
Now , you just bring the focus to the breath just for a moment .
Just take a couple of deep breaths , just feeling the abdomen rise as you inhale , let it fall as you exhale .
Just breathing long and deeply with rhythm good .
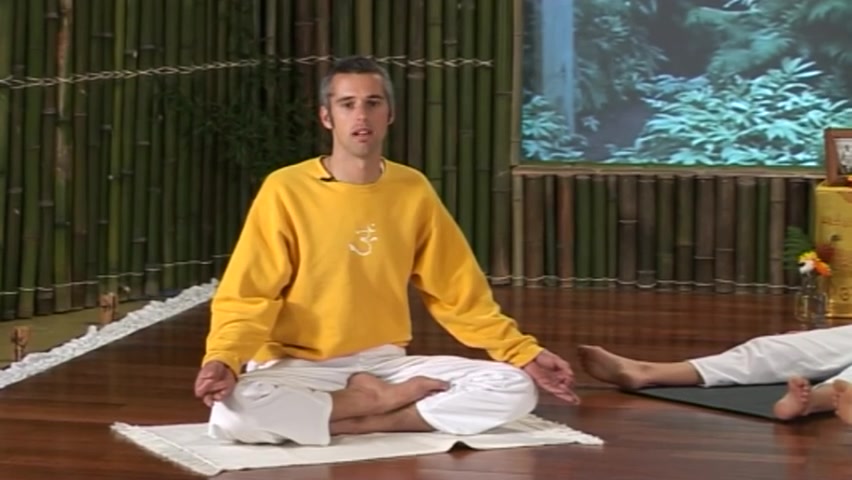
Now we go through the body and relax each part mentally .
So here you just visualize your body's picture in the mind and just mentally repeat after me , I'm relaxing my toes , my feet and my ankles , my toes , my feet and my ankles are nice and relaxed .
I'm relaxing my shins , my calf muscles and my knees , my shins , my calf muscles and my knees are nice and relaxed .
I'm relaxing my thighs , my hips and my buttocks , my thighs , my hips and my buttocks are nice and relaxed .
I'm relaxing my abdomen , my stomach , my chest , my abdomen , my stomach and my chest are nice and relaxed .
I'm relaxing my lower back , my upper back and my spinal column , my back is completely relaxed .
I'm relaxing my fingers , my hands and my wrists , my fingers , my hands and my wrists .
I'm nice and relaxed .
I'm relaxing my forearms , my elbows and my upper arms , my forearms , my elbows and my upper arms are nice and relaxed .
I'm relaxing my shoulders , my neck and my throat , my shoulders , my neck and my throat .
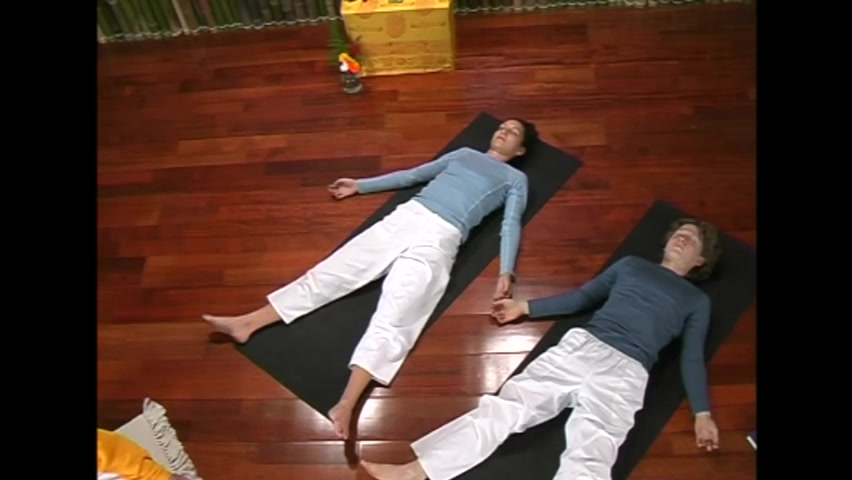
I'm nice and relaxed .
I'm relaxing my chin .
I'm relaxing my jaw .
I'm relaxing my cheeks .
I'm relaxing my lips .
I'm relaxing my nose .
I'm relaxing my eyes .
I'm relaxing my ears .
I'm relaxing my forehead .
I'm relaxing all the muscles in my face .
My face is completely relaxed .
I'm relaxing my head , my brain and my mind , my head , my brain , my mind , I'm nice and relaxed .
Now we go deeper , relaxing the internal organs .
I'm relaxing my heart I'm relaxing .
My lover , I'm relaxing .
My goodness .
I'm relaxing my lungs .
I'm relaxing my pancreas .
I'm relaxing my spleen .
I'm relaxing my intestines .
I'm relaxing .
All my internal organs , my internal organs are nice and relaxed .
My whole body and my mind are completely relaxed .
So just continue now to focus on the breath .
Just slowly inhaling , feeling the abdomen rise , slowly exiling , letting it fall , just feeling there's no tensions anywhere in the body .
There's no worries in the mind .
Just let yourself be completely free and relaxed , sinking deeper and deeper into the mat .
With each exhalation , relax , relax , relax .
Oh slowly bring the awareness back to the body .
Just making a few small movements with the fingers and the toes and slowly bring the legs together , stretch the arms one last time above the head , giving the body a nice stretch and and gently rolled to the right side and slowly sitting up just coming to a comfortable cross leg position .
So we just conclude with a short prayer that's also in the Sanskrit language .
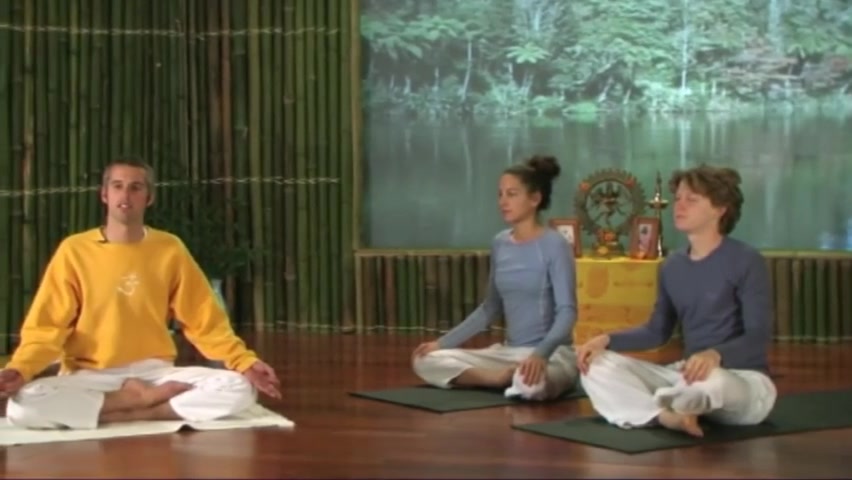
This prayer is just for your health , wealth and well-being and just to guide you and have protection after you finish this class .
So we just conclude with this one .
3346.61 --> 3456.199
So thank you for participating in this first class at the beginning .
Of course , I hope you enjoyed it and we hope to see you in the next class .
Yeah , I'm gonna rush .
Hi .
If you've really enjoyed this series .
Then you're gonna absolutely love what our team's been cooking up recently .
Um You can check it out at yoga si dot TV .
And uh would you like to tell us a bit about it ?
Yeah , we've literally filmed hundreds and hundreds of different yoga postures and we put them into a special web interface that we've constructed from the ground up .
That's gonna allow you to drag and drop different movements into a timeline that's gonna allow you to customize the practice to your own skill level ability , energy for the day time deadlines .
So there's gonna be no reason at all why you can't fit yoga into your day .
That's right .
And the more yoga , the better we say yes .
So we'd really like you to get over there and check it out .
Uh We're looking forward to uh seeing you over there .
Certainly are .
Check it out .
It is amazing .
Are you looking for a way to reach a wider audience and get more views on your videos?
Our innovative video to text transcribing service can help you do just that.
We provide accurate transcriptions of your videos along with visual content that will help you attract new viewers and keep them engaged. Plus, our data analytics and ad campaign tools can help you monetize your content and maximize your revenue.
Let's partner up and take your video content to the next level!
Contact us today to learn more.