https://www.youtube.com/watch?v=mLyCR8NYTKg
How to Draw a Cheetah

Hello , everyone .
In this video , we're going to draw a Cheetah start by drawing a circle as a guide for the front part of the body to draw the circle .
First make two small marks to indicate the circle's length and then on the sides make two more small marks to indicate the circle T width .
Then connect the marks using curved lines to finish the shape of the circle sketch lightly at first so that it's easy to erase .
If you make a mistake , also pause the video to draw at your own pace .
The circle doesn't have to be perfect .
But if you're having trouble drawing it just trace the outer edge of a coin , a bottle cap or anything else with a circular edge to the left , draw another circle as a guide for the back portion of the body .
Use the four marks method to draw this circle too .

First make four small marks to indicate the sides of the circle and then connect the marks using curved lines to finish the shape of the circle .
Draw this circle slightly smaller than the first circle on the top right side , draw a smaller circle as a guide for the head .
Use the four marks method to draw this circle as well .
This circle should be about one third .
The size of the first circle , pay attention to the placement of this circle .
If you place it too close to the first circle , the neck will be too short on the bottom , right side of the head , draw a short angled line as a guide for the muzzle , make the front part of the muzzle flat .
Pay attention to the size of the muzzle in relation to the head circle on the top , left side of the head , draw a short arc as a guide for the ear .

Under the first circle , draw a long sloping line as a guide for the front leg bend , the line slightly at the top and bottom to indicate the joints at the bottom bend , the line to the right to indicate the foot pay attention to how long this line is in relation to the first circle to the right .
Draw another long sloping line as a guide for the other front leg .
The Cheetah is stepping forward .
So draw this line sloping to the right at the bottom bend , the line to the right to indicate the foot under the circle on the left .

Draw a long angled line as a guide for the first hind leg bend , the line at the top and near the middle to indicate the joints at the bottom angle , the line to the right to indicate the foot to the right draw another long angled line as a guide for the other hind leg , bend the line near the middle and again at the bottom to indicate the joint and the foot connect the head to the body using two curved lines to create the guide for the neck , make the top line wavy , the line at the bottom should be shorter and curved connect the circles in the middle , using longer lines to complete the guide for the body .

The top line should curve up on the left side , the bottom line should be more curved and the right side should dip down to create the chest on the left side of the body , draw a long line that curves to the left as a guide for the tail .
The tail should be very close to the hind leg and that's it for the guidelines .
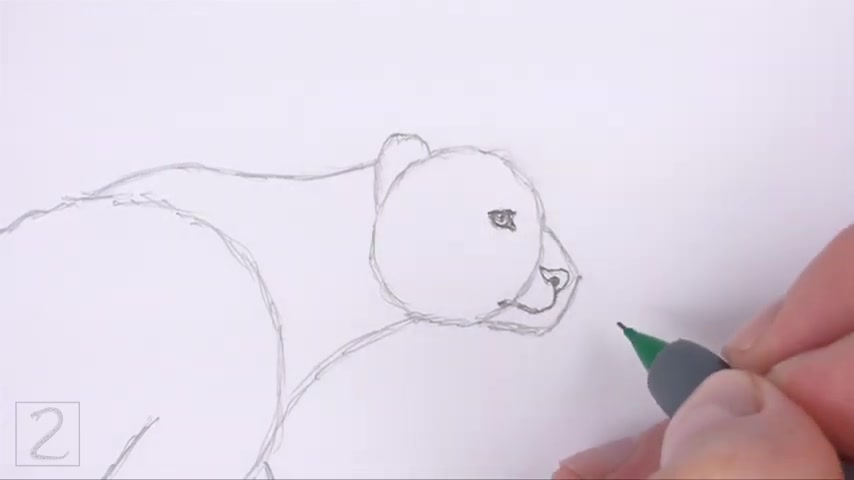
Now , let's start on the final drawing inside the head on the right side , lightly sketch a small circle for the eye place the eye close to the top edge of the muzzle .
When you get the size and position of the eye , right darken the shape darken the top part of the eye using a horizontal line , use a curved line for the bottom part of the eye .

Close off the shape of the eye on the right , using a short vertical line in the middle of the eye , draw a short line for the pupil the pupil is circular .
But from this angle , it will look like a line to the left , draw a tiny circle for a highlight draw a couple of short lines on the bottom , right side for the corner of the eye , the corner of the eye should point to the right toward the muzzle shade .
The top part of the eye using a light value , don't overlap the tiny highlight circle as you shade inside the muzzle near the top , lightly sketch a small triangle for the nose .

This man sandwich just have confidence y'all
When you get the shape right under the mouth , draw another line that curves to the left for the chin , draw the chin along the path of the initial guides a few short strokes for the fur , draw a line on top of the nose for the top part of the muzzle , draw this line along the path of the initial guideline use the arc on the top left side as a guide to draw the ear darken the path of the arc to create the ear at the bottom .
Draw a series of short strokes for the furry base of the ear , the bottom of the ear should be inside the head circle on the left side , draw a few short curved lines to give the ear structure .
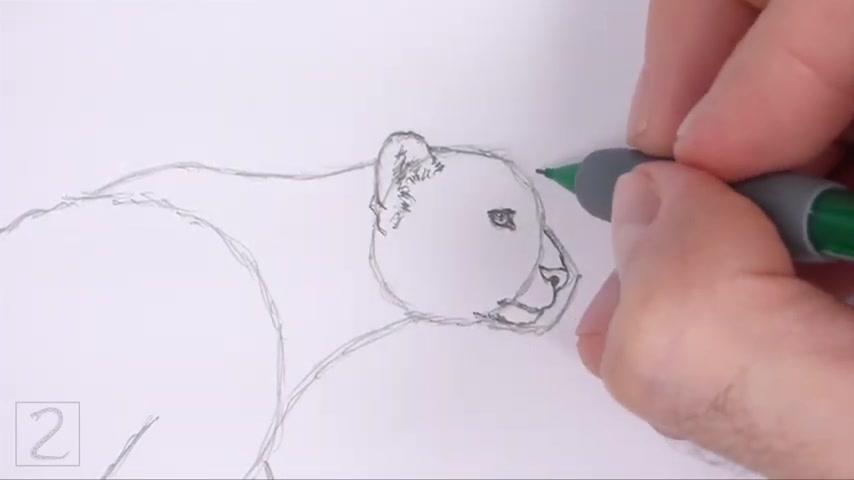
Add a few more short strokes within the shape for the three year opening .
Now use the initial circle as a guide to draw the rest of the head darken the edge of the circle , but make the top part flatter on the right side curve , the line more to create the brow , make the bottom part of the head slightly thinner than the initial circle .
A series of short strokes along the left edge of the circle .
For the fur on the head on top of the head , draw a short arc for the tip of the other ear , draw a short line below the brow .

For the other eyes , eyelashes draw a thick line from the eye to the mouth .
For the stripe on the face curve , the middle of the stripe to the right , make the bottom part of the stripe thicker than the top sketch lightly at first and only darken the stripe when you get the shape right .
Don't push down too hard on your pencil as you shade the stripe , use the second line from the right that's under the body as a guide to draw the first front leg , first lightly sketch the shape of the leg around the guideline , make the top part of the leg slightly wider than the bottom .

The overall shape should be skinny .
So keep the edges of the leg close to the guideline .
At the very bottom curve .
The shape to the right for the paw use curved lines to create the muscle structure .
When you get the leg right darken , the shape use a few short strokes at the top .
For fur , a small angled line near the bottom .
For the paw pad on the front of the paw , draw a short curved line to separate the toes on the tip of each toe , draw a small triangular shape for the claws .

Now use the line on the right as a guide to draw the other front leg .
First lightly sketch the shape of the leg around the guideline , keep the edges of the leg close to the guide so that the shape is thin .
The top part of the leg should be slightly wider than the bottom .
At the very bottom curve , the tip of the shape to the right to create the paw .
When you get the shape of the leg , right darken the lines draw a small angled line near the bottom .

For the pad use curved lines to emphasize the muscles bend the shape near the top and bottom for the joints inside the paw draw a curved line to separate the toes on the tip of each toe .
Draw a small triangular shape for the claws inside the shape .
Draw a curved line for the dew claw .
Use the angled line on the far left side as a guide to draw the first hind leg , just like with the front legs .
First lightly sketch the shape of the hind leg around the guideline , bend the shape in the middle for the joint at the very bottom curve , the tip of the shape to the right to create the paw .

When you get the shape of the leg , right darken the lines , the top part of the hind leg should be a lot wider than the top part of the front leg on the lower half , keep the edges of the leg close to the guidelines so that the shape is thin , draw the toes at the bottom , using a couple of curved lines , draw small triangular shapes on the tips of the toeses for the claws .
Now use the angled line to the right as a guide to draw the other hind leg , draw the shape of the leg around the guideline sketch lightly at first and only darken the leg .

When you get the shape right bend the middle section of the leg to create the joint at the toes and claws at the bottom using short curved lines and small triangular shapes .
Now use the remaining shapes and lines as guides to draw the rest of the body simply darken the outer edges of the guides to create the shape of the body .
Use a few short strokes as you darken the lines to create fur don't overlap the first front leg as you darken the underside of the body , use the curved line on the left side as a guide to draw the tail just like with the legs first lightly sketch the shape of the tail around the guideline .

When you get the tail right darken the shape , a big part of the tail will be hidden behind the hind leg .
Now er raise the initial guidelines , the next few steps are sped up so that the video isn't too long .
Don't worry about erasing all of the guidelines .
It's ok if you leave them behind , redraw any of the final lines that you may have accidentally erased .

Now add the distinctive spots all over the body to create the spots , just draw circles and ovals and shape them in small spots on the face and bigger spots on the body use spots of different sizes , use bigger spots on the tail and on the tip of the tail , draw a few stripes , the spots should get smaller the farther down they are on the legs .
Adding the spots can be very time consuming .
So be patient and take breaks , shave the rest of the body using a light value .

It's ok to overlap the spots as you shade the body shade the nose using a dark value , but leave a thin strip at the top blank for a highlight , use a medium value throughout the body to create some shadows .
Shadows will give the figure more dimension and volume .
It's a good idea to use reference as you shade for a more accurate depiction of a cheetah draw a shadow at the bottom using a medium value , keep shading until you're happy with the result .
And that's it for the cheetah .
Don't forget to pause the video to draw at your own pace .
Also , please visit how to draw animals dot com where every step of this tutorial is broken down into an individual image .
That's how and then the number two , then draw animals dot com .

If you enjoyed the video , please leave a like and a comment .
Also subscribe for more videos in the future .
Thank you for watching and until next time , keep drawing .
Are you looking for a way to reach a wider audience and get more views on your videos?
Our innovative video to text transcribing service can help you do just that.
We provide accurate transcriptions of your videos along with visual content that will help you attract new viewers and keep them engaged. Plus, our data analytics and ad campaign tools can help you monetize your content and maximize your revenue.
Let's partner up and take your video content to the next level!
Contact us today to learn more.