https://www.youtube.com/watch?v=KMJLypmECu8
How To Paint Wood Paneling The RIGHT Way - Living Room Makeover
So we are on our way over to my cousin's house to help her renovate her living room right now .
It has some older um stained paneling , which is actually really beautiful wood , but to help make it nice and modern , we're going to paint it a bright white .
Um It's going to be beautiful .
I think there's like wood beams , there's a fireplace like built in shelving .
It's a really cool old home .
Um So we are going to go head that way .
Now , painting over paneling is not the easiest thing to do .
So we're going to share some tips and tricks with you guys and show you how we go about doing it .
So this is the room , we're going to start taping everything off .
She wants to keep these beams natural , which I think will be beautiful .
Um I think we're also going to keep this natural , but we're going to sand it down and stain it so that it's a little bit different color .
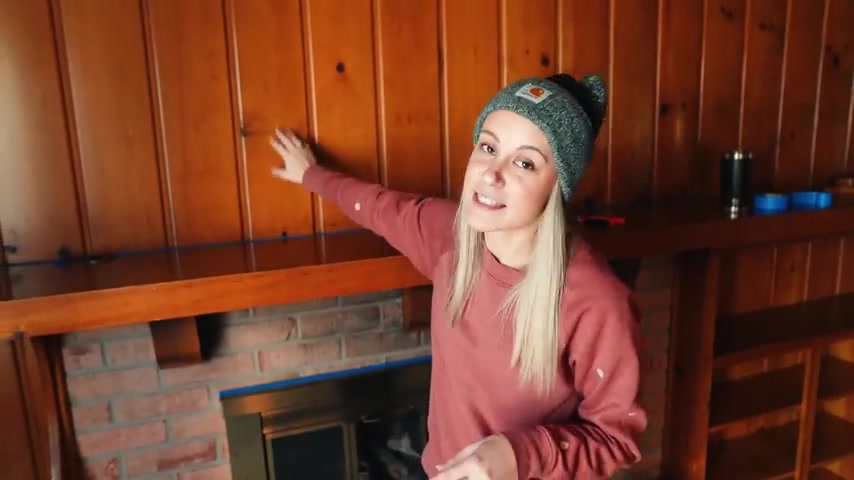
She doesn't really like that orange undertone , but we're going to start doing the oil based primer to cover up the stains on this wood .
Wood paneling is very difficult to paint because , um , it has something called tannins in it , which is just like , uh , the natural color that will bleed through any water based paint you put on .
So you first have to prime it with an oil based primer .
Uh , we are going to be using kills , which is a really intense nasty primer , but it will basically seal in all of that color so that it won't bleed through .
We'll show some pictures of what bleed through looks like .
But if you've ever tried to paint something and the paint just won't cover , that's probably because you have cannons leaking through .
So we're going to tape everything off first .
Anything we don't want to be painted , uh because this kills stuff once it goes on , it will not come off .
Hi , buddy .
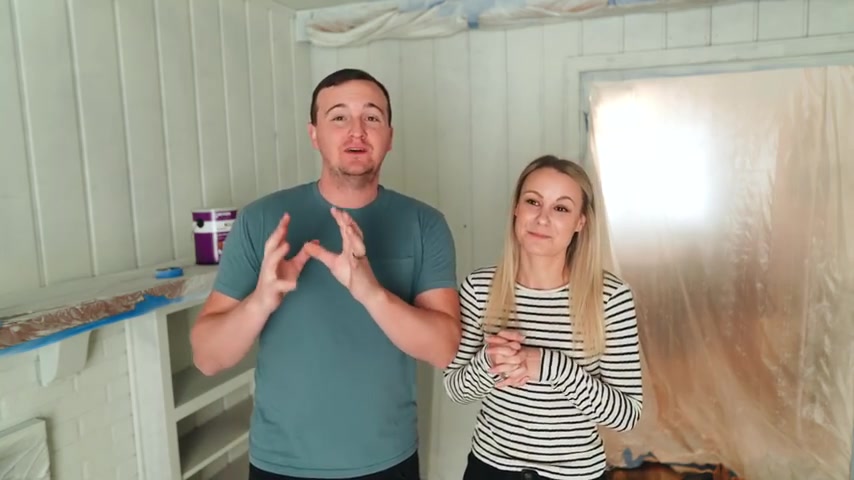
So it's the next day now and our oil based primer is completely dry .
Um It did a good job in covering up all those knots and some of those oil stains , those tannins that would have soaked through our paint .
That's again why we had to do that oil based primer just to cover up those .
Uh I have , I took some shots with my phone .
Some of the knots even have like a P dripping down from them .
Uh Because this is real pine paneling .
So if you don't cover those up , it comes it'll soak right through your paint .
So if you are painting anything that has a stain on it , make sure you are using oil based primer first because that may soak through your water based paint .
So now that we're done with our oil based primer , it is time to put our water based paint on today .
We are using Beyond paint , which is our favorite paint .
It is so durable .
It requires no sanding , no stripping .
It's like just really amazing stuff and it's low voc so the oil based smell is really bad .
This stuff is safe to use inside .
I'm still going to use a respirator because I'm using my sprayer .
But this paint is great because it's super durable .
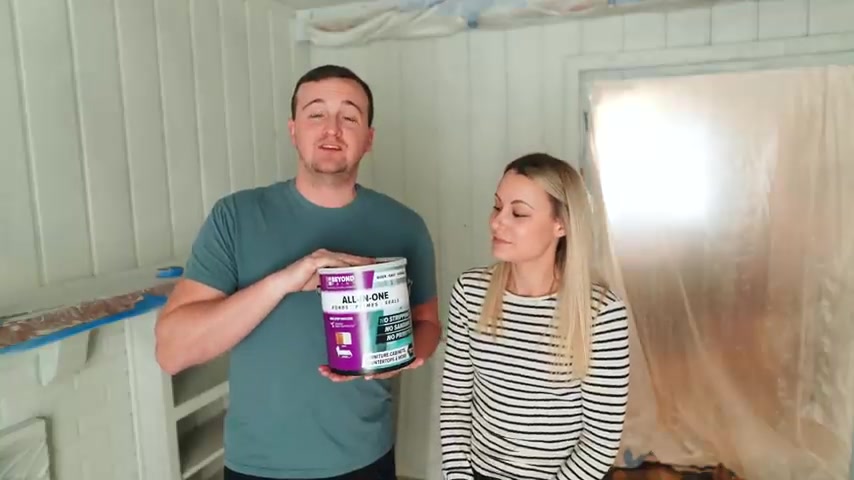
As Sarah said , we've painted a lot of furniture with it and you don't need to put a top coat or a sealer on it .
We're using it in this living room because this is their main living space .
They have Children and dogs and so this , this white paint is really going to get a lot of wear and tear on it .
So they'll be able to just wipe it clean .
It won't have to repaint all the time and to touch up paint because we use this to start .
We'll leave a link below , go be sure to check out Dion paint .
They have lots of amazing colors and it's just a really cool system to use .
So our next step is to cock up some of these holes in this living room .
There's just some nail holes and things like that .
We have to take care of .
And then before we get to spraying our bi beyond paint , we have to thin it down a little bit because this paint is so , so thick , which is part of its amazingness .
So I'm gonna start by pouring my paint into this bucket and then we're gonna be adding some water to thin it down so that it'll go through our sprayer .
That's really muddy consistency .
Wow .
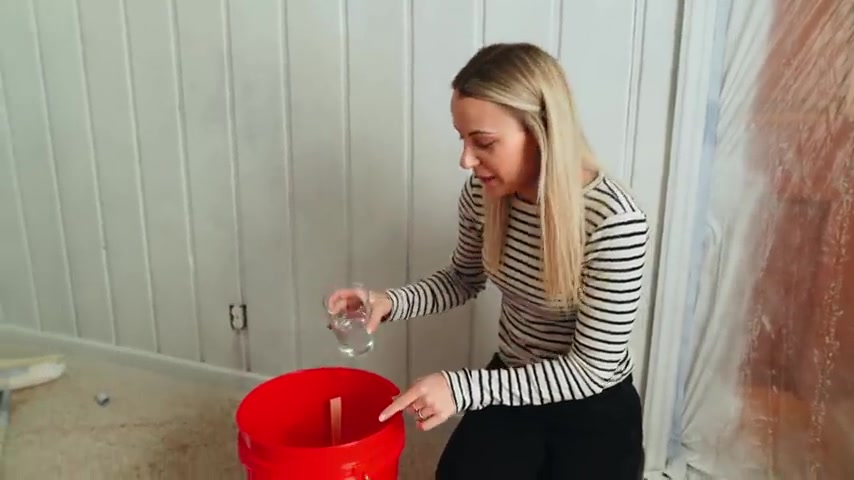
So we're gonna start by adding our one cup of water to our one gallon of paint and stir that up , just gonna slowly add it and stir just to thin it down a little .
So now , the consistency of this paint is a lot more like traditional paint .
So it'll go through our sprayer really well .
So we're going to mix all of our paint and water at once .
So it's the same consistency throughout .
It's important that each gallon of paint has one cup of water so that it is the same consistency so that it's the same thickness on the walls .
So I'm not a professional sprayer .
So I'm sure I'll get a lot of critiques .
But uh these tips are helpful for me and I think they may be for you too .
So how I spray um is I usually start at the bottom and hold your sprayer at a consistent distance from the paneling the whole time you're spraying .
So I usually stay between a foot and 18 inches away .
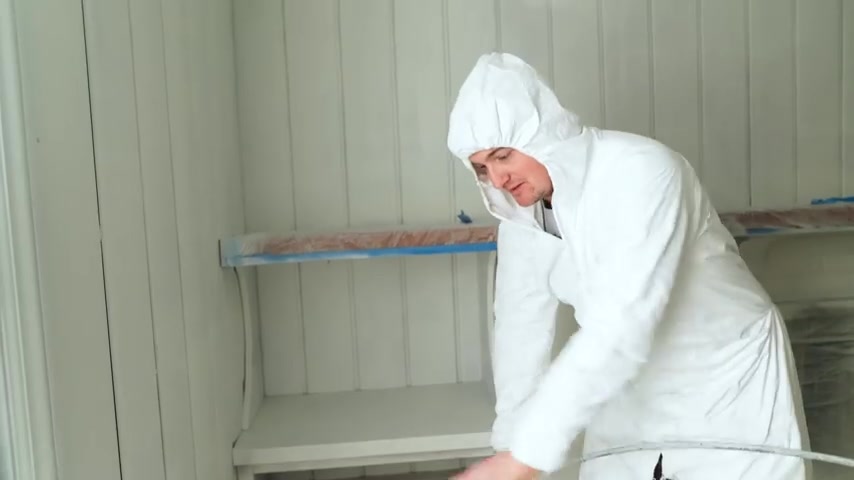
You're going to go in rows up and down , going past , down onto the ground because we're gonna , we're gonna put new carpet in here anyways .
But you kind of just keep going up and down , back and forth and keep a continuous motion because if you stop and then start again , the paint is going to be thicker there and , uh , you might get some drips .
So , check it out that easy .
So I can put my respray on , but it puts a nice smooth coat on and you don't get any drips that way .
Uh , just to be safe though , there is going to go behind me and do some back rolling .
So for back rolling , it's super easy .
I'm just gonna go look for drips anywhere that Jamie has already painted and I'm going to go over with this dry roller .
There's not any paint on this and just help get out any excess dripping that might happen as it dries from places that there's a lot of paint .

So it's been a couple of days since we did the final coat over at Sarah's cousin's house .
She just recently got new carpet installed .
So the room looks completely different .
We're excited to go check it out .
Yeah , we're going to go through some of her things and help her kind of stylize and design the room with what she already has .
I think a lot of people think that you need to go buy a new couch and go get all this new stuff for it to feel like a new home or a brand new product .
But really , we're just going to go through what she already has and make it beautiful , kind of design it in a different way than how she already has it .
So let's go check it out .
We're super happy with how it turned out .
It's amazing what paint will do .
Really ?
We didn't do a whole lot in here except for paint .
We all the decor in here was already hers .
We just kind of stylized it like it's crazy what paint can do if you guys see the before and after this , it's literally like just paint .
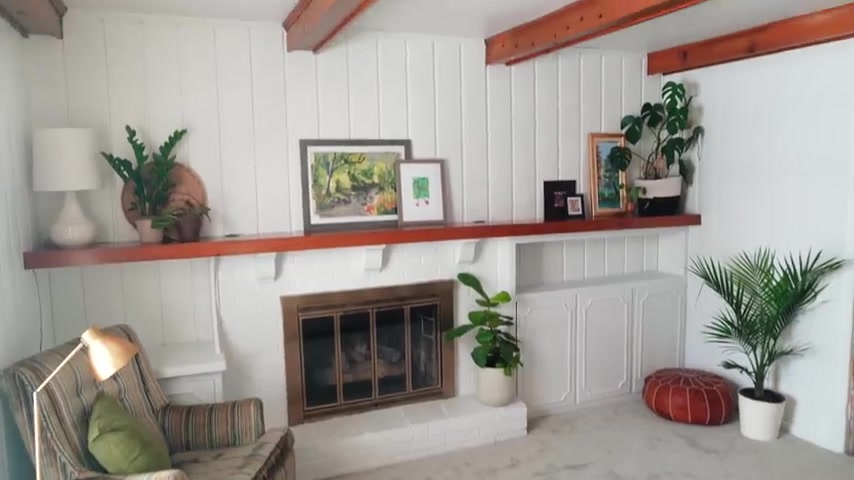
We didn't rip out walls , we didn't add in the beams , but by painting it and keeping the beams their natural color , it really made them pop .
We also kept the mantle , it's natural color , um which ties in with the beams .
They're the same color now .
So , yeah , I really toned down that orange hue just by painting the rest of the walls light .
So totally .
And then the most important thing we did though was using that oil based primer to cover up the tannin so that it doesn't leak through .
So if you're going to be painting , you have , you cannot skip that step .
Even if you painted it 10 times with the latex paint , it would not cover .
So you have to use oil based primer to start and it really it cover , it did cover great .
So , yeah , and it's nice and cheerful in here .
It's beautiful .
It's bright white , it feels very fresh and new , but you still have that nice texture of the paneling , which I think is so pretty .
So it's beautiful just with paint , pretty easy project for a huge transformation .
Not to mention , they're going to have that extreme durability of beyond paint .

So when their dogs and kids are playing in here , they'll just be able to wipe stuff down and wipe it clean .
So , totally .
So this is our last project before we move into our brand new house .
While it's not new , it's very old .
It needs a kind of work .
So we're about to kind of demo out our new house and start a bunch of projects there .
So this is our last project before we start all that .
So that's what's coming up on this channel is tons of brand new home projects in our new English style stately tutor .
Yes , and we're very excited .
So stay tuned guys .
We'll see you next time .
Bye bye .
Are you looking for a way to reach a wider audience and get more views on your videos?
Our innovative video to text transcribing service can help you do just that.
We provide accurate transcriptions of your videos along with visual content that will help you attract new viewers and keep them engaged. Plus, our data analytics and ad campaign tools can help you monetize your content and maximize your revenue.
Let's partner up and take your video content to the next level!
Contact us today to learn more.