https://www.youtube.com/watch?v=Apn9IOQMrns
1 Hour Yin Yoga - Beginners Full Body Yoga Stretch
Welcome everyone to your one hour Yin Yoga class .
Let's start today in .
So with a variation with blocks .
So placing one block in between both shoulder blades may be trying on the first level or the second one and your second block will be directly underneath your head so that your neck is supported and it might take a little bit of readjusting here .
You want your first block to be on your thoracic spine and not on your lower back .
So you might need to send it up a little and with the legs will just bring the soles of the feet to touch and the knees can come apart as we start to release through the hips .

We'll be focusing pretty intensely on the hips and hamstrings today and each pose is held anywhere from 3 to 5 minutes on each leg .
The most important thing to remember in a Yin yoga practice is to keep your awareness on your breath in the present moment to the sensations of your body right now .
It's very easy to let the mind wander as we start to get into these more challenging poses .
If you find that start to happen to you , acknowledge those thoughts and bring your awareness back to your breath in and out through the nose , feeling the belly rise and fall and allow the weight of your body to be very heavy here in this first posture , let your knees sink down towards the earth a little more with every exhale and let your shoulders be very heavy as you start to broaden through the collarbones and maybe close the eyes , tuning into the sensations of your body .

141.259 --> 306.57
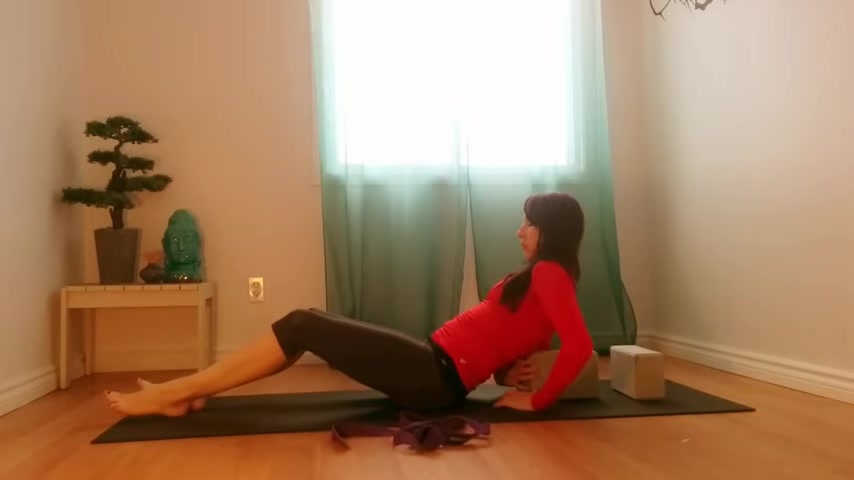
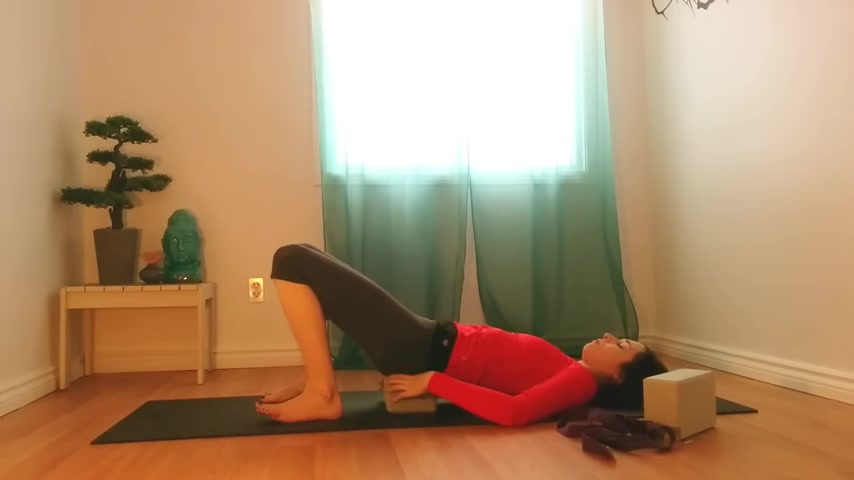
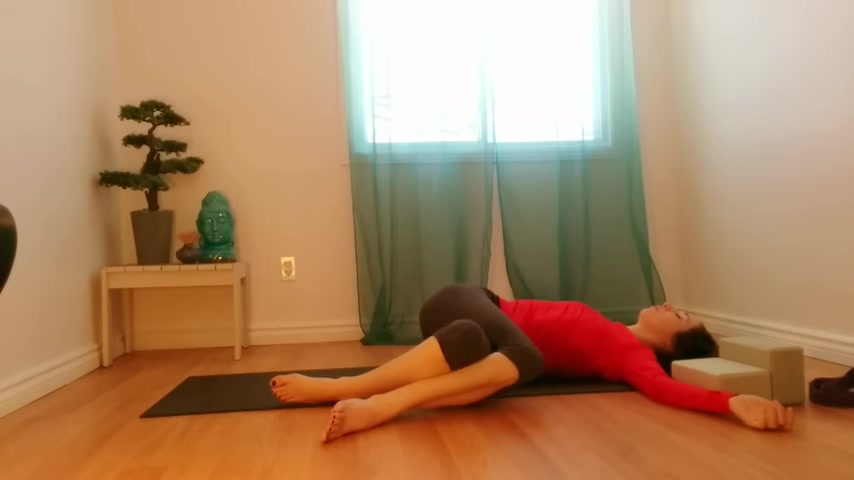
And for this first variation , you can choose to keep your knees bent with the soles of the feet flat on the mat or to get a little bit deeper into the hip flexor , you can let your legs come out straight in front of you .
This block should not be placed in your lower back .
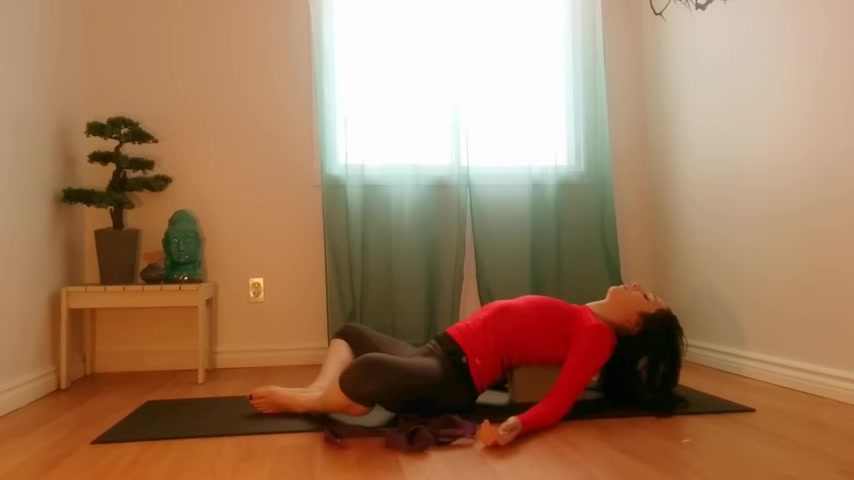
It should be directly underneath your tailbone and your sarum , bring the arms alongside you into a T position and there should be very little restriction in your neck or in your upper body .
So it just as necessary and send your breath all the way down your hips .
You have a little bit over a minute left to stay in this pose .
So if you'd like to make any adjustments , now would be the time , for example , if you'd like to start bending the knees and bringing the soles of the feet back down onto the ground , now is the perfect time to do so , it will make the stretch in your hip flexor a little bit less intense .
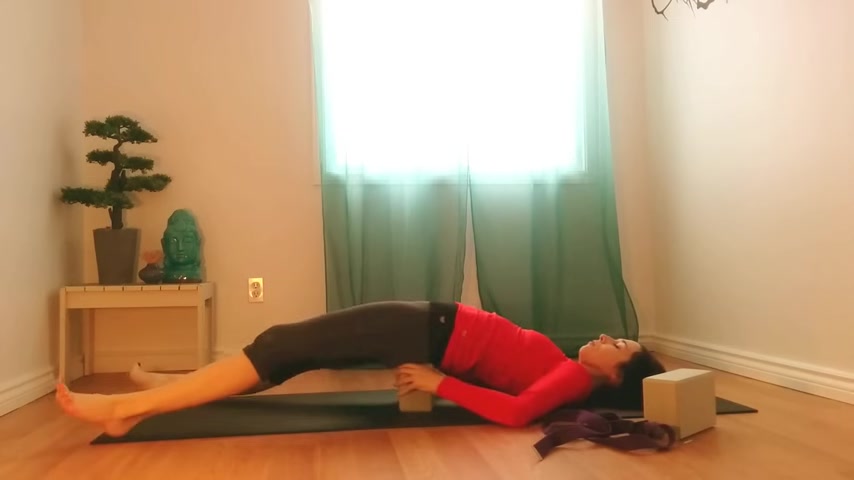
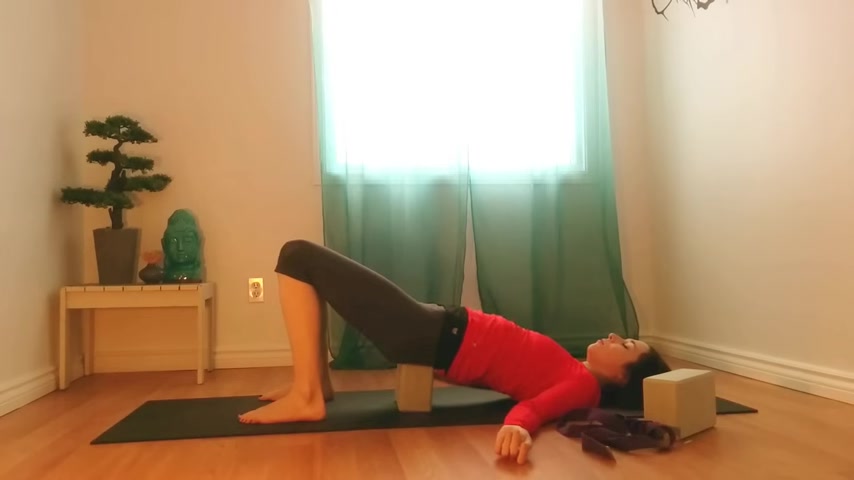
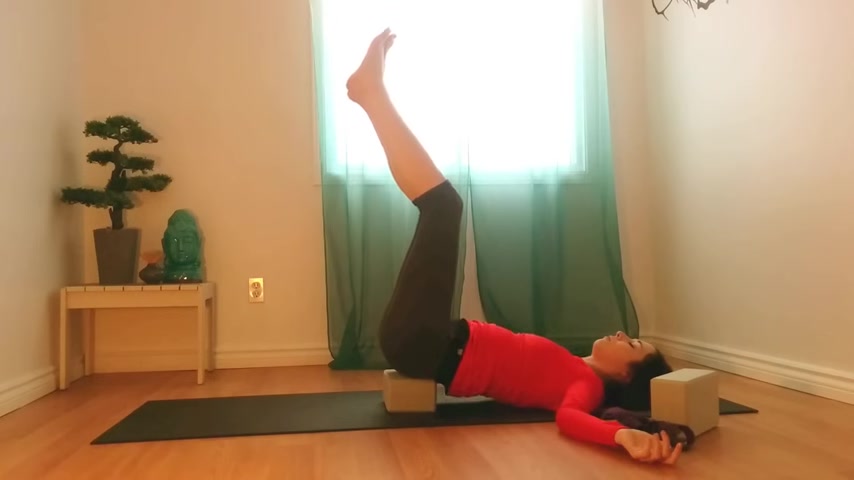
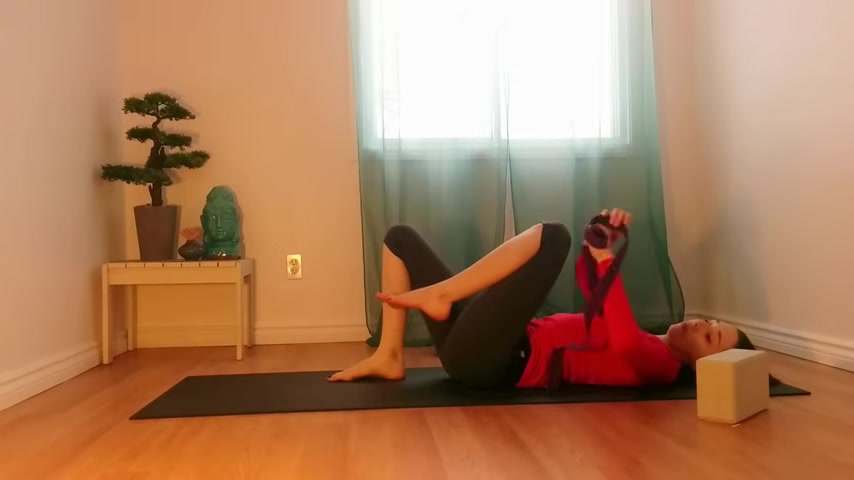
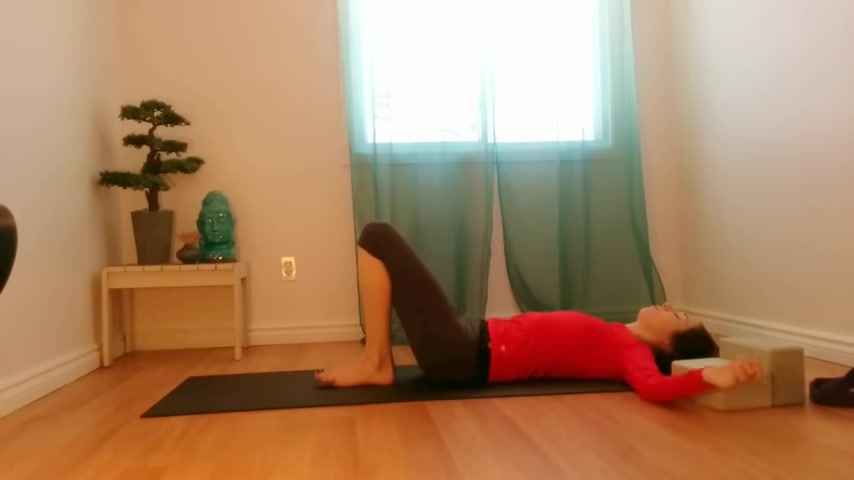
If you haven't already bent your knees , bringing your feet flat on the ground , please do so as we'll be transitioning into our next pose , firmly , press your feet into the mat as you lightly lift your hips up off of the block and adjust your block .
So that it's now on the lowest level and we'll start to come into a mild inversion here just by lifting the legs and pointing the toes towards the sky .
Let your sarum be heavy on the block here as you let your legs be completely weightless , gently bending your knees , maybe swaying the legs from side to side if that feels appropriate to you .
And let's hold this pose for a few minutes before moving on with our practice .
642.489 --> 878.359
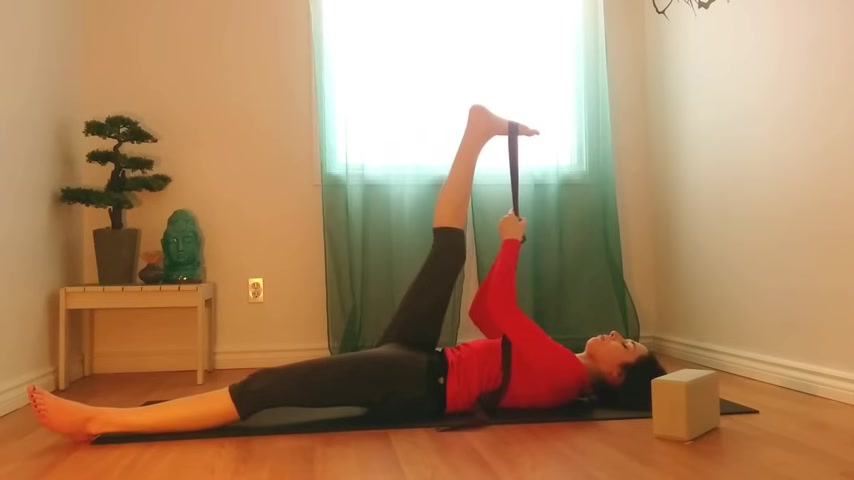
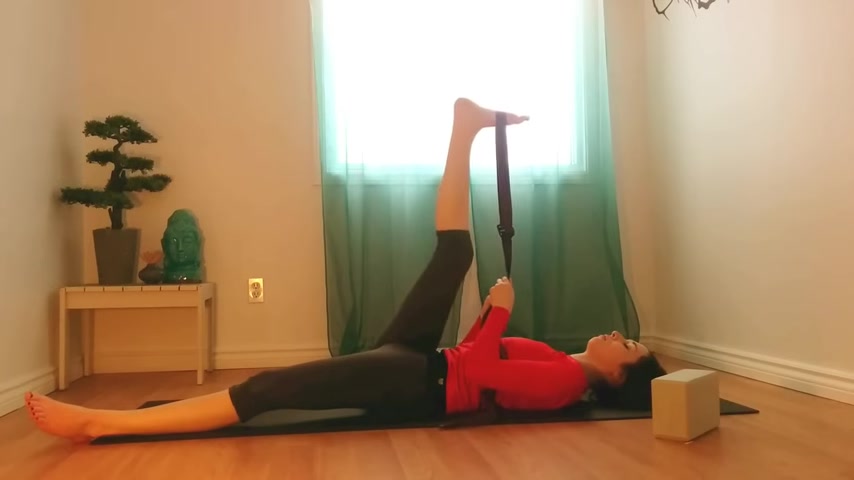
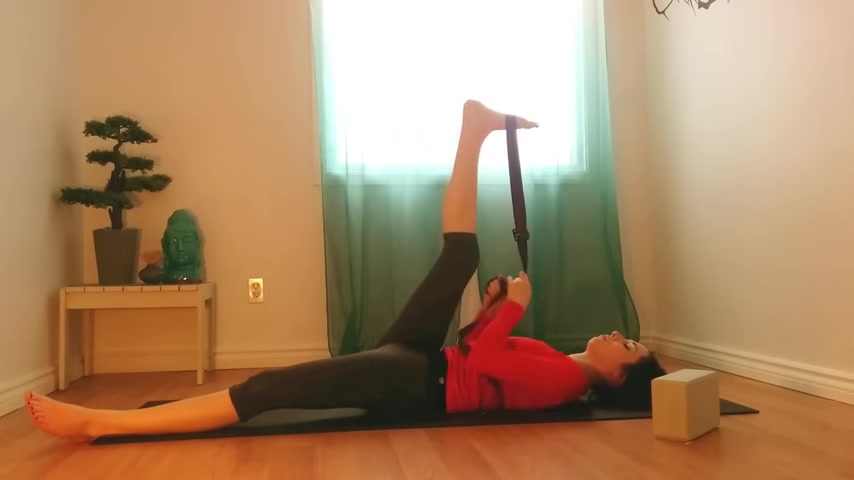
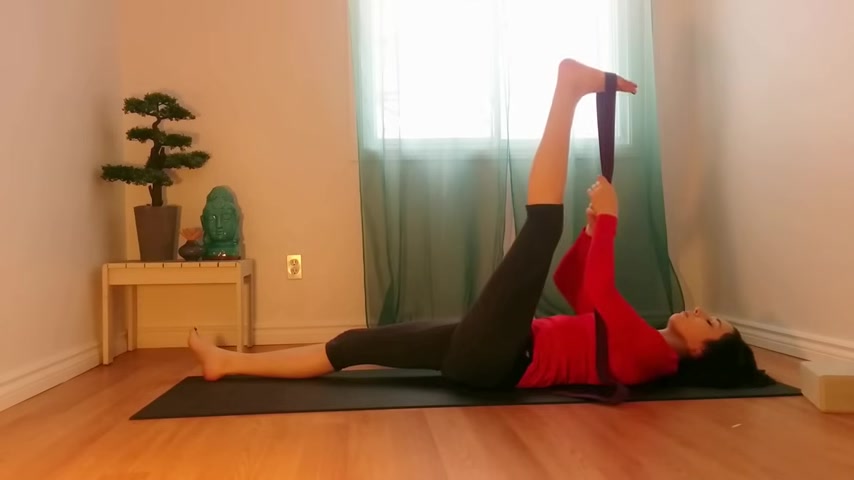
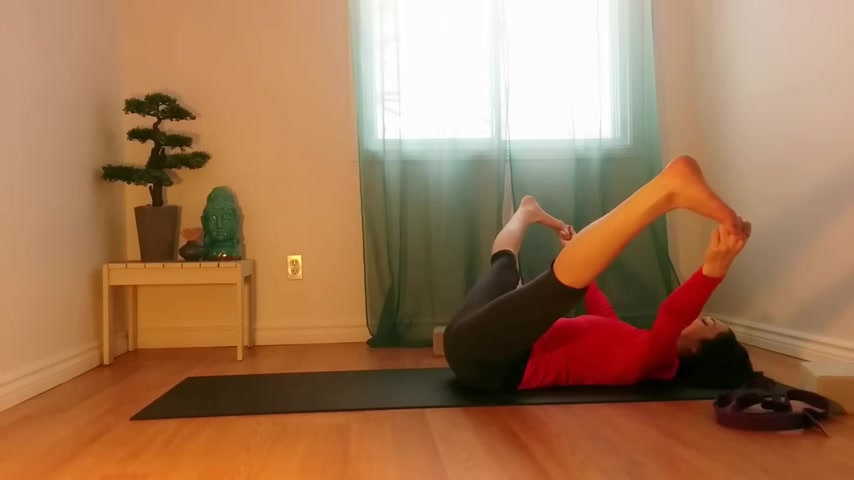
You'll be hooking the strap under the ball of your right foot , straightening out that right leg .
And you can choose to stay exactly here as you pull your right leg in towards your chest .
If you'd like to take this a little bit deeper , you can extend your left leg out , pressing your left heel firmly down into the mat as we start to get a little bit deeper into the hamstrings .
See if you can keep both legs straight with just a bit of a micro bend in the knees so that you're not hyperextending or locking your joints .
Although there is a little bit of strength required in your arms here as you pull your leg in towards your chest , see if you can relax your back and your shoulders down into the mat , try to get this pose as passive as you can .
It might take a little bit of readjusting .
So maybe bending through one knee , straightening it back and figure out what feels better for you grabbing the strap for some of you .
It might not even be required to use a strap if you can hold on to your big toe with your piece fingers , that's also a great way to do it .
Just make sure you're using a variation that is beneficial to you .
And one that is sustainable that you can hold for about three minutes , release any tension through the facial muscles , the jaw , the shoulders .
And if you do find that your left knee is coming up pretty high off of the mat , you can choose to keep your left knee bent with your left foot firmly planted on the ground , or you can just really press that left heel down into the mat and that will help bring your left knee a little bit closer .
So you can feel a little bit of a stretch through your left hip flexor try to keep your weight evenly distributed between both hips so that you're not turning on one side more than the other .
1035.15 --> 1099.209
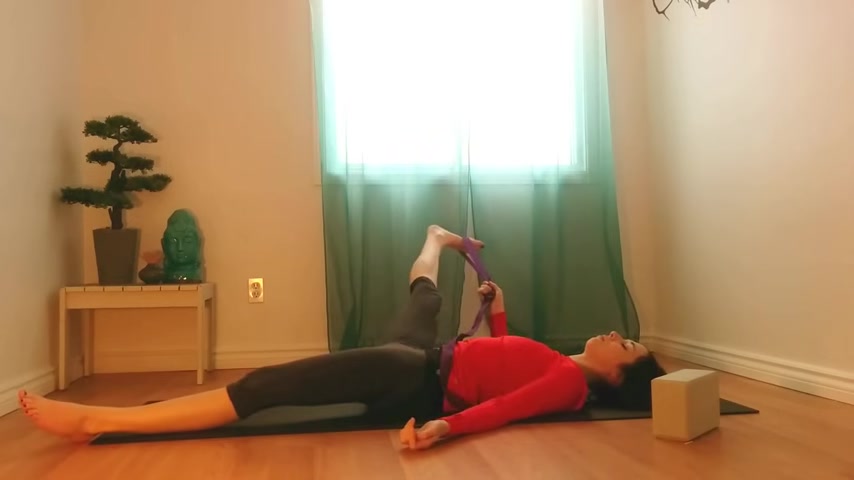
Start dropping your right leg towards the right side and you might need to stretch your left arm out here if you notice that you're starting to turn over on one side more than the other .
So readjust the upper body .
However , you need to , you can play with the angle of your leg here .
So some people prefer to have the leg come all the way down onto the floor while others prefer to work on the angle by pulling the right foot closer towards the head and shoulders .
1132.969 --> 1256.869
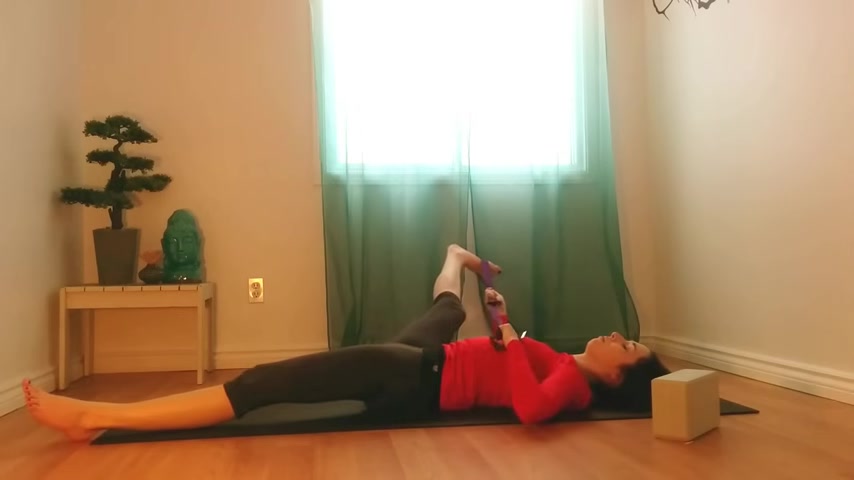
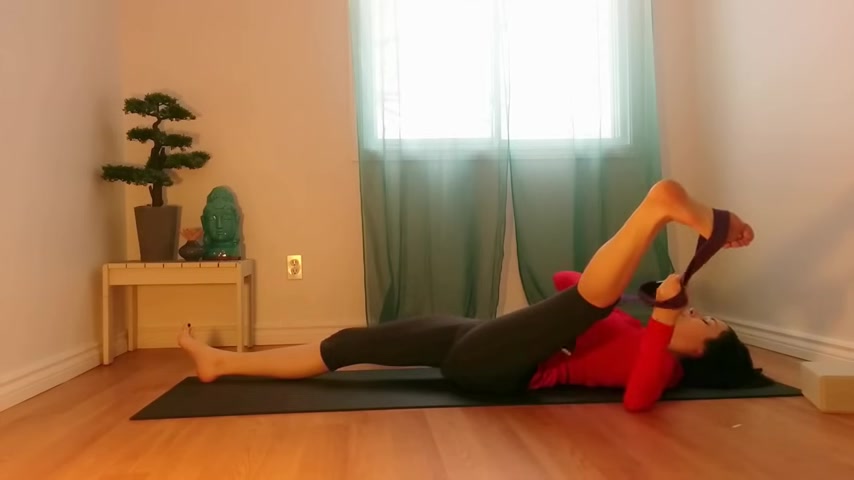
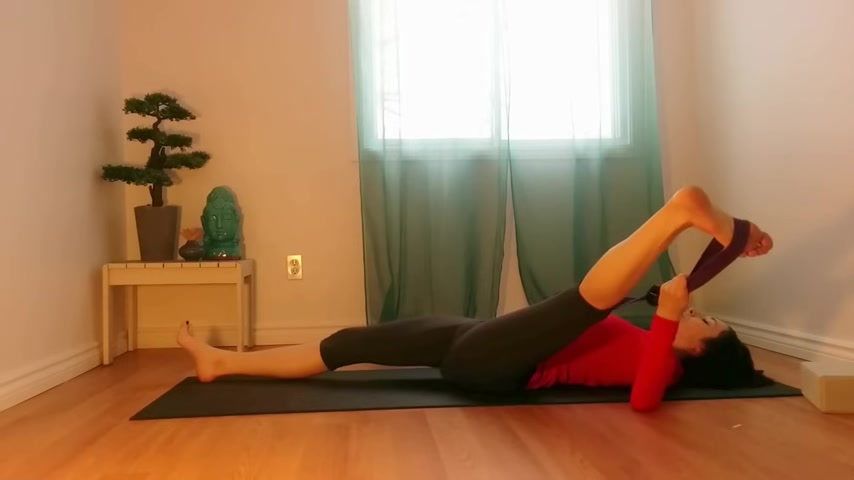
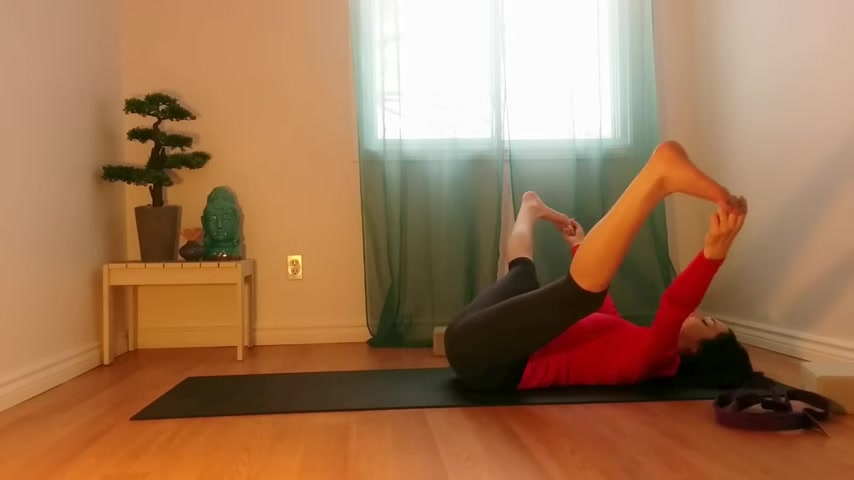
So this time your strap will hook on to the ball of your left foot .
Right knee can stay bent as you extend through your left leg , flexing your feet , you can stay here or you can choose to extend your right leg down onto the mat , pressing your right heel firmly onto the ground so that your right knee gets a little bit closer towards your mat .
And once again , you'll need to play around with your strap here .
Find a stance that is easily sustainable and comfortable for you so that you're not using too much strength , make sure that both shoulder blades stay firmly grounded on the mat as well as the entire length of your spine from the crown of your head all the way down to your tailbone .
1312.38 --> 1481.16
And again , it might be beneficial for you to extend your right arm out to prevent yourself from rolling too much over onto the left side , play around with grabbing the strap in one hand or maybe grabbing it with both hands and be very conscious of the fact that the way the pose looked on the first side might be completely different on the second side and see if you can get away from the old habit of labeling one side as the good side and one side as the bad side .
Just let whatever shape your body makes be ok .
Let gravity pull you a little bit deeper into this opening as you let your left leg be very heavy , maybe angling your left foot closer towards your shoulder towards your head and let your right leg be soft and still on the mat .

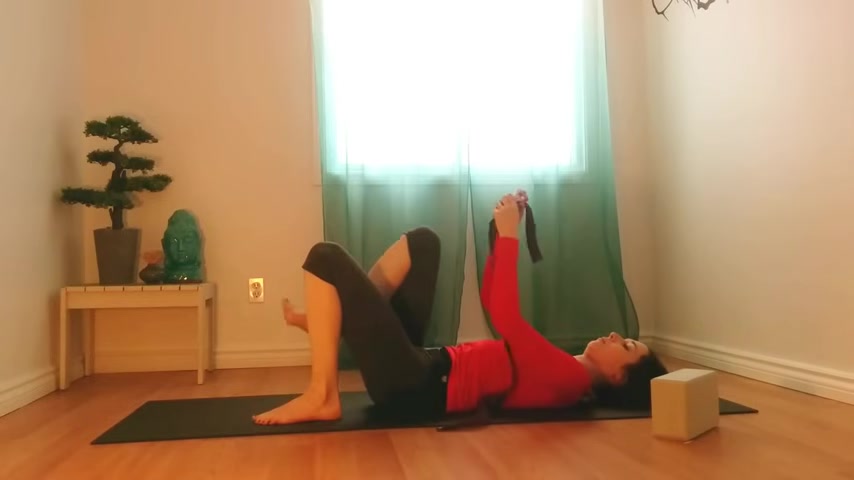
Release your left leg as you bring it back to center , removing the strap and once again , hugging both knees in towards the chest .
You can come into the full expression of happy baby here by grabbing your big toes with your two piece fingers , lifting the heels up towards the sky and keeping your elbows to the insides of your knees , maybe rocking from side to side as you massage the lower back into the mat .
If you'd like to go even deeper than this , you can start to straighten out both legs , pulling your feet down towards the floor and making sure that your tail bone stays connected to the mat here .
So notice if this action of straightening out your legs makes you lift your hips off off of the mat , relax both shoulder blades down on the floor .
And if this version does not work for you , stay in happy baby with the knees bent and the ankles stack directly over top of your knees .
We'll take a few more moments right here .

Make sure you're keeping a micro bend in your knees so that you're not locking your joints and find a nice balance between pulling and letting gravity bring your feet closer down towards the mat .
1826.14 --> 1892.339

Slowly start to turn over on to your left side and you'll prop yourself up on your left for keeping both legs extended ankles stacked over top each other .
And to really get the most out of this pose , you want to curl your tailbone under to feel an extension through your left side body .
If staying down on your forearm isn't enough , you can always prop yourself up and come onto your palms , just keeping a micro bend in your elbow so that you're not locking it and making sure that both shoulders are rolling down away from your ears and you can let your head hang heavy towards your left shoulder here to get a bit of a neck extension through the right side .
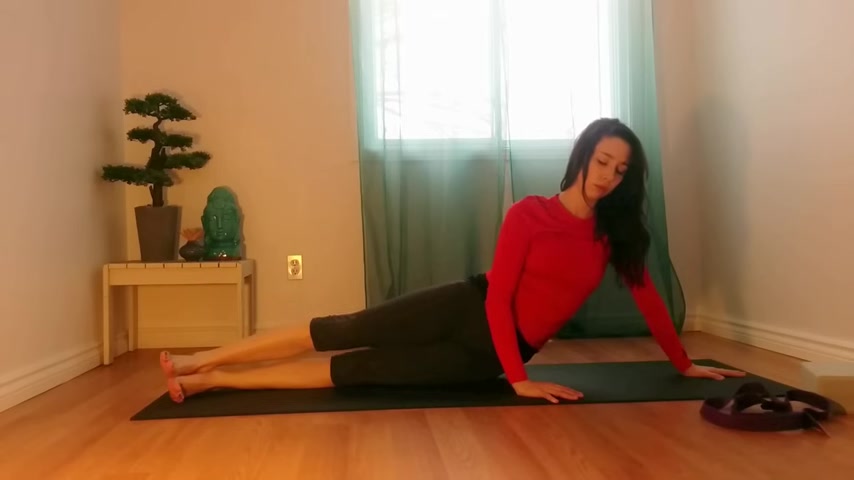
Knees can be either bent or straight here .
It doesn't really matter whatever feels best for you .
Just make sure that you're stacking your joints and breathing space through your side body .
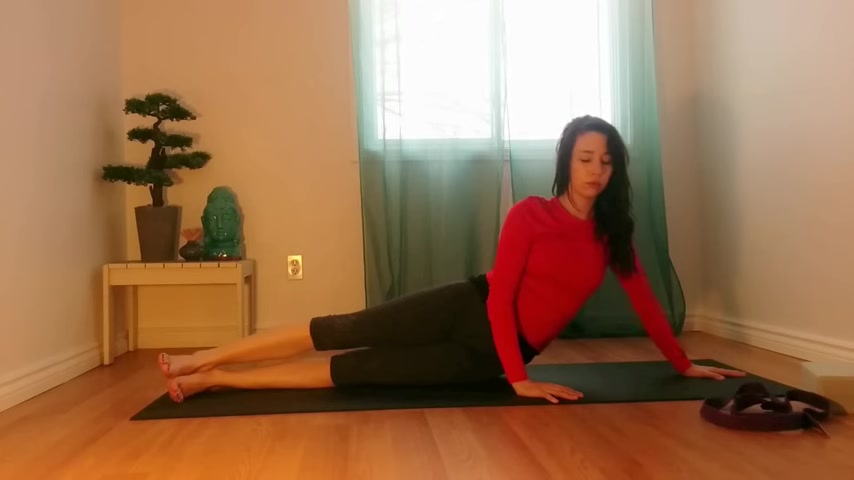
2000.27 --> 2081.06

And you can choose to stay in this first variation if it's more comfortable for you .
Otherwise , you're welcome to straighten out your right elbow coming directly onto your palm , making sure that you're rolling your shoulder blades down your back and feeling the extension come through your right side body .
Keep curling your tailbone under , protecting your lower back , creating as much space as you can holding for about two minutes here .
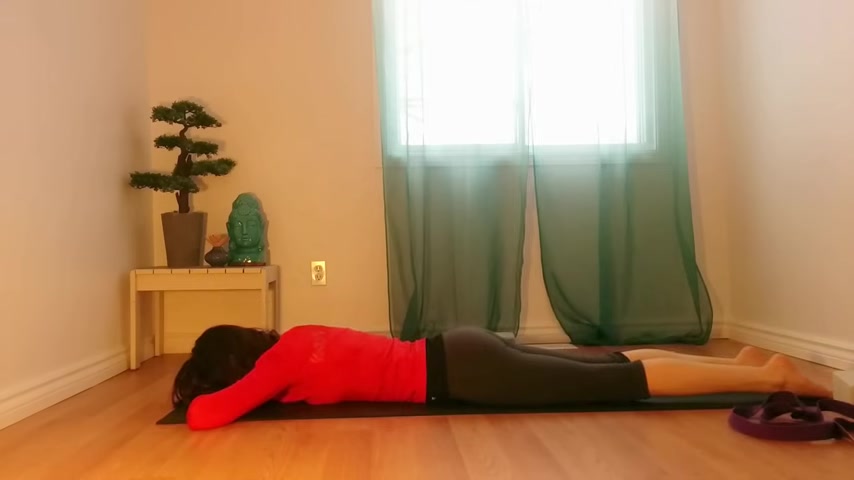
Let's slowly start transitioning into Sphinx pose here .
So slowly bending the right elbow , so you're down on your right form and then finally turning onto your belly so that you can comfortably rest your forehead on your arms .
Taking a few breaths down into your lower back and will take the time to set up the feet by really making sure that your legs are firmly planted in the ground with your big toes touching .
And then you can start propping yourself up on your forearms , making sure that their shoulder width distance apart and you control how intense this back bend is .
So the further in you bring your elbows stacking them underneath your shoulders , the more intense the angle of the back bend will be so adjust as necessary here and to protect your lower back , you want to make sure that you're still trying to curl your tailbone under and really grind your pelvis into the mat .
You can allow the back of the neck to be long here by slightly tucking your chin towards your chest and make sure that you are rolling your shoulder blades down your back instead of trying to focus on height here , feel as if you could pull your heart in between your shoulders .
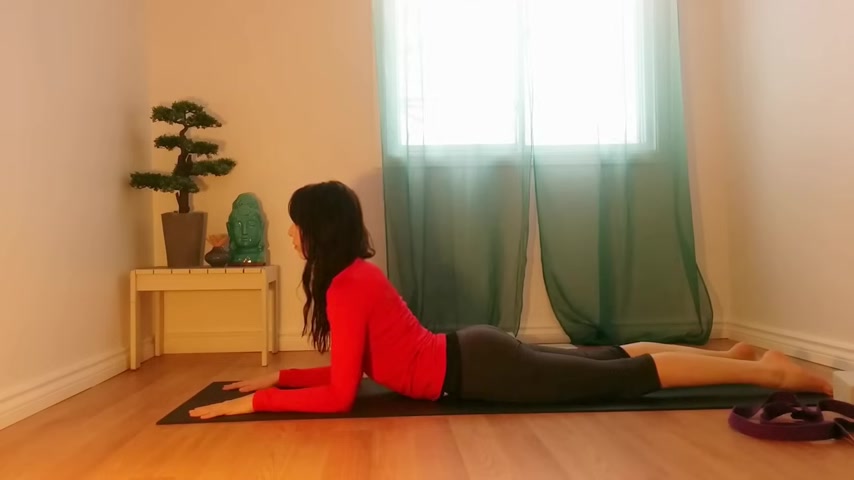
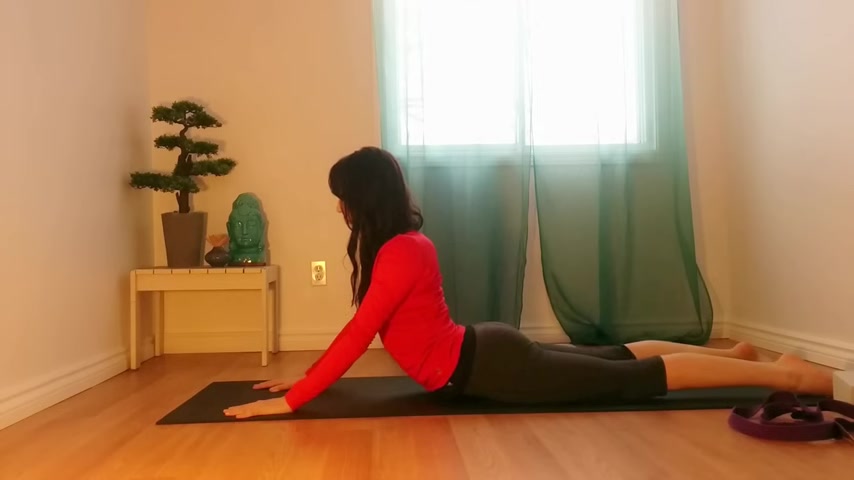
You have the option of coming in to seal po instead of Sphinx .
And you just do that by pressing your palms into the mat and slowly starting to lift your elbows off of the mat still by keeping a micro bend so that you're not locking your joints and you can adjust your stance here , walking your hands closer or further depending on how intense you want this to be .
And the further up you go , the more important it becomes to really protect your lower back .
2361.8 --> 2474.129
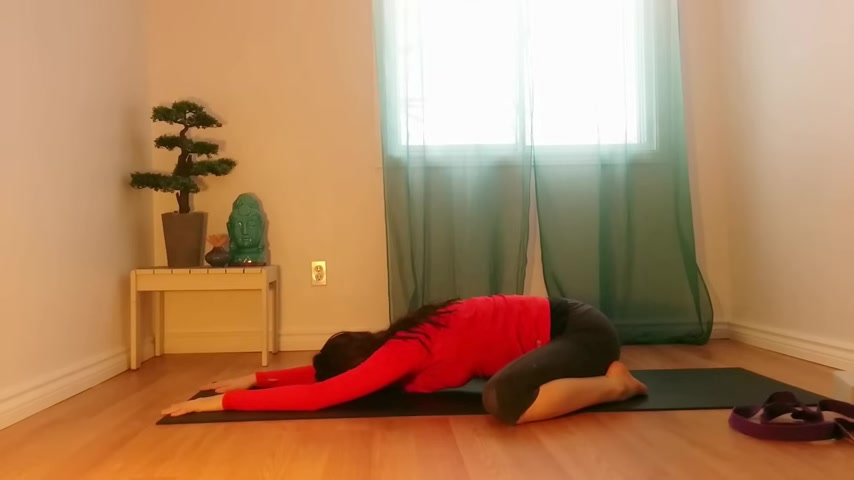
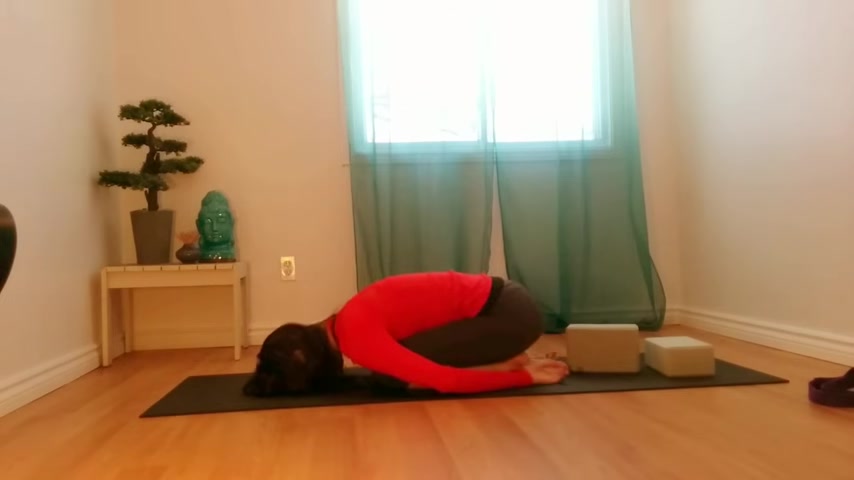
So you'll be bringing your big toes to touch knees , come a little bit wider than your hips , maybe as wide as your mat .
And then slowly fold down , you can allow your forehead to rest down onto the mat onto stacked fists or maybe down onto a block if the floor feels a little bit too far away .
Alternatively , if you find that your hips are really high up off of your heels , you can always place a block in between your ankles before setting your hips down , whichever variation of this pose works for you .
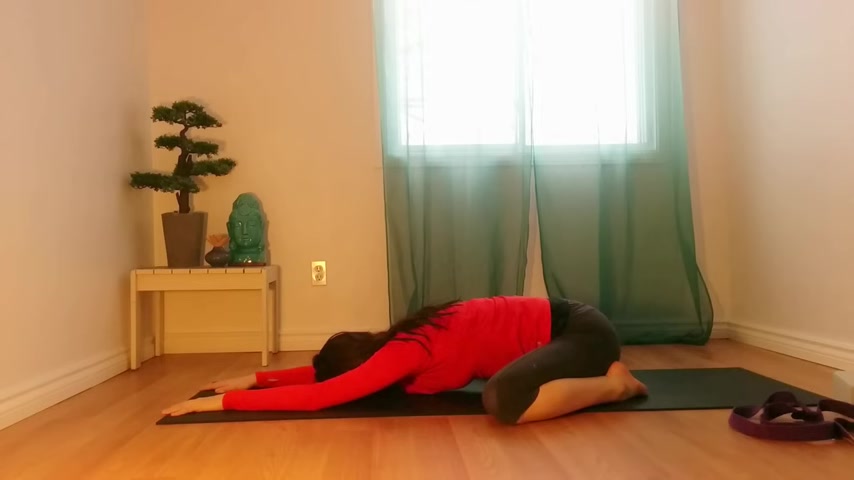
Make sure that you are bringing all of your attention to your breath , sending it all the way down to your belly , to your lower back , down into your sarum and pelvic floor and allow your heart to melt in between your shoulders .
As your chest comes closer and closer towards the mat , shoulders are still rolled away from the ears .
This should be a very passive pose with little resistance or strength required .
And we'll stay here for about one more minute .
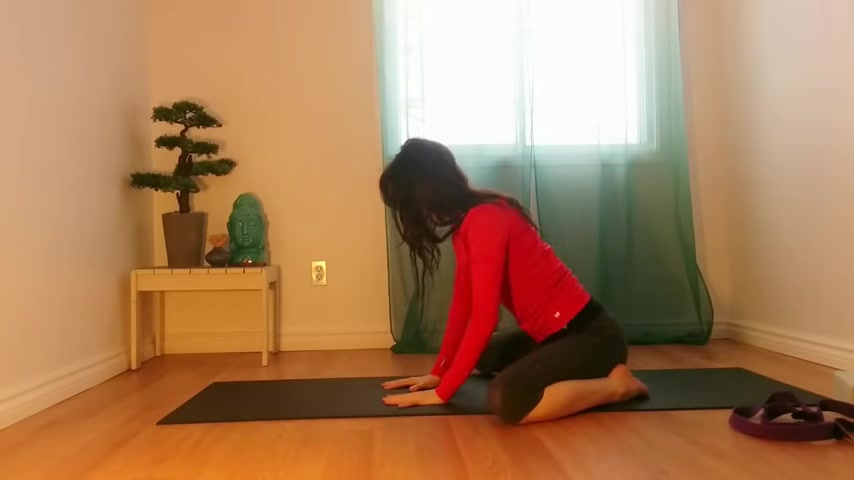
Start pressing more firmly into your palms as you very slowly start to lift your head and chest off of the mat , start bringing the knees in a little bit .
So they're about hip with distance apart and just bring the hands to sit on the thighs here .
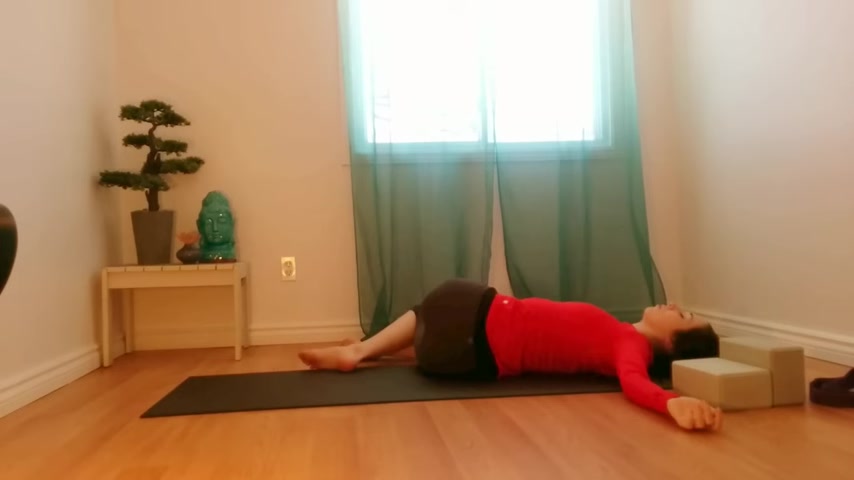
Taking a moment before we go into our next pose , which will be reclined hero for reclined hero .
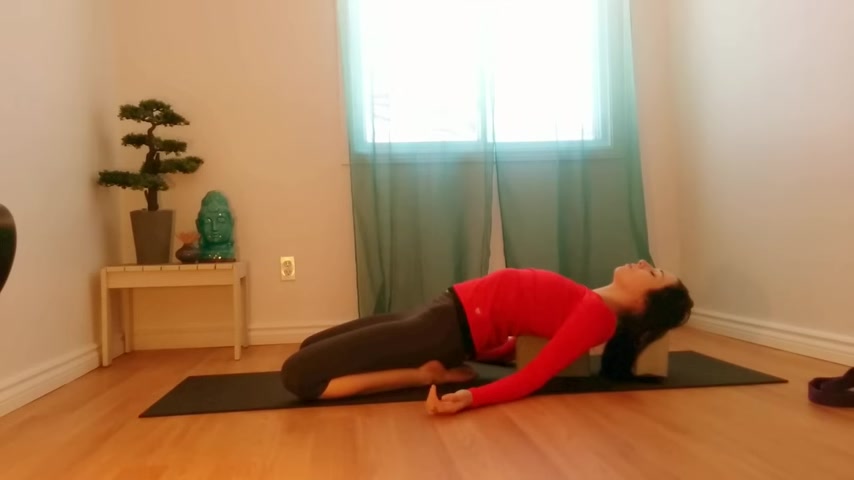
You'll want to make sure you have both plaques handy .
You'll be placing one underneath your head and one underneath your thoracic spine in between your shoulder blades .
The same way we did at the start of the class and keeping your feet underneath your thighs , thighs , hip with distance apart .
You slowly want to start inching your way down until your back is comfortably resting on the block .
So is your head and you'll have to play with the height of the block here .
So it's a pretty intense stretch for your quads .
You want to still feel the extension through the front side of your body .
So inviting a heart opener into this pose as much as a quad lengthener , the more you press your knees into the mat , the more intense this stretch will be .

And the most important thing to keep in mind here is to keep exaggerating that tuck of the tail bone so that you're really protecting your lower back here .
If there's ever any pinching in your lumbar spine , know that you can come out of this pose at any time and you don't need to really lower all of the way down .
You can stay propped on your palms if that's more accessible to you .
Otherwise just make sure that your belly is slightly engaged .
So you're using your abdominals a little bit , but more than anything , you're curling your tailbone under , trying not to create , create too much of a crease in your lower back .
Arms can gently rest alongside your body and try to find stillness in this pose .

2863.08 --> 2926.87

If you do choose this variation , make sure that you're still rolling your shoulders away from your ears and that this isn't causing too much tension for your lower back .
You're just looking to broaden the collar bones and create as much space in the center of the chest .

2953.439 --> 3026.6
Moving very slowly and very mindfully .
So , take a , take a few more breaths right here .
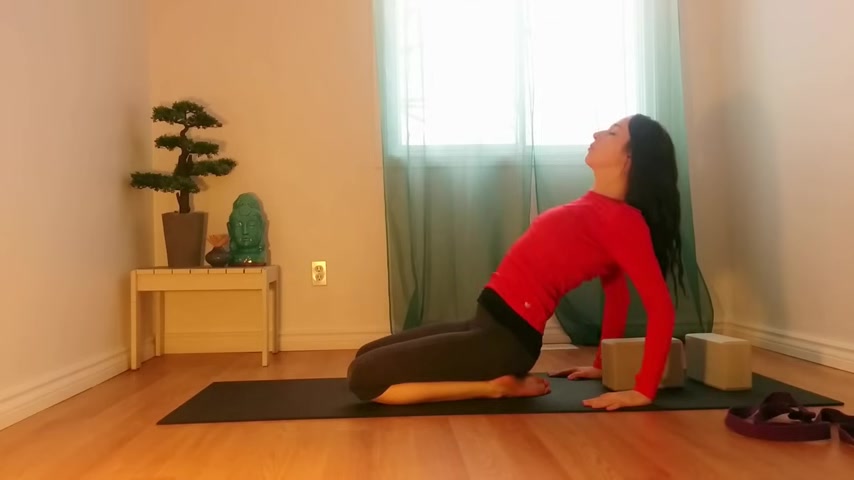
When you're ready to come out of the pose , start propping yourself up on your forearms , tucking your chin towards your chest until you're up onto your palms .
And we'll just take a few moments kneeling here , bringing the palms onto the thighs , noticing any differences along our spine .
And then from here , let's just come into a child's pose this time keeping the knees together so the shoulders can comfortably rest over top of the knees , letting the arms be alongside the body as you bring your forehead all the way down to your mat , allowing the spine to round slightly as you send your breath all the way down to your low back , releasing any tension that might be left over from the previous pose , breathe deeply and smoothly , slowly rise back up , moving the blocks out of the way we will be coming down to lay on our back here as well .

Keeping your knees bent and the soles of the feet flat on the ground coming in for a twist , bring your arms alongside your body and hook your right thigh over top your left .
As you allow both knees to come down to the left side .
Gays can stay neutral or you can look over your right shoulder if that's more comfortable for you .
If having the legs crossed is a little bit too intense for your lower back .
Feel free to uncross them and just let your knees stay stacked one on top of the other .
Send your breath down to your belly .
Feeling it rise and fall as you start to release through the right side of your lower back .
Try to keep both shoulder blades firmly grounded on the mat and let's stay here for about two more minutes .
Engage your belly here as you lift both knees back up to center on , crossing your right thigh over your left , leveling the hips once more before we explore the second side .
This time , hooking your left leg over top your right and allowing both knees to drop down onto the right side , making sure that your left shoulder blade stays grounded down on the mat .
And once again , if this variation is a little bit too intense for your lower back , feel free to uncross the legs and just set one knee down on the other .
You can even prop your knees by placing a few blocks underneath them just wherever you are .
See if you can bite a little bit more stillness into the pose .
3389.159 --> 3548.209

So letting the legs lay down heavy on the mat , arms come to either side with palms facing up towards the sky .
Allow the eyes to close as you start to bring the focus inward and take the time to do a bit of a body scan here , starting from the crown of your head , making sure that all facial muscles are relaxed .
No tension in the jaw , shoulders are away from the ears , arms are heavy into the mat all the way to the soft palms of your hands .
Let the breath be passive as you feel your belly slowly rise and fall to the rhythm of your breath .
Hips are relaxed , sinking down into the mat .
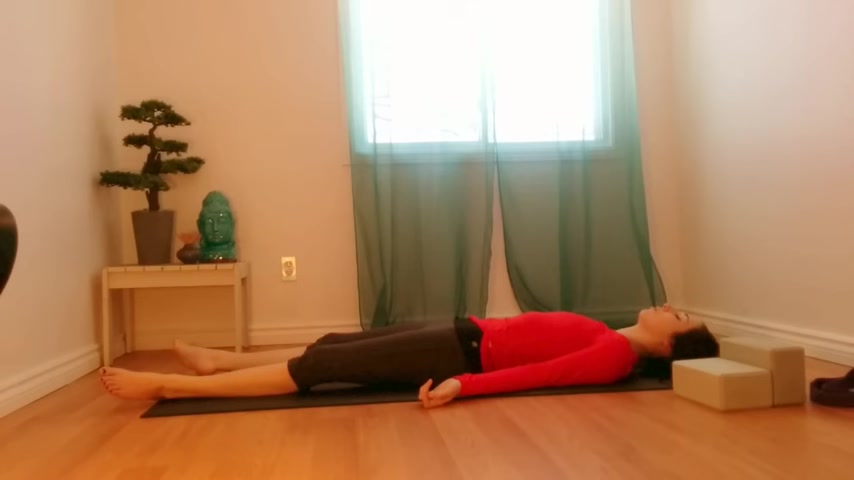
Legs are heavy all the way down to the soft soles of your feet .
Let all the tension melt away from your body as you use this constructive rest for your body to integrate all the work you've done for the last hour or so .
Please stay in as long as it's comfortable for you .
I thank you all so much for practicing with me .
I hope you have a wonderful day and I must stay .
Are you looking for a way to reach a wider audience and get more views on your videos?
Our innovative video to text transcribing service can help you do just that.
We provide accurate transcriptions of your videos along with visual content that will help you attract new viewers and keep them engaged. Plus, our data analytics and ad campaign tools can help you monetize your content and maximize your revenue.
Let's partner up and take your video content to the next level!
Contact us today to learn more.