https://www.youtube.com/watch?v=jNtYzHNYLPA
What I Added to My Living Room in 2022 - Govee T2 Backlight and Natural Walnut Slats PS5 Setup
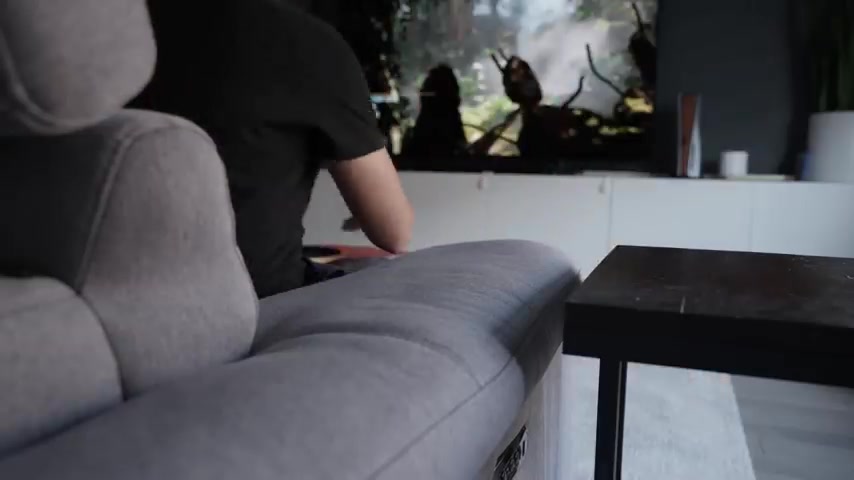
Welcome to my living room .
If you haven't seen my first video on the initial setup and tour , you can check it out here on my channel .
I paired the A 80 J with the PS five along with a few fixings and it has been amazing to say the least .
Despite nothing being wrong , there always seemed to be some upgrades or tinkering to be done .
So let's get into it .
This first update is an obvious one .
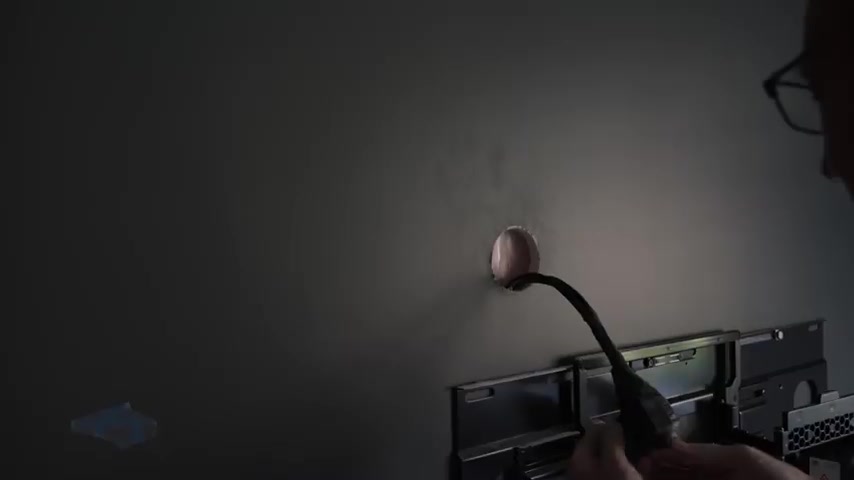
I've been searching a long time for the perfect TV mount and to no surprise , the best mount is also the most expensive .
Why did I choose a Sony ultra slim mount for obvious reasons .
It's slim .
This mount by far has the lowest minimum wall distance at less than one inch sturdy and well built .
From what I can see .
The most prominent feature is the ability to hold £77 and still be able to extend and turn while still able to retract to an ultra slim distance .
The only downside is that it does not tilt before mounting to the TV .
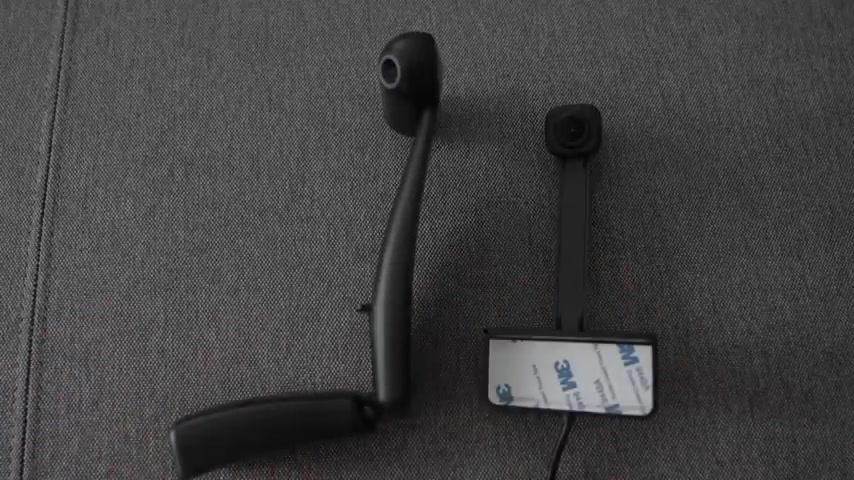
There's something I need to install first , I had previously installed the Go Dream View T one TV , back light system that synced to your TV content .
It was great but not without flaws go has now released their new and improved T two TV back light with several upgrades immediately when you open the box .
The first thing I notice is how stylish and sleek the camera now looks with a dual camera designed for better accuracy .
It is noticeably much bulkier but it shouldn't be an issue .
The light strips are much more densely packed at double the number of led s compared to the previous version .
This means it will produce a brighter and more immersive experience .
I will get to the features .
In the later part of the video , I've been wanting to install a feature wall using wood slats for a long time .
Now now companies like wood veneer hub has made it quite easy with their kits .
These slats come in panels of 25 inches wide and 8 ft tall approximately which means I need to cut it down to fit the wall space .
I plan on using I chose a natural walnut style here with no coating which I may do later in the future .
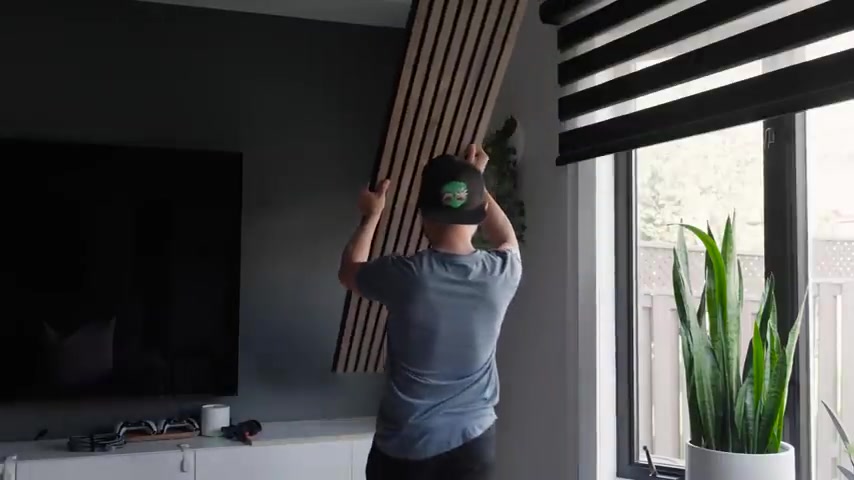
Although I agree they are not cheap , they are by far more practical , saves tons of time and includes a backing which improves sound absorption .
I decided to use it as an accent at the corner of the living room wall above my cabinet , creating a border around the TV .
This only requires a couple of slots , a very small addition that can make a huge impact .
I also had some extra wood panels from IKEA from my office makeover that I use as a base which kind of makes this reverse waterfall look and also leaves room for wiring .
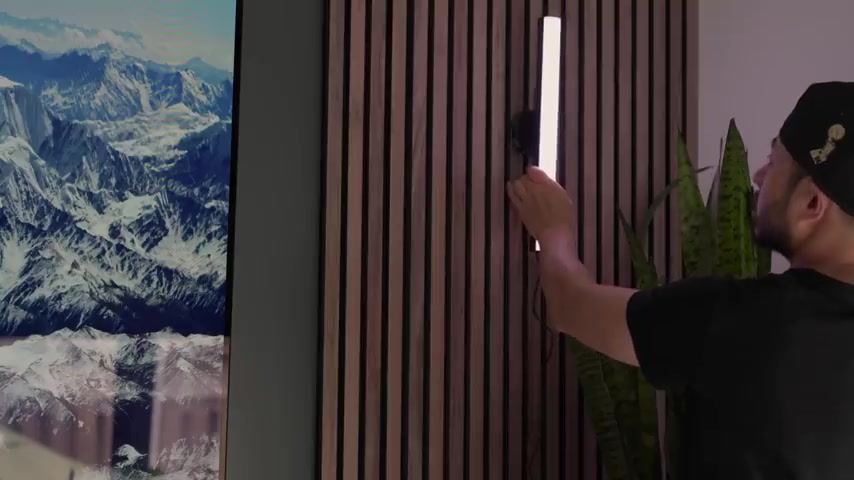
In addition , I'm also adding a light bar on the wall slits for added practical effects .
I wanted to keep the look minimal by using only one light on the wall while having the other one tucked away .
I'm going to briefly go over some of the accessories I added including the new ultra fast wi-fi six E wireless mesh system from TP link , even without any six E device .
The benefit is that I can get lightning fast speeds on my secondary mesh routers on the six E backbone deep brand also sent their version 2.0 dark which I just love it includes a side vent for airflow and removing the sharp corners , making it look more seamless .
Other accessories include these very cool anti sip so controlled from play vital and a set of well crafted wooden controller stands with a magnetic quick connector from Etsy .
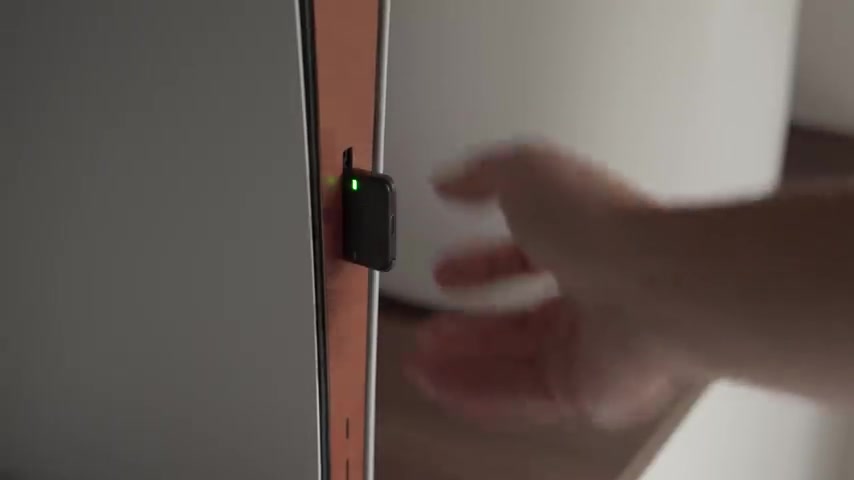
I can make an entire video about the accessories alone but for now , I will just leave links for each of these down below .
Gove has recently added a new feature which allow you to sync all your go lights for full immersive experience , watching a movie , playing music or anything really with the TV mount fully retracted .
You can see it sit snug against the wall pretty well .
Right ?
The drawback , however , is that the back lights seem a bit too smothered being so close to the wall .
Even then I can see that the colors here are noticeably more vibrant and accurate compared to the previous gent .
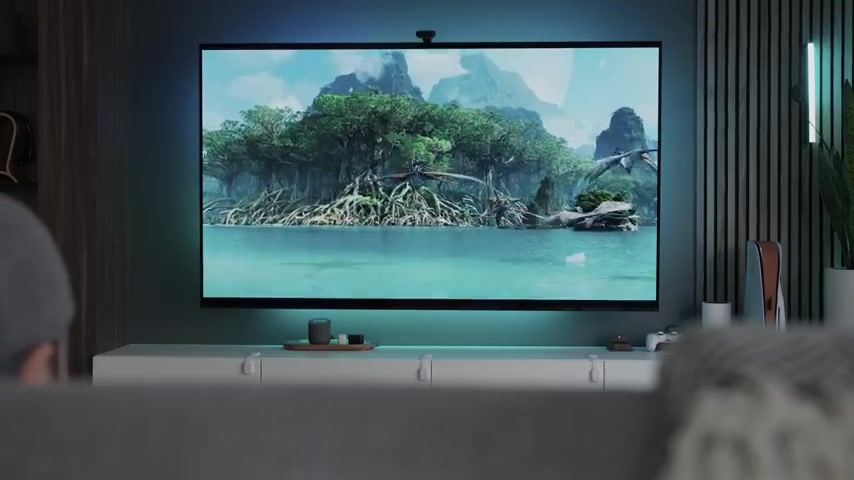
In order to get a better feel , I decided to move the TV out just a bit , giving the back light a bit more space to breathe so that it has a soft bloom for the best color calibration .
I keep the saturation low and color balance on the cool side .
For more details on calibrating these light strips and anything go .
Mr Tech has a great channel with lots of videos and lots of good information .
I really love this look and the effects that it gives , I can see that some will find this a bit too distracting .
There are often times where I would just turn off the wall light or keep it at a low glow .
You can also adjust the angle to point it side to side , which is a nice touch .
But for gaming or times when I'm feeling adventurous , I'll probably let it go on full blast .
You might have noticed .
I've decided to go with a no sound bar set up for now .
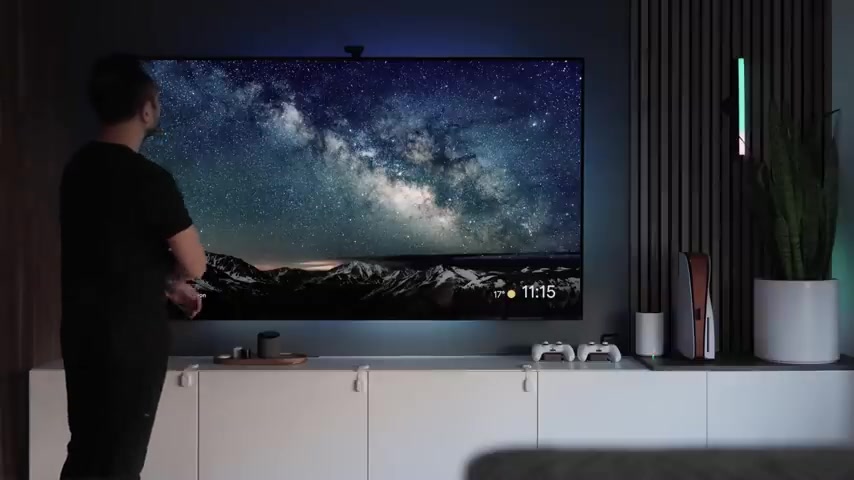
I've not yet decided on one and I'm liking this clean open space look , adding all these lights to your set up can give a bit of a cold vibe , which is why it's important to balance it off with some warm wood tones .
And the great thing about it is you have the option of switching off led s whenever you feel like thank you for watching , consider subscribing .
If you want to see more videos like this in the future , I'll see you next time .
Are you looking for a way to reach a wider audience and get more views on your videos?
Our innovative video to text transcribing service can help you do just that.
We provide accurate transcriptions of your videos along with visual content that will help you attract new viewers and keep them engaged. Plus, our data analytics and ad campaign tools can help you monetize your content and maximize your revenue.
Let's partner up and take your video content to the next level!
Contact us today to learn more.