https://www.youtube.com/watch?v=Jr_gdfP34EI
17 Painting Tricks of All Time _ Home Decorating Ideas _ Joanna Gaines New House
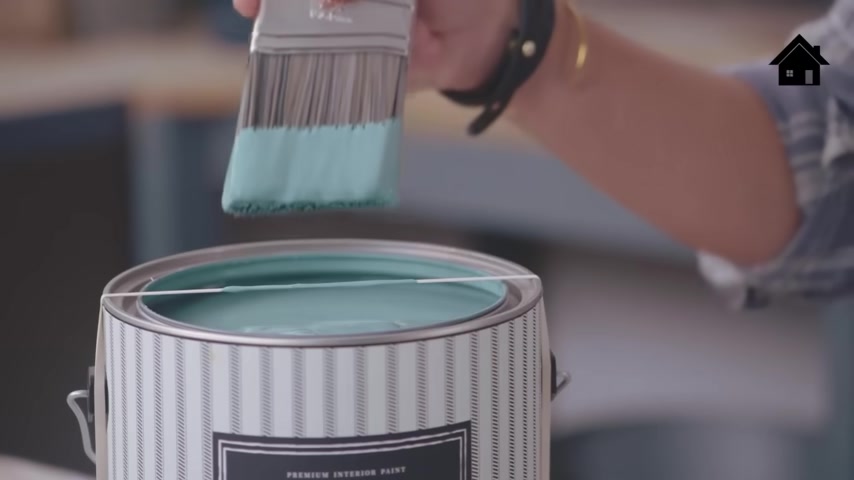
If you're like me , you hate getting paint all over the lip of this paint can .
So a trick that I have is stretching a rubber band around the entire can .
So when you dip your paint brush , instead of wiping it around the edges , you wipe the excess paint on the rubber band .
So when you go to shed it , the can is still in pristine condition .
I really love to refinish chairs , but the trickiest part is the leg , especially the bottom of the leg .
Sometimes the paint doesn't get evenly distributed , it gets too clumpy down there .
So a trick that I do is I hammer a nail at the base of each leg .
Once you prop it up , it makes the painting job a lot easier that you get in there at the base makes it almost effortless .
You can use the same trick on smaller pieces of furniture that have legs .
But if you're having to paint something that's bigger , think about using paper plates , even propping it up with bricks , anything you don't mind getting paint on .
Once you elevate the piece that you're painting , it makes it a lot easier .
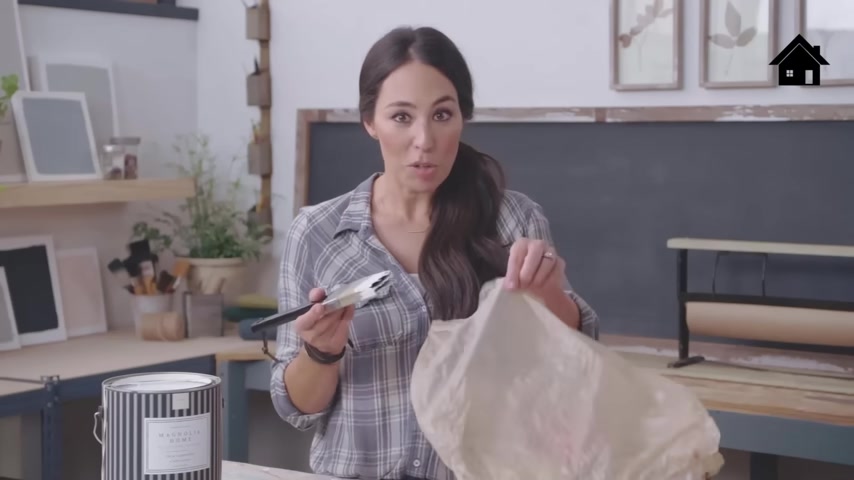
You know , this has happened before where I'm in the middle of a project and something comes up and I've got to put it down for a second or even a couple of days .
Here's a simple tip that'll keep your brush soft and supple .
So you don't have to clean everything up .
Simply get a grocery bag , put your brush in there with the paint on it and then just make sure you get all the air out , get a rubber band , tie it up like a ponytail .
There you go , you can keep it in this plastic bag for several days .
So when you're ready to get back to your project , just use the same brush you started with .
If you don't want to make a mess when you're pouring your paint into the tray , I recommend buying one of these inexpensive accessories that'll get the job done .
It's called a can spout .
All you do is pop it into the rim of the paint , can pick it up , pour it into the tray and there you go .
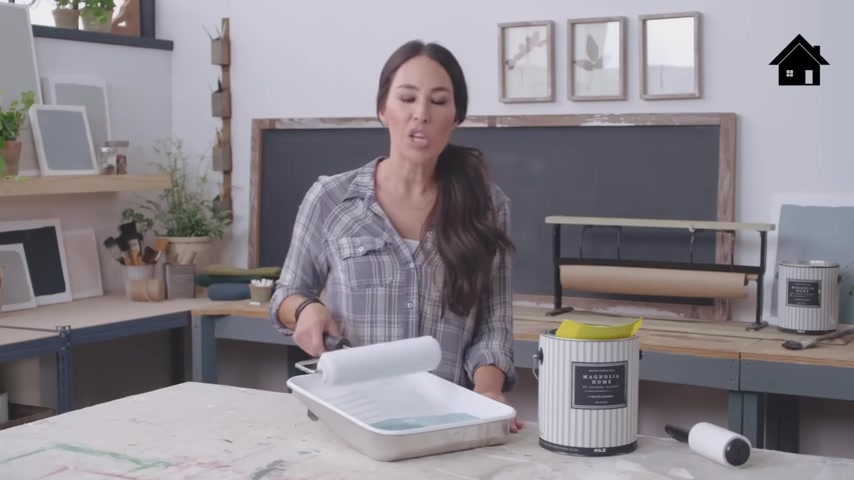
It makes pouring paint clean and easy .
One of the keys to getting a smooth paint job is actually in the way you load your roller .
But first before you actually dip the roller in the paint , you're gonna want to clean it with a lint brush .
This is a high quality roller .
So typically you won't have a lot of lint , but just in case you want to start by getting all the excess lint off the roller brush .
So one of the things you for sure want to avoid is getting paint in this area of the roller .
You only want the paint on the fuzzy part , which is called the nap .
So the key to getting the paint on this roller is not just dumping it in , it's actually doing a little bit at a time and then drawing the paint out , you really want to make sure the paint is evenly distributed on this roller brush .
It's a knife like the paint is evenly distributed .
The weight feels great .
Now , you wanna let it rest for about a minute .
And what this does is it allows the paint to really get absorbed in the fibers so that when you roll it onto the wall , it makes it seamless and perfect .
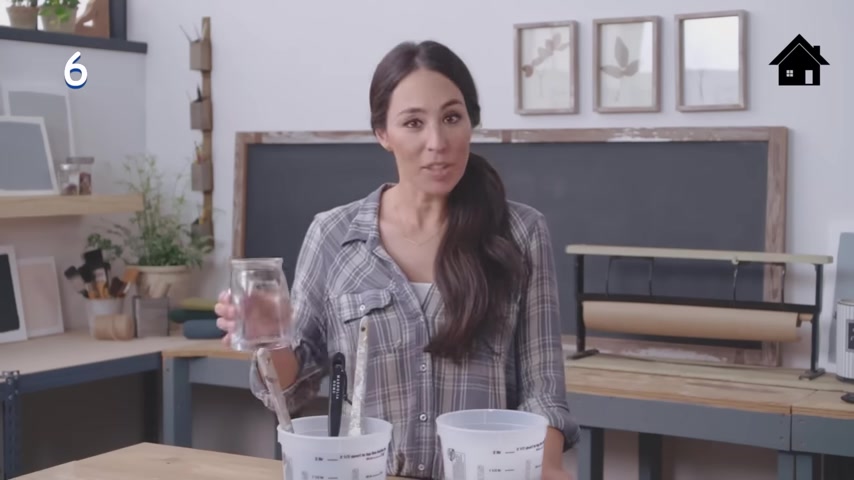
Have you ever wondered how to get your gunky brushes cleaned up ?
Well , this is an easy tip .
Use hot vinegar , pour it in .
You let the brushes soak for about 20 or 30 minutes after you've let them soak .
I use this tool .
It's like a brush comb .
You can get it at any hardware store .
What you do is you brush the gunk out , basically , comb the brush , you get all the thick spots out and once you've cleaned that out , you let it soak in some soapy water .
You get the vinegar out , pat it down , run it through some warm water , get the soap out and there you go .
Your brush as good as new .
I like to reuse my paint tray .
So one thing I recommend is buying a liner , put it in your paint tray .
When you're finished painting , you can throw this away and your paint tray is still intact .
If you forgot to buy a liner , you can make a makeshift one .
Simply use an old grocery bag .
You have laying around , tie it in a knot .
There you go .
You're ready to get started .
As the seasons change , your house is contracting and expanding .
But there's an ingredient in paint called resin .
And depending on the quality of that resin , it can help prevent your paint from peeling and cracking .
With the Magnolia Home paint line .
I wanted to make sure that the resin was super high quality .
So to demonstrate , I dipped both of these balloons in paint .
This first one I dipped in a lower quality paint .
Watch what happens to the resin in this paint that this is definitely what you would call a resin fail .
Over here , I dip this balloon in the Magnolia Home paint , do the same thing .
And as you see as the air is released , everything is staying intact , there's no cracking , there's no peeling .
Even when I try to pull it apart .
Look how strong and durable this paint is .
This is the stuff you want on your walls .
It's gonna last you for years to come .
So if you end up getting a smudge or a drip on a spot that's a little hard to reach if it's in the corner and you can't put your rag back there .
A tip I have is using a wet cotton swab and you're going to apply pressure and roll it up and that's gonna remove the paint .
So once you apply some pressure , you roll it up , there you go .
It's gone .
Committing to an interior paint color can be a big decision .
I really wanted to make this process simple and effortless .
So to make choosing paint a lot easier , I develop these Magnolia Home peel and stick color samples for you that you can simply peel off , put up on the wall .
So instead of committing to a ton of colors on your wall , having to repaint them .
Now , the process is so much more effort list depending on if it's by a window , it's gonna cast a certain light on it and give it a different shade .
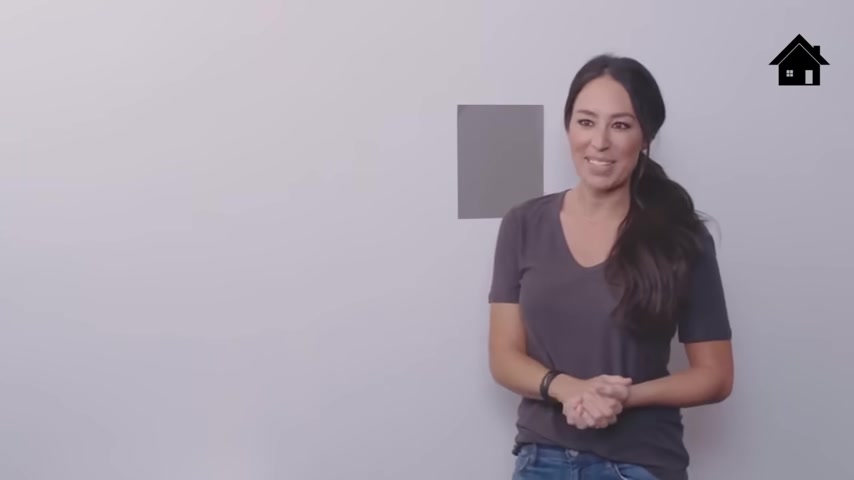
Or if it's in a darker part of the room , you simply peel it off and restick it over there so that you can really get a true sense of the color in all forms in your space .
You can put 10 , 25 colors up as many colors as you want .
Once you eliminate the colors , you know , you don't like , you narrow it down .
Let's just assume I'm wanting a gray .
So I'm going to eliminate the blue .
I'm gonna eliminate the green .
And now I've got Garden Row gray .
And what I really like about this is now I've got to pick my trim color .
So I've grabbed the two whites .
I've grabbed Ship Lab True White and all you do now is you just put it up against the color on the wall .
And this is what I'm talking about when I'm saying this makes picking color so much easier .
Instead of pulling up the bucket , the primer , the brushes , you've got these , the most rewarding thing about any paint job is the moment you get to take the tape off and see the final product .
But a common mistake , people do when they're taking off the tape is that they wait a little too long when the paint's actually dried .
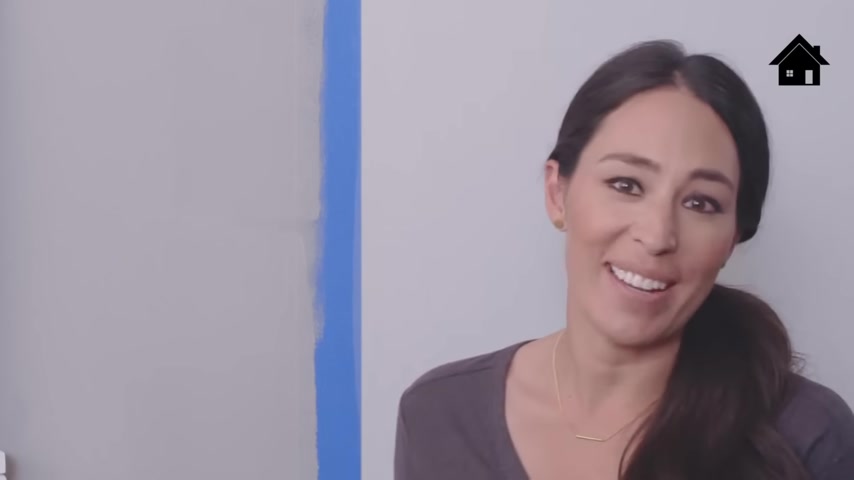
What happens is when you take it off , when the paint dries , it actually creates somewhat of a jaggedy edge .
I recommend waiting until the paint is tacky .
It's not too wet and it's not too dry .
And that's when you get the perfect line .
One area in the house that I wanted to make sure was super durable was anywhere where there's trim and cabinetry .
This paint is specially formulated to add an extra layer of protection on any of your high traffic areas .
This piece of trim has already been primed with Kills Max primer .
So it's ready to go when you're painting trim .
I recommend using a 2.5 inch angled sash brush .
I really love this paint because it goes on super smooth .
It's self leveling and the key here is to work in small sections and make sure your brush strokes go in the same direction .
And that's all there is to it , to make your paint job look more professional .
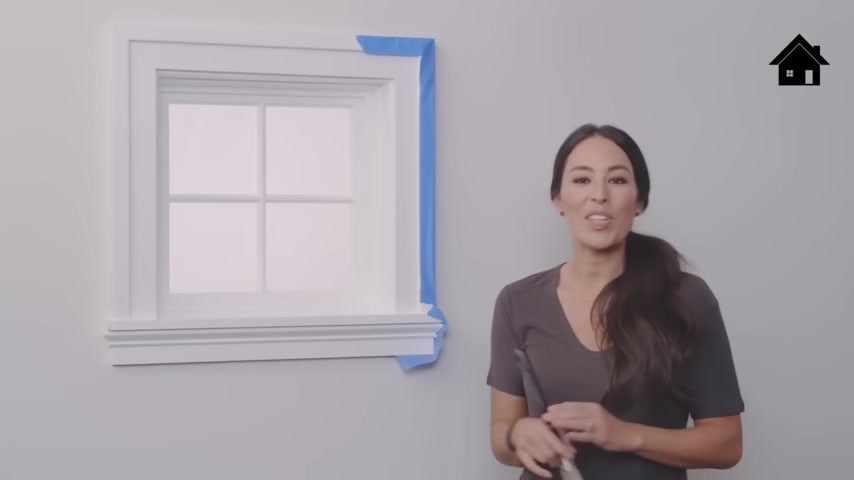
I'm gonna show you how you trim out around the edges and these borders where the roller can't fit pros call this cutting in .
You want to start with your two inch angled sash .
But before you start painting , you want , condition your brush first , you're gonna simply dip it in some water , shake the water off .
What this does is , it makes the paint come off the brush easier and it makes the final clean up a lot simpler .
After you've conditioned the brush , you're gonna dip it into the paint .
But one thing to remember is that you don't want to dip the brush all the way up to this metal part which they call the feral .
Once paint gets underneath here , this is when the bristles actually fall out .
It also makes cleanup a lot harder .
So you're gonna dip it in a can remember only about an inch .
So you want to start about a quarter of an inch off the trim .
As you see , I've taped off this trim here , you're gonna start about a quarter of an inch off .
You're gonna hold it like a pencil .
So you have a really good grip you're gonna let the paint go off the longer bristles first and you're gonna follow it down .
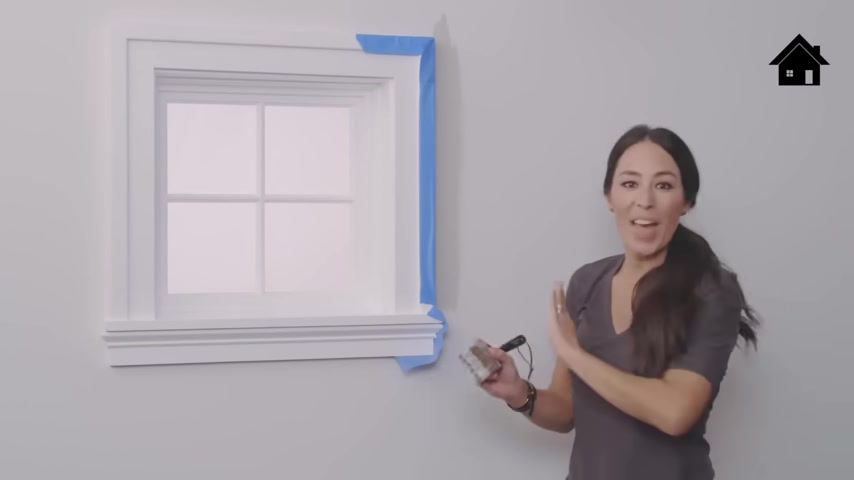
So once you've trimmed out the edges , you're gonna want to roll the paint on the wall while this is still wet and that will make for a seamless finish .
People often ask about picking out paint brushes .
I strongly recommend that when you're buying a paintbrush , you pick a paintbrush that has high quality that will last .
I recommend a collection of five sizes and shapes .
First , you've got this three inch wide flat edge brush for larger areas .
Next , you have a 2.5 inch flat brush for medium areas .
Here's a 2.5 inch angled brush which pros call a sash brush for painting a border near trim and molding .
Next , you've got this 1.5 inch angled brush for details like deeply groove rosettes above doors .
I also like to keep an artist brush around for fine work .
Now , rollers come in a variety of materials .
Magnolia roller covers are designed to be shed resistant and durable and can be used over and over again , just like a good brush .
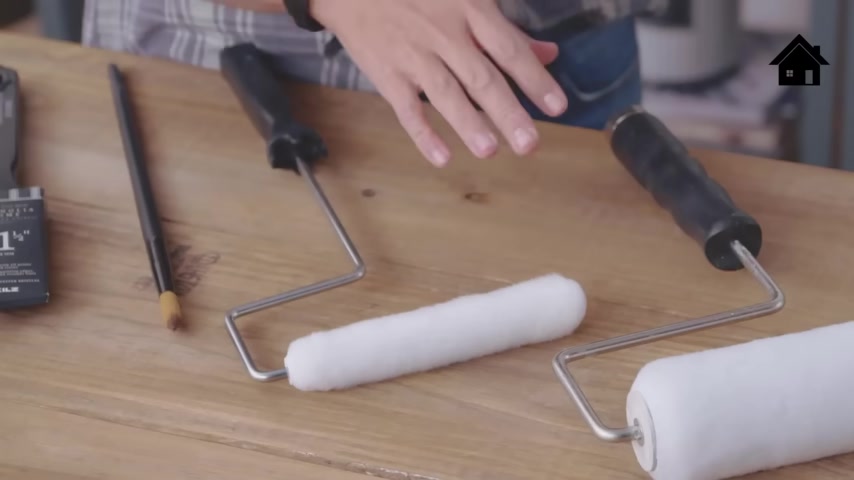
They come in three lengths , three inch for smaller areas , six inch for medium size areas and nine inch for larger areas .
Here , I've got the six inch and the nine inch , the fuzzy part of the roller comes in different thicknesses called nap , shorter naps , give smoother finishes and I find that a standard 3/8 inch nap is good for most normal interior surfaces .
The paint brushes I designed with Kills have high quality synthetic fibers that make for easy , clean up afterwards .
They also hold paint well , giving you a nice smooth finish if properly maintained , they have years of good use .
One of the things I'm really excited to tell you about is the Magnolia Home Chak style paint .
You know , when you find that really amazing piece of furniture that has great lines , cool details , but you don't love the finish .
It's the perfect time to use that Chak style paint .
What I love about it is it has really great coverage .
It's smooth and it's super easy to use .
So I'm gonna show you how easy it is to use this chalk style paint .
I found this bed .
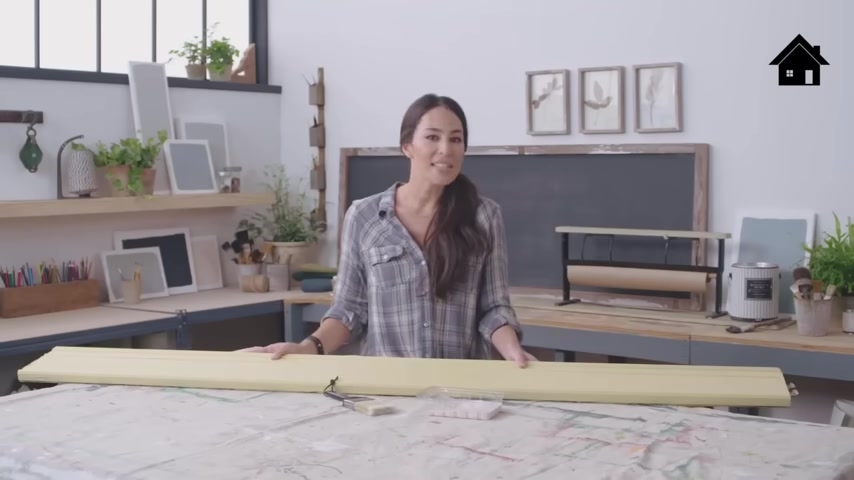
This is actually the sideboard of the bed .
I loved the details and the lines on the bed , but I didn't love the color .
So really all you need to do here and in most cases is just use an all purpose cleaner that I already sprayed on this rag , wipe it down .
So you get all the dust and dirt off so you can prepare the piece for the chalk style paint .
So as you see , I've dipped the brush in the paint , my surface is dry and the great thing about this chalk style paint is there's no rhyme or reason to the way you do the brush stroke .
It's just really getting the paint on there and see how smooth it is and how much coverage there is .
It's really amazing .
So once you've applied the first layer , you're gonna wanna let it dry for about 10 to 15 minutes and then you're gonna apply a second coat and that should be all you need .
It's great coverage .
This is the footboard .
We've already painted it with the Ella Rose pink .
There's two coats , it's dry , it's ready to go .
So I'm gonna show you several different ways .
You can finish a piece .
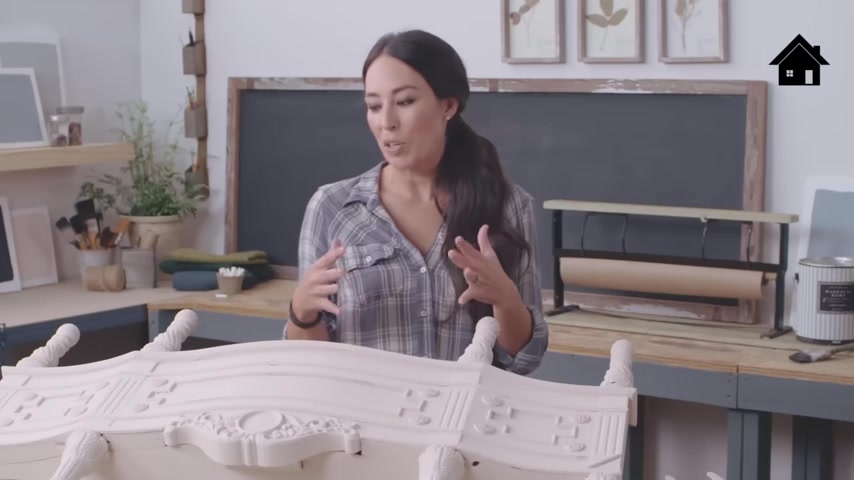
This is always my favorite part of the process because to me , this is where you're highlighting the best features of a piece of furniture .
So the first look is just with a darker wax and I want to show you the wax .
We've got this darker wax right here and if you look at the consistency , it's not like any other wax out there .
It's smooth .
It's very easy to work with low voc low odor .
And then here's the clear .
So couple of different things to think about .
If you want a lighter stain , you can actually mix these to achieve a lighter look .
If you want a darker stain , you just do several coats of the stain to get it as dark as you want it to go .
Got the rose pink here .
I wanted to use just this stain as the perfect color .
I'm gonna show you how easy it is to apply .
The key with this wax is you want to start in smaller areas .
You don't want to wipe it everywhere you're gonna wipe on , you're gonna wipe off .
And so you want to start in smaller sections , you're gonna watch how it really makes the piece come alive .
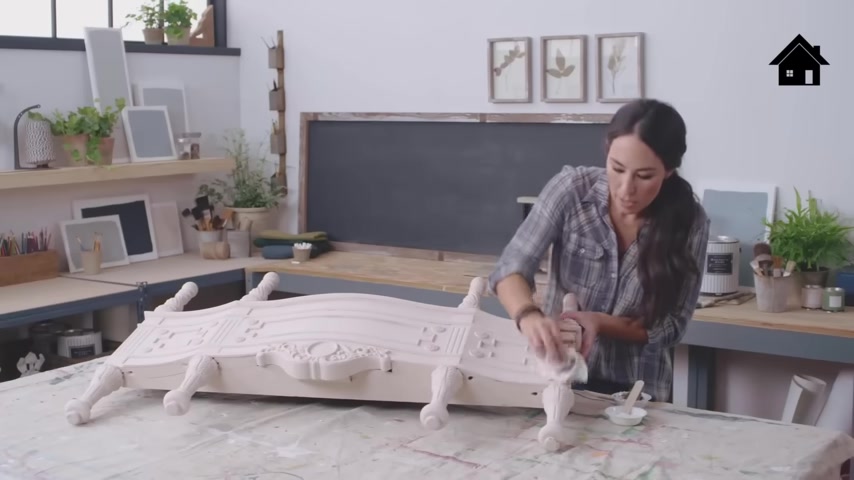
It highlights the best parts of this footboard .
So you're gonna see , I'm gonna wipe it on here and you want it to kind of get stuck in all the crevices so that it'll highlight the lines and the details if you wipe it on and then you wipe it right off .
The great thing about this wax is it's so easy to use that .
If you want it lighter , you just keep wiping and it wipes it off .
If you want it darker , you keep applying , it starts really making this piece come alive and it's highlighting its best features .
Once you're finished with it , you're gonna wanna apply the clear wax to seal all of the paint makes it even more durable .
The next look is just an easy hand distress .
So here you're just gonna get a low grit , sandpaper and all I'm gonna do .
This is a smaller piece .
I'm gonna do it by hand .
I'm gonna highlight my favorite portions of this piece .
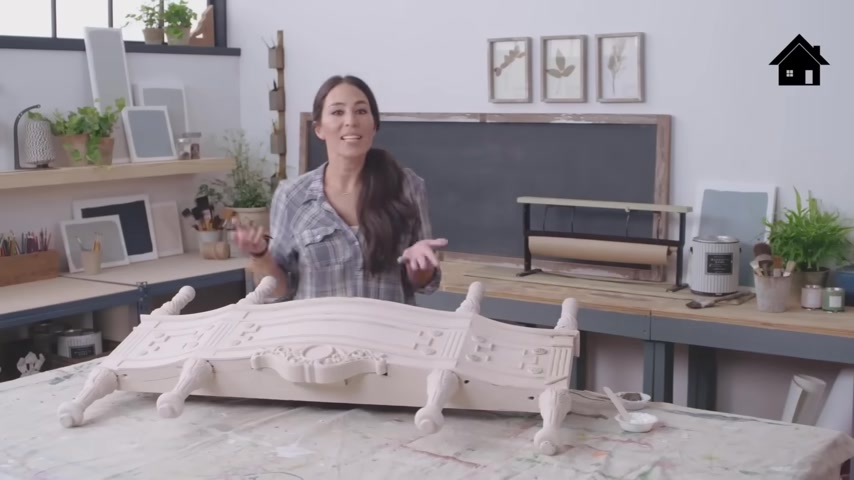
And to me it's where would it be naturally distressed ?
I don't want to distress all the insides .
I wanna distress the lines that are raised and then once you're done , you dust it off and this is where you'll apply the clear wax to seal the paint .
The last way here on this headboard is just highlighting .
So you're gonna take a color that's light than the color that's here on this footboard .
I chose the ship lap white and this is something that's just super simple .
You're gonna follow the lines on the bed , you're gonna highlight the areas that you really like .
So for me , these are the things that make this bed different .
All these detailed pieces trim , subtle but still really stand out .
What I love about this chack style paint is , it's all about the imperfections .
You don't want anything looking perfect .
You're highlighting the age and the character of these pieces .
So it actually gives you a lot more freedom .
So as you see here , I've highlighted this and I can go as far or as little as I want .
And with here , I'm just gonna stop because I don't want it to be too contrived .
I want it to feel very natural .
There you go .
You've got the wax , you've got the hand sanding and you've got the highlighting .
So most of the paint is gonna come off in the beginning , which is why it's important to create an M when you first put the roller to the wall , what this does is it distributes the paint evenly , you then fill in the spot , smooth it out .
It'll give you the professional look you're looking for when I made my paint with my partners at Kills .
I really wanted it to be durable .
Super important .
I have four kids .
I live on a farm .
So durability was key .
So to show you how durable Magnolia Home paint is .
I have two boards here , I'm gonna introduce two different types of stains , red lipstick , which has a lot of oil in it .
We can also represent chemical stain and then I've got the crayons , got kids .
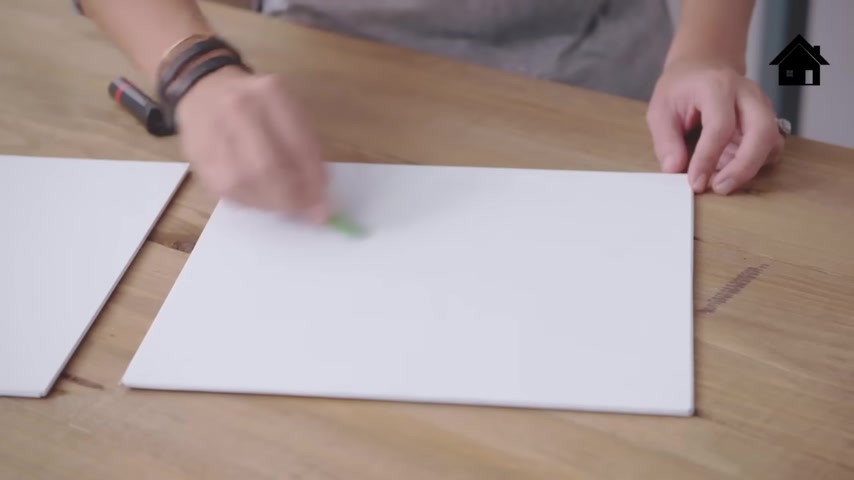
This happens these boards .
The Magnolia Home paint , it could withstand the scrub over here with this lesser quality paint literally started falling apart .
Really ?
All this was , was a board that ended up wrapping in newspaper .
So to me , the fact that it could protect something as delicate as newspaper , you know , it's gonna be able to protect your walls .
Are you looking for a way to reach a wider audience and get more views on your videos?
Our innovative video to text transcribing service can help you do just that.
We provide accurate transcriptions of your videos along with visual content that will help you attract new viewers and keep them engaged. Plus, our data analytics and ad campaign tools can help you monetize your content and maximize your revenue.
Let's partner up and take your video content to the next level!
Contact us today to learn more.