https://www.youtube.com/watch?v=O354SRTx7u4
How to Draw Faces Using Your Pencil as a Measuring Tool
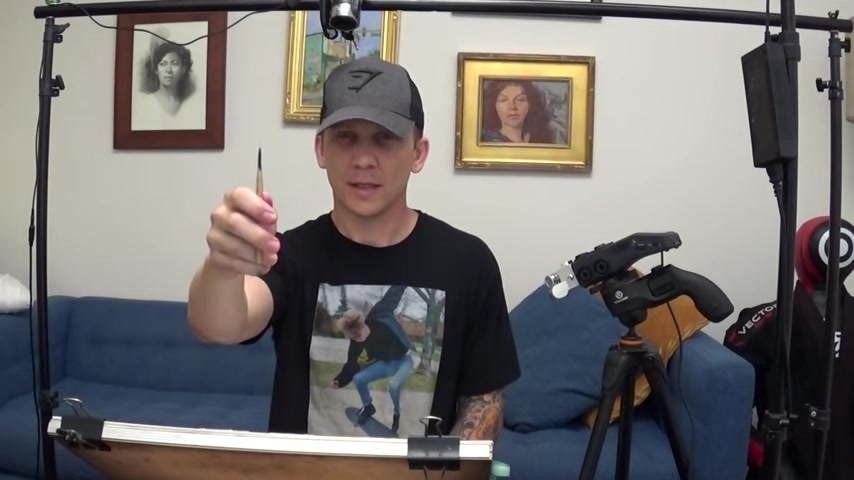
Hey guys .
So on this video , I'm going to experiment with the uh the camera .
I'm gonna have a camera um where I can swing it in front of me and I'll try to show you as best I can , how I use my pencil and thumb to measure and compare to different areas of the face , like the third of the face and then also the length to the width and even the uh head tilt as well using the pencil .
So uh hopefully it works out .
Uh Let me know if it does for you and uh I'll make more like this .
If not , then I just won't .
Uh Thanks for watching and here we go .
OK , starting off with a circle and then we're gonna find , usually we try to find the head tilt , but for her , there is no head tilt , she's straight on , um looking directly at us .
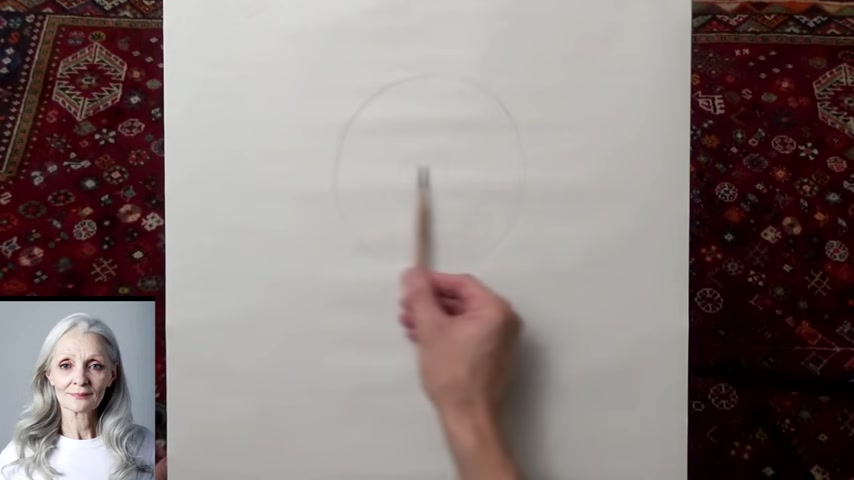
And I like to use this line as the brow line .
Some people would like to use this line is where the eyes will sit on .
I like to use it , use it to indicate the brow and then the center of the face which is really easy .
In this case , I just cut this in half .
So now we have the cross of the face which just comes from the lum , the lum method and , and now I'll go ahead and place in the hairline and she has a widow's peak , slight , slight , widow's peak like this .
But I'm not concerned about that point .
I'm gonna use the overall sweep of her hairline and the brow because she has sweeping eyebrows or arching eyebrows .
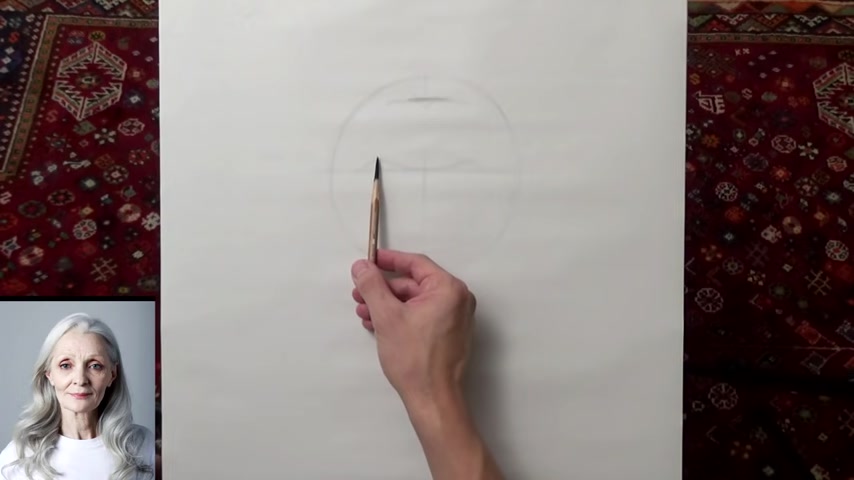
I mean , so I'm gonna do a simple sweep for those eyebrows and then the brow ridge , something like that .
So I'm not measuring off of the top or the peak of the eyebrow .
I'm measuring at the base where the eyebrow begins in the center of the face .
So that's the line I'm using in these thirds and then the bottom , the bottom of the nose right now , I'm just guessing .
And then I'm gonna do uh comparative measuring to find uh those relationships between those three parts .
So the 12 and the three , let me bring the jaw down just a little bit of the chin .
So this is what I think I see .
And now I'm going to bring this camera over and let me zoom in .
You could probably see me in the reflection .
Hi .
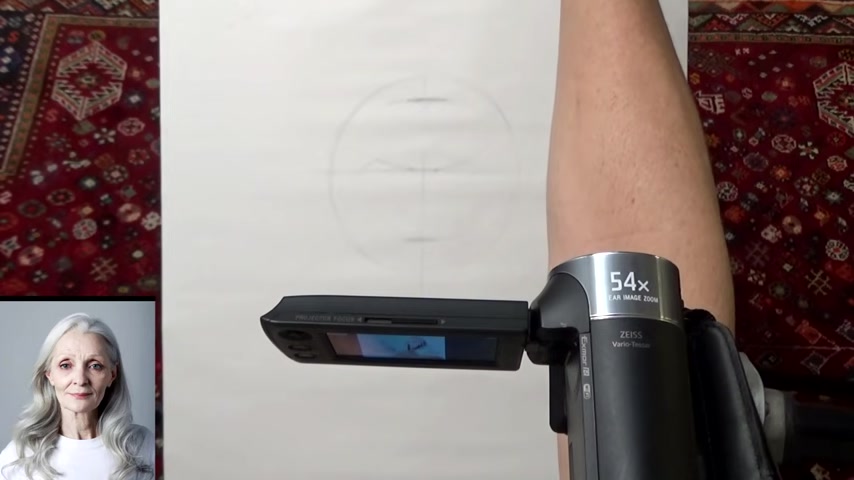
So let me zoom in on her , on her subject .
Try to get this .
OK .
So now I'm gonna hold my pencil up and my thumb .
This is kind of hard to do for me because I'm looking at the camera rather than the image on the TV .
But I'm gonna measure uh bottom of the chin to bottom of the nose and then compare it to bottom of the nose and the brow .
So I'm gonna hold up bottom of the chin , bottom of the nose , bottom of the nose to the brow .
It looks like it's slightly below , it's about right here .
So we're pretty close .
Now , I'm gonna compare the bottom third to the top third .
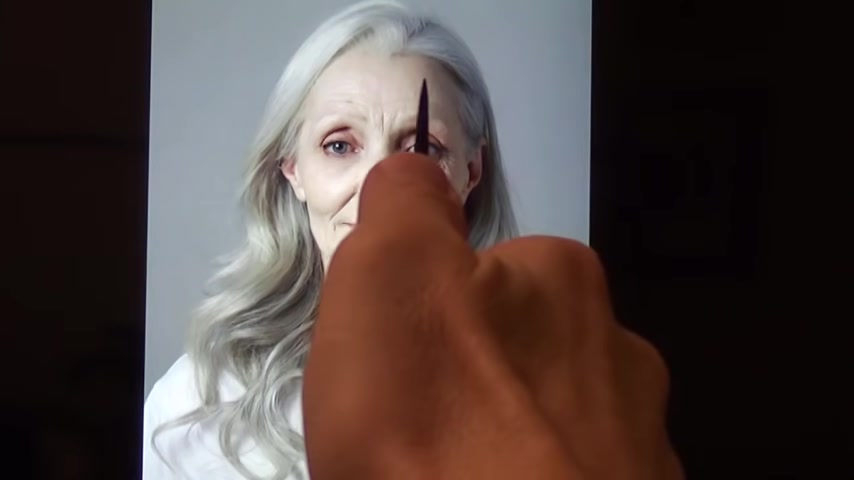
So bottom of the chin , the bottom of the nose then to our brow on top of the head and they were equal , pretty close to being equal .
So I need to bring , so I need to bring the hair lying down a little bit .
So what I observed by using my pencil is the bottom third is roughly equal to the top third in the middle third , the length of the nose is a little bit longer than , than those other thirds .
So next , I'm gonna measure the width of her face and compare that to the length .
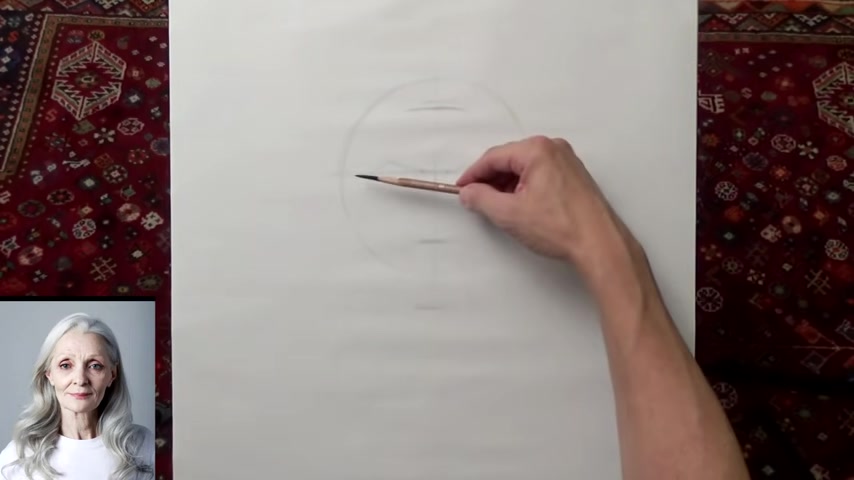
And I'm gonna do it from the point that her cheeks are the whitest , which look looks like it's probably like right on this line right here .
So let's bring our camera back over so I can show you , let me adjust this , try not to hit the camera itself .
So I'm measuring the width at the peak of her cheekbones , something like that .
And compare it bottom of the nose or bottom of the chin and it looks like looks like it comes to about right here , maybe a little bit lighter .
So it's a little bit slightly longer than my pencil .
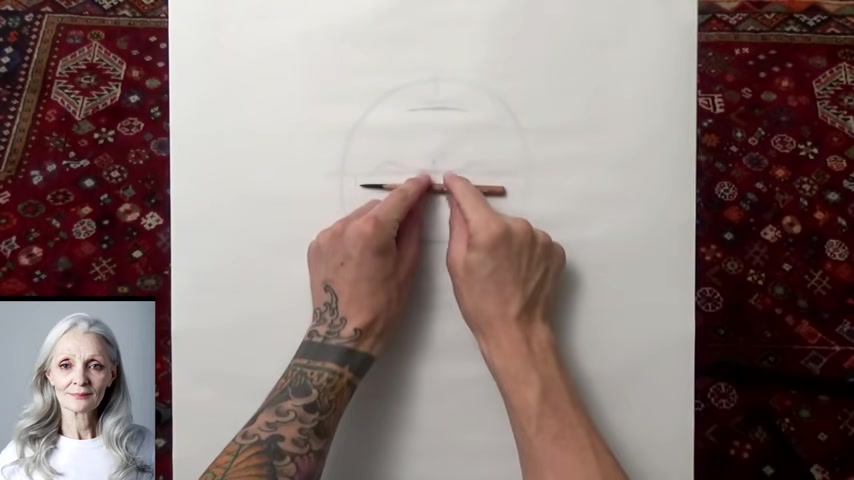
So if I take my pencil , it might be somewhere right here .
So I'm just gonna make sure I got equal part , equal distance on both sides .
Perfect .
So now I have a rough idea where those cheeks or the width of the face will be and then the uh from cheek to cheek compared to this length .
So now I'm gonna go ahead and put in some basic structure , the glabella , the root of the nose right here .
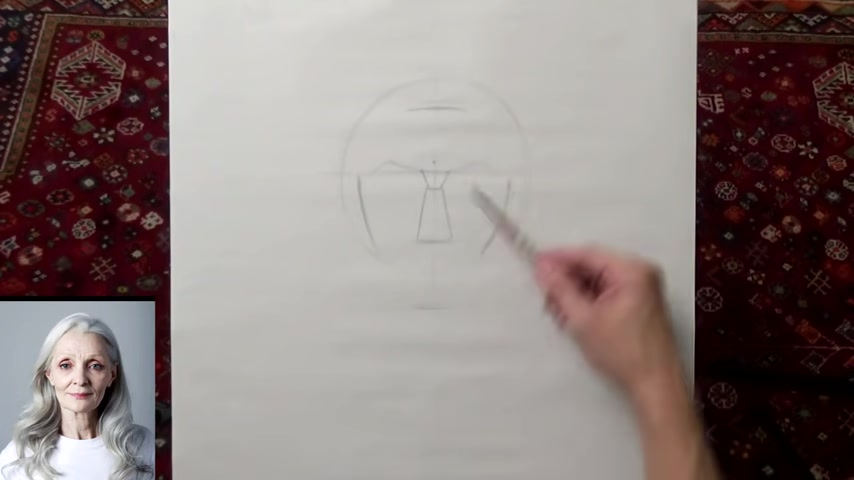
I'll come down guessing or estimating the width of the nose , little nostril sides .
Then let's go ahead and put in the cheek .
Actually , that's , yeah , that's fine .
Let's go ahead and do that .
You put in this side of the jar .
Yeah .
And she has this the side playing of the temple .
We can do the rhythm for the forehead .
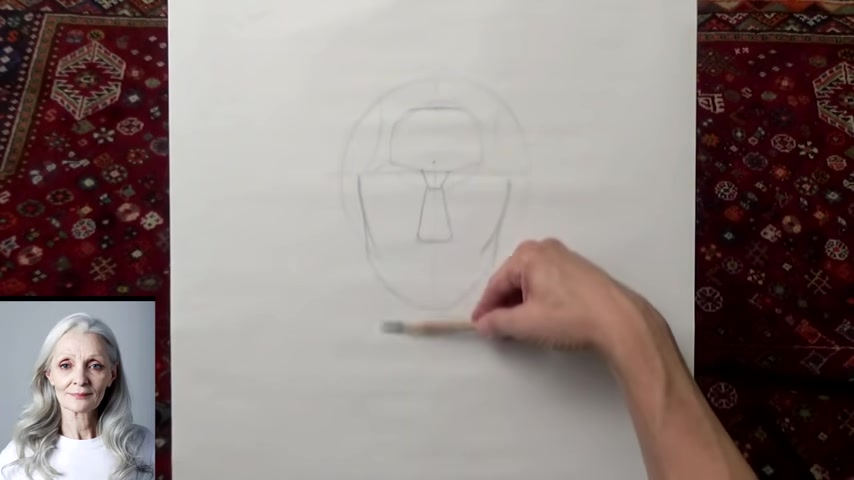
It comes down creates that little pocket inside the the or and then her neck do the lips for the uh the shirt , then we can take out this back side of the ellipse .
So let's do some of the rhythms from the Riley method .
And this one here is the nasal labial fold or you can just say muzzle line and then we have the mid cheek furrow which will help us place in the eyes .
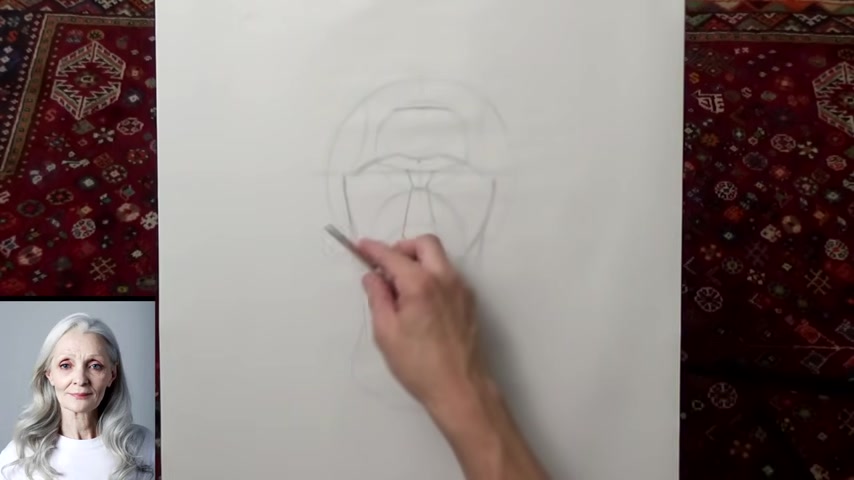
So we had that sweeping arc for the brow and then there's another sweep here .
I have to take that out and show that structure we can place in our eyeball .
This is just for reference , we're not gonna be married to it like we're not gonna try to make the eyeball always be in the right spot , but it's just gonna get us in the ballpark .
So her mouth , so this is the bottom of her nose .
Actually , let's go ahead and do some structure on the nose .
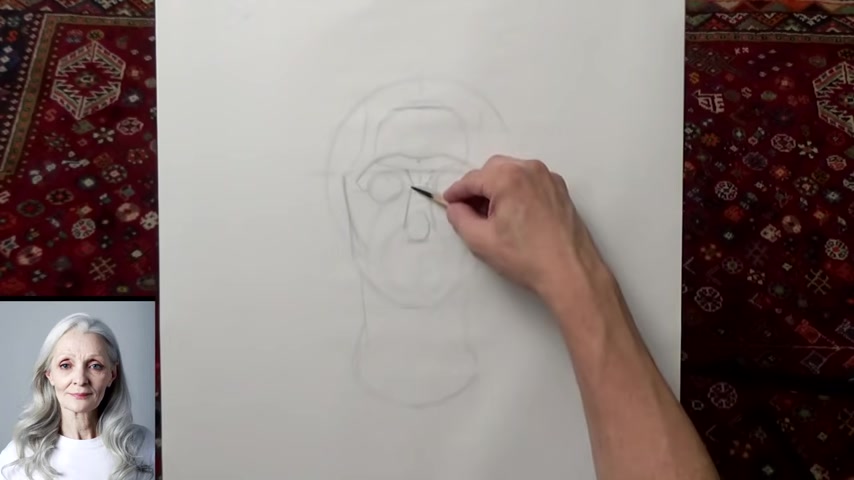
Let's do that main cartilage ball and then the bony structure , the bone , the bone of the nose , the nasal bone , and then we do the nostrils because we see the tip of her nose is falling below the outside or the bottom of our nostrils .
So then her lips looking at her filter looks pretty long .
There's a nice little rhythm right there and she has , she's had , she has a slight smile .
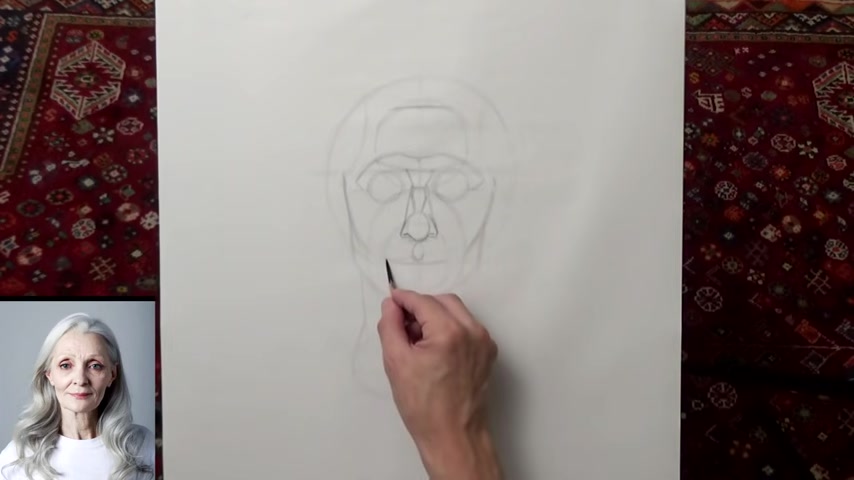
You see the tension into the lips here , bottom of her lips here .
She has this thin lips and then there's a little wedge shape underneath the bottom lip and then we'll get the chin rhythm from that , see a little corner of the lips here .
Yeah .
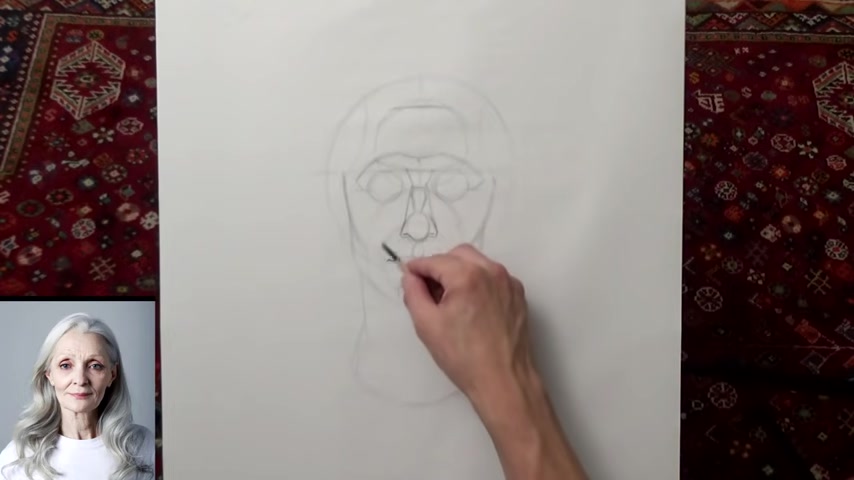
And then because she's smiling this the uh nasal labial fold isn't exactly like this curve , it's pulled up because of the muscle comes around like so , but it gives us a good placement and then we have this rhythm here for the bottom part of the mouth and then we could take that mid cheek furrow and that catch is here under the jaw over here .
Her chin comes to a nice little point right there .
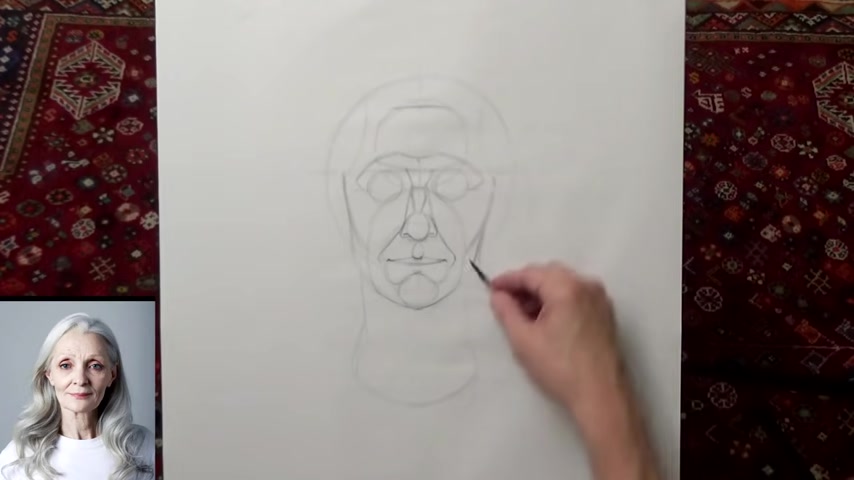
And then you can see this overlapping form from the fro actually , it looks a little different .
Let's see because it comes out because she's smiling .
So it's a little bit wider .
Yes .
Think that's a little bit better .
And then her cheekbone overlaps pretty strongly .
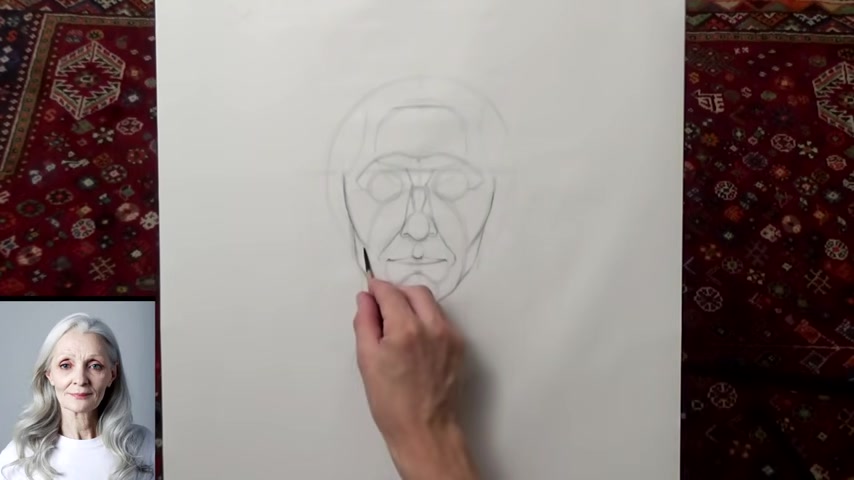
She has a very strong structure , the bottom of our cheek from side to side just to make sure we can line up her neck rhythm , most of them be hidden and the hair once we put that in .
Yeah .
And then the side plane over their head with their hairs following that rhythm .
So now we have structure is starting to come to life , probably don't need to arc or eyebrows that much flatten them out a little bit .
Uh Let's go over to the ear placement .
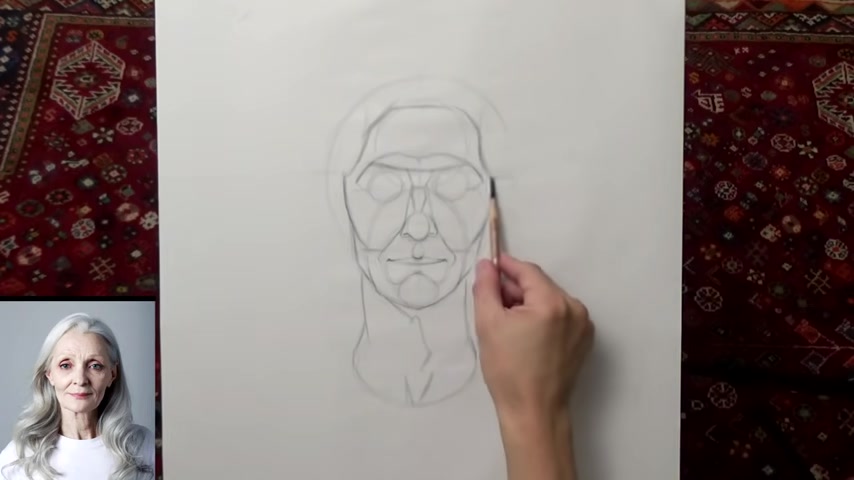
So you can see the one ear on one side , the other side is covered in hair and it looks like her eye or a top of her ear falls somewhere on this line here and then bottom .
That's what I'm doing .
Let me take my camera actually , almost forgot .
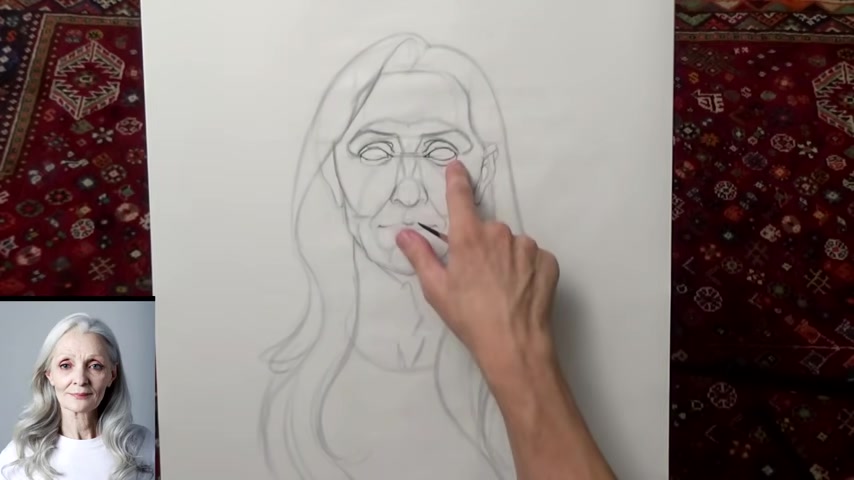
So what I was doing if I can do it on this to find the top of the ear placement , I take a straight line across and I see that it goes somewhere between the eyebrow , kind of like on top of the eyelid , the top of the eyelid , that's where the top of the ear is .
And I do the same for the bottom and it's right across the bottom of the nose .
So it's right about here and we can see a lot more of this side on the ear and it looks like her .
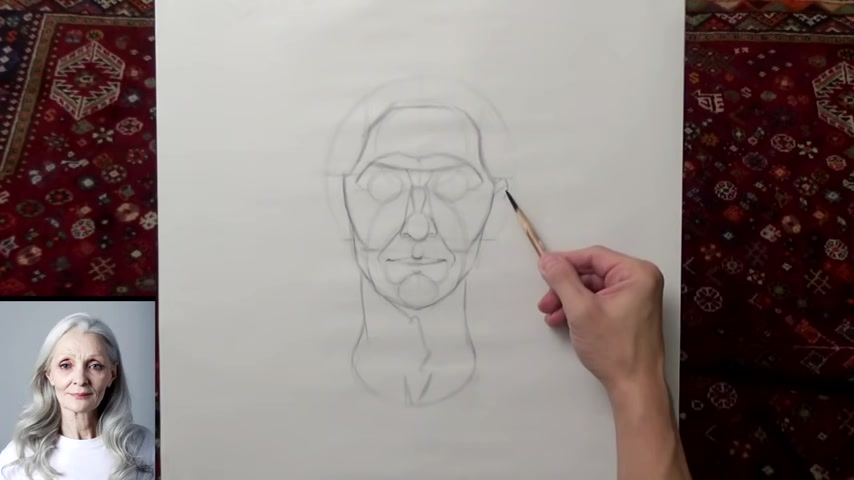
He looks is or the antihelix kind of protrudes out from the top of the helix .
And then you see that like it pops out and then comes back down and then picks up where the ear lobe the sits .
So that's a really cool ear shape .
I really like that .
Then we could take like this overlapping lines to indicate form .
Don't have to get too heavy into the structure of the ear hair .
Um You can't see much over here .
You can see the antihelix and then down into the lobule , the ear lobe , but this will be covered in hair .
So that's our basic structure and we can go ahead and I'll save the eyes for last .
Let's go ahead and put the , put her hair in .
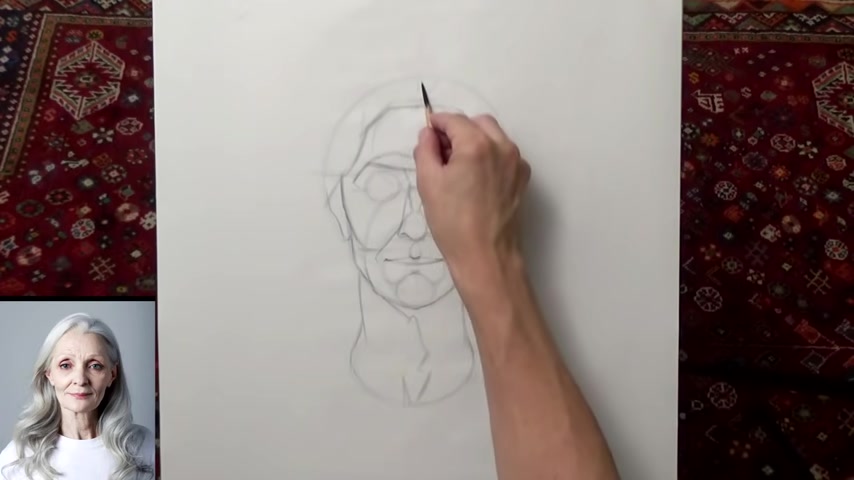
917.88 --> 1023.14
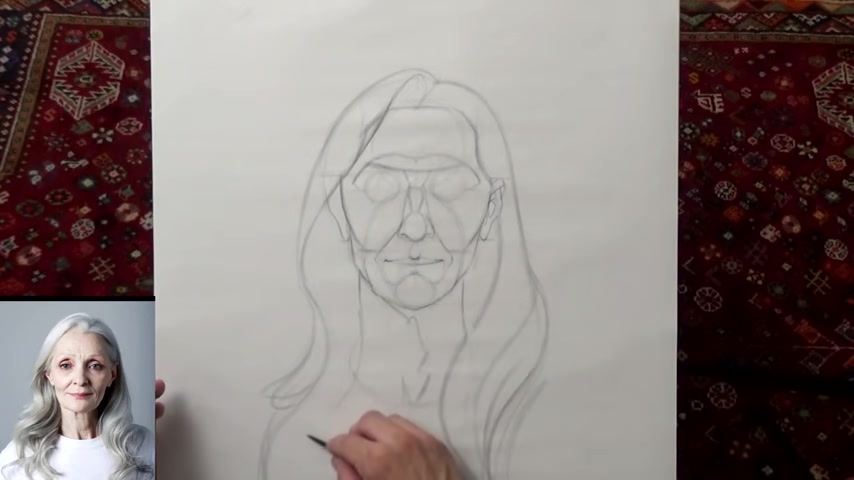
It looks like maybe about right here comes out some nice big waves , something like that don't really need to get too , too much into the hair .
We're just trying to get that structure of the face right .
So let's go ahead and kind of soften up the eye browse a little bit .
I just want to make them a nice shape .
I am a little too arched and she has a soft expression .
So to take out some of these rhythm lines too , actually , I'm gonna leave them in .
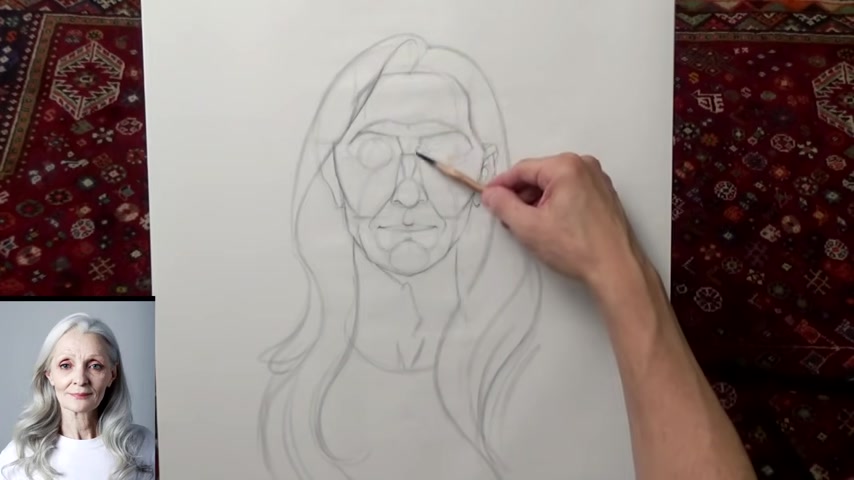
So I wanna show that structure that we built up .
Let's go ahead and place the eyes .
So we have the root of the o or the root of the nose at the base of that g Bella wedge shape .
And it looks like for her , the eyes sit pretty close to that just below it .
So I'm gonna draw the straight line for the eyes to sit on the corner inside corner of the eyes .
And I feel like I need to make the nose , just a little bit wider , maybe not much .
Hm .
You can see the split in the cartilage .
Let's put that in there .
Uh , ok .
So back to the eyes .
So what I'm gonna do , I'm gonna take a parallel line and I'm gonna try to find is the corner .
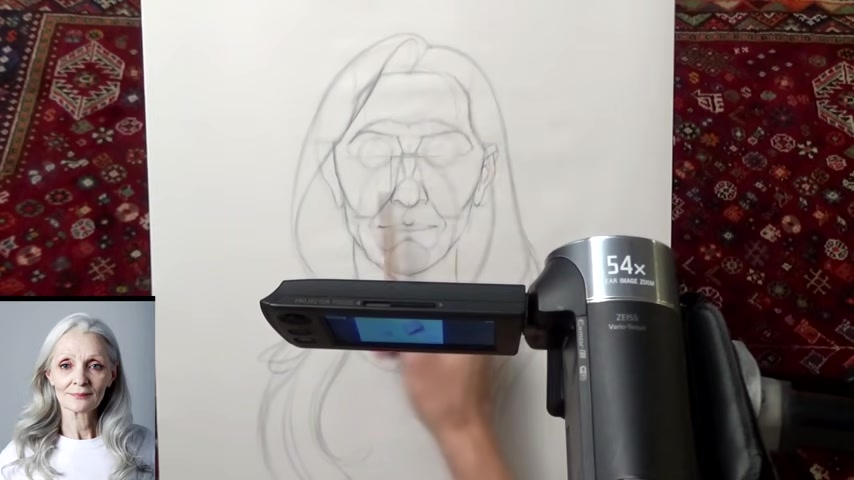
So I want to ask myself if I take this , take this line here , this vertical plumb line and I'm gonna see if the corner of the eye is on the inside of that or on the outside .
So one way to do it , I still hold it .
It's kind of hard to see here .
I'll do this one , make a plum line with their pencil , a vertical line and see if it's right along the side .
See if the inside corner of the eye is on the inside or outside of that line outside the nostril .
So I can't see on the camera because it's too blurry .
It looks like it lines up real close .
So from what I can see , it's on the inside , just a touch .
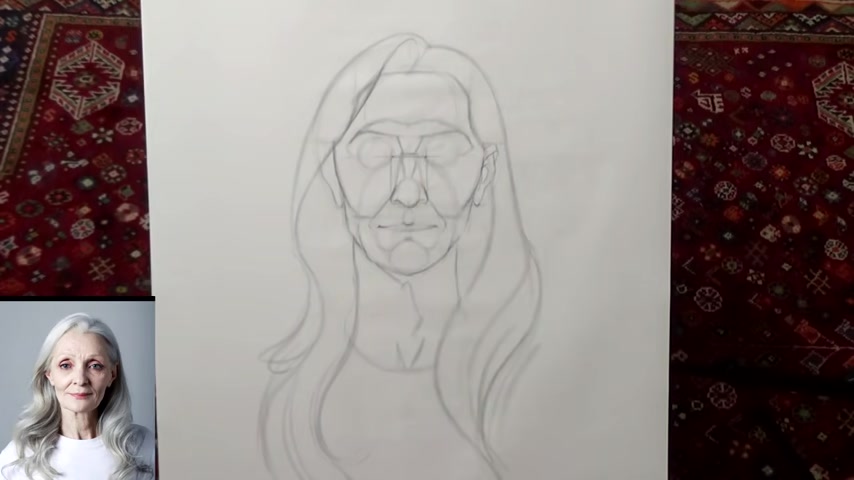
So I'm gonna put a little dot To indicate the inside corners of the eye .
So let me take out that line and now I have this fear .
I have that , that reference for the inside .
So I'm gonna go ahead actually , before I draw in the , the eyelid , let's do the orbital bone .
Since we already have that rhythm , I'm going to sweep from side to side .
So sleep from side to side .
I think so .
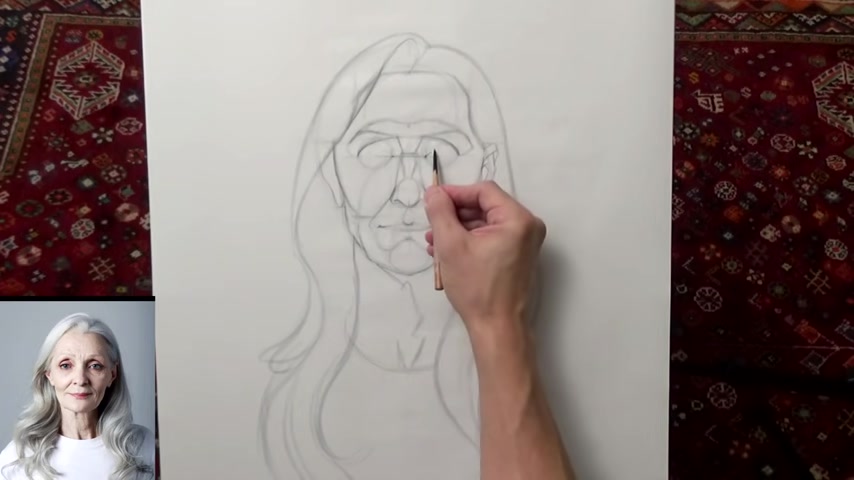
And now I'm gonna start my , I learn shape and this is the peak of the eyelid so we can come side to side and make sure we get those two lined up from here to here .
We sweep from side to side , the little corner of the eye .
We can even do that for the outside .
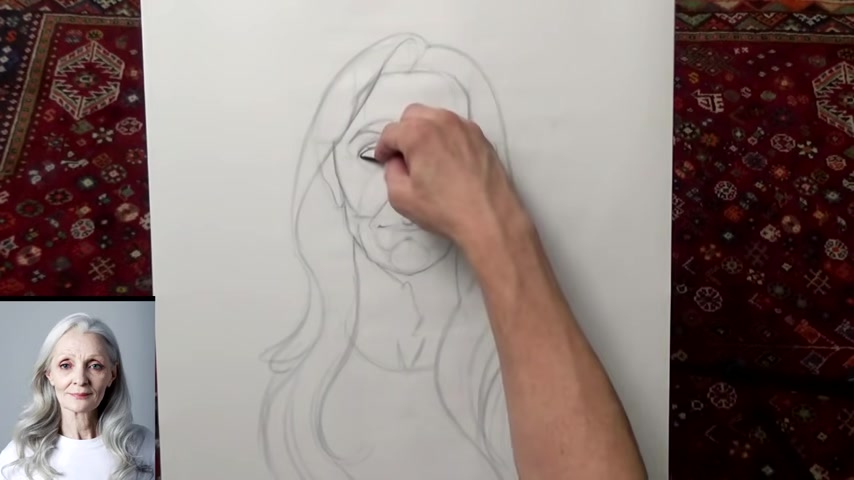
Indicate a little flat edge to indicate the the eyeball wrapping and turning that corner .
Then let's do the bottom comes across , comes down and then wraps up on the side .
Let me finish this shape by showing this upper eyelid fold and it creates a little pocket where no light usually gets into , especially on this model .
She has a really deep set eyes .
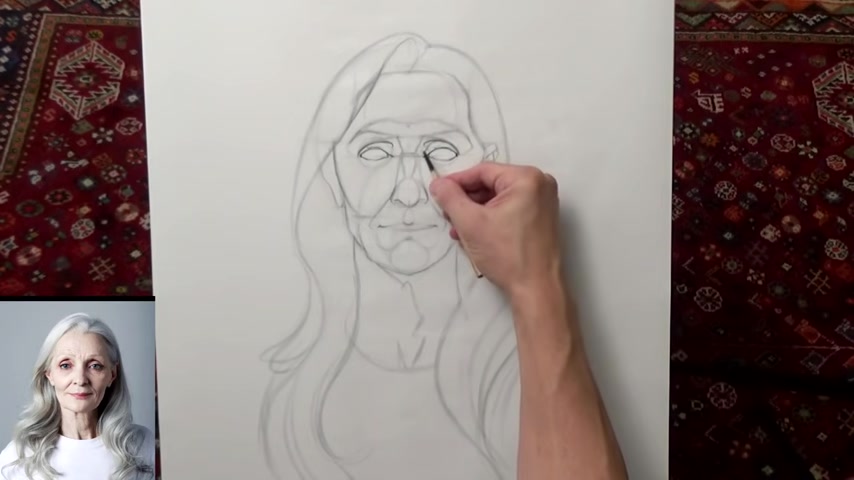
We're gonna finish off the eyelid , same and darken up the eyebrows in their orbital bone .
Yeah , let's go ahead .
I feel like this eye might be a little too .
And so let's do the bottom eyelid shelf , little wedge over here in the in the corner that comes up and over .
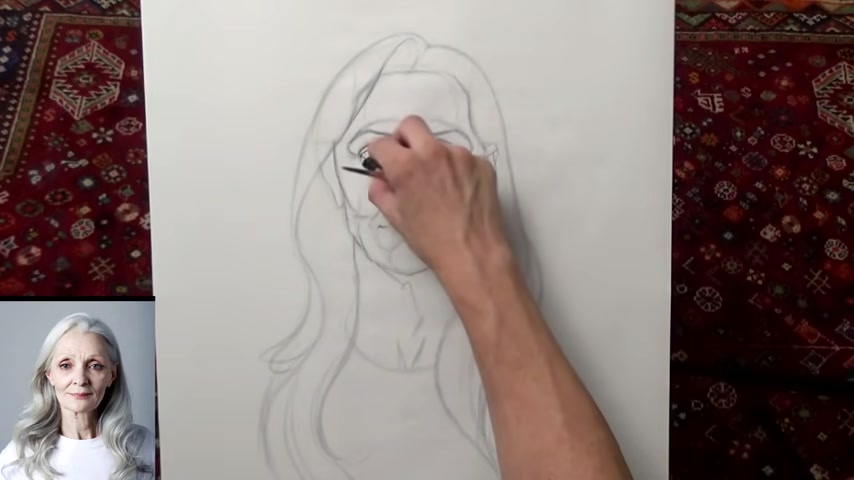
I don't really see that on her actually .
Well , maybe it's just blown out from this side .
1417.56 --> 1485.81
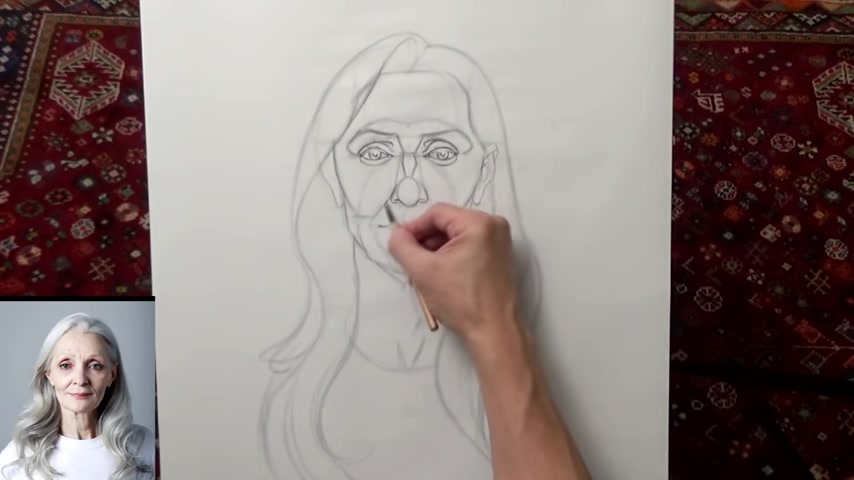
I got kind of pushed out or pushed off of the paper with my hand .
No need to really show too much of the ear .
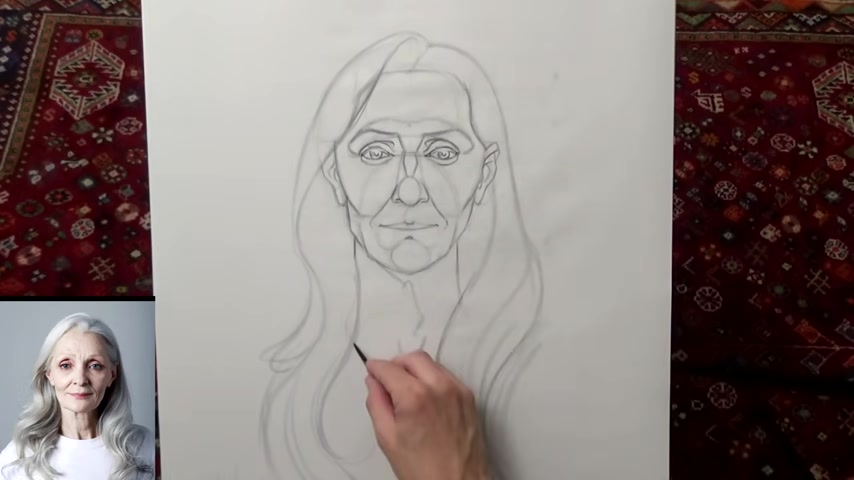
So that's basically it for her on this little exercise .
And I just wanted to do this just to show you the comparative measuring , using the pencil and thumb .
So we're using our pencil and the thumb like so back to this camera here .
So we started out using it to find the thirds and how they relate to each other .
These three sections .
Then we look for the width compared to the length .
That's pretty much it .
That's a really , it's a really Oh Yeah , and also the ears .
So we did um a vertical or excuse me , horizontal line using the pencil and then we use the plumb line , the vertical line to find the corners of the eye .
So I hope that helps guys and uh thanks for watching .
Bye .
All right .
So I actually have like like maybe five more minutes before I have to go to work .
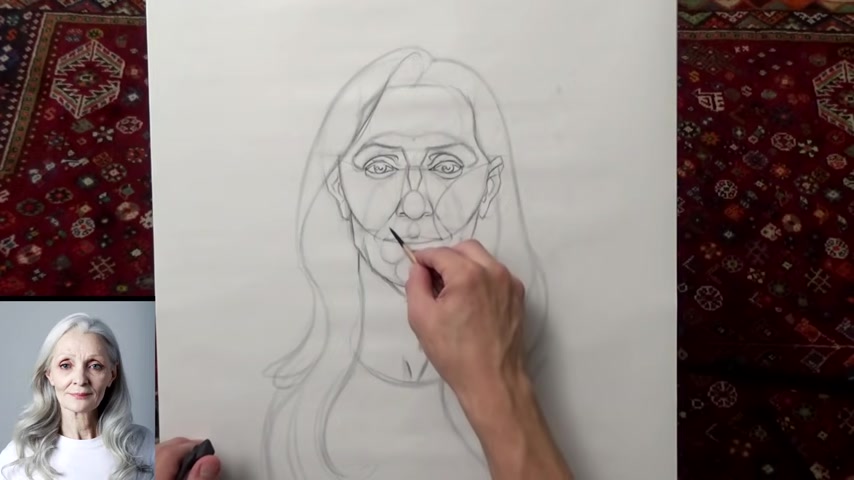
So I just wanted to go ahead and put some more rhythm lines in or structural lines that will help you with the shading and such .
This one here is from , oops , this one here is from uh the Riley method and help you find that cheek rhythm and this one pretty much you can see this rhythm right here already .
So we just drag that over .
So the corner of the mouth outside of the nostril all the way over to the top of the ear .
And again , this one kind of got lost , but you see how it comes down into the orb little and then picks up on the other side that circle on the forehead .
That's a really good one , especially for like playing changes and such .
And then of course we have the brow .
Um What else have I got ?
So I got the rhythm of the chin .
That's pretty much it guys .
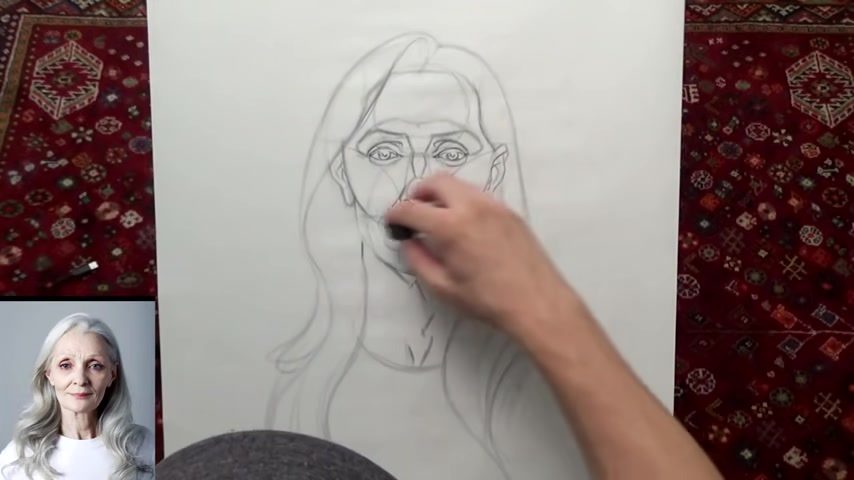
Um Yeah , let's go ahead and call this one just for an exercise and uh hopefully the uh the camera here helped .
Um It was a little awkward trying to look through it like that , but I was just trying to show you what I see when I'm looking uh using my pencil and thumb .
So let me know if that works for you .
I appreciate you guys checking out the video .
Bye .
Hey guys .
So I just woke up and I was looking at this drawing and I just wanted to fix some things .
I was in a hurry yesterday before going to work .
Uh I was trying to get this uh this uh demonstration on the comparative measuring .
Um And I don't know , just a couple of things on this drawing .
I just wanted to fix a little bit trying to make it more look more like the uh the model that I'm drawing here .
So I think maybe the jawline might help if I fix that a little bit .
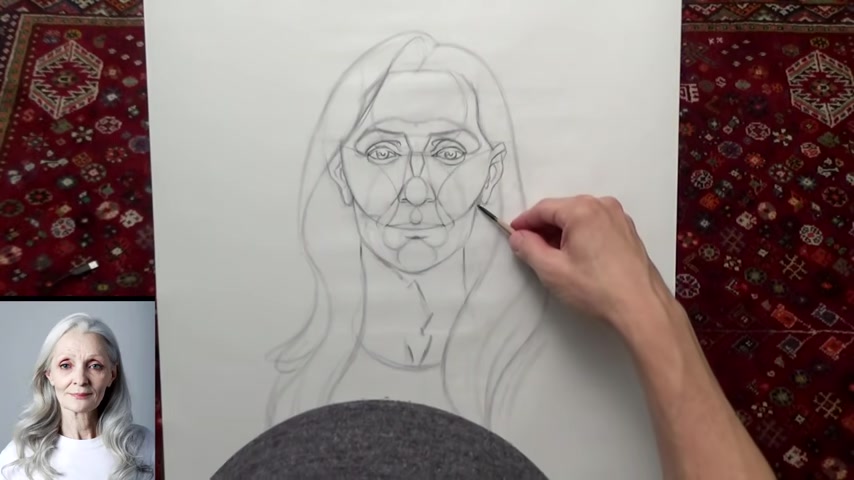
I was contemplating just scratching the whole video , but I don't , don't have the time to like uh do another one if I want to get a video out .
And I think I was looking at the video and the uh editing software and I think , I think it's OK as far as like explaining what I do with the uh pencil and thumb and uh comparing and measuring or measuring and comparing different areas of the face .
So I think it's , I hope hopefully you'll let me know if it's not uh adequate , but I think it , I think it works .
So , but anyhow , I just wanted to , I fix a little , a few things on this one even though this is just a uh a study or exercise .
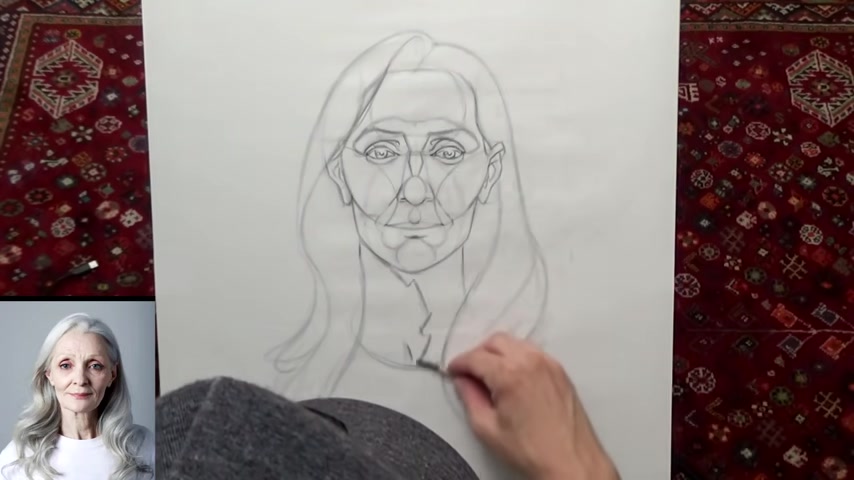
But in any case , this is me being uh your typical artist and not wanting to let something go .
But I was looking at her hair , she has a widow's peak .
So I just wanted to put that in , I indicated it earlier , but I was using the uh overall shape of the head to do the uh the measuring .
And then I was gonna come back later and put in the uh the widow's peak .
Let's see .
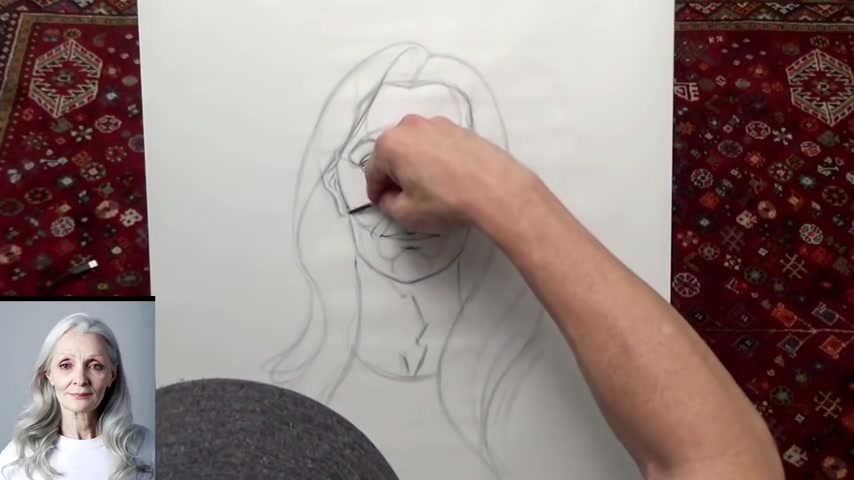
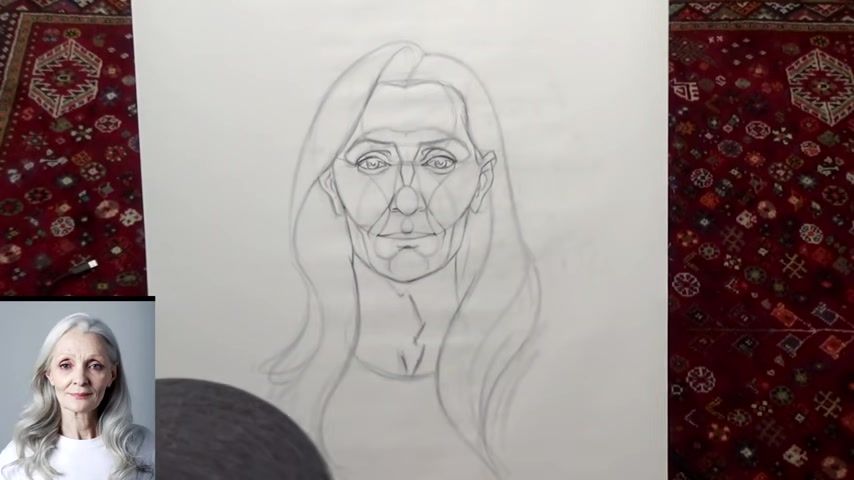
I just wanna do a little touch ups , maybe give her some better eye shape or just darken up where the eyelashes are has really pretty eyes and then , uh the nose looks good .
Maybe me reduce some of these lines , make them a little bit darker than they get kind of smudged out during the drawing process .
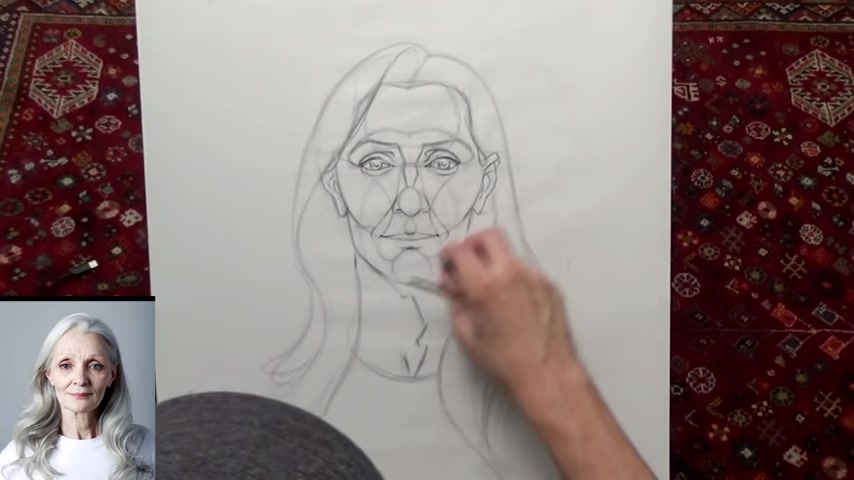
I smoothed out her uh jawline , it looks like and actually it's too pointy .
It needs to , this , the angle needs to drop down a bit .
So let's do that again .
Let's see .
So we actually , I think this one sits in a little bit further .
It's funny a lot of times I'll erase a line and try to redraw it , but I wind up just drawing it right on top of the old line .
I think I might be doing almost again , even even though I'm telling you about it .
Let's see .
Mhm Yeah .
It's really frustrating trying to like dry daily and , and uh also working full time at a job .
It's really getting annoying and uh hopefully I'll be able to do this full time someday .
It's like the dream , just draw , draw and paint all day , make videos .
Let's see .
So that looks better .
I'm not like super satisfied with it , but I think I need to just let it go and uh thank you guys for your uh um on the comments in the uh get better soon , kind of things .
I really appreciate it .
The head's healing well , uh supposed to get the stitches out tomorrow .
And uh yeah , so that's , that's good .
It's funny it caused the surgery caused a lot of uh nerve damage in my head , on the top of my head .
So , like , like I'll push on like , uh one part of my forehead and I won't feel it there .
I'll actually feel it almost in the back of my head .
So , like the sensations are all like in the wrong place , which is kind of funny .
But , um , I'm just glad that they found , uh , I went and saw somebody and they were able to take out the , uh , the basal cell cancer and I don't have to have any other treatments or anything .
It's just a simple surgery just to cut it out .
So , really fortunate in that respect , I'll just have to keep my eye open for more .
So , let's see .
Should I just let it go now ?
Yeah .
All right .
All right .
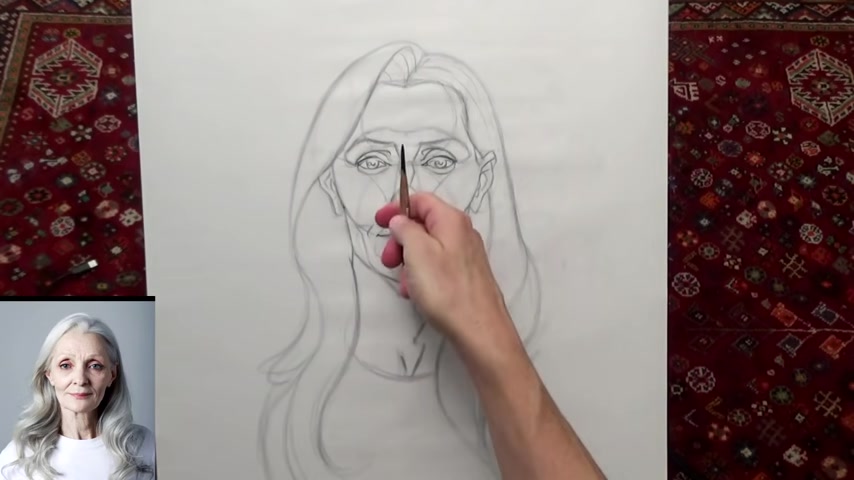
So let me know if , um , that camera angle where I'm looking down the camera using my pencil and thumb , if that helps at all or if I explained it well enough .
Um I'm not sure if I wanna do , do more videos using that or not .
Um , um , just let me know and , uh , and , uh , we'll see what happens .
All right , thanks guys .
Are you looking for a way to reach a wider audience and get more views on your videos?
Our innovative video to text transcribing service can help you do just that.
We provide accurate transcriptions of your videos along with visual content that will help you attract new viewers and keep them engaged. Plus, our data analytics and ad campaign tools can help you monetize your content and maximize your revenue.
Let's partner up and take your video content to the next level!
Contact us today to learn more.