https://www.youtube.com/watch?v=1ObYDx5uO3s
How to use Procreate to quickly sketch an interior design living room perspective
Hey guys , today , we're going to be learning how to do a sketch with procreate .
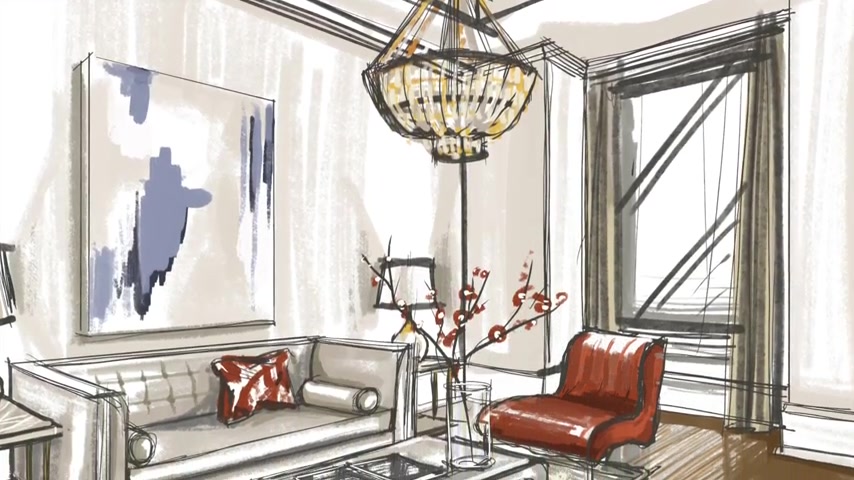
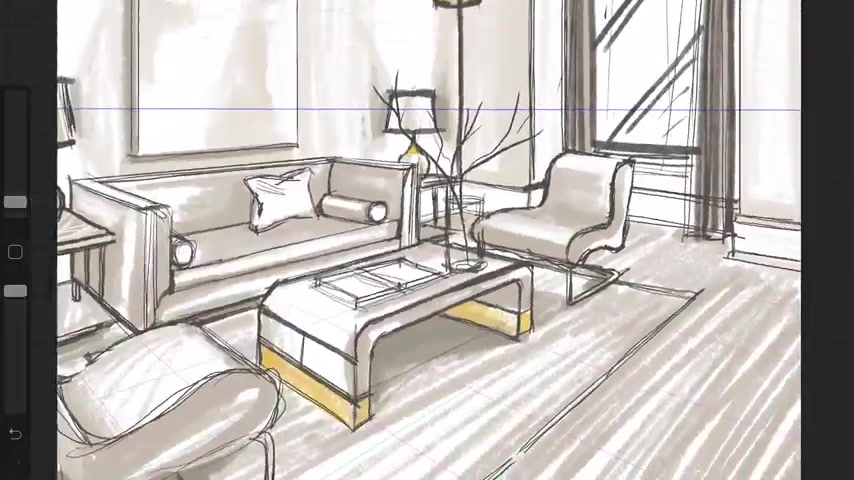
This is the finished product .
So you'll need an ipad and the app procreate as well as the Apple pencil to get started , right ?
You're going to open a new drawing canvas and I chose a 12 by 12 .
Um Try to do a resolution of 300 .
Then you're going to go ahead and go to canvas , drawing , guide and edit and then you're going to select the perspective option and then you're gonna tap onto the canvas and kind of shift it .
I'm choosing a two point perspective .
So I'm going to go ahead and create one point and then I'm gonna tap it again and choose another point .
So that helps you get the perspective that you want it to be .
You can shift it around if you want , I like to leave it a little further away from one another so that it looks more realistic .
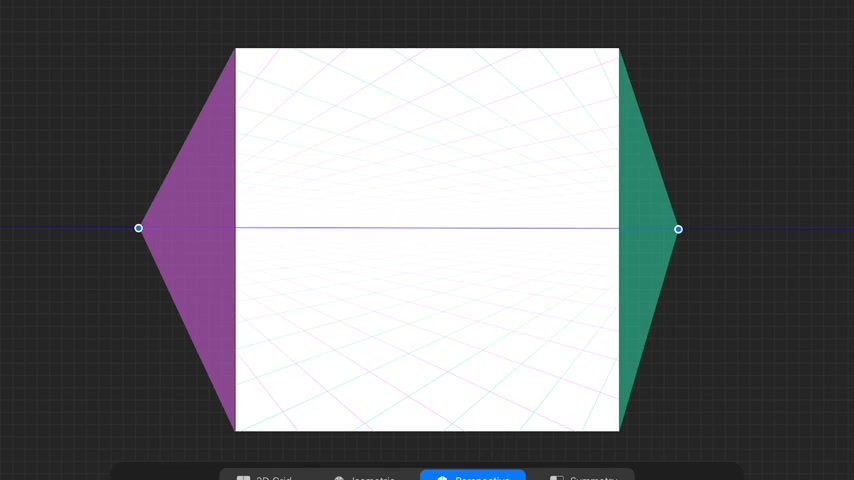
So once you're happy with it , you can let it go .
If you want to change the other side , that's fine .
Um And then when you're happy with it , that's all you have to do click done .
And then you can get going just select the color of the pen .
And I've been using a gel pen and then I'm going to click on the layer and select assisted and that's how we'll get started .
So that means it'll lock in every time you draw a line , it will give you either a vertical line or a line going to your right finishing point or left finishing point .
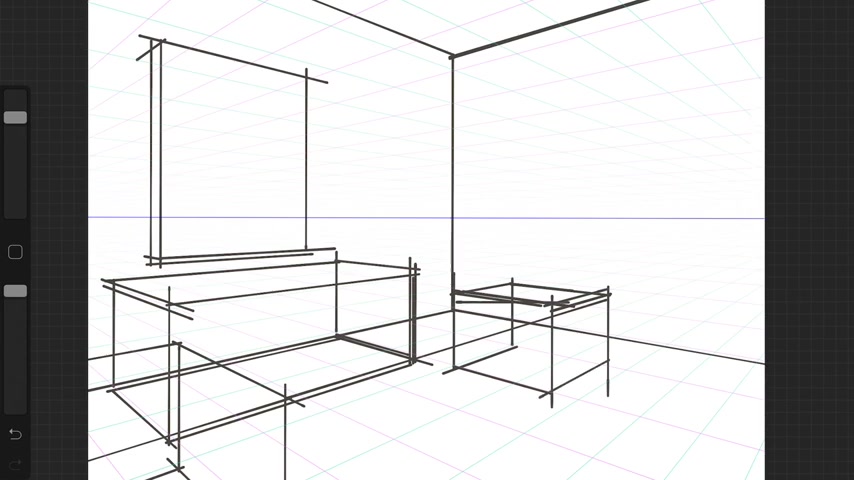
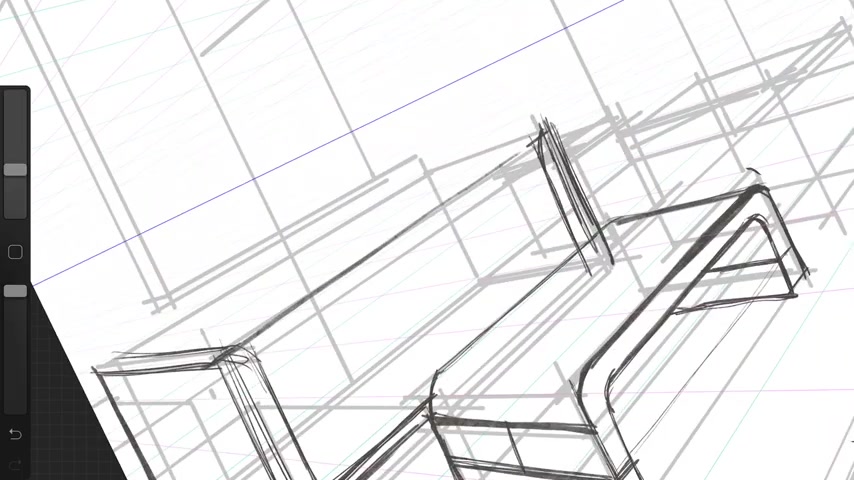
So here is my initial right wall , I mean left wall and then now the right wall .
So then I start boxing in the furniture placement .
I have my sofa here .
Now this video takes into account that you already have watched the video for um two point perspective that I've already um posted .
Uh you have to actually know like the vanishing points and stuff first before you really can get to the procreate level because you won't understand .
So make sure you watch those videos so that you can understand how vanishing points work .
Um So right now I'm just boxing out the different items of furniture I have in the room .
Um I really like this uh procreate feature , this perspective feature .
It is super fun .
So I'm able to quickly go ahead and box out our room .
I don't have to get out my T square .
I don't have to , you know , get out my supplies .
I just have my ipad and my Apple pencil .
So right now I'm boxing in the perspective of the room .
So it looks something like this .
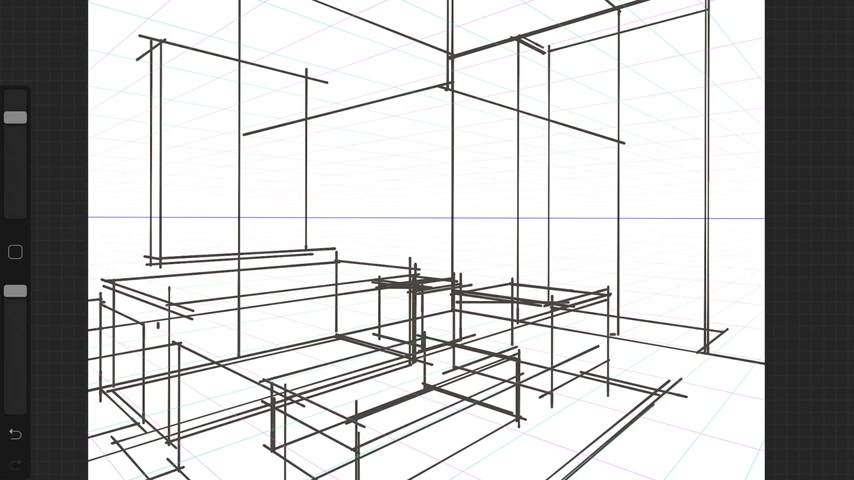
So once that is kind of boxed in and like the proportions look good to you .
Um I'm dropping in the center line for my light fixture to come in where it's going to drop in the room .
And again , this stuff is explained in the vanishing in the two point perspective video .
So this appropriate version is the more advanced level .
Um So now I'm going to box out the side tables and the other side table because it's kind of it's on the same track .
So you can still use the same lines .
So I have another layer going on and I'm gonna again use ink , but I use the Tinder Box .
Now this is with the latest update for procreate uh edition five or something like that .
Um What I've done is I've lowered the capacity of the bottom layer so that it's a light gray .
So now I've taken off the drawing assist .
So it's not snapping to be a rigid straight line .
So I'm using my free hand drawing at this point to get all the forms because I've curd line in your forms .
So you don't want to have the drawing assist on there .
Um So this is again another layer on top of it .
So I usually work um forwards to the back wall .
So that way I'm not going ahead and trying to draw something that I'm going to cover up anyway .
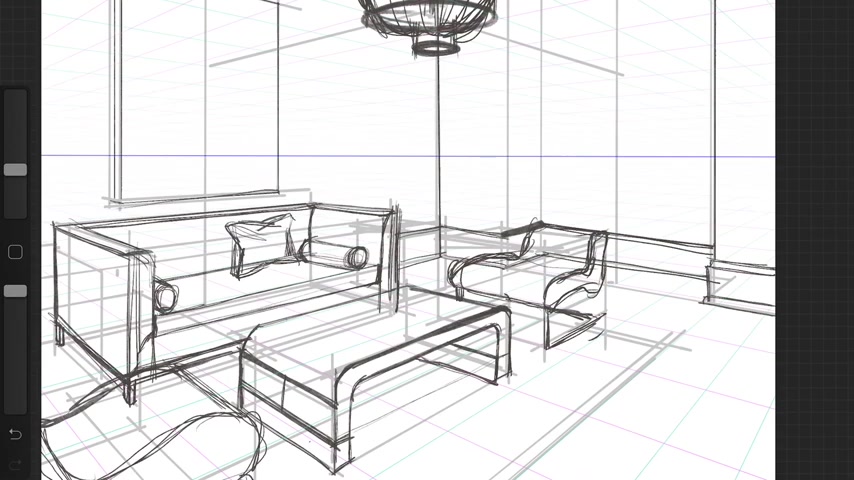
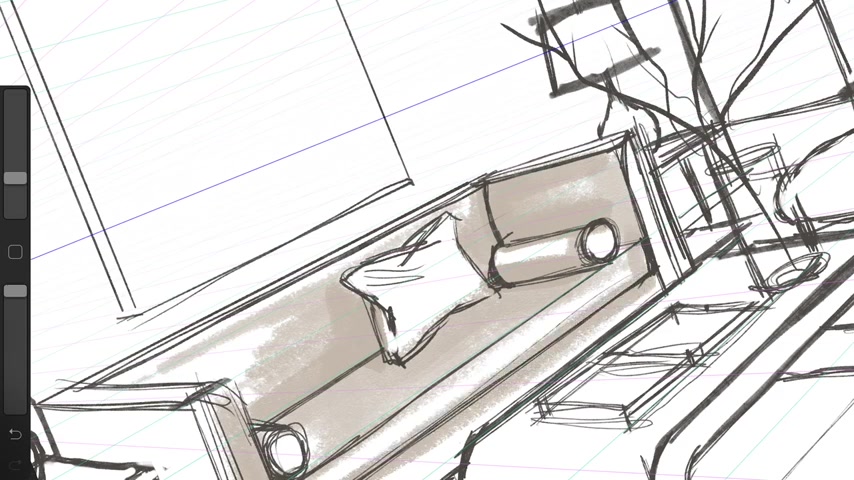
So in the foreground .
I have the coffee table , then I have the , the sofa .
So I'll use the box that I have underneath to kind of help guide my lines for the sofa or the furniture or any , any item that I'm drawing .
And again , you're going to need to use your reference photos as you're drawing , you have the box for the general sizes , but you always want to use the reference photos so that you can get the little details that all the pieces have .
Um I've added some hot dog pillows , so round pillows and a regular pillow here .
And then if you have um let's see , this is the artwork .
So it's still the very um box like the underneath layer .

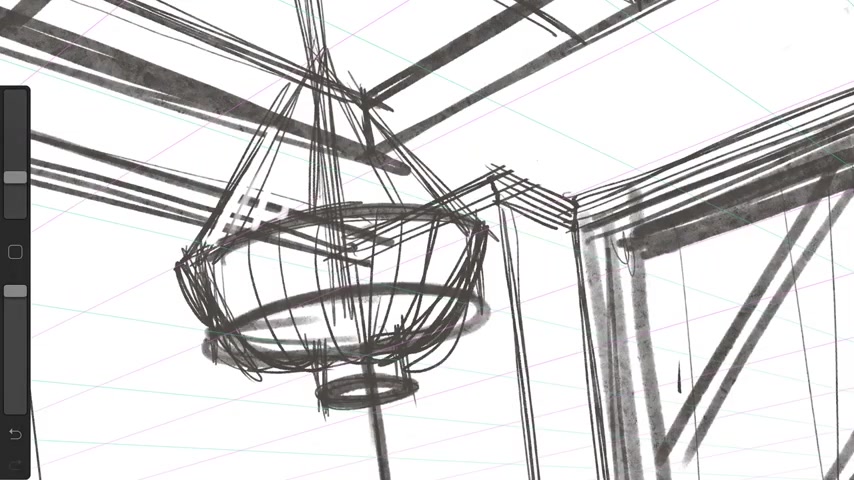
Now I'm gonna go ahead and draw the form of my light fixture .
I base it off the cylinder and then I kind of tweak it a little bit .
So it looks like the um reference image I have .
Um Now I'm going to go ahead and try to put some crown molding throughout the room .
I'll lay out the general outlines .
Um This one is the base molding that I have around the room .
So it comes back around here .
Now , this will be fine tuned later on , but at least it kind of gives you the general line that you'll take and this goes into that alcove area so I can go ahead and erase my foreground lines and that's a good kind of quick trick .
Um The next thing I'm gonna do , I'm going to go ahead and um sketch in the forms of the foreground chairs that's um getting cut off in the foreground .
And then I realize my box in the background is a little short .
So it doesn't look right .
So I'm gonna go ahead and raise the height of the seat or the back .
So it looks more correct .
And then I draw accessories on the coffee table .
So it has a sense of scale and some interest to it so that it has um So it looks more styled like a space that you would , you would you would want to visit .
Um Now I'm boxing out my end table .
I have two layers or two .
It's a two tiered end table and um I'm going to do the same thing on the other side before I add um my lamp .
So I have used a center guideline for the lamp .
And then once you do the center guideline , you can make sure it's symmetrical on both sides of the center guideline .
And that's why we use the center guideline .
When we're drawing , it helps keep things more accurate .
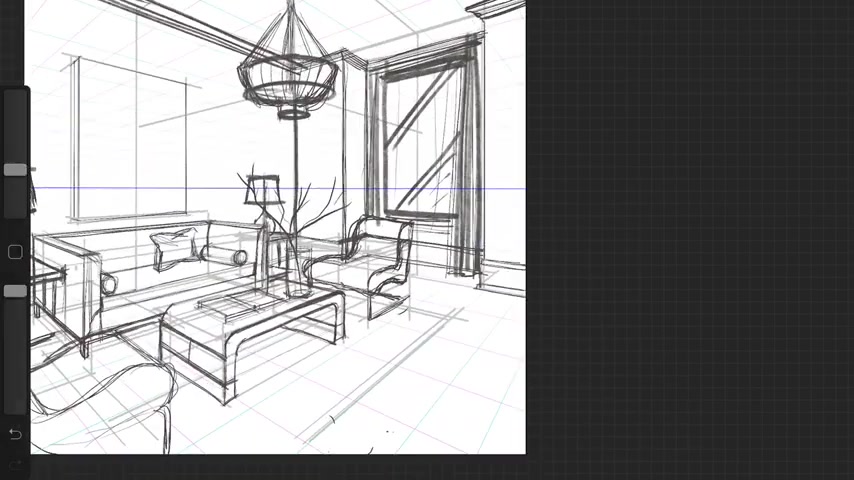
Um Now we're gonna work on the alcove a little bit um hint at the window treatment , some layers there , the casing around the window , some action lines for the glass to show reflectivity .
Now the rough in the area rug .
So it looks something like this as you as you go along .
Now I'm gonna work on the ceiling so this might start a tray ceiling .
But if I want to add some coppers in there , I'll do the division lines and then give it some depth to it .
So now what I'm gonna do is I'm gonna go ahead and erase the lines that I had drawn in the back um to so that it's not too busy .
So I know that this chair covers the sofa lines .
I'll try to clean it up a little bit just so that again , this is for a quick sketch to show your , your client or for a project , if you're doing that and you want to show them really quickly your vision of the space and you don't have a lot of time .
This isn't going to be like the fine tuned um fancy kind of perspective .
This is just the quick one to show the conceptual idea of what you , what you have in mind .
Um And that's why I like uh the quick lines here , but it's just a little cleaned up version and then we're going to throw in a little color and this whole thing can be done in a relatively quick time frame .
Um Compared to something that's really developed .
Now , we're going to add another layer and we're going to slide it underneath the drawing layer .
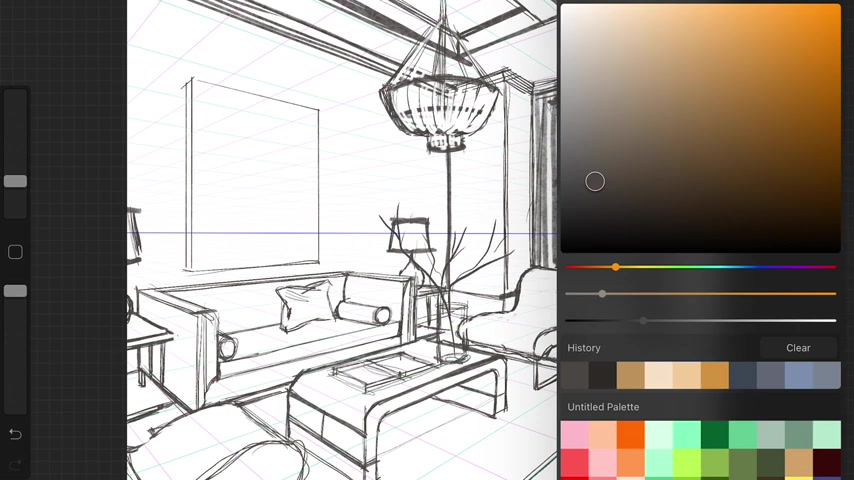
Um We're going to choose like a grayish color and we're gonna start to , we're gonna select a drawing .
Um the Oberon pin tip in the gray , I have lightened it a little bit more and then we're going to go ahead and adjust the pen size and we're going to go ahead and put some color on there .
So it looks like it's three dimensional rather than just a line drawing .
Um This , this just helps show some interest to your sketch .
Um You can leave it just a plain line drawing .
It's fine , but this is as if you were using a gray scale marker to quickly show some volume .
OK .
So uh I like this um because you can layer a color just like if you were using marker and this is part of the new procreate update .
And if you don't have that in your options , you probably just need to update your procreate .
573.059 --> 708.14
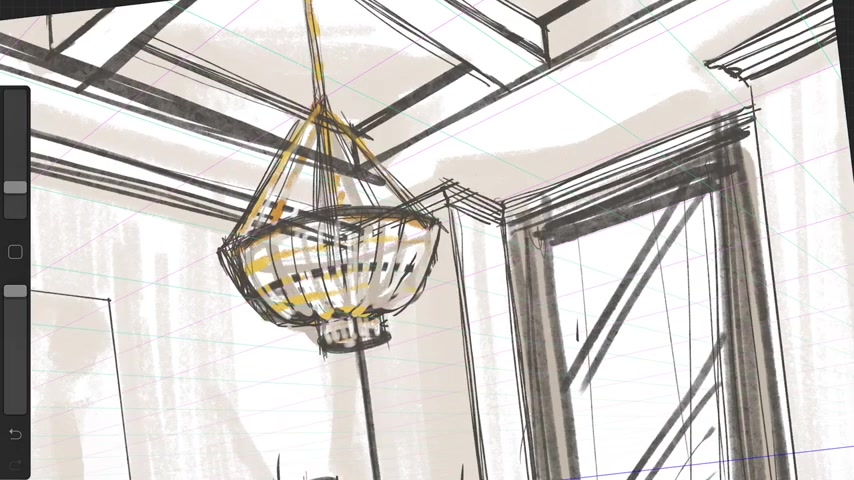
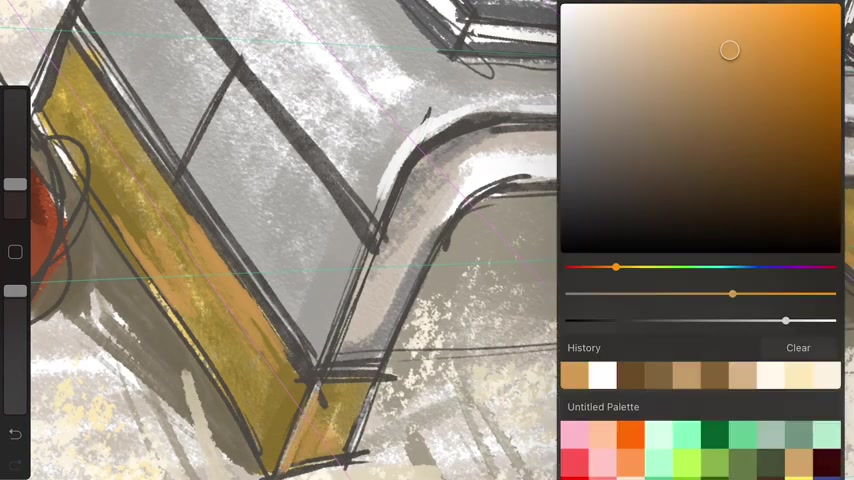
I'm going to add some gold tones to give it a little pop some areas of interest here for my light fixture , you can choose the color and you know , you're just kind of hinting at the form and what kind of materials you're using .
Sometimes I turn on and off the layers just to kind of see what it looks like without the lines .
But at least now you can say , OK , here's my metal accent .
Um Here's where my glass will be .
Um And that's basically what I would do for this kind of quick , quick sketch version for procreate .
It's something nice to show and you can do it .
It takes less than an hour to get all this done .
And it's more interesting than a basic boxy um computer aid drawing that looks like everybody else's .
Uh but that's totally up to you .
If you like that way , then go ahead and check out those videos .
Um Here is some more like showing like this is gonna be a marble top .
This is going to be glass over here .
I'll have concrete versus rugs .
So you're just hinting at the texture , you're not spending a ton of time because this is just a quick sketch version of it and that's my puppy .
So this is how I approach a quick sketch rendering .
This took me less than an hour to do and it's something that you can do very quickly to show your client or for class for presentation .
So people can get an idea of the space that you have in mind .
I hope that helps you .
And I'll see you next time .
The next video I'll show you the more finished , more polished rendering of the same room using procreate .
So I'll see you then .
Are you looking for a way to reach a wider audience and get more views on your videos?
Our innovative video to text transcribing service can help you do just that.
We provide accurate transcriptions of your videos along with visual content that will help you attract new viewers and keep them engaged. Plus, our data analytics and ad campaign tools can help you monetize your content and maximize your revenue.
Let's partner up and take your video content to the next level!
Contact us today to learn more.