https://www.youtube.com/watch?v=3DhHp-lfgUc
How To Draw Velociraptor _ Sketch Saturday

What's up everyone and welcome to the club in today's lesson .
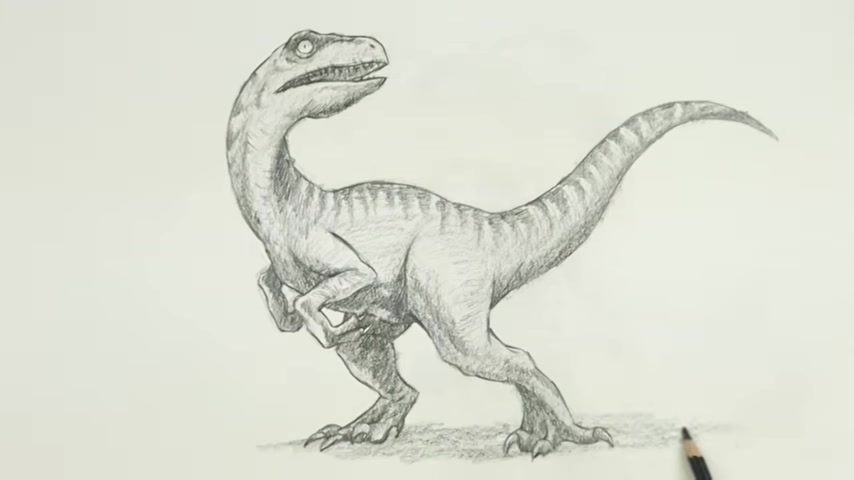
We're recording a sketch illustration of a velociraptor .
Now , for this lesson , I'm using a black four B pencil .
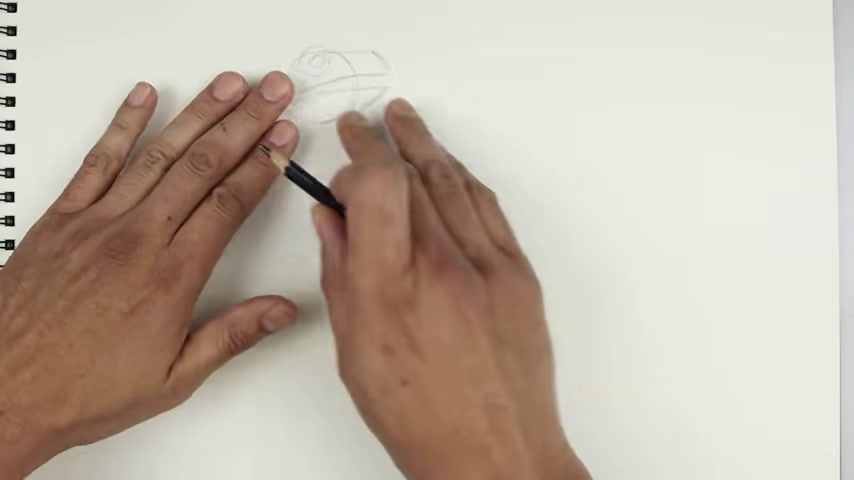
We use the side grip using a flat edge of a pencil and start at the very top left side of the page and sketch out a circle .
Starting from the very top .
It's gonna work our way around towards the bottom and then go back up towards the top .
Let's go up to the top of that circle , step up , draw a smaller circle to the socket of the eye .
Let's get a smaller circle inside that top circle .
It's gonna start at the very top .
It's gonna go all the way around back up , go up to the top of that center circle , draw a straight line going out and round out the front of the head , starting up here , curl this out and then down .
Now from the bottom , I'm just gonna curb across and then down on the left side , let's open up the mouth , starting back on the left , just gonna curl this up and then out towards that same length , cur this down and then in toward the bottom of that circle .
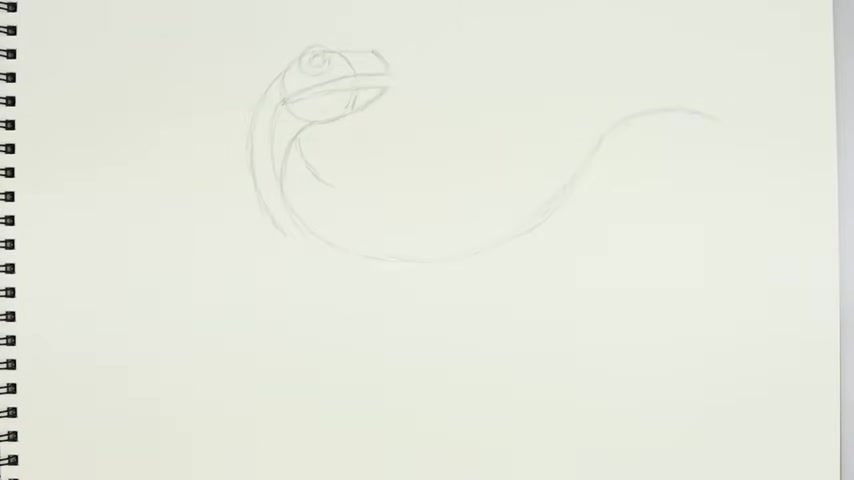
Now with the head in place , we're gonna block out the curve of the body , starting from the left side of the head .
It's gonna curve this around the neck , come down in towards the body .
Then from here , I'm gonna curve out and up towards the right and they'll bend the tail going out and down .
Let's add a fold in the center of the neck , starting from the bottom of that circle , curl this out and then down toward that center line .
Let's go to the inside of the neck curl , the body coming down and then out , then you go back up to the top of the head cur the neck going out down and then in , let's connect the bottom of the neck with a curve coming down and back up .
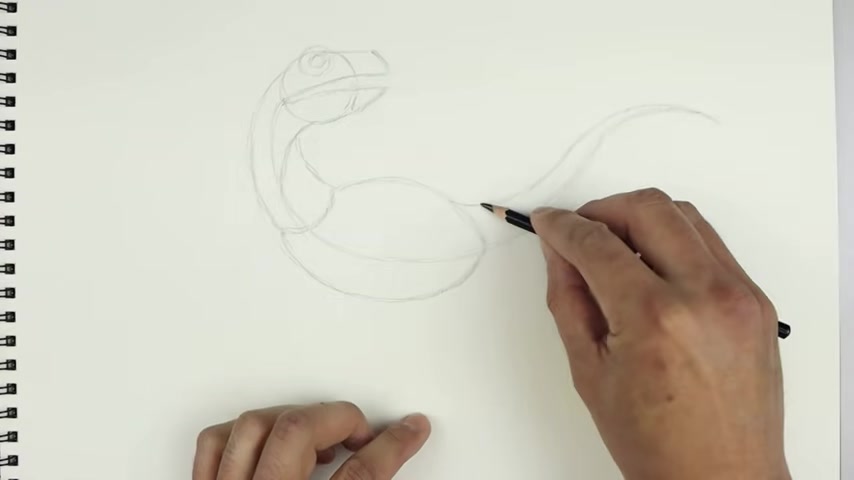
Now , from here , we're gonna round up the top of the body starting from the base of the neck , cur the body going up and pull it all the way down to that center line .
Now we're gonna draw on the bottom of the body starting back on the left for the body coming down round this out and then pull that back up .
I'm gonna add some thickness to the tail .
Let's start on the right side of the body .
It's gonna follow that same curve going around .
I'm just gonna taper this so it gets narrow as you come down to the tip of the tail and do the same thing along the bottom , start from the bottom of the body , close this out and up .
And then again , we're just going to taper this out towards the end of the tail .
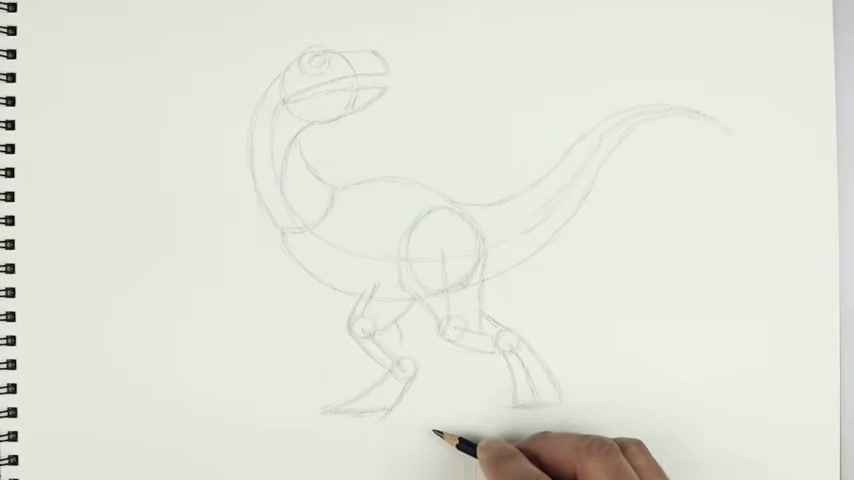
Now , the hind legs gonna sit along the back side of the body , starting from the top .
We're gonna sketch an old ball going all the way around towards the bottom of the body and pull it back up towards the top .
Now , from here , we're gonna lay out the bones of the hind leg , starting from the center of that oval to our straight line coming down at the bottom .
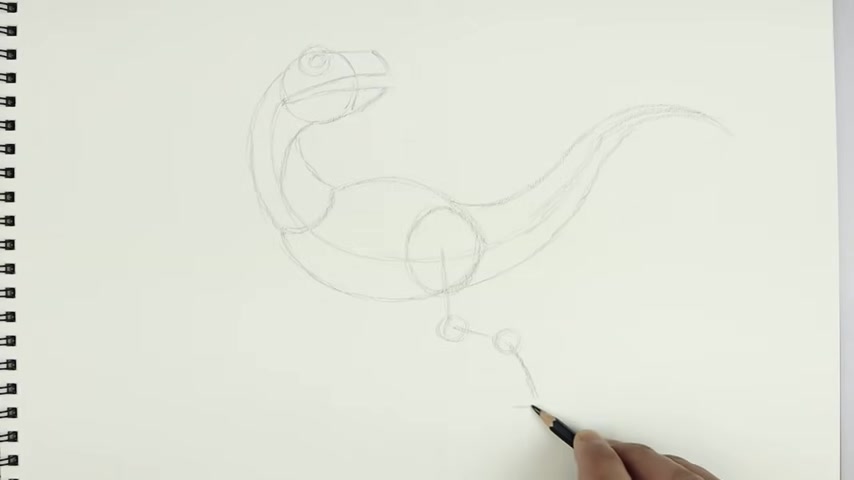
It's gonna sketch a small circle , this angle leg going out towards the right from the center angle is out and back and then again , just sketching out a small circle and then the bottom of the leg is gonna curve out towards the right , starting from the center curve this out and then down .
It had a small line going across the bottom of the foot .
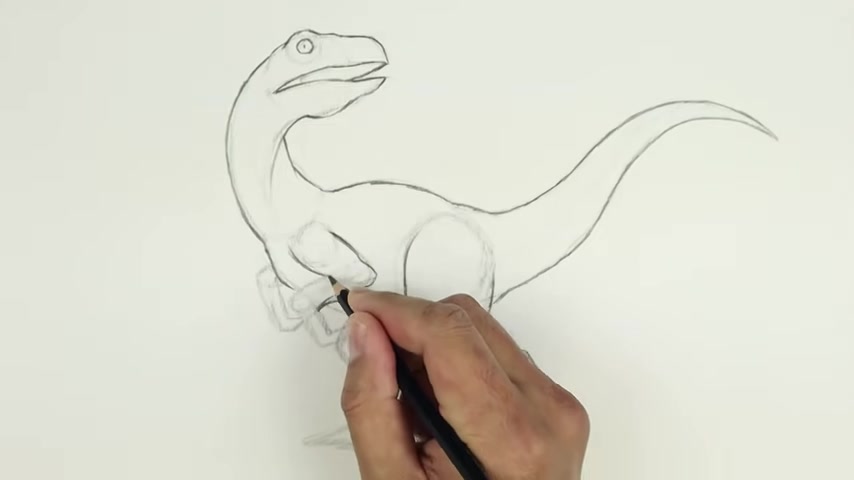
Now , with the bones in place , we're gonna add some thickness to the legs .
Let's start on the left side of this circle for this up and then out towards the body round up the inside , go up and in towards the top of that oval .
Let's go back to the bottom cur this down and then out underneath that outside circle .
And then from here curve out and then down towards that bottom line .

Let's go to the right side of that oval cur the light coming in and then down and from the bottom , we'll step up , curve down and then out toward the top of that circle and it's gonna spread the foot out .
So it gets wider as it come out and then down to that bottom line .
Now the left leg is gonna get tucked in underneath the body .
So let's start down here , start with a straight angle line coming down and out sketch in that circle .
And then from that center of that circle angle is down and back towards the heel .
Sketch another circle and then from the outside of that circle , we sketch a line coming down and out towards the bottom of the foot and it will sketch a line going out towards the left .
Now I'm gonna go back and add some thickness to the legs starting from the outside because this in and then up towards the left side of that bottom circle .
And then from here , curve light going out and then up goes up and in behind the body .
Let's move over towards right cur the leg coming down and then out , step up , come out and then down round at the bottom of the leg and then pull that back out .
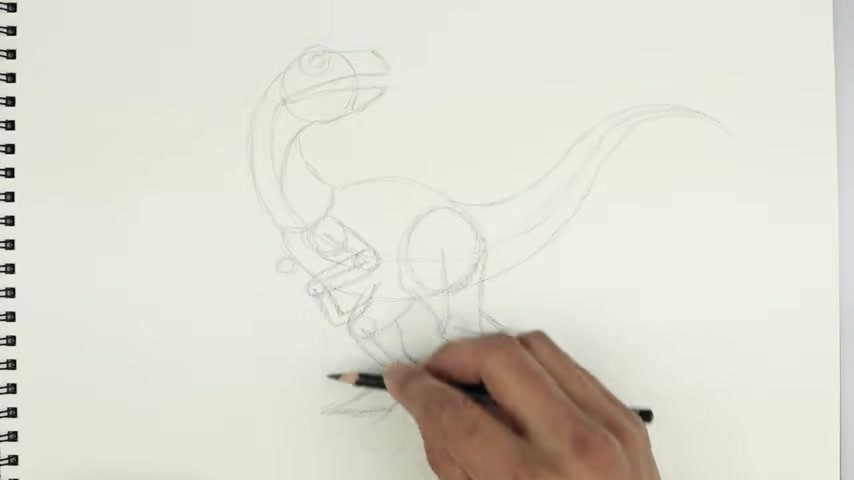
Let's go over towards the left side and draw on the arms from this seam .
We sketch out a circle with the socket of the arm .
Then from the center angles down and back towards the elbow .
Sketch out a smaller circle .
Let's angle the form coming down towards the left from the center angle this down and out .

And a small circle for the wrist and then from the center of the wrist , a was down and back .
And then again , with those bones in place , we're gonna draw the outside of the arm , starting from the outside goes down and then in , go up to the top , go out and then down to the outside of that circle .
Let's go to the top of that smaller circle .
Cur the form going out and then dam from the bottom curve down and then out .
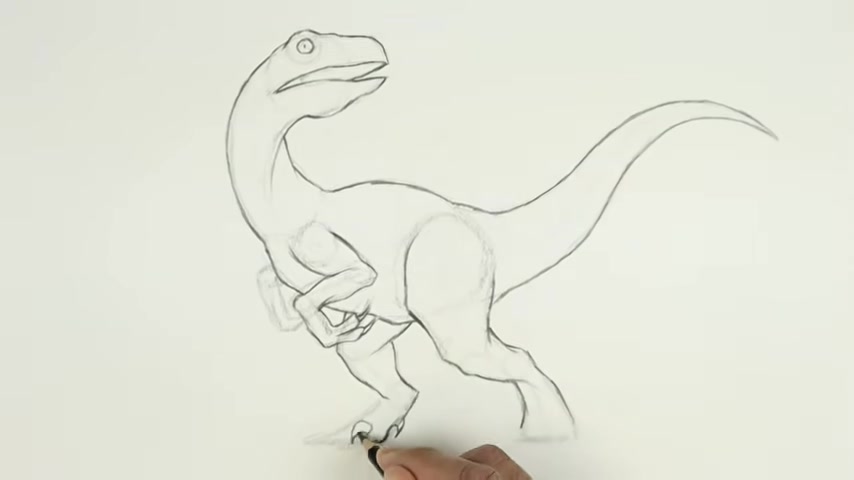
Now we wanna bend the fingers coming back up towards the body .
So from here , turn this in and then up , keeping this back in towards a hand , draw a straight angle line going up towards the forearm .
Now we're gonna duplicate this section in behind the body on the left .
So let's start with that circle on the side of the body and down towards the bottom curd in and up .
I'm gonna add a little bit of thickness starting from the top because it's up and in behind the body go down to the bottom , goes in and up and from the outside curve down and then in towards the bottom , let's go to the inside of the wrist , draw a straight angle line coming down towards the claw curl that back up and in .
Now when you go back up and draw the back side of the mouth , starting from the tip cur this down and then in behind the jaw , then from the inside corner of the mouth , let's step in to draw curve going around and back down .
Once we're happy with the general proportions of our drawing , we're gonna go back in and lightly erase some of these guidelines .
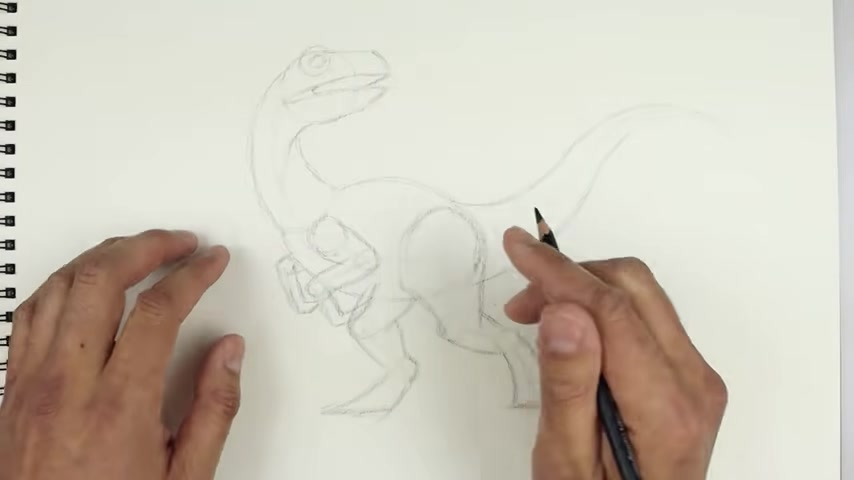
Now , with this next step , we're gonna go to the tip of our pencil and start tracing out the contours and adding a little bit of detail as we go .
Let's start with the eyes .
So we start by tracing out the inside of the eye and adding a small slit in the center for the people .
We're just adding a little bit more shape to the head as we go .
Yeah .
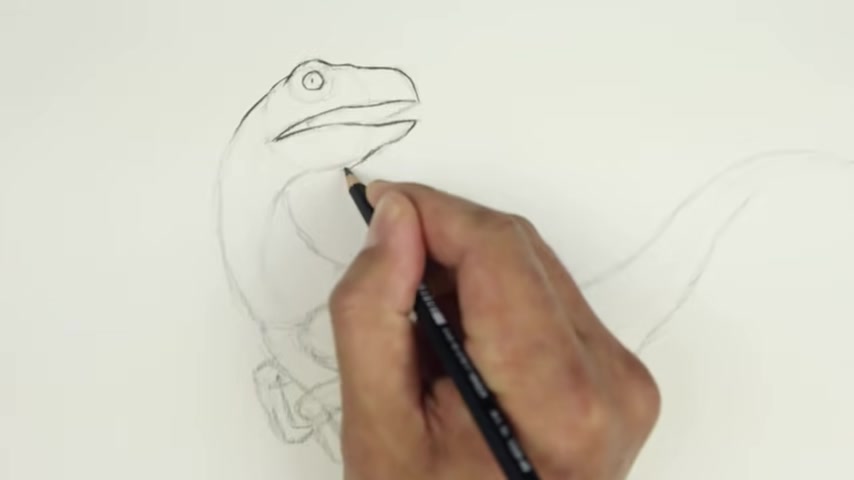
Just bring the jaw it down a little bit lower .
I'm pulling that back up .
Now it's gonna enhance that seam across and then down .
Yes .
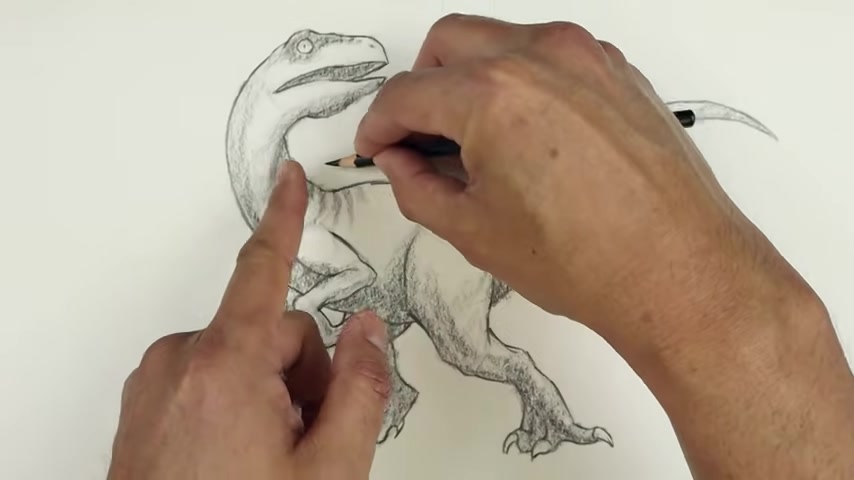
Yeah , I see that I'm splitting the hand into two claws .
I'm just going back in and just adding some detail to the feet .

And now I'm going in with the side edge of my pencil and adding a deep shadow across the brow , you know , add a deep shadow along the bottom of the body , starting with the head and it's working all way around the neck and then bringing that shadow just underneath the body .

I'm just working my way across the leg on the bottom .
Now , these shadows can be quite rough at this stage .
We're gonna go back and refine them a little bit later .

907.25 --> 1002.96
It's gonna work with the shape from the bottom and just curving them out and then down , just trying to go a little bit thicker along the top and then just filling them out as they come down .
We're just gonna pull this all the way across the tail .
Yeah .
Now going back in with a tip or pencil , just refining the detail and the shadows add some deep curves underneath the eye .
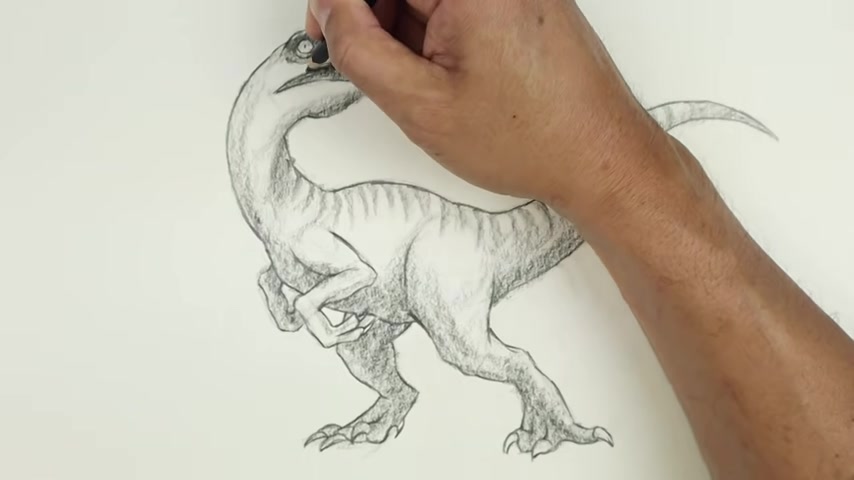
He's adding a few wrinkles along the top edge of the mountain .
Just add the indication of some fangs on the top edge .
And as you get near the end of our drawing , I'll continue to add some more detail and these fine lines to create some texture and that's pretty much it .
There's a sketch illustration of a velociraptor .
I hope you enjoyed today's lesson .
Make sure you subscribe and send me your request in the comments below .
Thanks for watching and we'll see you again soon .
Are you looking for a way to reach a wider audience and get more views on your videos?
Our innovative video to text transcribing service can help you do just that.
We provide accurate transcriptions of your videos along with visual content that will help you attract new viewers and keep them engaged. Plus, our data analytics and ad campaign tools can help you monetize your content and maximize your revenue.
Let's partner up and take your video content to the next level!
Contact us today to learn more.