https://www.youtube.com/watch?v=f064pZ41Fz4
Shooting with Smoke Bombs on Location - Take and Make Great Photography with Gavin Hoey
in this video , I show you how to take some great location portraits by adding smoke Arama TV presents take and make great photography with Gavin Hoey .
Hello .
I'm Gavin Hoey and you're watching Adirama TV brought to you by adirama the camera store that has everything for us photographers in this video .
Well , you can see we're out in the woods and I'm going to do a portrait shoot with a little bit of a difference .
We're gonna add some smoke to our portrait .
Shoot now to create smoke in the woods .
I'm going to use one of these .
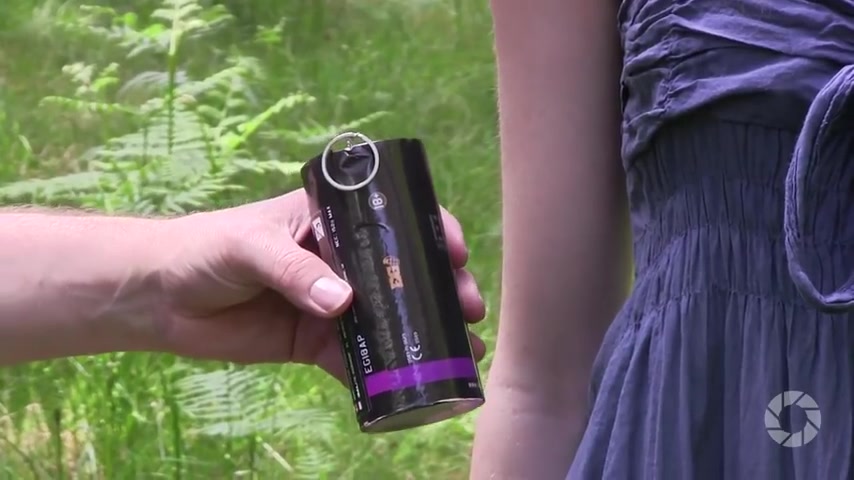
This is a smoke grenade , the sort of thing you get from Paintball Park .
Now there is a bunch of instructions on the side .
It's well worth reading before you start , but basically common sense prevails .
Don't let this off in a public place .
These can be used for for warnings as well as for entertainment .
And also use a bit of health and safety .
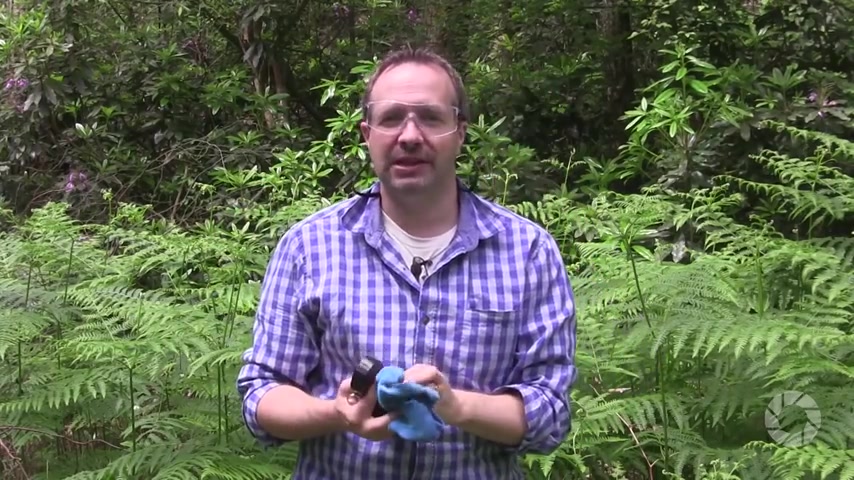
These lid off sparks when you first fire them up .
So a pair of safety goggles is always a good idea .
They can get hot as well , So gloves are really useful too .
For your model .
Well , they can stain clothing , so if they're wearing white , you might want to consider that .
And of course , if anybody has any breathing issues , you're gonna get a lot of smoke from these , So bear that in mind too .
OK , let's set the lights up , get our model in and get shooting .
So today I'm joined in the woods by Fern who's going to be the model for this shoot .
Now , before I go anywhere near smoke , I've got to get everything set up correctly because the smoke only lasts for a really small period of time .
The smoke bomb About a minute to two minutes at most , even for one that size .
So first thing to do is to work out the exposure .
Now I'm gonna use a bit of flash just to fill in the shadows here .
I've got my streak light 3 60 in a little soft box .
But let's start without the flash and work out the ambient light .
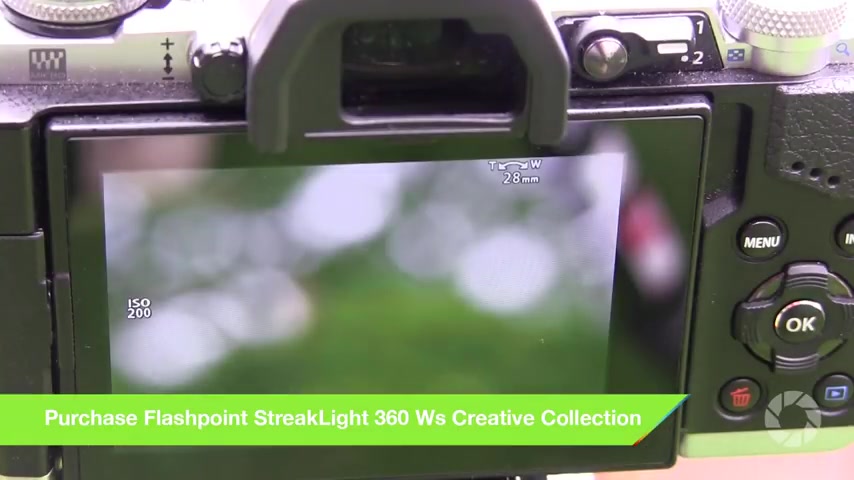
So working in manual mode , I'm going to come back here and I'm going to take a metre reading and my camera is telling me F four .
So the correct exposure is F four but I want to under expose by a stop to bring back some of the highlight detail .
Get a bit more drama in my shot .
So I'm going to work at F 5.6 .
OK , let's just take a test shot .
See how this looks at F 5.6 .
That looks pretty good .
We got some detail in the sky and we got some detail in the shadows , but it is quite dramatic , but Fern looks a little bit under exposed .
So what I need to do is I need to get the flash to be the same exposure as my camera F 5.6 .
So let's just pop the metre underneath Fern's chin .
Nearly there .
We'll just adjust the flash power so my flash matches my camera and my camera is under exposing the background .
That should give me a great looking shot , but let's just do a test shot and see how it goes lovely .
Want more ?
So that looks really good .
Now there's only one potential downside .
We wanted blue smoke , and , uh , well , we've got purple smoke , which is almost the same , but clearly it doesn't match the dress .
Now that could be a complete disaster .
But fortunately , I've got a little Photoshop trick that I'll come to later that will solve this problem for us .
So there's only one more thing to do before we actually set the smoke bomb off .
And that's to make sure everybody knows what's going on .
So I've been joined by my team .
Well , Sam , who's normally the other side of the video camera , and she's gonna be in charge of the smoke .
And I'm in charge of the photography ferns in charge of modelling .
So the idea is that , Sam , you're going to walk backwards and forwards behind Fern .
Move the smoke around and that's basically it .
Everybody knows what they're doing .
We're good to go with the shoot .
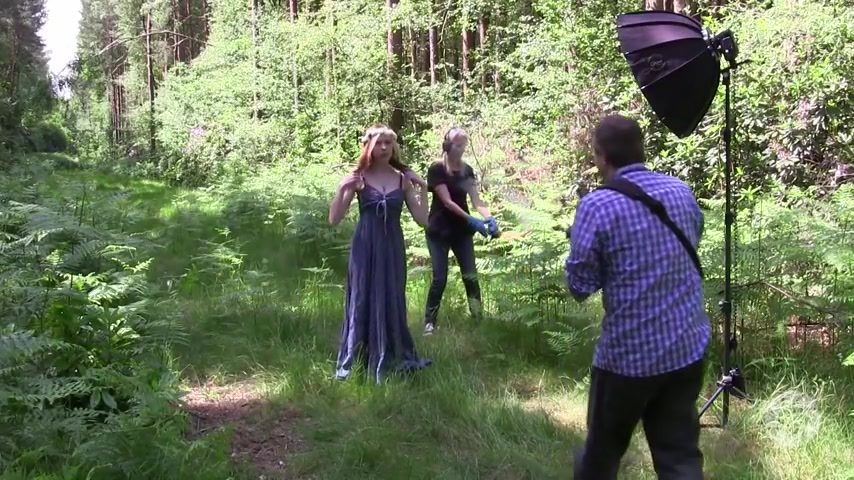
So , Sam , if you're ready , fire it up .
OK , so the smoke takes a while to get going .
But as you can see , it works really well .
OK , stay there , Sam , Stay right there to let the smoke drift across , OK ?
And you right then , OK , can put the smoke just mind there and stuck out the shop .
There you go .
Perfect .
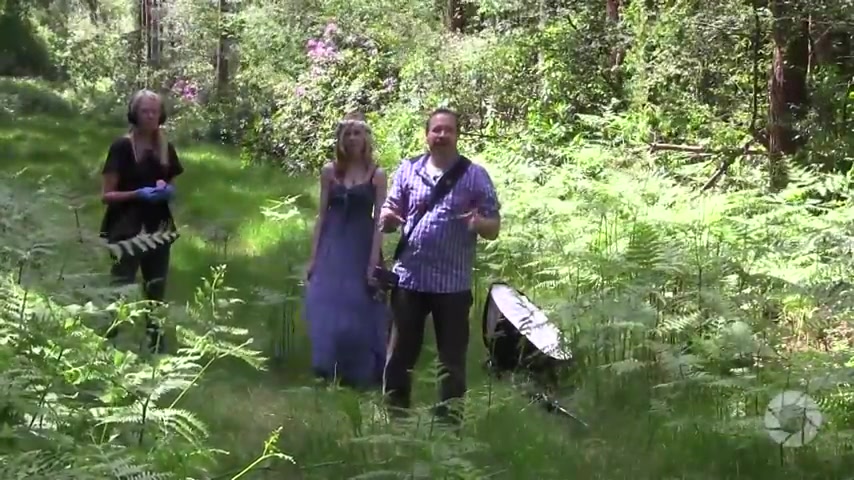
Ok , well done .
Ok , so there we go .
The smoke lasted for about a minute That was pretty good going .
We got some great little shots in there .
You have to work quickly with smoke bombs because , well , they don't last very long , but that's all part of the fun .
OK , well , let's set something else up and have another go .
So we're gonna do one more shoot with smoke , and this time we're gonna do a little bit more of a conceptual shoot .
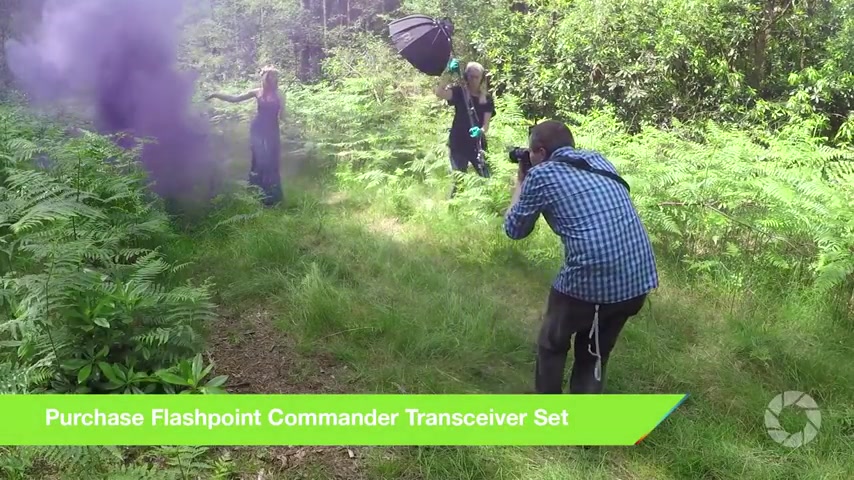
So we've got a small bird cage and we're gonna put the smoke bomb inside the bird cage .
Quick tip .
When you're doing this , make sure that the end where the smoke comes out from the smoke bomb is pointing away from your model .
OK , so , uh , I've got everything ready .
Sam's gonna do the smoke and then move along with Fern because we're gonna do a walking shot moving the flash as we go .
Everybody ready ?
OK , let's do the shoot where you go .
OK , then .
So if you want to start walking towards me , I'm gonna move backwards quite a bit .
So he moved this way .
I can hold that down a bit lower for you .
Adds the way .
Slow down a little bit .
It's close to think to lovely .
That's it .
OK , so there we go .
We got a nice little run out of that .
We managed to reverse things , go the other direction .
Hopefully , we got some great shots in there .
But there's only one way to find out .
And that's a jump over to Photoshop , and I'm gonna do that right now .
So , as it turns out , the company that make the smoke bombs make a whole range of colours .
One of them is also blue .
So in theory , I could have saved myself a little bit of Photoshop work by getting a better matching colour .
But having a different colour for the dress and the smoke does give me the option to change , either to get a really close match .
Not an exact match , but close .
Let's have a look .
So here's Vern in the woods with her blue dress , purple smoke and green background , and it's important to note that the three colours are all different and that makes this job so much easier .
Right ?
Let's go a little bit closer over the dress so we can see what's happening .
Ideally , I would do this with an adjustment layer to give you that extra level of control .
But because it's such a small dialogue box with the adjustment layer , I'm actually gonna use a layer straight on top and do it this way with huge saturation , so I could just change the hue .
And when I do , everything changes .
That's not really the effect I'm after Today .
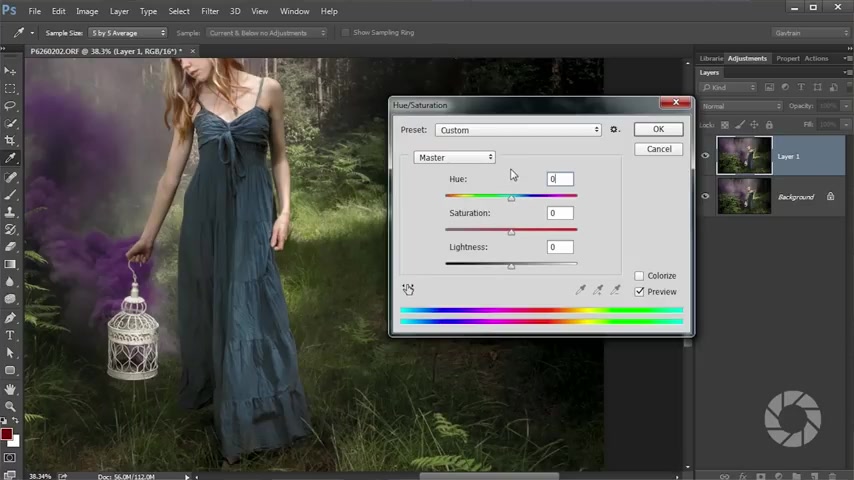
I want to be much more targeted and just change the blues in the shot .
So I'm gonna come here where it says Master and drop it down and choose blues .
When that makes sense , that's what I want to change .
So with the Blues selected , is it actually blue the dress ?
Well , once you've selected any of the colours and it , honestly , it actually wouldn't have mattered which colour I chose .
I then have access to these little eyedropper tools .
And if I choose the dress by clicking it , I'll find out that actually , the dress is more cyan than blue .
If anything , right , that's fine .
That's my basic selection done .
Now I need to make sure that only the dress changes , and I'm gonna do that by increasing the hue to maximum and the saturation to maximum .
Now .
Pretty , obviously , I don't want an orange dress .
But what I'm looking at is the colour around .
Is it changing on these extreme settings ?
You will see it really clearly .
If it does , the answer is no .
It's OK at the moment , but there's some areas I've missed , so I've missed bits .
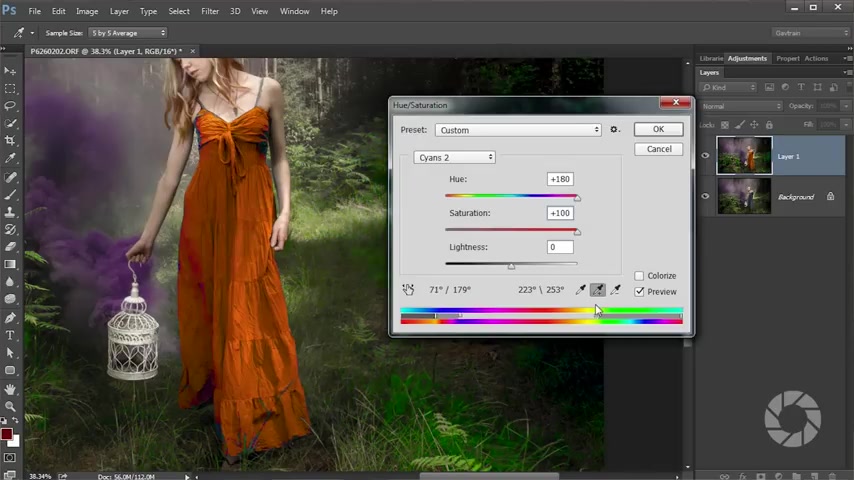
Let's just get the eye dropper tool and we'll click a few areas just to add those in so we can get as many of those as I can .
There's a few little bits down here .
Once I've done that , I can then come down to the little sort of , um well , rainbow effect at the bottom , I guess .
And I can move these sliders around , and if I go to too far , you can instantly see which bits are also going to be affected .
So I don't want to change that , but I do want to get as much of these sort of the greeny cyan as I can .
So let's just bring that out and similarly with the the purples .
Yeah , I don't want to affect the purples , but I do want as much purple in that dress as possible .
Now , if Fern was standing against a more coloured similar background , I would have needed to do a selection before doing this , but as it stands , that's pretty good .
Now , if you wanted a bright orange dress , stop there because that would be absolutely perfect .
Very eye catching , but really not what I'm after for this shot .
I've just done that so I can see what's changing now .
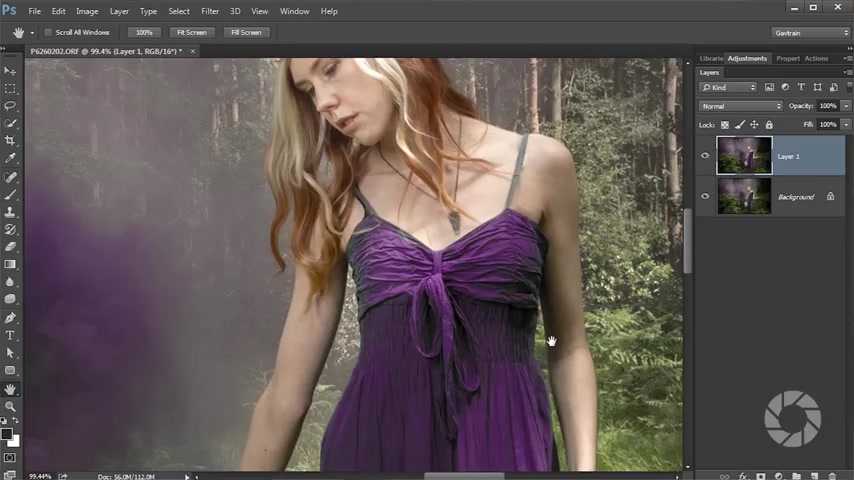
I can come and fine tune the results so clearly I don't need as much saturation and I don't need the hue to be there .
I'm looking for a hue , that kind of matches and a saturation that kind of matches the the smoke That looks pretty good .
I'm gonna stop there and click .
OK , now , once I've done that from a distance , this looks pretty good .
We've got a nice match in colour , but up close , things aren't quite so good .
There's a definite sort of weirdness in colour around here at the top of the dress .
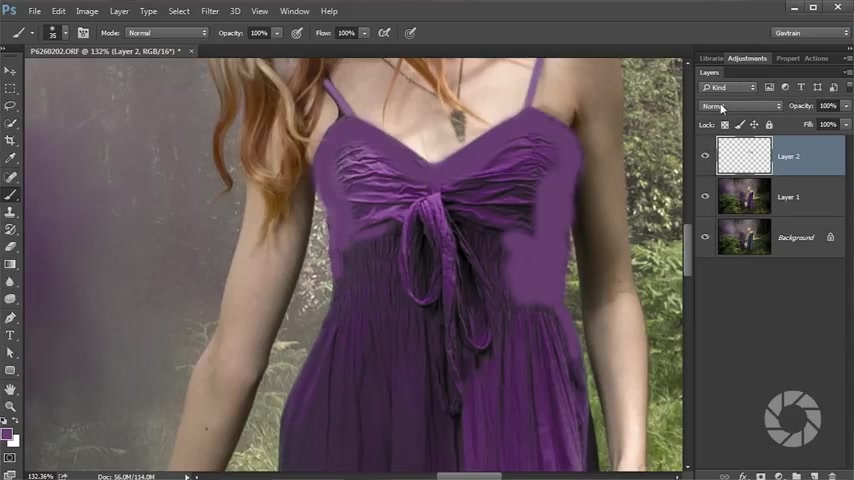
So to deal with the small areas , I'm just gonna make a brand new layer .
I'm gonna come to my foreground colour , which is currently black , and I'll just sample a nice , bright purply colour from up here somewhere .
That'll do .
And then with a paint brush I can just paint that colour onto the dress directly .
So with a nice small brush and we'll just add in the the strap , which is more grey , if anything , and the other one here and the same with the other colours here as well .
That's maybe a little bit light in colour for that area .
Let's just see if we can sample a darker colour .
There you go .
Now you're looking at this , I reckon , and thinking that is the least convincing paint job ever .
It looks like you've just taken a paintbrush and gone over the top .
Well , that's because I've just taken a paint brush and just gone over the top .
I will make it better , but first thing to say is to get this to look better , takes a bit of time .
Not a lot of time , but more than we have in this video .
You really don't want to sit and watch me paint around the edges of the dress , so once you've done most of the work , you then need to blend it in , and I'm gonna blend it in by changing the layer blending mode from normal all the way down to colour towards the bottom , and that will pick up the texture from one layer and the colour from the active layer .
I can even drop the opacity just to soften the effect down slightly .
And that should allow me just to add in some colour to those areas .
OK , so there you go .
There is my blue dress turned purple , matching the smoke and creating a wonderful picture out in the woods .
Well , that really was a great fun shoot .
Fern did brilliantly .
The woods looked amazing , and the smoke really added that extra element of excitement .
Now , if you want to see more videos for myself and the other amazing presenters here on Arama TV , you know what you've got to do .
You've got to click on the , uh , subscribe button .
Um , I'm Gavin Hoe .
Thanks for watching .
If you want great looking prints at low cost , be sure to visit our easy to use online printing service .
Adirama Picks has professionals who treat your images with the utmost care that you can count on for a quick turnaround on photos , cards or albums .
Use adirama picks dot com
Are you looking for a way to reach a wider audience and get more views on your videos?
Our innovative video to text transcribing service can help you do just that.
We provide accurate transcriptions of your videos along with visual content that will help you attract new viewers and keep them engaged. Plus, our data analytics and ad campaign tools can help you monetize your content and maximize your revenue.
Let's partner up and take your video content to the next level!
Contact us today to learn more.