https://www.youtube.com/watch?v=6vtup-CD4b8
How to Draw Faces with the Loomis Method
Hey guys .
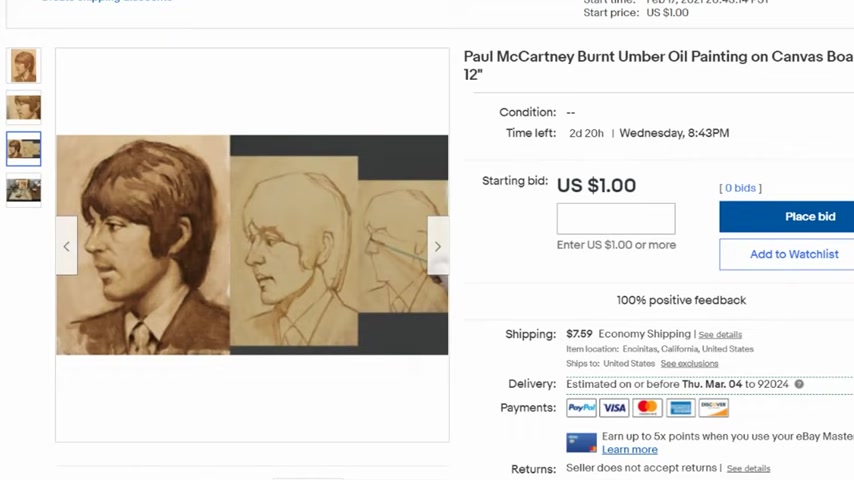
So I forgot to basically advertise this uh ebay auction for the burnt Umber pick out from last week .
Uh It's of Paul mccartney .
It's on a nine by 12 canvas board and currently with two days and 20 hours left , it's still sitting at $1 .
There's a couple of watchers and uh quite a bit of uh views .
But um yeah , I haven't , I didn't , I didn't advertise it in the videos uh beforehand .
So I think it's uh stalling right now , which is gonna be really good for whoever picks it up because I think it's gonna go for pretty cheap .
So take a look if you can , I'll put the link below , you can probably pick this up for pretty cheap .
So , uh check it out and again , I think the auction is going to end on Wednesday at 8 43 .
So thanks guys .
Bye .
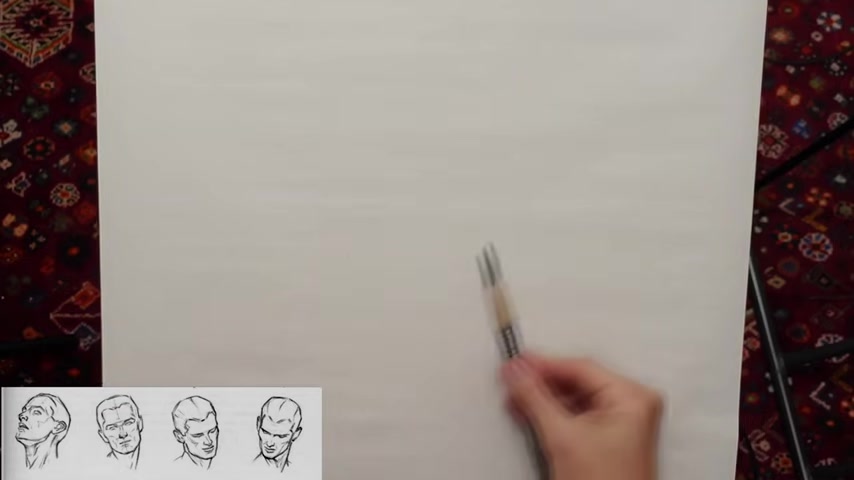
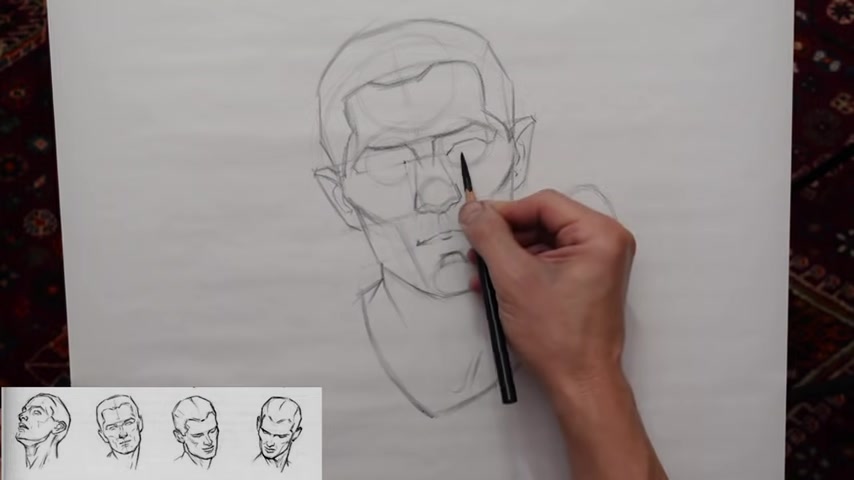
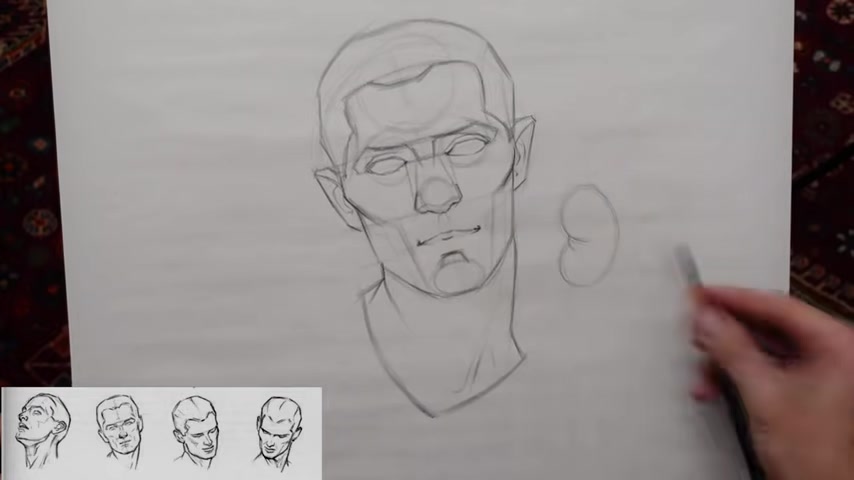
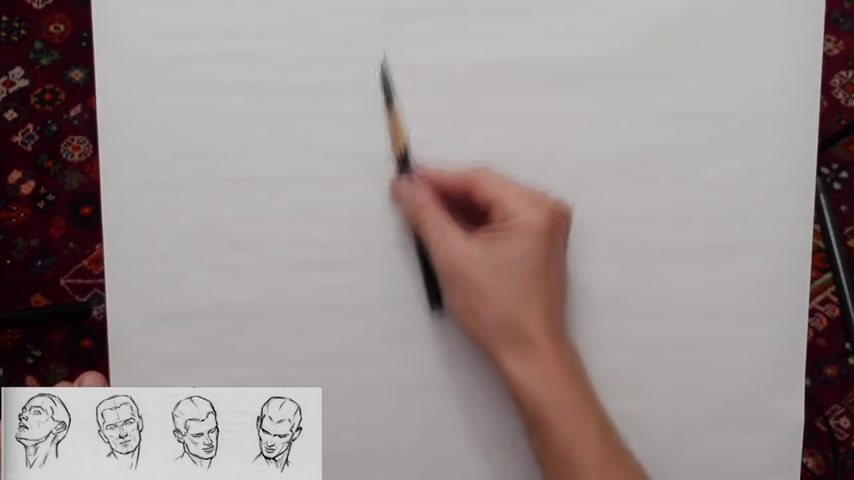
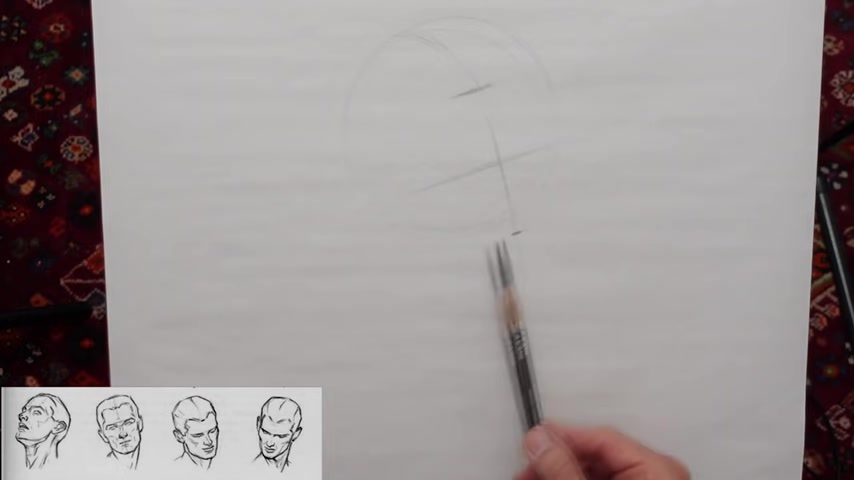
Ok , so let's start off as always with the circle and looking for the cross of the face , starting with the brow line and having found that now let's go down the center line of the face and then let's look for the hairline just pretty close to the very , very top of the head .
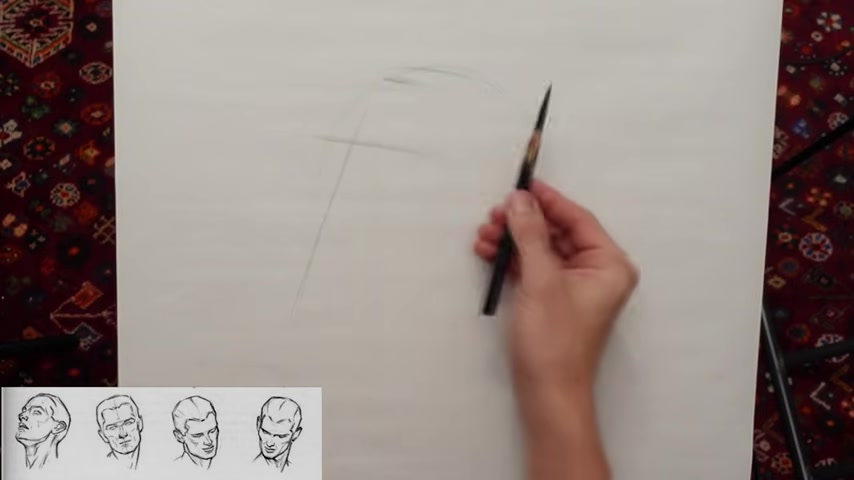
Let me make that a little bit further up because we're seeing more of the forehead in this perspective than we would if he was looking straight at us , uh the bottom of the nose will be somewhere on this line and then the chin be about right here .
And then of course , the top of the hair be somewhere like so , so I'm just gonna sketch that forehead and then we're gonna come down to the brow right here and then bring that rhythm all the way over to the other side .
And then we can make our little globe shape , little wedge shape between the eyebrows .
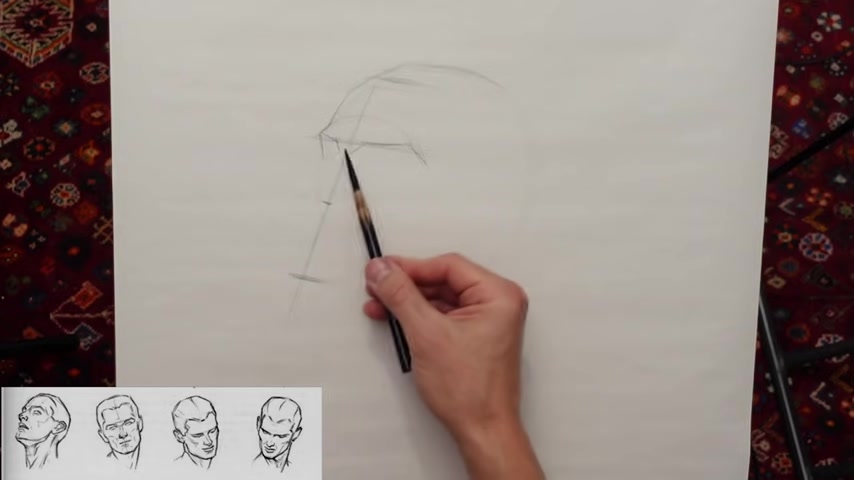
And now I'm gonna find that angle of the bridge of the nose and you can see the tip of the nose in relationship to this eye socket .
This far side eye socket is about right here , at least in his drawing .
And then let's see .
So that's a the center line right here .
Then his nostril comes down to about right there and it looks , I can't really tell in this drawing , but it seems to me like you can see a little bit of the far side um nostril , but I can't quite tell .
Let's put it in the nostril here .
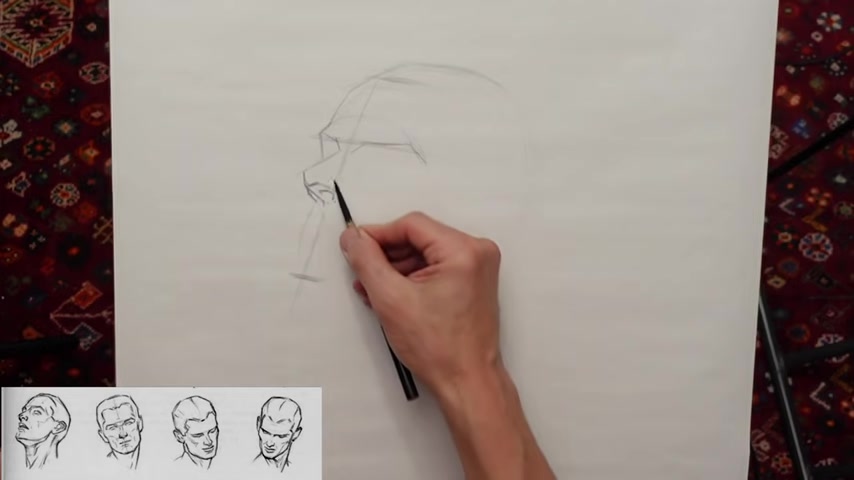
I'm just gonna make like a little indication of that plane change the underside of the nose and some structure to the nose with that , that big cartilage , the dome of the nose .
Ok .
So here we also have , again , that side plane change of the head almost like you sliced off the side of the ball of the head and then coming down .
So we have this angle for the brow and then we hit this edge , then this comes down like , so let me cut that in half and then half .
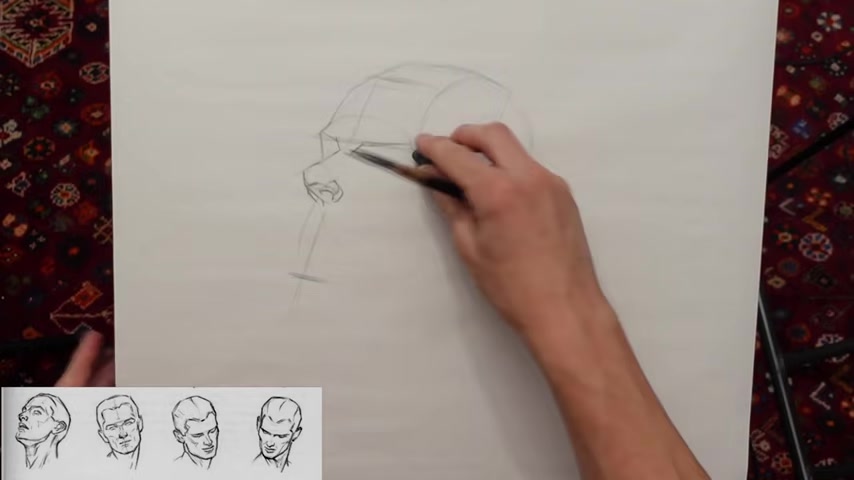
Again , I don't really need this part of the rhythm just really the , the main point is getting this rhythm right here because you often see that in um mid toes and in , in uh form shadows .
OK .
So let's get the chin , the underside .
So let's go ahead and place the ears .
It's probably about right there on the top of the ear is actually about right here .
If I go straight across , let me check the bottom portion of the ear that's actually way low .
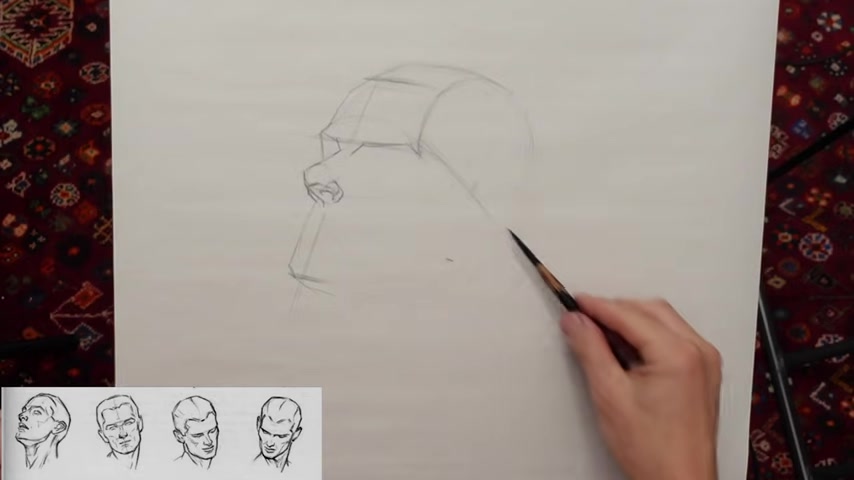
So this line is off and it's actually angled more dramatically that I had it originally .
Yeah .
So when I check my line , so that's a good way to check to make sure your ears are lined up , right ?
It's not only thinking about the angles but also checking them .
So what I did was I held my pencil up to the bottom of the ear , making a , a horizontal line going across the face and then identifying where it crosses and then I came , I found that point and then came across um on the drawing and found it .
So the top of the ear was right about , the nostril came right across .
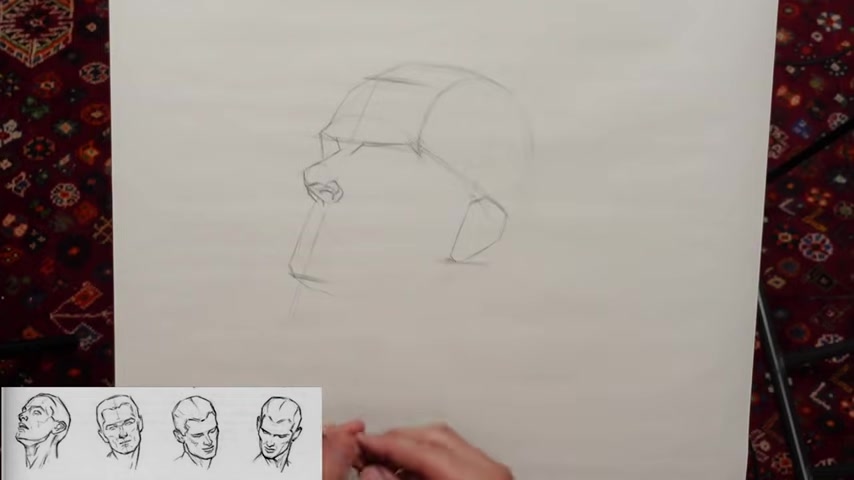
And if I draw , draw this angle and check that , that's exactly what I was supposed to do .
But earlier I did a angle that was more like that and it threw the ears off and I just double checked it by making that horizontal line .
And then now we found the correct angle .
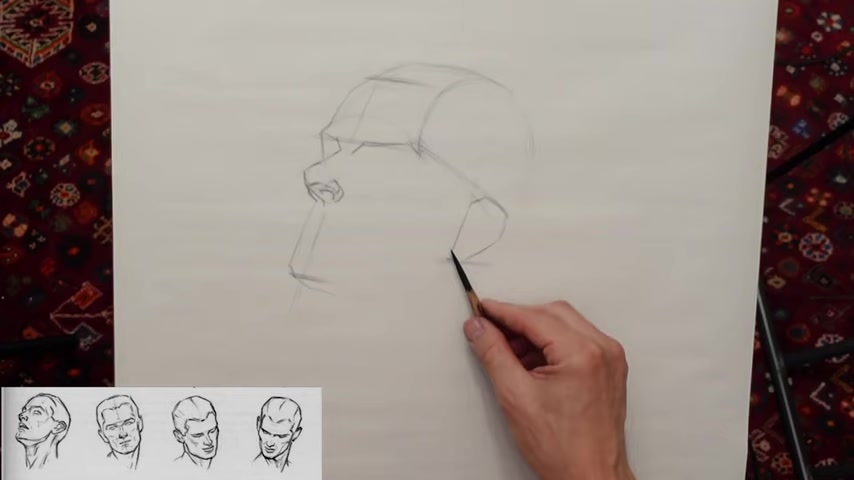
There's jawline comes out curves around , then the underside , the back of the head and the overall hair shape .
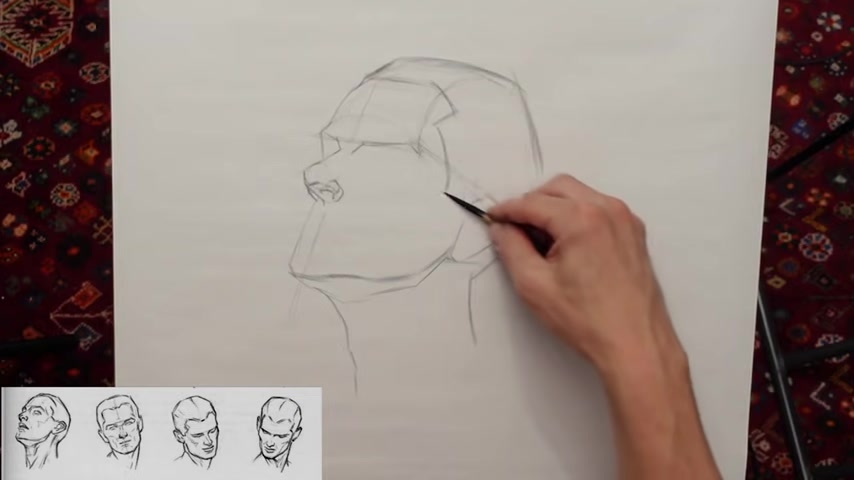
So we come around that corner , come down , come around again and let's bring that over a little bit .
I'm gonna get that sideburn and now for the mouth .
So we're around the cylinder of the mouth and it's wrapping around like this .
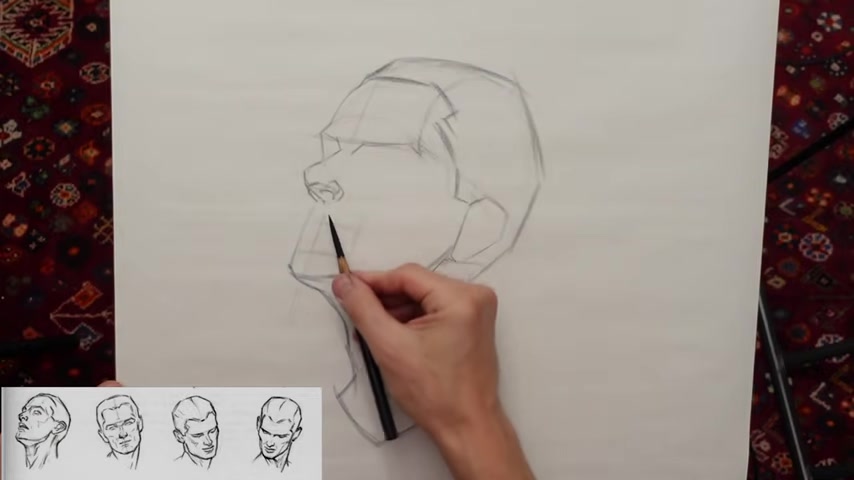
So let's think of the mouth kind of wrapping around the cylinder and like Bella comes down here .
Actually , it's a little different .
Let's come back .
I wasn't actually looking at the image I was going off of what I remember I saw , which is a really bad place to or really bad habit to have .
So let's go back and actually look at the drawing and then this comes down , I feel like there should be a cheek like he doesn't show the far side cheek .
But I really , I think he just either I can't see the line because of the that the um the drawing or like maybe the print is really bad or something .
Let's see .
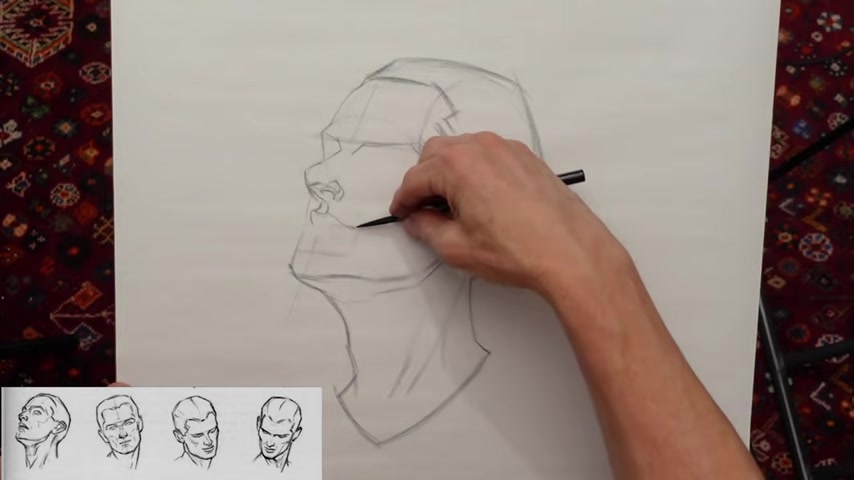
Let me get the corners of the mouth in here in the bottom lip .
So I feel like this cheek should come over like this then gets into the chin .
Let's see the cheek actually .
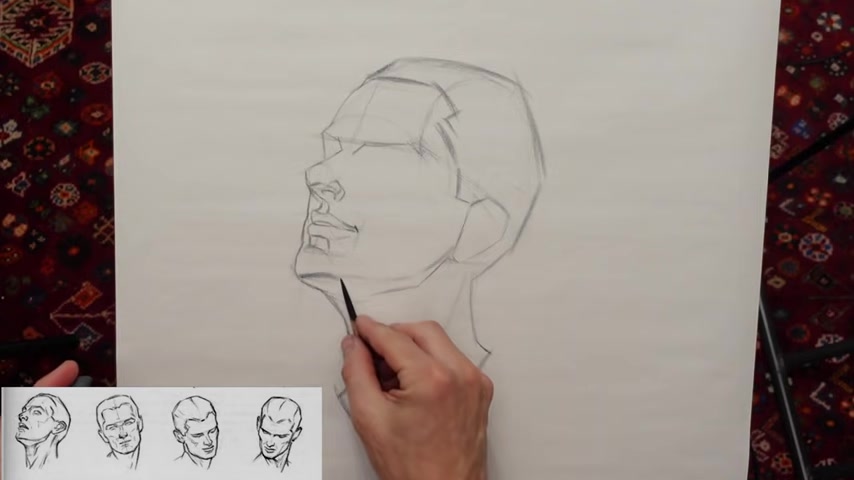
Or the uh chin curbs here then comes down , then it comes up again .
Mhm .
Maybe .
I think I need to bring the mouth further forward .
We have it too far back .
Yeah , that's better .
Ok .
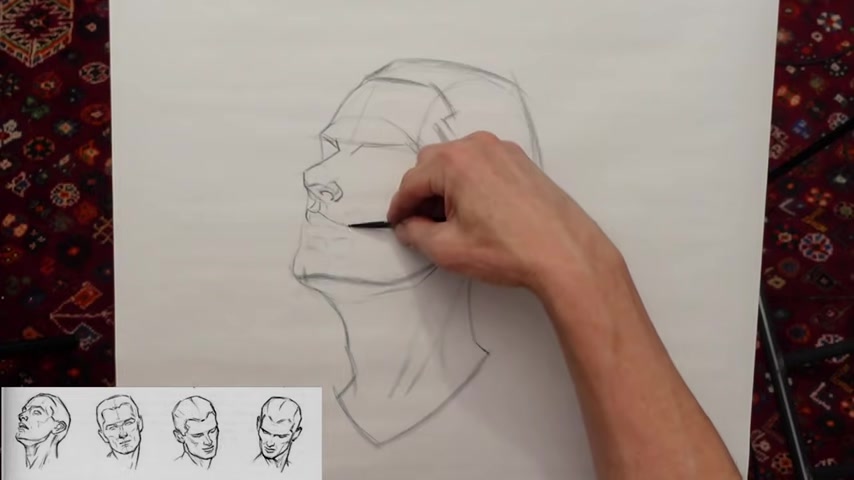
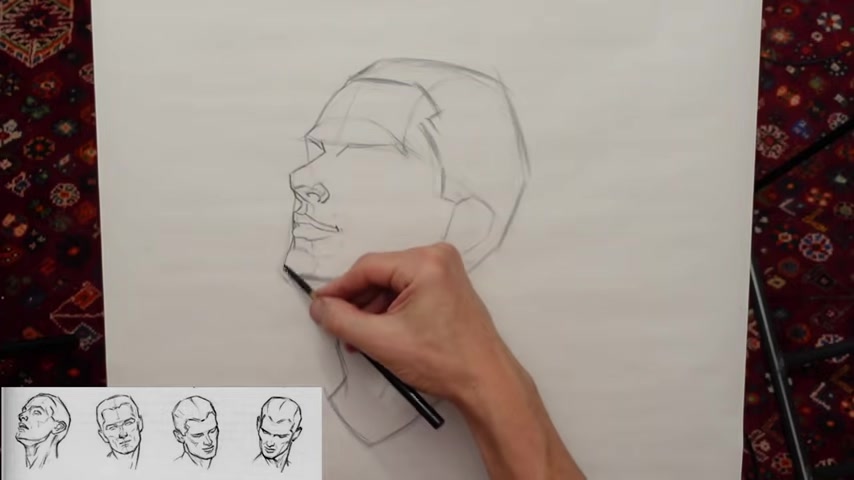
Then we come down to the corner of the mouth , move that over a little bit .
Hm .
I think that looks better .
I'm not crazy about this chin though .
Let me see .
All right .
That's good .
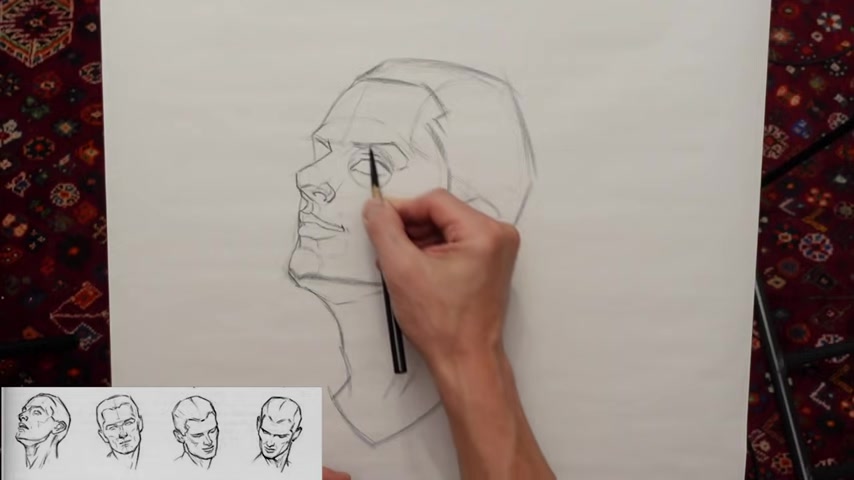
Now , let's come back over here and drawing a line up to find the inside corner of the eye if I'm gonna draw a sphere for the eyeball .
So I can just think about wrapping that eyelid around the eyeball .
869.299 --> 941.409
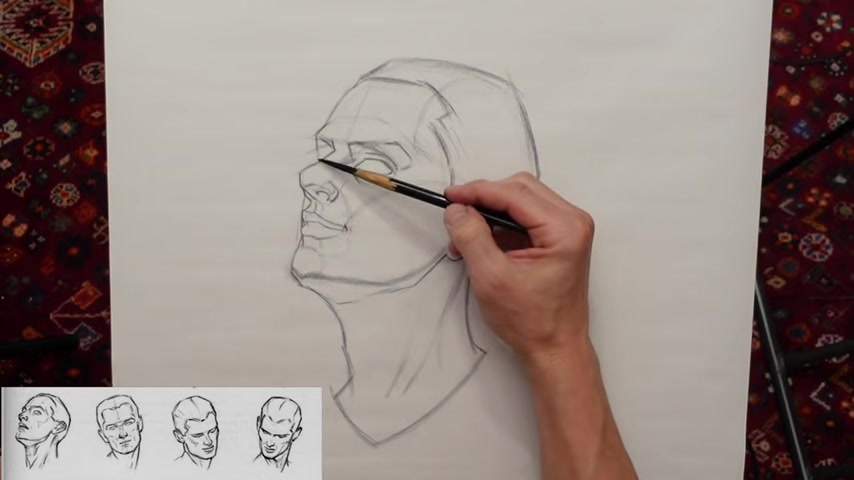
The main main thing I think to think about or one of the main things is the tip of the nose in relationship to the other far sight eye and , and seeing how things overlap like this orbital wedge shape , kind of almost like a triangle right here for that far side , um eye socket and how it it connects or the lines intersect the , um the bridge of the nose and looking at the tip of the nose in relationship to those points and , yeah , I think that's it .
Let's see .
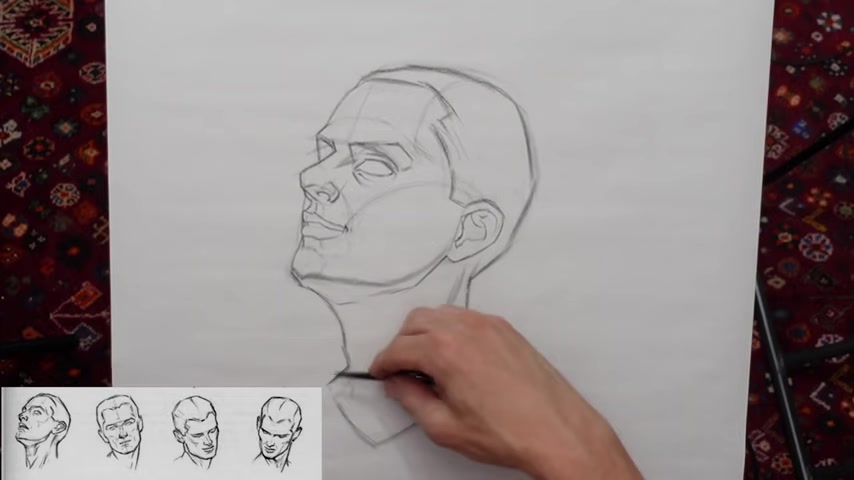
Uh , let me fix the top of the head .
I feel like there's too much showing in this perspective .
Feels better if I cut that down a little bit .
Yeah , maybe even more .
Oh .
And then we got the , some indication of the throat anatomy , but not much .
And I think that's it .
All right .
Ok .
Next guy pretty much straightforward looking directly at us , but with a head tilt , so starting off with that circle again and what we're gonna do is pretty much cut the sides off after we find the head tilt .
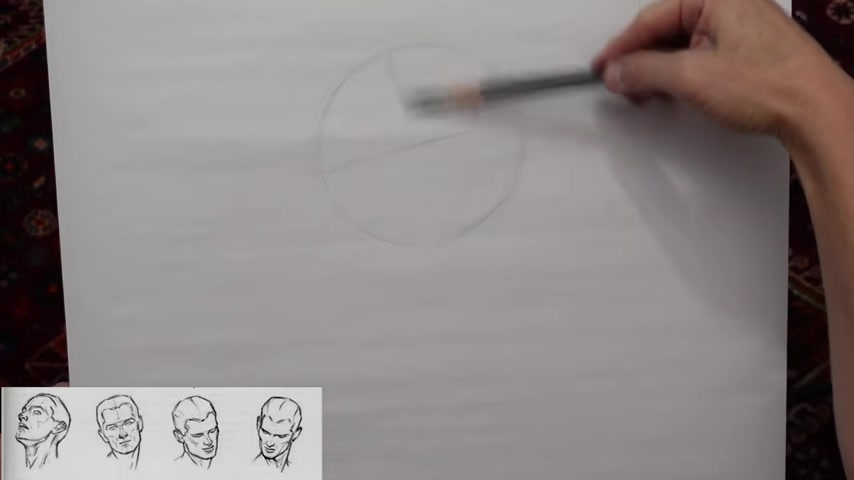
So with my pencil in front of me , I'm going right through the eyebrows and I'm find the head tilt and then I'm gonna double check my mark that's pretty close .
And then the center line of the face , the cross of the face , it gives us the head tilt kind of like the angle of what's going on .
And so now , well , let me , um , before I cut the sides off , uh I can go ahead and do that .
Now , I wanna come in at an angle because I'm gonna slice them off , but kind of coming in instead of straight down , it's more like a angle .

So instead of just straight , it's more in and down and then the hairline for him looks like about right here on top of his hair would be about here .
So here's the hairline brow , let's do the bottom on the nose .
But the reason why I made this a little bit lower is because he's got the hairline actually up here and it kind of curves like this .
So I'm looking more at this distance and then this distance to be equal and to the bottom of the chin , be there .
So now we have a pretty good indication of what's going on with the head tilt .

Um Next , I'm gonna go ahead and do the overall head shape .
So I'm gonna come in with the cheekbones , which is almost , almost matched up with the bottom of the circle .
It doesn't always do that .
Um I might make it a little bit higher and then I'll bring that down almost to the chin when we get that , that front plane of the face .
Yeah .
And let's see .
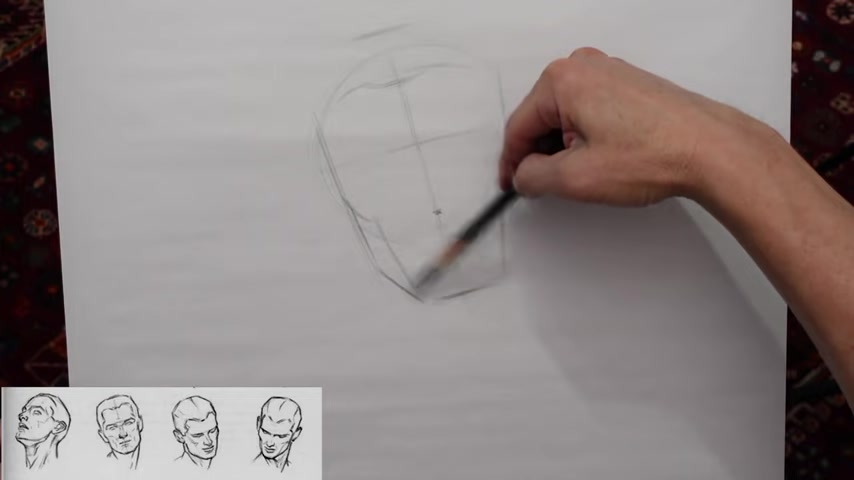
And then the jawline comes out from that cheekbone because his cheekbone looks like it , it's further out like this and then overlaps the start of that jawline , the jawbone .
Uh let's make sure the angle of the jaw that matches up with the other side .
Mhm I'll just bring those further in .
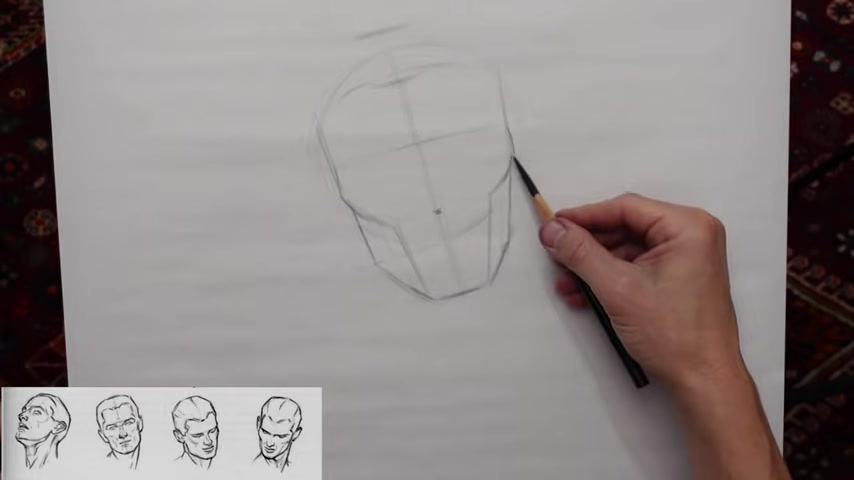
So I'm not keeping when I do these heads , I'm not like exactly how he is doing it .
Um Basically , I'm going for the overall concept but um I have so many , like I've done so many of these that it's really hard not to put in uh some of the Riley rhythms like this one right here for the brow really sweep from side to side .
And that's really what I love about the Riley rhythms is that it , it teaches you to track from one side to the other .
Even if I didn't put the mark down , like , let's say I didn't have this mark , but I would use it for the eyebrow .
I might come over here and then see my hand is tracking over .
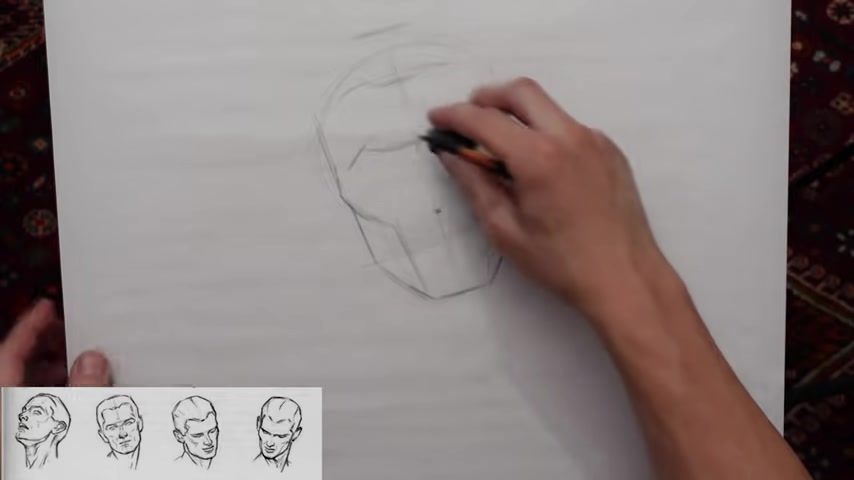
It's not drawing , but it , it's making that movement and it helps lock in um the different features of the face and look like they're um they're set like they're constructed strongly and they attached to each other .
They're , they're on the same um head , they're on the same uh oval shape of the head and turning the turning around .
And instead of like having one eye , a little high , one eye , a little bit low , you want things to look like they're all connected together .
So let's do the side on the nose .
This is the blocky shape of the nose , which I like to do before going into the , the details .
Let's clean that up a little bit .

And then you see a little bit in this drawing , he has a side or the um the underside of the nose playing .
It's very subtle and it's hard to see , at least in the um the image I'm looking at .
Then I'm just gonna do the big , the big round cartilage , main cartilage in the nose .
You can see he has indication for the uh nasal bone comes in like this .
Then this is the glabella shape right here .
This , this like keystone wedge shape between the , the eyebrows .
And actually let's go down , let's place in the ears .
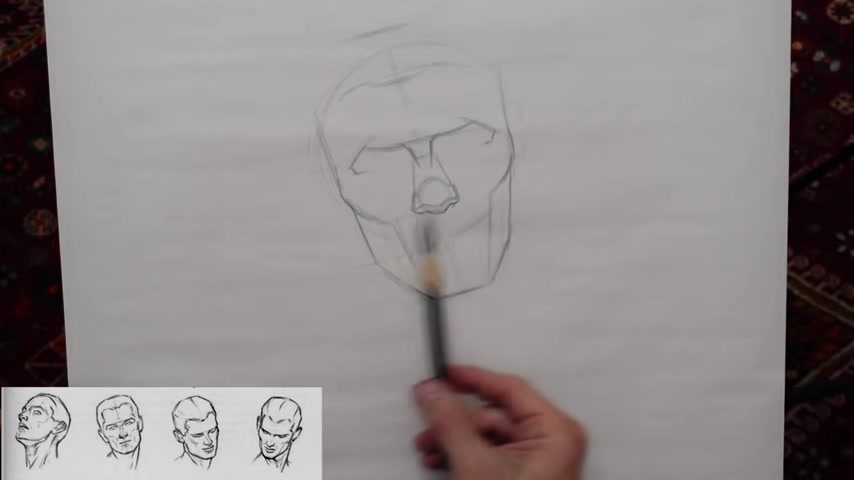
So I'm gonna just go from the bottom of the nose , from side to side , left to right and then the top of his ears , they're actually off in his drawing .
The this year is higher , but we're gonna make ours right on the same line from side to side and then come in at an angle .
Hm .
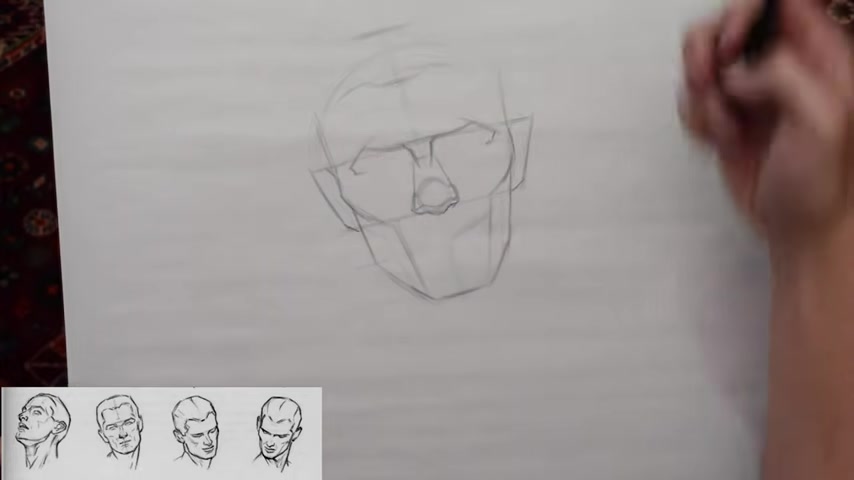
His guy looks like he has attached ear lobes , let's see , finish off the shape of the hair and we have that side plane of the head .
Ok ?
You can really now see like the shape and structure of the brow ridge .

And if you want , you can even come in here , sometimes you see this , you'll see this , this shape of the brow ridge and then it kind of has like this divot or loll right here .
And sometimes you can really see a perfect circle in people's foreheads and other times it'll be a square shape .
It really depends on the person let's put in the eyeballs and I'll come back to the eyes .
Let me do the actually let me do the neck , the overall head shape .
So next sweeps over here and then he has an indication of that sternal cloud mastoid muscle , that might be the attachment to the sternum right here .
And then there'll be .
So this side is the stretching side , this side will be the pinching side .
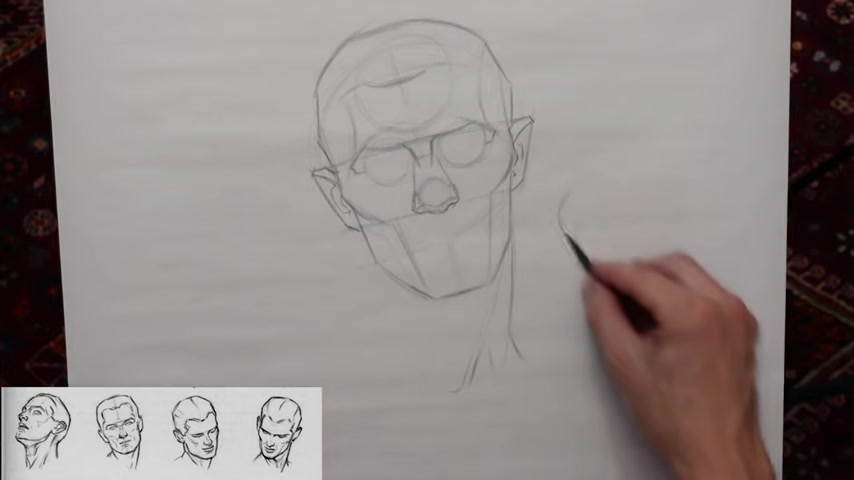
So you've probably seen that um on stan pro websites and videos , it's like the bean shape or one side is stretching , the other side is bending and it creates this pinching on this side like this .
So this concept is really important uh especially in figures .
But you can also see it in this neck over here .
So this would be , let's see the pinches right about here .
OK .
And then again , with the , the V neck and let's do the mouth .
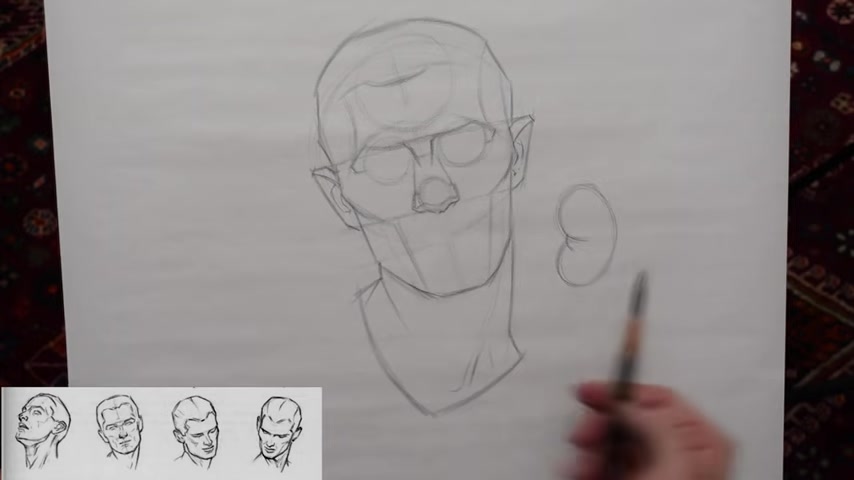
So the , a lot of times , um at least when I first started drawing faces , oftentimes I'll make the mistake of making the mouth halfway between the nose and the chin and it's actually closer to the nose .
So if you're gonna like error on one side or the other , error on the side that's closer to the nose and the corners of his mouth pretty close to the outside of the nostril .
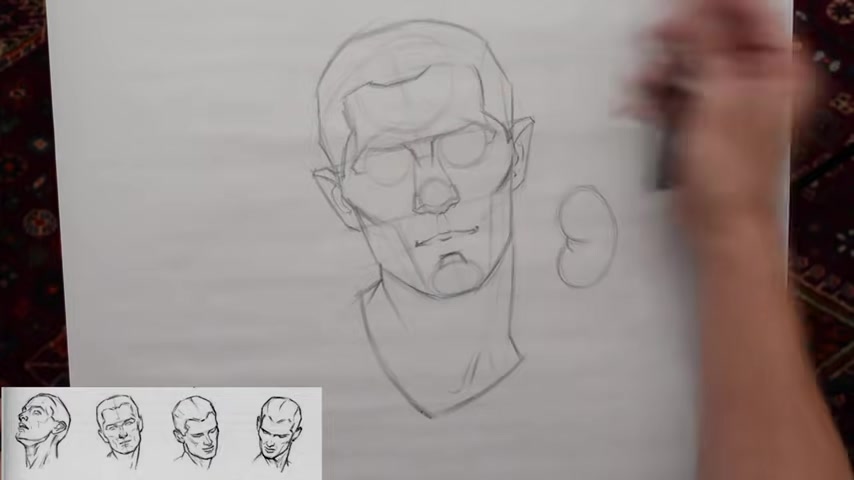
And then we can come down here to the f and then they keep his bow and it really made his lips really small .
So let's make him a little bit wider .
It's come down at an angle .
I don't know why I thought that they were so close underneath .
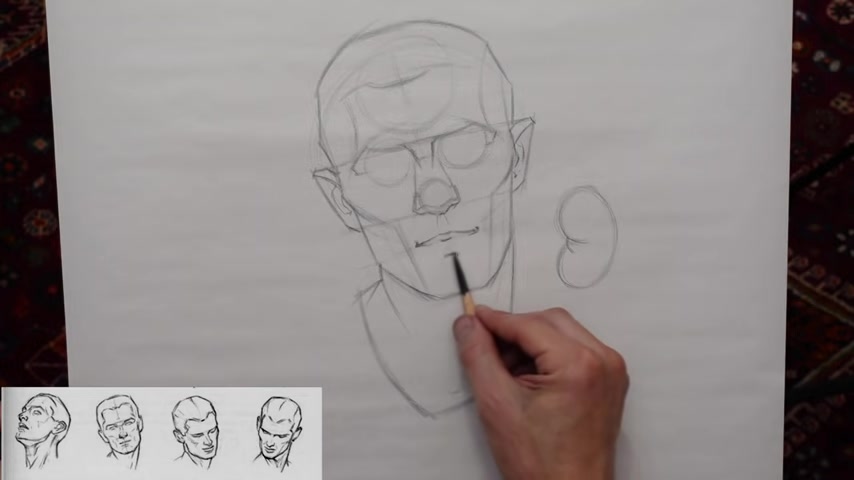
Let's see it's coming over here and then the bottom lip , there's a nice , like a little shelf underneath that bottom lip and then we have the rhythm for the chin .
So , as usual , I added a little bit more than what we see in the method I'm pulling from other things I learned from the Riley method and who God knows what else .
I , I picked up at uh it to the , they , they're so awesome over there .
They have all kinds of um uh resources and they study it from just about anybody .
Let's see .
Let's go over here the hair shape .
OK ?
And let's finish this drawing and find the inside corners of the eye .
So I'm gonna go pretty much straight up from the nostril to about right here , come straight across , make sure I got both eyes on the same , on the same plane .
This is so important .
This is like drawing portraits 101 , get the eyes on the same plane if you do nothing else .
And , and the only thing you remember from this video is getting the eyes inside corners on the same plane .
You've done a great job .
Just , just try to remember that it's really good um basic concept that will save you a lot of hassle and heartache when you have to like redraw something because you a lot of times it would be like for me , it was if I looked at a drawing like a portrait I did and I was like Yeah , it's pretty good .
Yeah .
And then I see it in the mirror and for some reason looking at your image backwards in the mirror , you can see the mistakes .
And for me it was like always one eye was too low or too high and that would be the thing that would pop out .
So I just get it on the same line right away and everything will be good .
I was coming out and hitting this , hitting these corners here a little darker .
That's pretty much it for this guy again with that concept of one side stretching .
That'll be this side of the bean and the one side pinching like this side here .
And that comes , that comes from uh Stan Proco , Proco um uh channel on youtube .
And he used to be one of my teachers , one of my first teachers over at really cool dude .
So check out his stuff .
I'll put links in my uh video below and uh I'm sure you've seen this stuff already .
He's like , he's like all over uh uh youtube really good videos .
Let me see .
It's come down here and he didn't really indicate anything about the neck or anything down here in the throat , but .
All right .
All right .
All right .
All right , I'll let this one go .
Next one .
OK .
So this guy is looking down with a head tilt and he's got , he's kind of got a pinch in the neck .
So , um starting off with that circle and then trying to find the cross of the face and his brow is pretty low .
You see a lot of the top of the head and let's look for the center line across and then the top of his head , uh center line curves around and his hairline is pretty high up .
We're gonna see a larger forehead in this perspective .
And here we're gonna see the tip of the nose and then the bottom of the chin about .
So let's go ahead and get that shape of the , the eyebrows and then the orval bone from side to side and then the nose and we're , we're looking down at the nose .
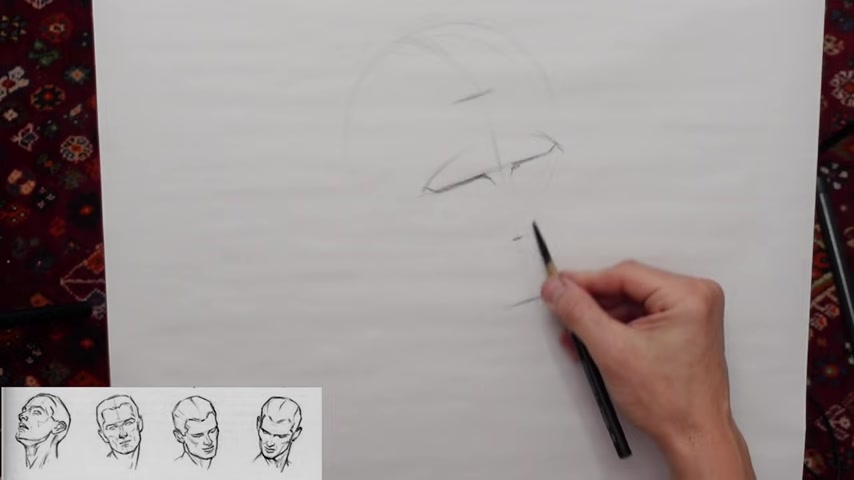
So we're , we're not gonna see under the nostrils and starting out , I'm just going to do a very blocky shape of the nose and the bony structure .
And you indicated there , I come back to the eyes .
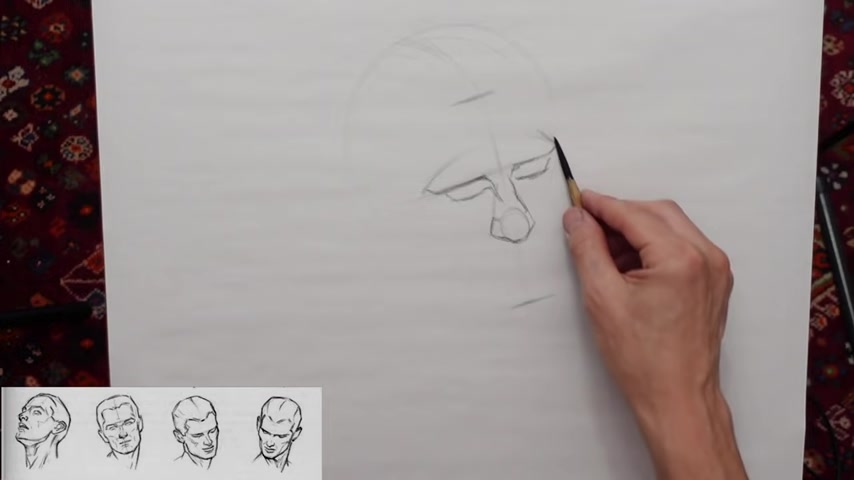
So here we have the orbit orbital bone and then the forehead curves around comes down , attaches to that and right underneath that pops out the cheekbone and we can do the sweep from side to side and do that side playing rhythm for the temporal temporal zone .
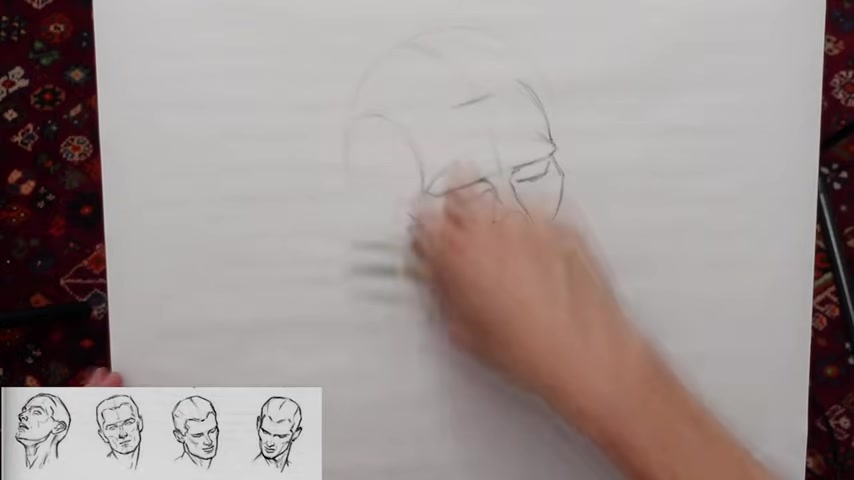
Let's see , I cut that sphere in half and come up at this angle .
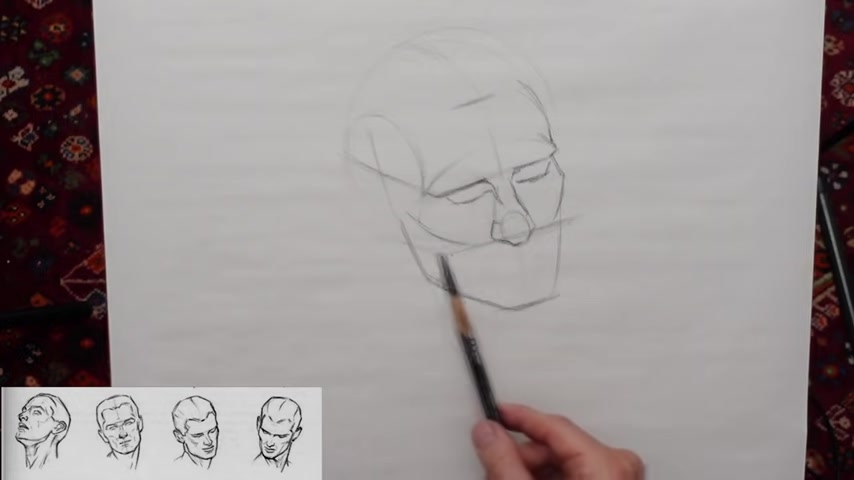
And if we came with the nose across on that plane to this side and then came up this way , then we can , we can find the ear falls in that quadrant and to check our , check our placement of the ear , gonna hold the pencil up again to like the bottom of the ear horizontally and see where it falls along the nose .
And that matches up pretty close in the top of the ear , same thing , horizontal line and it's pretty close .
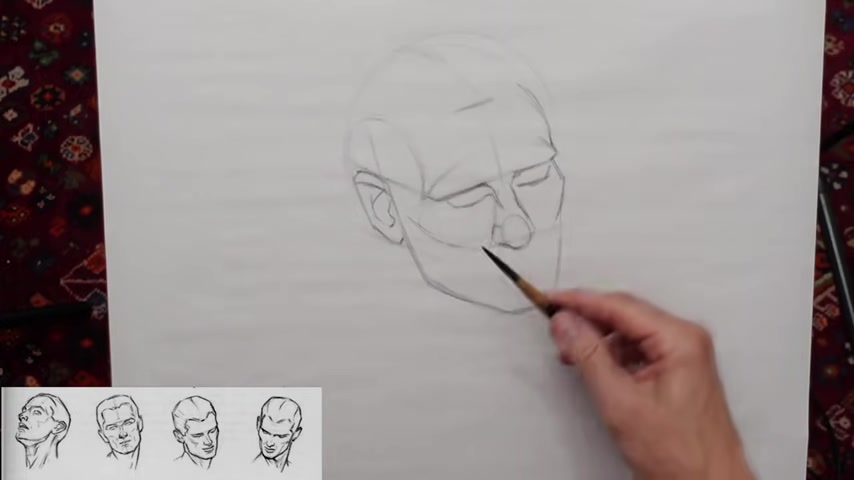
And we don't see this fireside here at all and let me just get the overall head shape , the hair and let's do the mouth here .
So the top of the mouth is gonna be close to the tip of the nose .
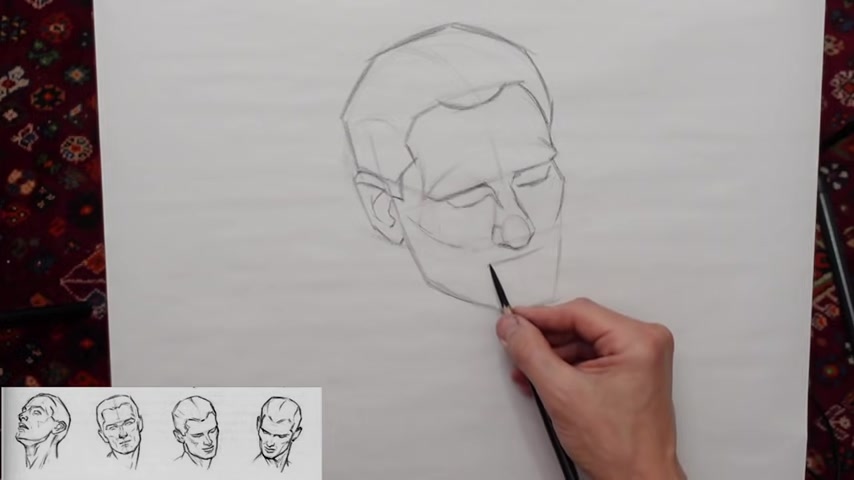
In this perspective , I'm back to the eyes .
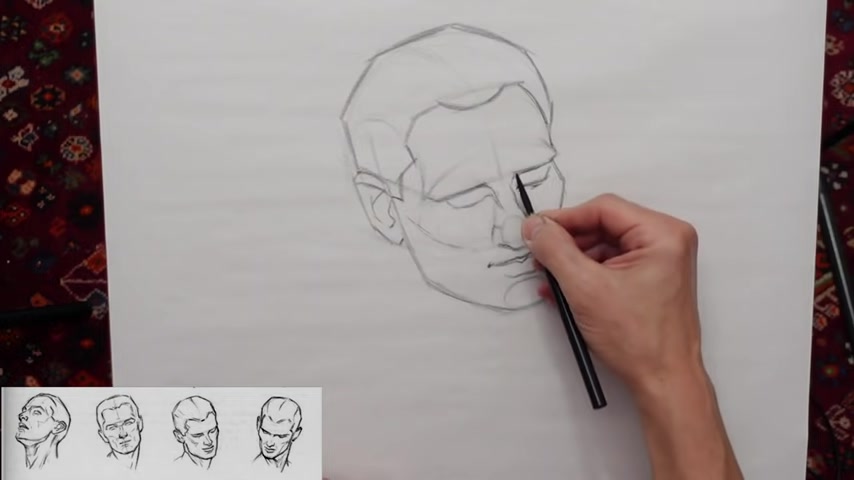
I'm just gonna re establish some of those lines and the neck .
Let's not forget that .
So this side , it's not pinching at all .
This one come down , creases right here , comes around and of course on the back .
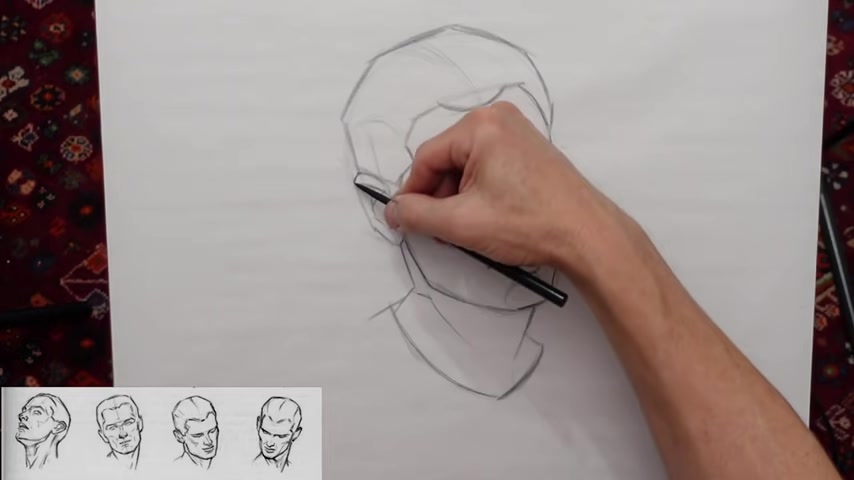
So that's pretty much it for him .
All right .
Okey doke .
So last head of the plate seven , let's start off with the circle .
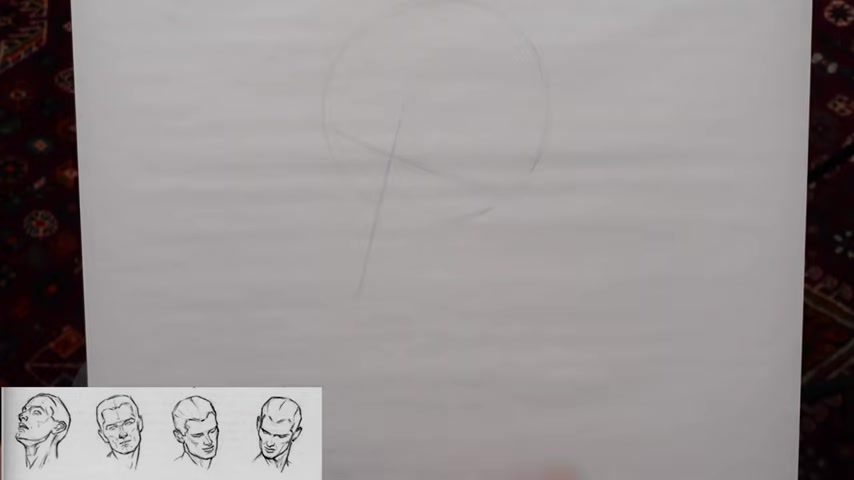
And so the brow is pretty low on that circle and it's at this angle and let's double check that looks pretty good .
And then the center line giving us the cross of the face again , something like that .
And then that would wrap around the top of the head , come down the center line of the face and let's do the thirds of the face .
So again , because of this perspective , the forehead would be larger than the other thirds .
So the hairline , maybe it's about right here , probably a little bit lower .
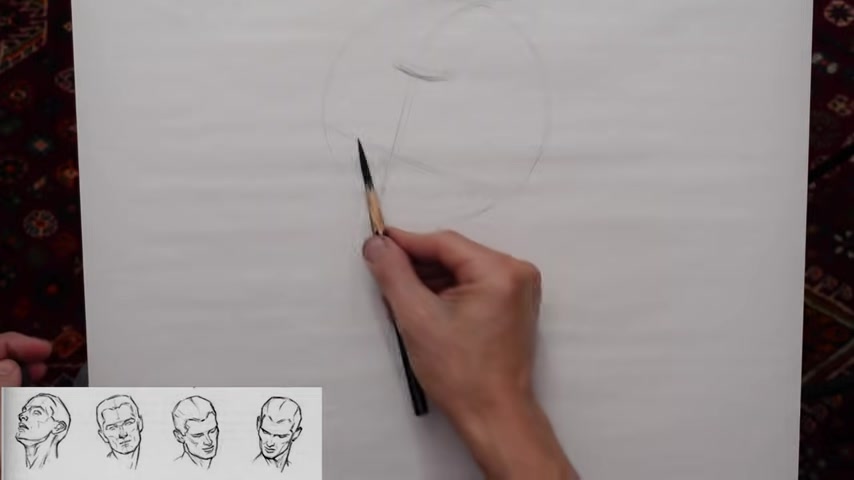
Let's see , I'll put it about right there , then the brow line , of course , and then bottom of the nose , which is actually the tip of the nose and then the bottom of the chin .
And now I'm gonna come to the glabella shape between the eyes and then , then I'm gonna use like a blocky uh shape for the nose at first .
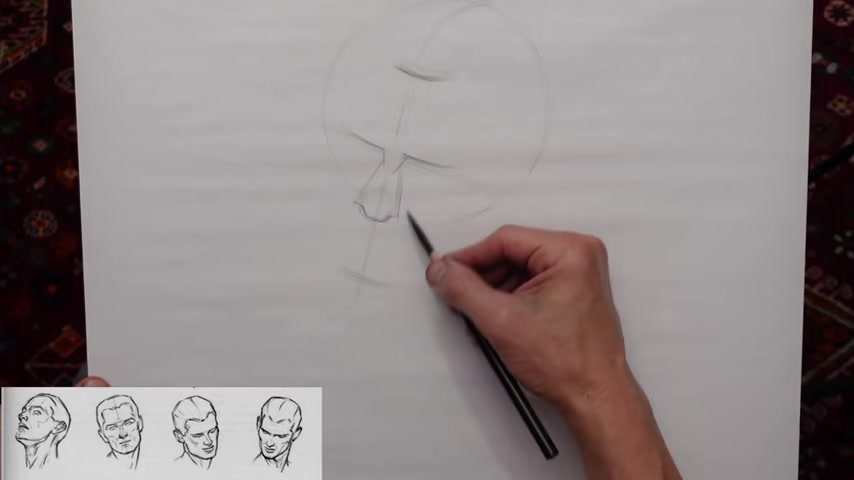
So let's get that the ball of the nose and the wing of the nostrils , let's make it more pointy and then do a little indication of the bony structure of that cartilage of the nose , his brow .
And right about here is that side plane change and we cut the side of the sphere off .
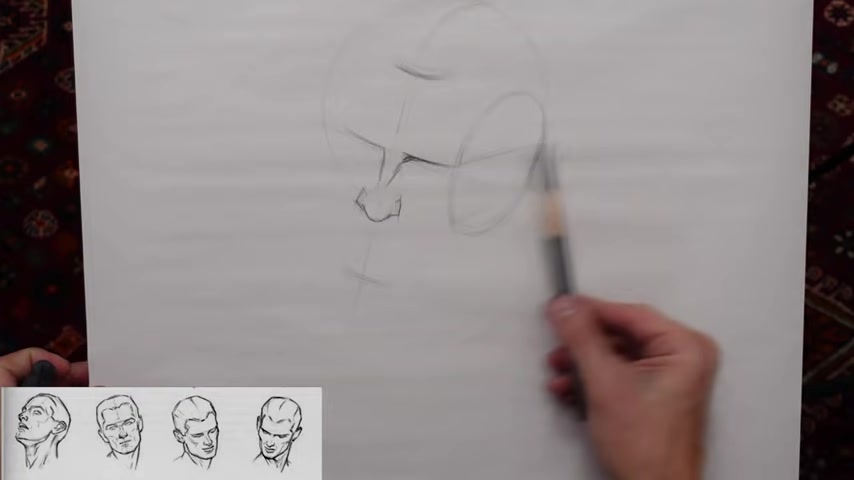
Mhm And then come up here , cut that sphere in half and then half again .
And then the jock actually comes in more of at an angle .
And then this side actually let's do the brow ridge from side to side .
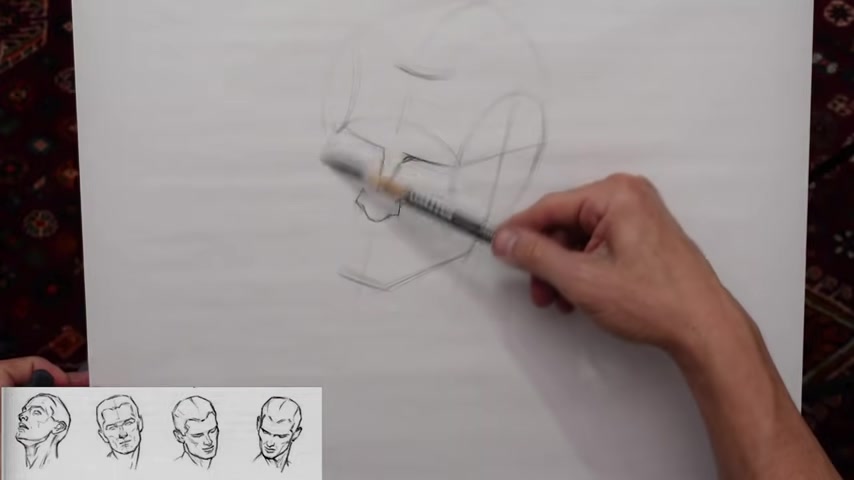
And then that side plane , let's get his cheekbone same on both sides , then his jaw and then the bottom of his ear actually let me fix this nose .
I don't really like that shape .
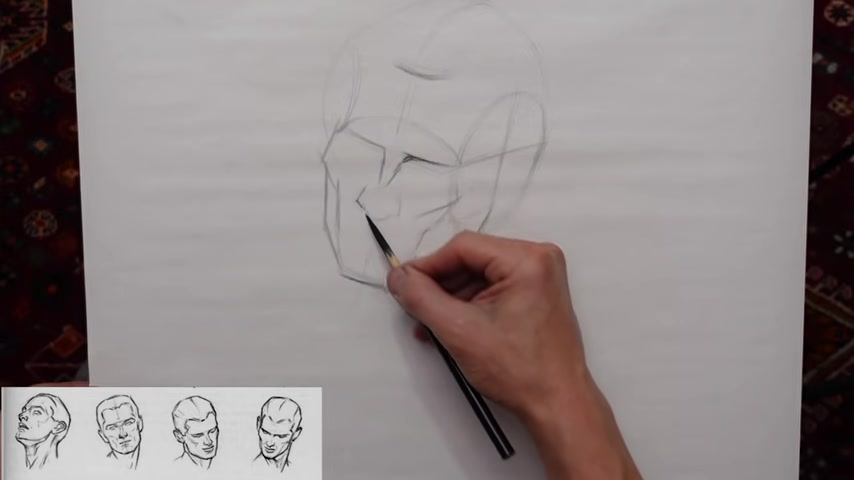
I have it to , it's like it's totally symmetrical , but at this angle , it's not , it's , you'll see more of this nostril than the other .
All right , that looks a little bit better .
And let's come back over here to this jaw .
See the cheekbone , I think I need to bring this side of his head closer .
Let's see .
Yes .
Let's see .
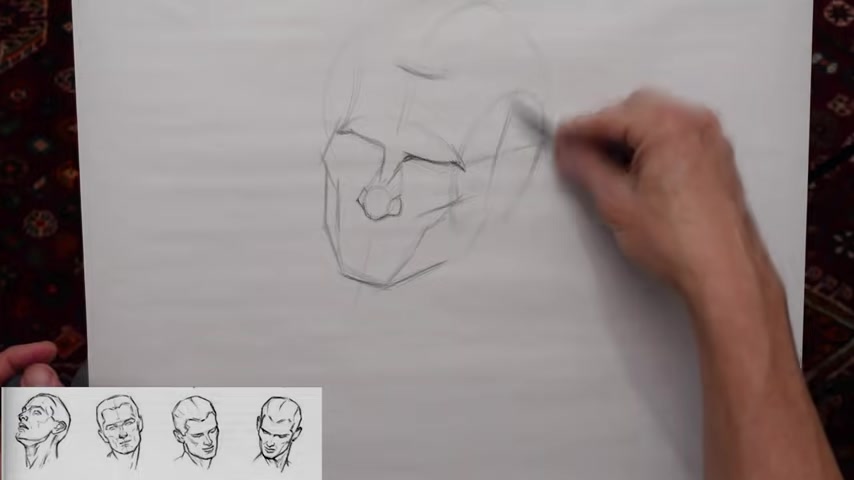
I think I had a , a wrong angle anyway , it's more like that and then this comes in , then our ear much better .
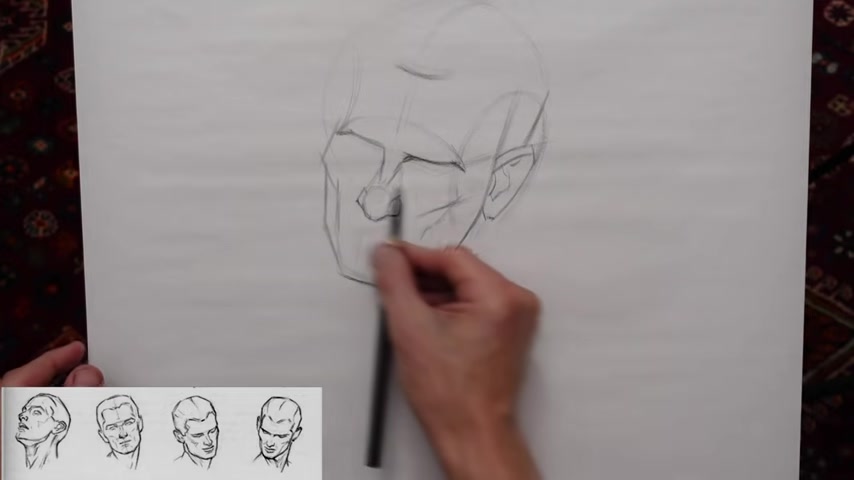
And then if we come over here and do the , you're on the same side , on that same plane , side to side , then let's do the hairline and just think about the plane change like the hair comes over and hits that side plane of the head and then comes down and then down again and then over to the ear .
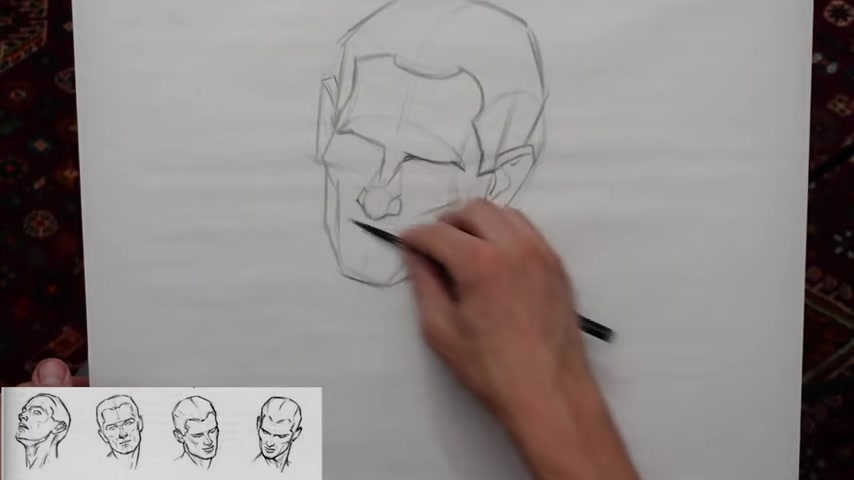
So it's like this boxy shape kind of like really sharp angles right here and the mouth .
So the lips are gonna be close to the , the tip of the nose to get the corners of the mouth .
Then that cupid bow and the bottom left and then the rhythm for the chin .
Let's go over here over here to the eyes .
Oh yeah , let's do his neck .
Don't forget the neck .
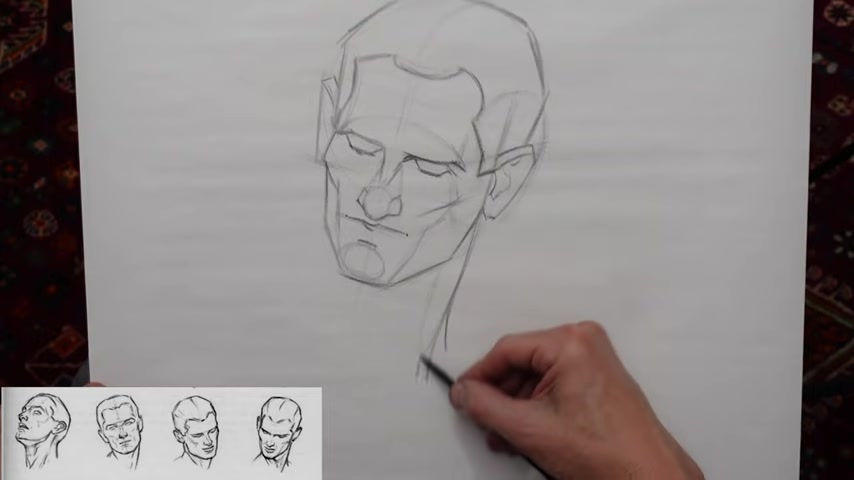
So the Sterno Mastoid is kind of because it's holding its head up , it's flexing .
So it bows out a little bit .
You see the trapezius on this side and you get with that like that , um that jelly bean , what we did earlier where it's pinching and like on this side , it's stretching on this side , it's gonna pinch there .
Come up here .
This is so this head that's a good example of your basic Riley head .
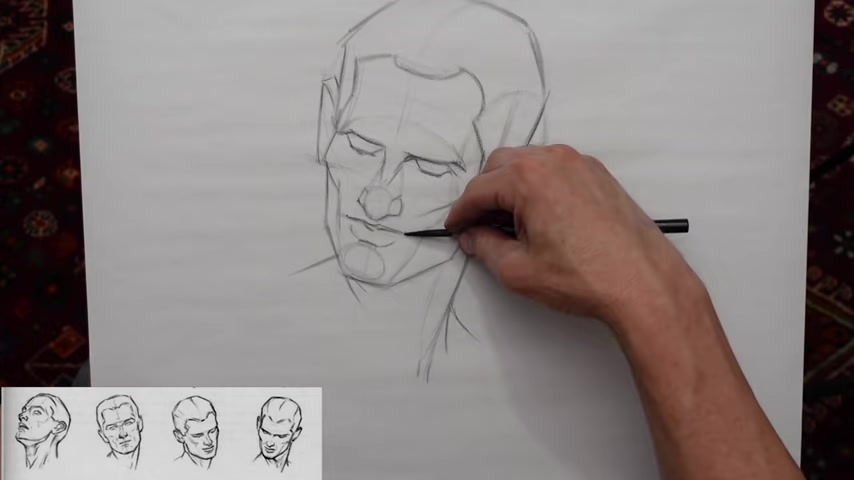
And now Next , we're gonna use a photo reference and draw from an actual person utilizing some of the things that we learned from the or excuse me , the , the numerous method which is mainly getting those thirds of the face and getting the features to line up on the same plane and thinking about the side planes of the face and just the overall structure .
So let's move on to the example .
OK .
Now for some fun , no , they did all the hard work , all the uh the warm ups with those heads .
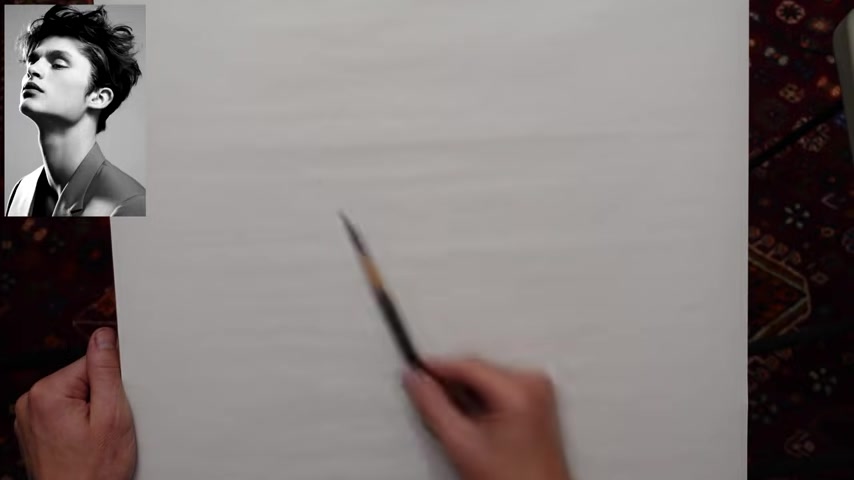
And now let's uh draw from a , a reference , let's see .
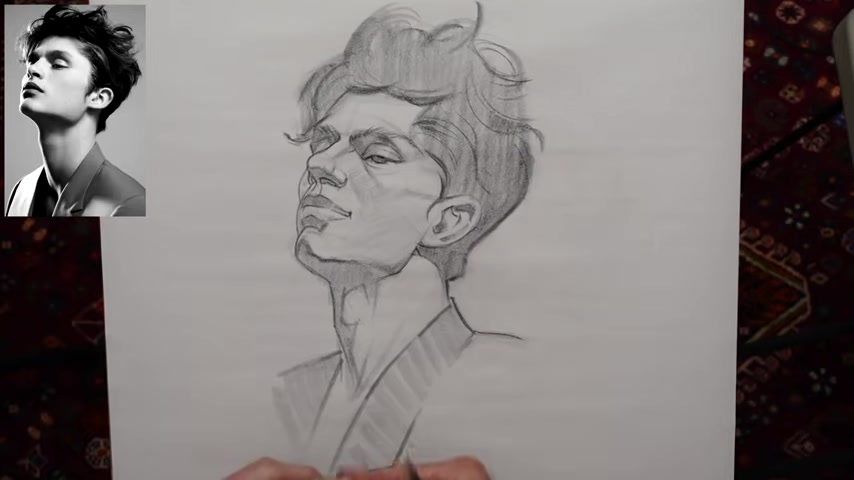
So starting off as usual and then looking at the angle of the brow and he's looking up and his forehead is pretty , pretty small .
Uh Let's look up for the look for the center line of the face and let's see , bottom of the nose about right there , bottom of the chin , about right here .
Let's see .
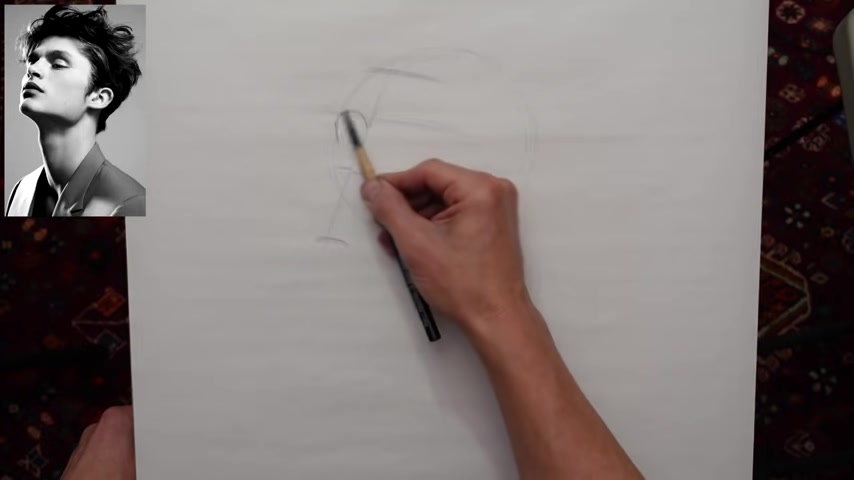
Let's put that Bella shape and then I'm just gonna , I see this rhythm right here for his eye socket and curves and then it comes over to the other side .
So let's do that side as well .
And then I wanna get the angle of his nose and the tip of his nose binds up to about right here .
So the tip of the nose is gonna tell us a lot about where things are lined up .
So we have the nose here .
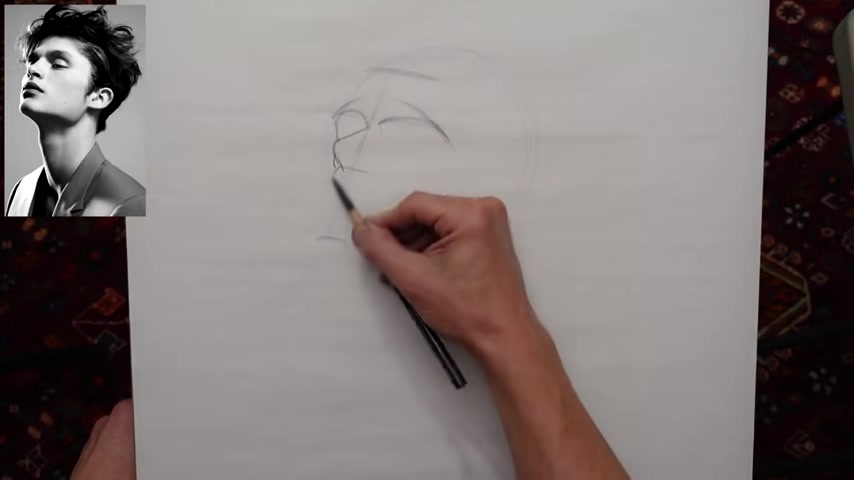
We have the bridge right here , we can see the far side nostril comes out and attaches to the face and it creates this cylinder of the mouth and let's draw the other side of the nostril and I'm gonna draw the underside plane of the nose and I'm gonna put , you can see in him a little bit of the bump of the bridge of the nose and make sure I have that and then round the nose out a little bit at the top or at the , the tip of the nose just a little bit , let's see .
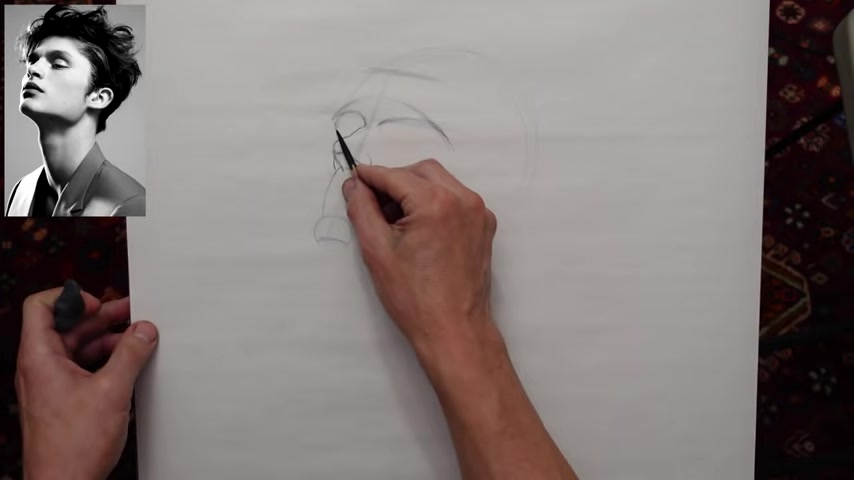
So something like that and you get a little hint of this eyeball , but mostly this will be all in shadow and now , so OK , let's go over here to the side plane of the head and build up the rest of the structure of the face before we get going on the features .
I kind of took off on that a little bit too , too soon , but that's ok .
So a side plane of the head and we cut that in half .
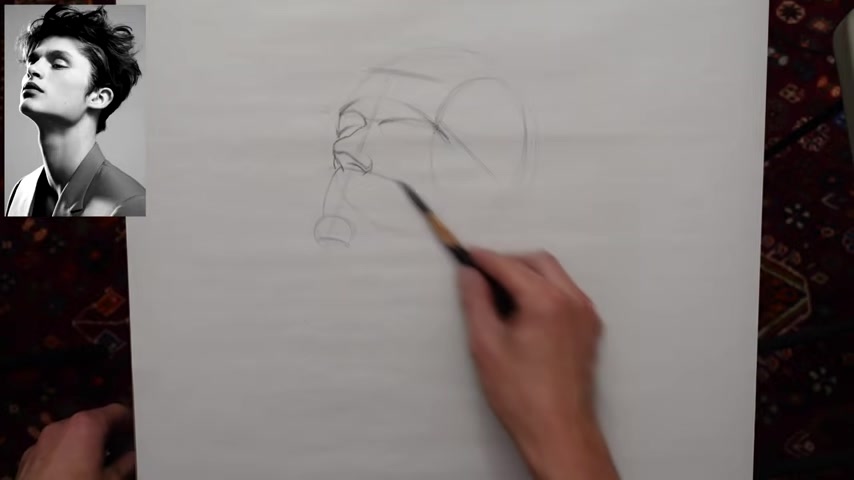
So this plane of the nose is gonna come over and then turn around to the other side of the face and we cut this in half , the kind of find that jawline , very strong jaw , let's see .
So the curves here and then it catches pretty straight until about right here and then it's gonna curve down again and then the jaw is gonna come over and connect very square and we're in this extreme perspective too .
So it's kind of cool to see in the underside of the chin connects to the neck .
Ok .
So the top of his ear , if I take a horizontal line , it's really low , it comes to about right here .
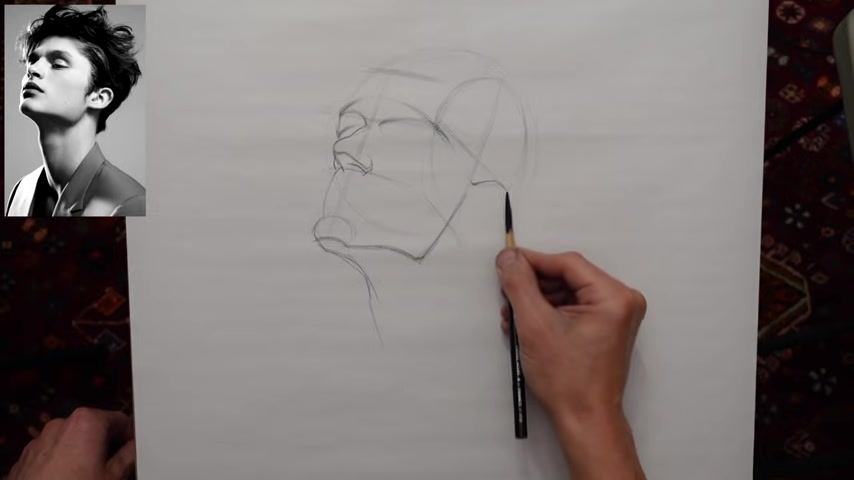
So it looks like we're , we lined up pretty good .
So if we take the basic shape of his ear attached to your lobe and let's see .
So again , we have that cylinder of the mouth and then let's place in his lips .
Let's see .
Well , actually let me get the overall head shape before I do that .
So I got the forehead .
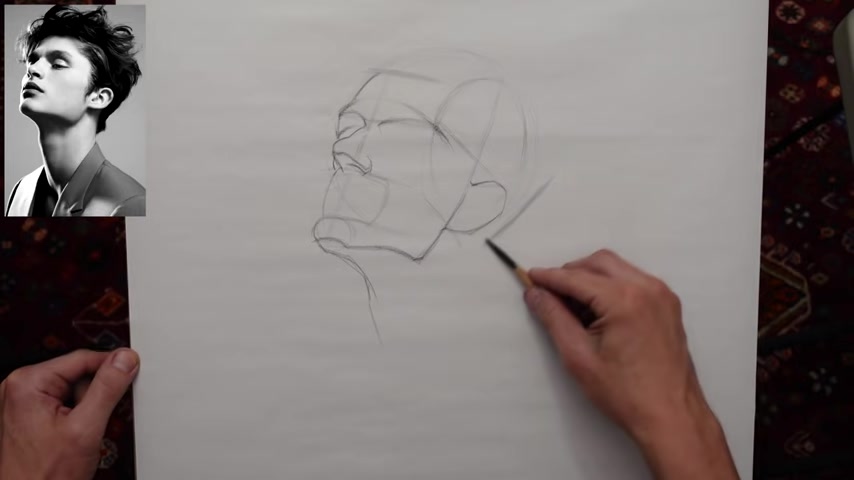
Let's get the , the hair shape in the back of the head and then his net comes out about right here and curves down and then it's Adam's Apple .
It's got a really long neck .
Let's see .
And then his jacket kind of comes out something like this .
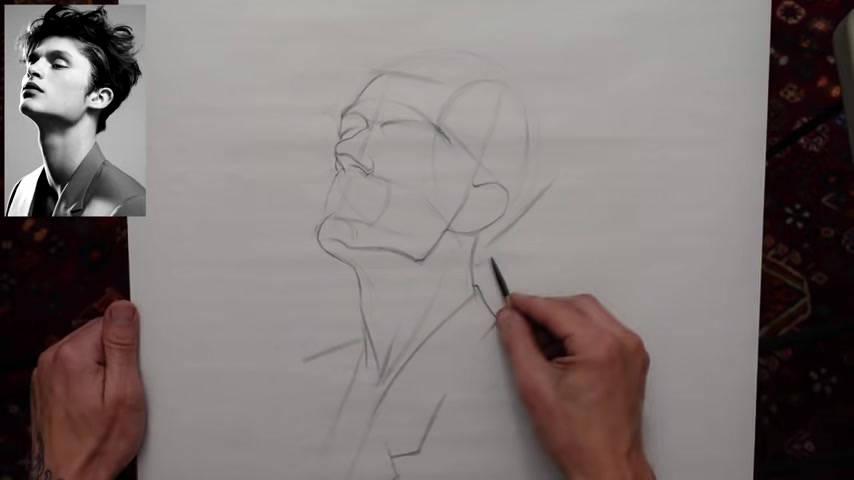
Let's run that off the page .
Yeah , let's go back to the hair shape has really wild hair .
So that's gonna be fun to play with design .
Let's see .
Let's do the hairline .
So that comes over that side plane of the head again , comes down .
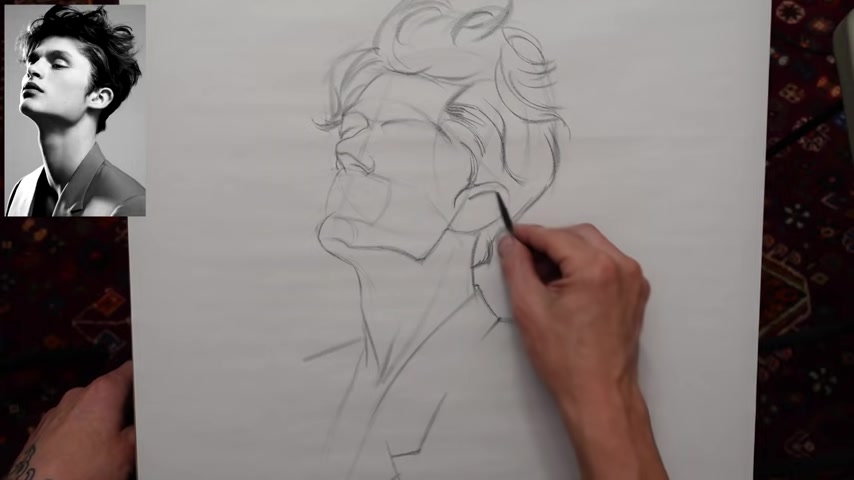
Let's see , that was kind of mapping the ear a little bit better .
Uh I really feel like just doing these heads over the last few weeks has really helped me .
So give them a try yourself if you haven't yet .
It's such a good exercise .
I keep saying it , but it's so true .
It's just like a really quick way to get better faster .
Let's see .
So I'm looking at this muscle here , the neck , then it comes over kind of mapping in these shadow shapes and it was really cool shadow on his chin and wraps around really crisp right here .
Then softens up as we go around that jaw .
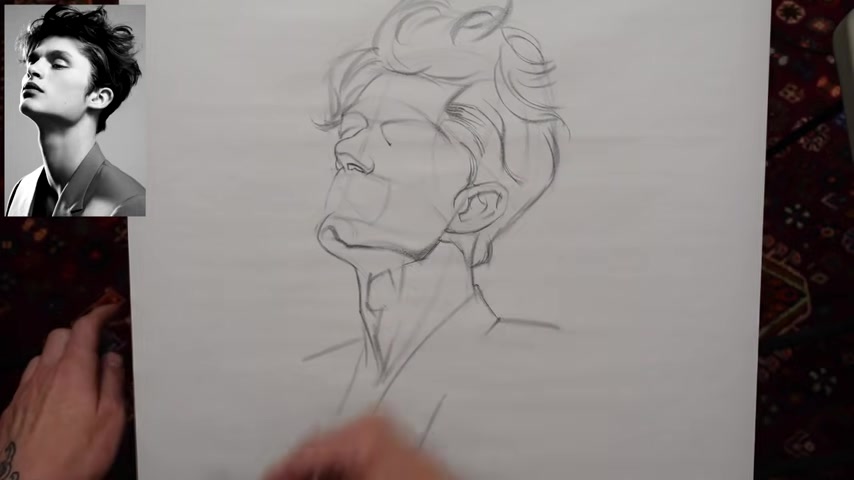
Let's do some work in the eye here .
So the corner of the eye is probably about right here .
And I'm looking at like this line at the that angle .
Actually let me um put some structure in the nose first .
Ok .
Now , back to that corner of the eye .
Now we can see up and under the brow a lot .
So I gotta make sure I have the distance here , correct .
This is this is the top of his eyelid .
His eyes are very not close , but just kind of like they look heavy .
Let's see if I can do that a little bit better .
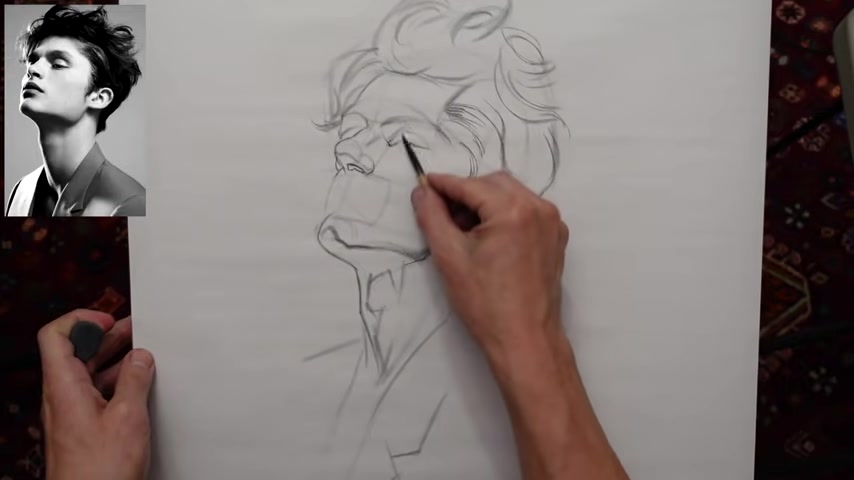
I should probably put that eyeball sphere in first that will help us and designing the shape .
So now we come over wrap around using the eyeball sphere kind of design , the upper eyelid , erase some of those those lines .
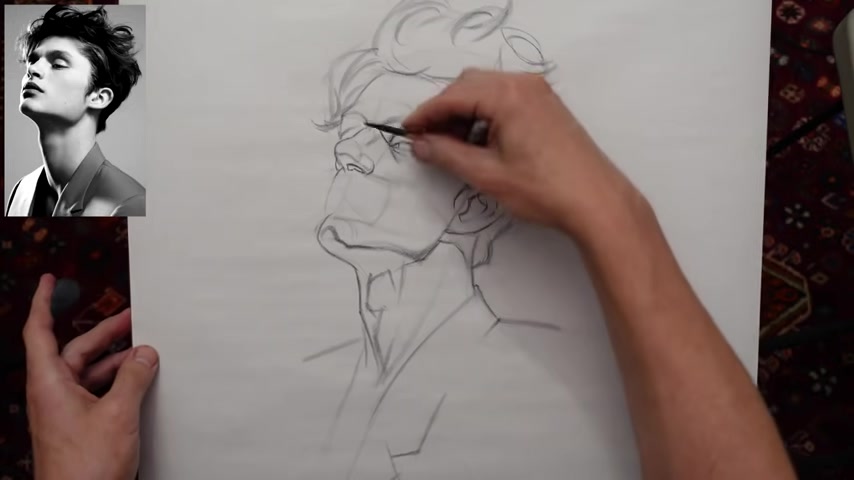
So we have this nice shadow shape right here where it's a crisp edge on that cash shadow and then it softens up especially up in the eye , top of the eye brow .
So all this will be in shadow I made the iris too big .
So this rhythm comes all the way over and matches up to the other side .
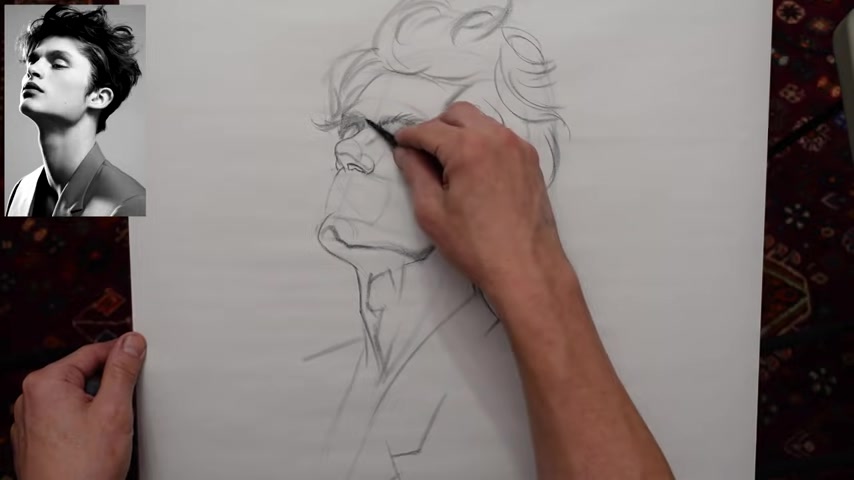
This is pretty much all in shadow .
Let's see .
Let's put some hard edges , uh , over here on this hair got a lot of soft and , but also got to look for those hard edges .
Let's bring , let's change the shape of it a little bit .
There we go .
Crisp edge right there .
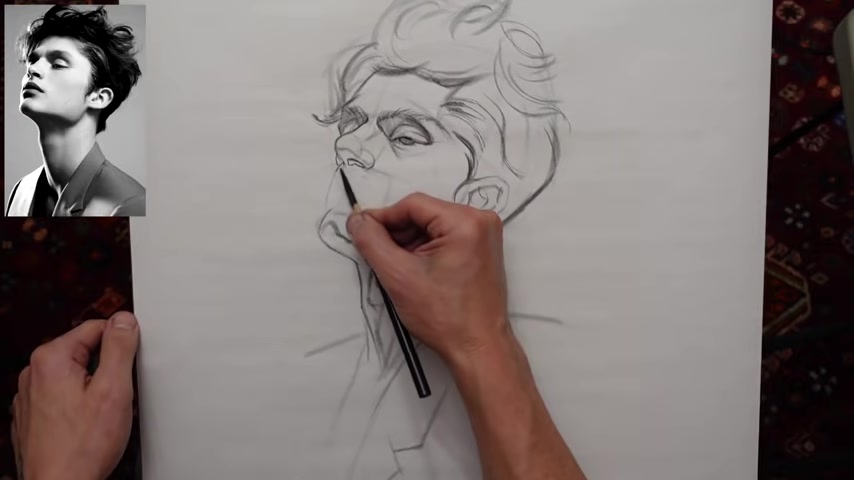
All right , let's do the mouth .
So right underneath the tip of the nose , let's do the filter and then keep his bow and it looks like the corner of his mouth would be about right here .
And this curve looks like it curves right here and I'm gonna drop that line off and leave like this broken space to help connect the upper lip to the , the face itself .
I can do it hard line all the way through , but I kind of like it broken .
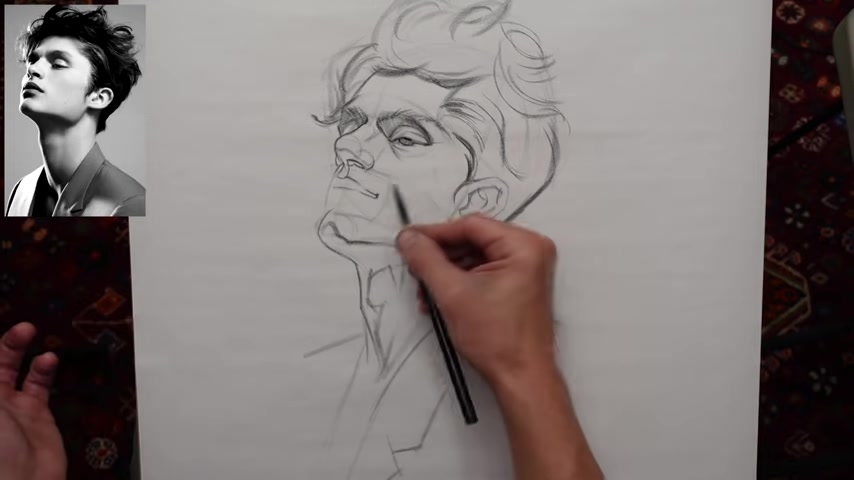
So it kind of feels more , more like it's attached to the face and then the other side and the other lip curves around corners out there and then the bottom lip and you see that wedge shape underneath the bottom lip , uh his chin is a little too big , too far out .
So we'll just crack that bring this in and then we still have to do the cheek .
So you see the cheek at the tip of the nose comes out and then curves in right here .
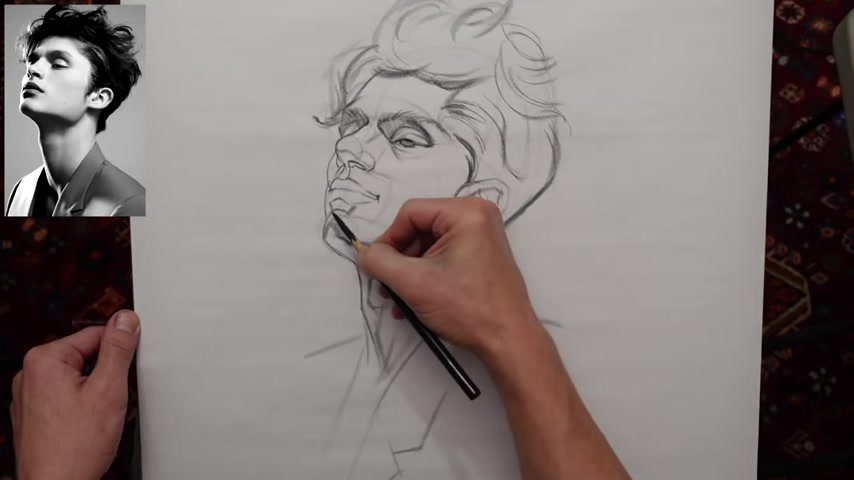
And then there's the outside of the muzzle line that comes out , it tucks in behind the chin .
Yes .
So we have the muzzle line right here , the cheek tucks in behind the muzzle line and then the muzzle line tucks in behind the chin line .
So you get these overlapping forms that help tell the viewer what's in front .
And then in doing so , gives it like a three dimensional uh feel and just soften up that edge a little bit .
I don't like that shape .
Let me change it .
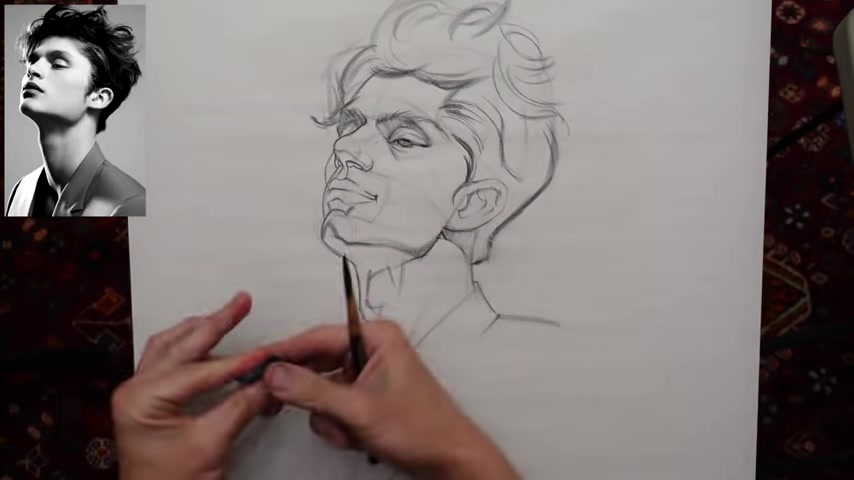
I wanna , I wanna bring a mid to , to indicate the structure of the nose right here , but I want it to connect to the shadow shape underneath the eye because if you have like too many mid to shapes , shadow shapes that aren't connected to anything , they're just sort of floating out there by themselves .
And it , it starts to create uh a muddy looking drawing are not muddy but dirty .
It just looks smudgy when you fix that , uh you can start taking those mid toes and shadow shapes and just connect them to other shapes around it .
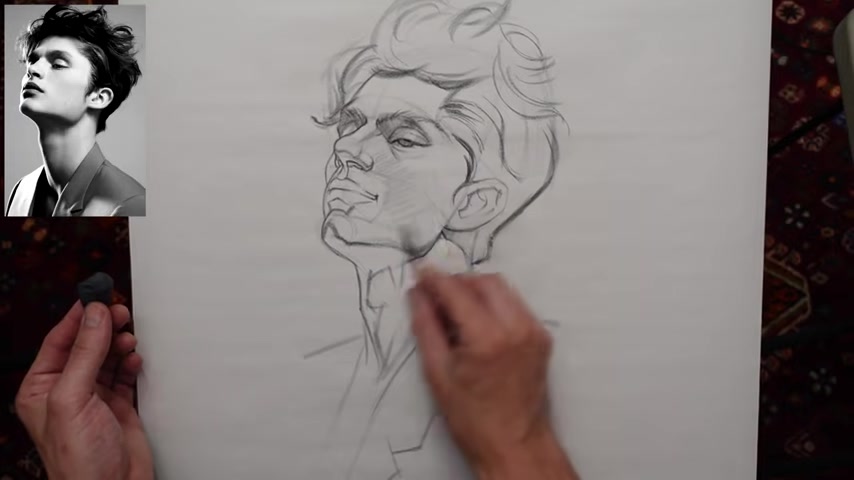
And that helps a lot to keep the uh drawing looking dirty are smudgy .
Yeah .
Mhm How's his ear ?
Let's see .
Placement is OK .
All right .
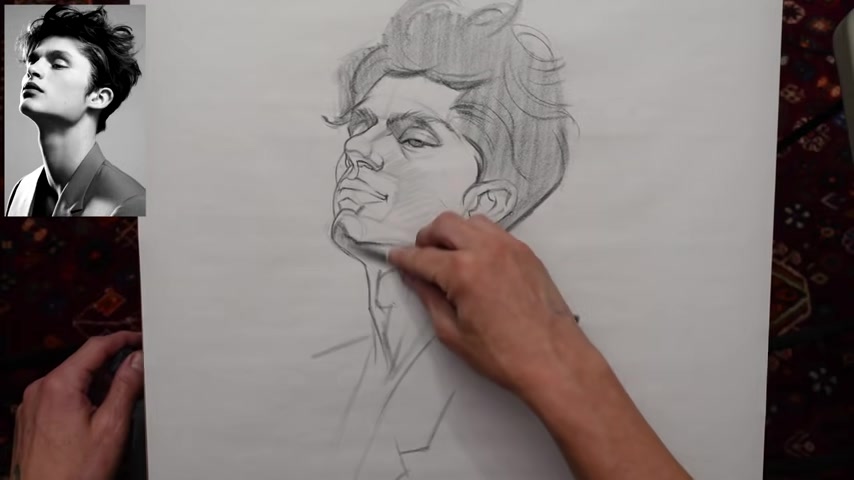
So let's go ahead and just throw in some tone real quick and I'm using the side of the pencil and pulling down .
I'm not pulling up .
I'm only putting tone down as I'm pulling down and then I'm rotating the pencil at the same time and that actually sharpens it up .
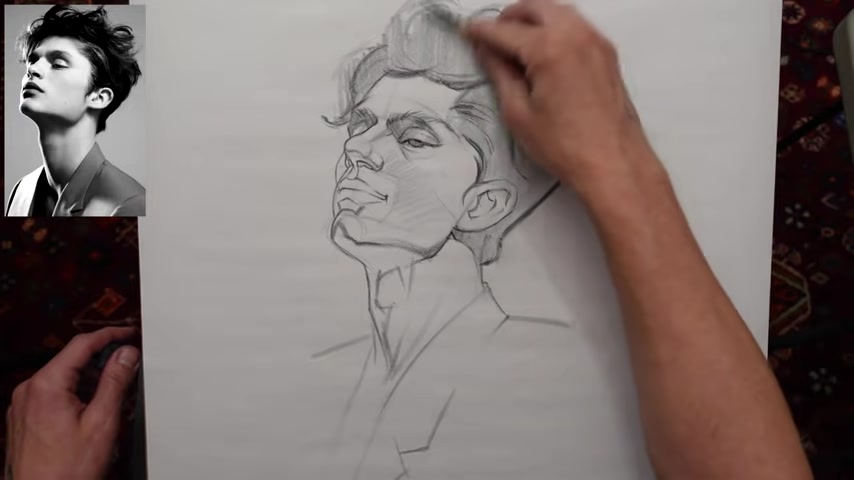
So I don't have to grab another pencil or , or tune it up .
You know , I can just keep drawing .
So if I rotate it , it's gonna be sharpening at the same time .
And that's what's really nice about this method .
4041.26 --> 4108.488
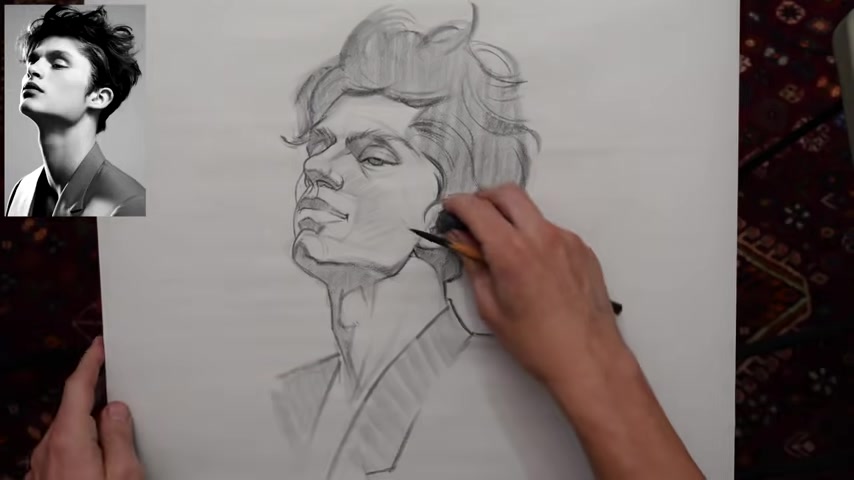
That was fun .
Get a little bit of a Zygomatic arch right there and then of course the plane change .
All right , thanks for watching guys .
Um Check out my Patreon page .
If you got a chance , I'm gonna start doing live streams as well .
And so now I have two tiers .
The first tier is eight bucks and then the second tier is 18 bucks and the second tier has got everything the first tier has , which is the um wake and draw forum , uh weekly videos that I don't post on uh on youtube .
And uh and also includes the uh the weekly live stream .
So look for that .
And uh I really appreciate you guys uh commenting and liking and sharing the videos that really helps a lot .
Um So awesome and I really appreciate it and I hope you guys uh draw along with me and let me know how it goes and uh I'll talk to you guys later .
Bye .
Are you looking for a way to reach a wider audience and get more views on your videos?
Our innovative video to text transcribing service can help you do just that.
We provide accurate transcriptions of your videos along with visual content that will help you attract new viewers and keep them engaged. Plus, our data analytics and ad campaign tools can help you monetize your content and maximize your revenue.
Let's partner up and take your video content to the next level!
Contact us today to learn more.