https://www.youtube.com/watch?v=1ocrGrhSY-w
Quick Pickles - The Easy Way to Pickle Any Vegetable - And Make Them Probiotic Rich
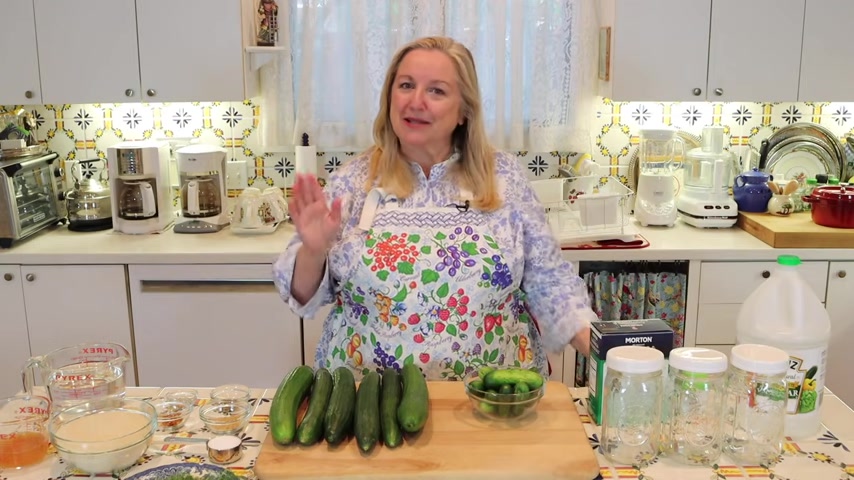
Today , I want to share with you how to make quick pickles .
This is the easy way to pickle any vegetable .
Plus , I want to share a little tip with you for how to make these quick pickles rich in probiotics similar to fermented vegetables , which take a lot longer .
Hi , sweet friends .
I'm Mary and welcome to Mary's Nest where I teach traditional cooking skills for making nutrient dense foods like bone broth , ferment , sourdough and more so if you enjoy learning about those things , consider subscribing to my channel and don't forget to click on the little notification bell below .
That will let you know every time I upload a new video , making quick pickles or pickling any vegetable couldn't be easier to do once you know the formula .
Now , today we're gonna make actual pickles .
We're gonna use cucumbers , but you can use any vegetable and just follow the formula for the brine .
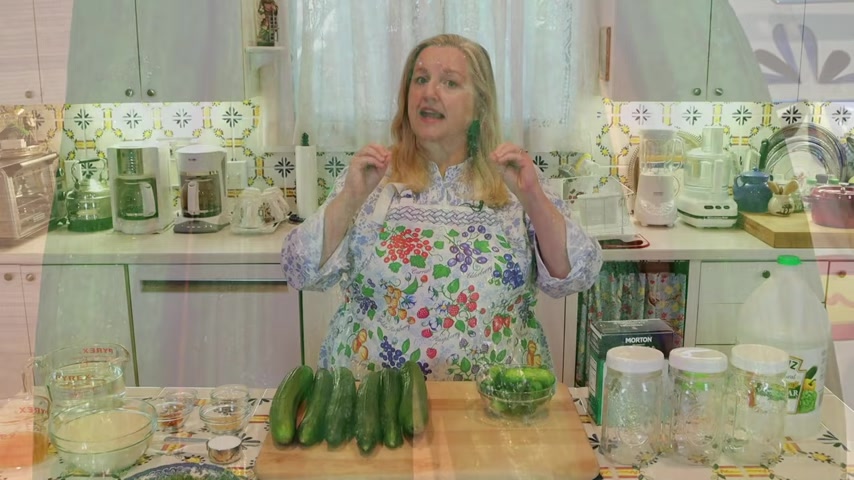
Now , to make these quick pickles , you're gonna want about £4 of cucumbers .
And what I've got here are English cucumbers and you want some type of cucumber that's very low in seeds .
You don't want a heavily seeded cucumber , Kirby cucumbers or also called pickling cucumbers are excellent for this process , but it's a little early in the season for them and this is all I could find at this point and they're also a little on the small side .
Uh , but I wanted to let you know about that .
So as you're maybe growing things in your garden or you're at your farmers' market , look for pickling cucumbers because they're gonna make your best pickled cucumber .
Now , before you start cutting up your vegetables , the first thing that you're gonna wanna do is get a bowl , a large bowl and a colander or a strainer .
And you want to just place your colander over your bowl and then just set that aside then to cut your vegetables .
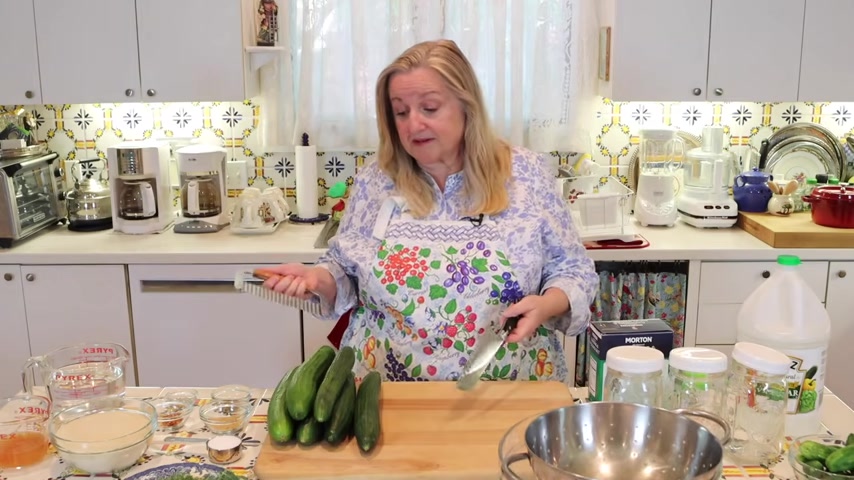
In the case of these uh cucumbers , you can use your a knife or if you've got one of these little fancy crinkle cutter uh devices you can use this too .
Now , what you're gonna wanna do when you slice up your vegetables is remove any blossom end and stem end and just set that aside .
And then in the case of these cucumbers , since we are making quick pickles and we want the vegetable .
In this case , the , the cucumber to be able to absorb the brine as quickly as possible .
We want them fairly thin and I'm slicing these about a quarter of an inch , which is perfect .
Now , if you're using a chunkier vegetable , maybe you're pickling some uh baby pearl onions or a cauliflower , maybe like a nice mix .
Don't worry , you're just going to chop it up best you can .
You're obviously not going to slice it thin like you would a cucumber and it's just gonna need a little more time .
Maybe be an extra hour or so for the brine to really penetrate the larger little cauliflower florets or other larger vegetables .
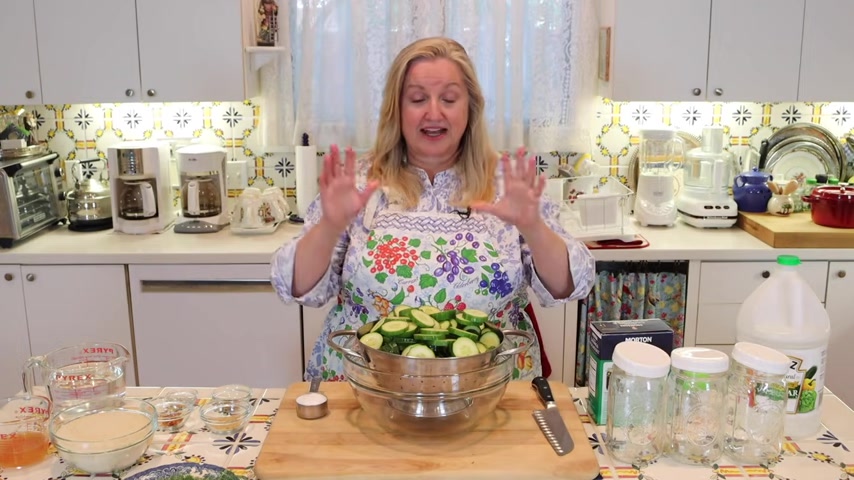
And as you cut up your cucumbers or other vegetables , just go ahead and start putting them right into your colander .
Now , once you get your veggies all cut up and into your colander , the next thing that you're gonna do is take a quarter cup of salt and Sprinkle it all over the top .
But it's not just any salt .
You want to use just salt , not commercially processed table salt that contains uh caking agent or anti caking agents or other chemicals you want just pure salt .
And what you can use is something like this .
This is uh canning and pickling salt .
This is perfect .
And when you look on the side and look at the ingredients , you're gonna see , it just says salt .
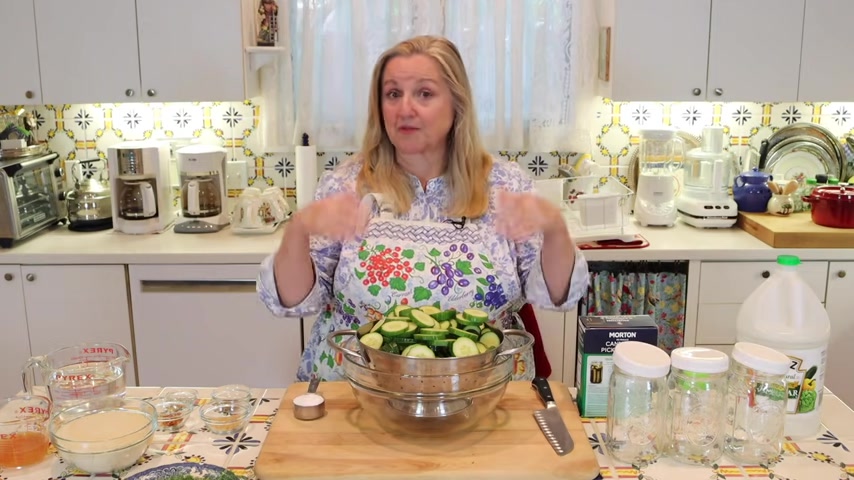
Uh you can also use any of your uh very naturally occurring salts like your sea salt or your Himalayan pink salt or your Redmond real salt .
But the only reason I'm not using one of those today is because we have to heat the liquid that we're going to eventually be pouring over our vegetables .
The brine that we're going to make is going to be boiled .
And so I prefer to reserve my better salts , the sea salt and so on and so forth for those sort of preparations like fermentation where I'm not heating them because they're very rich in minerals .
And once you heat them , it does start to degrade the minerals .
So , since this is just a plain salt with no additives and it's perfect for canning pickling , I'm gonna go ahead and use this .
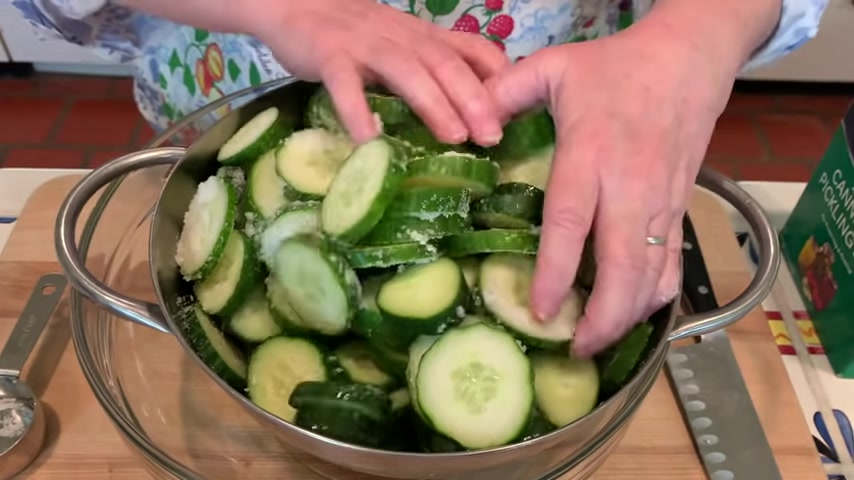
So all I'm gonna do is just Sprinkle this right across the top and then we'll give them a little toss and once you get that salt sprinkled over them , just give them a little tossed best you can in your colander .
You're gonna really see that the water of the cucumbers is really starting to be pulled out by the salt and now what we're gonna do and of course , oop , I gotta run away , uh , and do that with clean hands .
Uh The next thing we're gonna do is let these sit for one hour at room temperature or if you prefer , you can put them in your refrigerator , which does help with maintaining crispness and then you'll want to leave them in your refrigerator for three hours .
So we'll go ahead and let these sit for a bit and then we'll get ready to move on to the next step .
Well , while the salt is pulling some of the li but out of those cucumbers I wanna talk to you about the types of jars that we're going to use .
Now , I've got three wide mouth quart size canning jars .
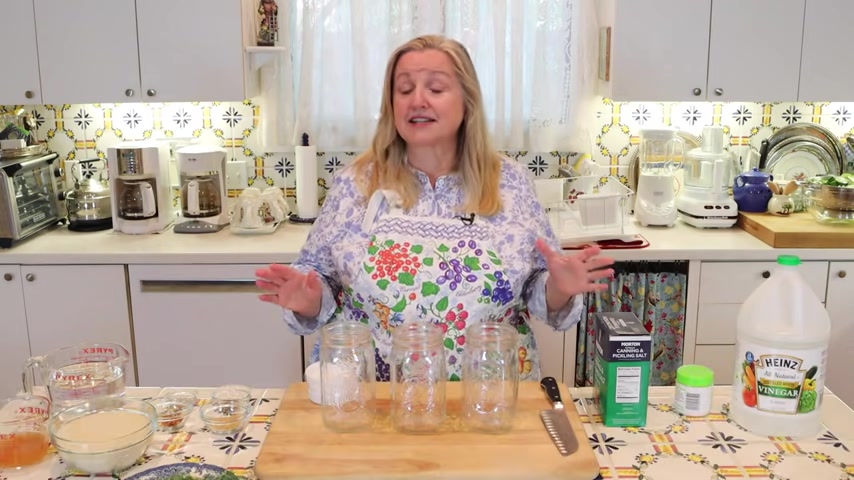
You could also use a six wide mouth pint size canning jars .
Now , if you don't have canning jars , don't worry , you can also use any type of recycled jar you have around the house .
However , those will need to be refrigerated .
You wouldn't be able to water bath , process them and then make them shelf stable for just going ahead and refrigerating these , which is what I'm gonna do today .
All you need are just the various lids that go with your canning jar or whatever other jar you're using .
If you want to go ahead and water bath can these , which you can , you're gonna wanna make sure that you have your canning lids and your canning rings and are a great way to learn about water bath canning .
We're just canning in general , water bath , canning is a great place to start before you move on to pressure canning .
And if you want to learn about water bath canning , I have some very basic tutorials which I'll be sure to link in the IC cards and in the description below .
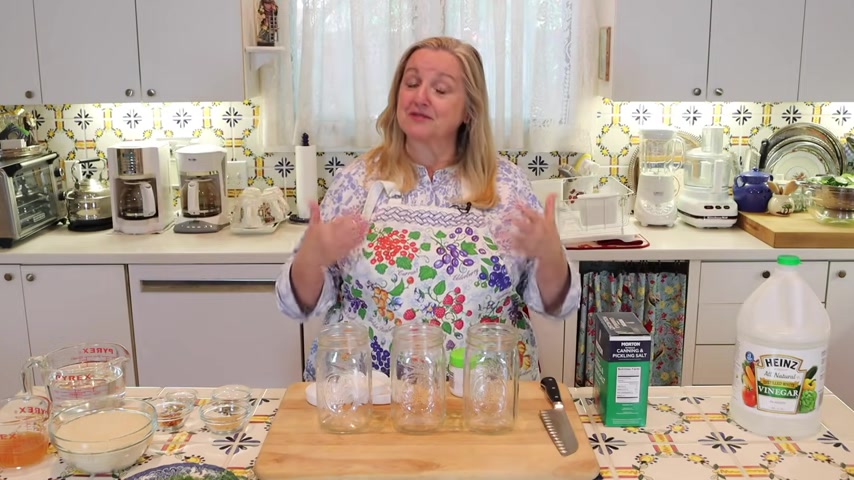
Now , as I said , we're just going to make these the quick and easy way and we're gonna go ahead and put them in the fridge and they'll be ready in a few hours to enjoy .
But if you decide that you do want to make them shelf stable and water bath can them an additional ingredient that you're gonna need , which we'll talk about all of the ingredients we're gonna use today .
But an additional ingredient that you'll need if you do decide to water bath can is uh calcium chloride and sometimes it's sold under the name .
This is from Bo .
It's called Pickle Crisp grass and this can help uh keep your pickles crisp .
I have another trick for how to do it when we just refrigerate them .
But this is what's recommended .
Uh If you do water bath can them .
It is optional .
So don't worry if you don't have it on hand .
Uh But it is recommended to keep your pickles nice and crisp .
And one other ingredient that I want to talk about whether you're going to just do the as a quick refrigerator pickle or you're gonna do them as a quick pickle that you then water bath can .
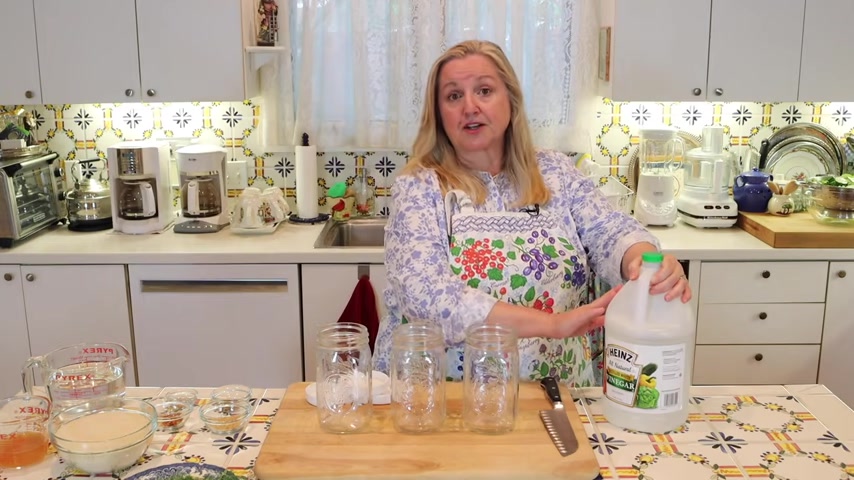
All you're gonna need is the white vinegar .
That's the basic white vinegar .
The one that has the 5% acidity .
And you can usually find this at most grocery stores .
And I wanted to mention you can usually find the canning and pickling salt at most grocery stores as well .
Uh But in the case of the white vinegar , uh don't feel that you need to look for that 9% pickling vinegar , the 5% pickling vinegar will work great .
And it's even called for in , uh , many , uh , pickling recipes that are water bath canned .
So this is gonna work just fine no matter what route you take .
Well , these have been sitting out for about an hour and now we're ready to put everything into our jars .
Now , the first thing that you want to do is take into consideration whether you're going to be water bath canning these , or whether you're just gonna put these in your refrigerator .
If you're going to refrigerate them , something that I like to do .
And this is something I've shared with you .
Uh with those of you who have been with me for a while .
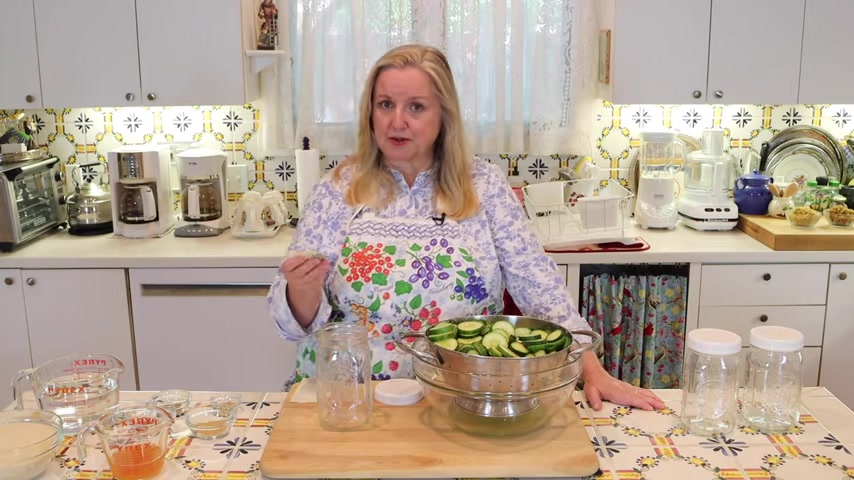
Uh When I ferment vegetables , I like to add in a tea bag .
It's just plain black tea .
You can also use a regular , regular or decaf , it doesn't matter .
You can also use a green tea bag .
If you use a green tea bag , you may need two .
But the bottom line is the reason you're doing this is tea is very high in tannins and tannins .
Uh Once they're in the brine , keep your vegetables crisp .
Now , there are many things that contain tannins and one of the most popular things to use when you're fermenting are grape leaves .
And if you have access to grape leaves , that's great .
And I actually do because where I live here in central Texas , in the Texas hill country , there are a lot of wineries .
However , pegs are just so darn easy to come by and they're very inexpensive and I highly recommend using them .
Now , if you're water bath canning , you don't want to do this .
What you're gonna use instead is the pickle crisp or nothing .
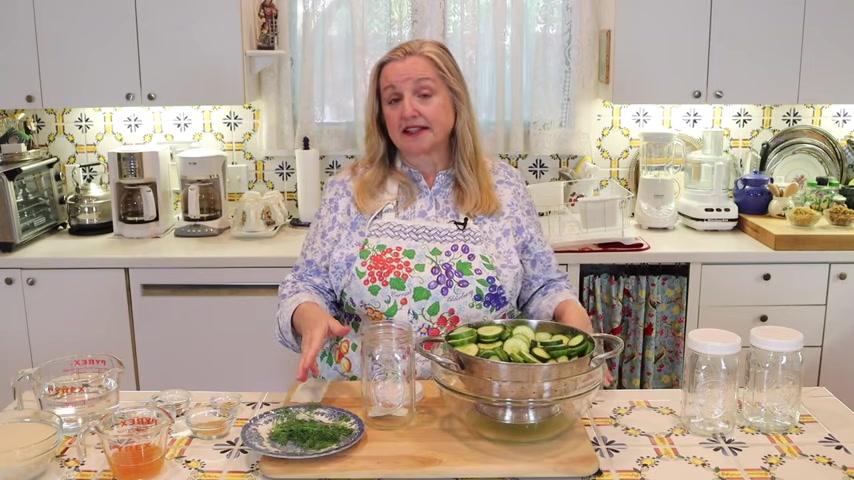
So the first thing that I'm gonna do is drop this down into my jar .
Now , I really like to add dill to my quick pickles when I'm pickling cucumbers , but this is completely optional .
Now with clean hands , I'm just gonna start layering my my cucumber slices down into my jar and you're gonna wanna make sure that it's nice and full because when we add the brine , uh they are gonna start to float up .
So you just want to make sure that you put in a good amount of cucumbers and then periodically , if you are using the dill or any herb that you like , you can put in a sprig of that , I'm just gonna go ahead and put in another little sprier dill and periodically just gently , very gently use your hand to push down your cucumber slices just to make sure that everything is fitting nicely and that you're leaving as little as few air pockets as possible .
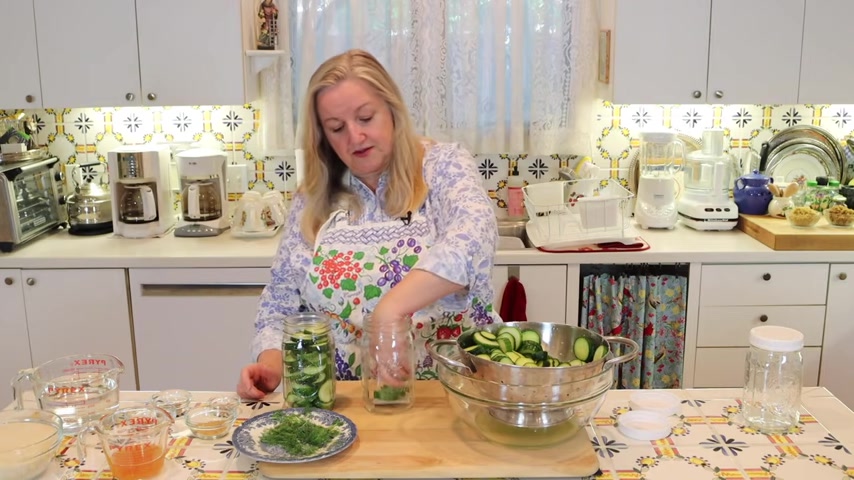
And something I want to mention is you may have noticed I did not rinse these cucumbers , do not rinse them .
You want to keep whatever salt has remained on them , on them .
And then we're also going to use the liquid that's down in the bottom of that bowl and I'll show you what role that plays in a minute .
But right now , just continue to load your cucumbers into your jars .
And again , don't rinse them .
OK ?
I'm gonna go ahead and put my next tea bag into my second jar and I just want to mention that the salt that we've used to put on our cucumbers here and drain out some of the liquid is going to keep these crisp and flavorful .
So that's the role that the salt plays .
It helps in the crispness of the uh the finished product of the quick pickle .
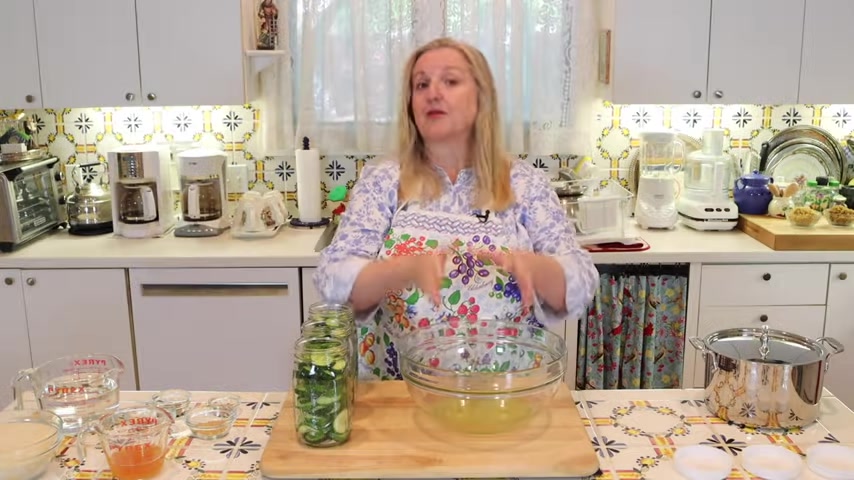
Well , I've packed three jars and I just put an extra little bit of dill on top of each .
Now , this liquid that drained out from the cucumbers when we left them to sit with the salt on them is very flavorful that's filled with flavor .
And that is going to go into part of the process of making our brine .
And now we'll go over all the ingredients that we need for that .
You wanna get a medium sized pot like this , uh a little sauce pan or a little uh stock pot , whatever you've got .
And then you wanna just go ahead and pour in all that cucumber , salty water .
Now , the next ingredient that you're gonna need is the white vinegar .
And as I said earlier , the 5% acidity is fine .
And if you're going to refrigerate these and you wanted to use that little trick that I'm gonna share with you to give them some probiotic boost .
Then you're just gonna use 3.5 cups of white vinegar .
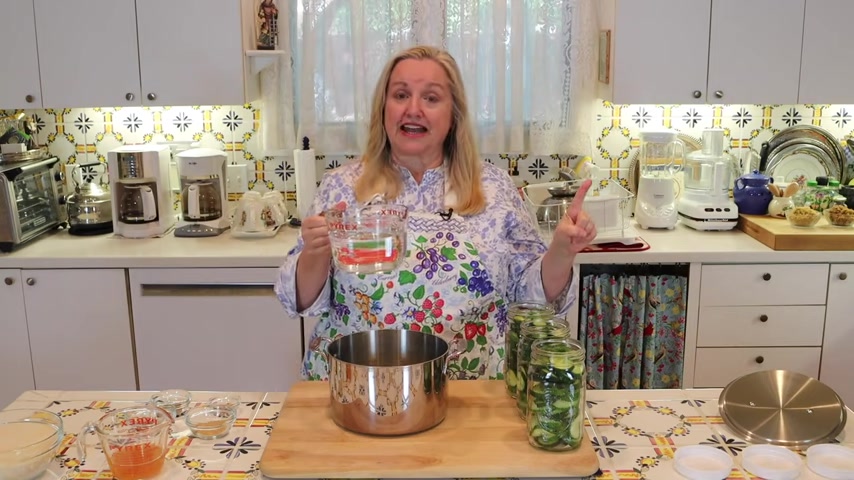
If on the other hand , you're going to , uh , be water bath canning these , then you're gonna need four cups of white vinegar .
Now , you can also use apple cider vinegar if you wish .
Um , but since we are heating this , you'll want to try to just a plain apple cider vinegar , you don't necessarily need one that's raw with the mother because that those good bacteria , the mother uh would simply be killed off during the heating process .
So , if you just have some plain apple cider vinegar , that's fine too .
Um And , but if you have a lot of uh raw apple cider vinegar and you want to use it for this process , you certainly can if you make it homemade like we've done together .
Uh And I'll be sure to put a link to that if that's something that interests you by all means and you have a lot of it , by all means , you can use that in this recipe .
Now , what I've got here is a half a cup of apple cider vinegar and we're just , and that's raw with the mother .
And we're gonna set that aside for now because we're not going to cook that .
But once we cook our brine , add it to our vegetables , allow them to cool .
That's when we'll add in , we'll top these off with the raw apple cider vinegar , which will help , boost the good bacteria will help boost their , their probiotic nature .
So that's sort of a little uh a little shortcut of , of making your quick pickles rich in good bacteria in , in good probiotics that are good for our gut .
As opposed to going through the longer fermentation process .
Now , is it as rich in probiotics as when you naturally ferment ?
Probably not , but maybe over time as the good bacteria in the apple cider vinegar has a chance to mature in your refrigerator .
Hopefully , the probiotics are continuing to increase .
Now , the selection of spices that you decide to use in your quick pickles will really depend on uh what flavoring you like and what you think will be appropriate with whatever vegetable you're pickling .
So all of these in essence are optional .
You could just go with the traditional brine and any herbs , maybe you've added or not any herbs and you just go ahead and add in your vinegar uh based brine and put them in your fridge and that's it .
But if you want to add different flavors , this is where you're going to do that .
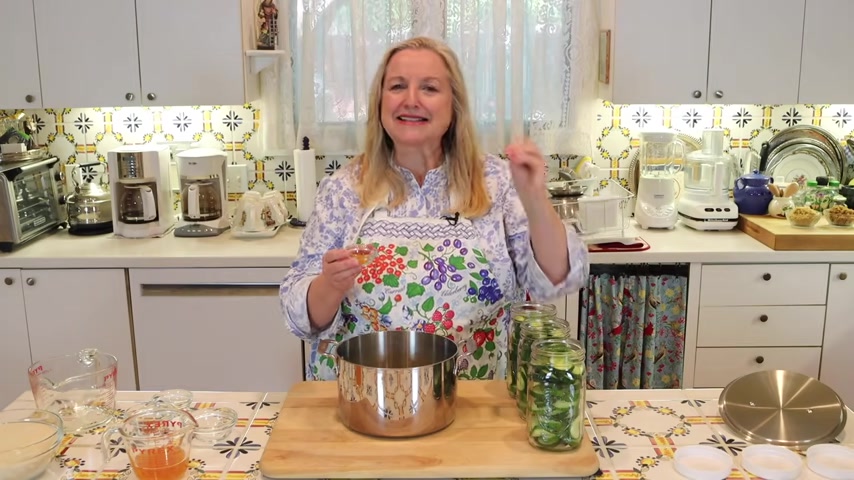
Now , to my brine mixture , what I like to do is add two teaspoons of yellow mustard seeds .
I find that works really nice with pickles .
And then over here , I've just got a half a teaspoon of celery seed and again , totally up to you what you want to use .
And then here I've got a teaspoon of turmeric .
Now again , this is all optional , uh , with , uh , sweet pickles .
If you've ever noticed at the grocery store , they have a sort of a slight , um , orange tinge .
It's very , it's also , it's almost very , um , unnoticeable , uh , but generally to sweet pickles , a little turmeric is added and what's nice is this doesn't so much affect the flavor , but it is an anti-inflammatory .
So it's kind of nice to have it have in our brine and it does give the uh pickles that very , the sweet pickles , that very traditional appearance .
Next for a little heat , I'm gonna add in a half a teaspoon of red pepper flakes and again , totally optional if you want , uh , you know , definitely you can leave them out if you want to put in some hot peppers into whatever vegetables that you're pickling , you can just put them , split them maybe and put them in whole , you could slice them .
What do you wanna do ?
This is very flexible .
Now , if you were just making these plain dill pickle chips unsweetened , you would be ready to cook your brine right now .
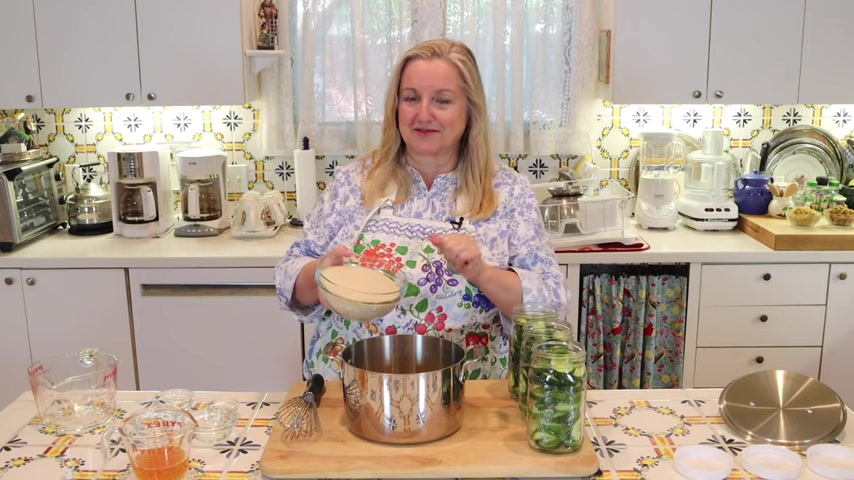
However , since we're making these sweet , you need three cups of white sugar and this is just an organic unbleached white sugar , but it is white sugar and you use whatever you have on hand and this is , I know it seems like a lot of sugar and you're gonna need the three cups if you're doing three quarts or six pints .
And so we're gonna go ahead and just pour this right in .
Now , these three cups of sugar are going to give you the flavor similar to the sweet pickle chips at the grocery store .
By all means , you can decrease the amount of sugar to whatever amount you want .
And as I said , if you wanted to just do plain dill pickles , you don't need any sugar at all .
However , I recommend that if you decide just to keep these as plain dill pickles , putting in about two tablespoons of white sugar into your brine does help with the overall flavor .
It makes a real nice compliment with the salt , but again , it's totally optional and not required .
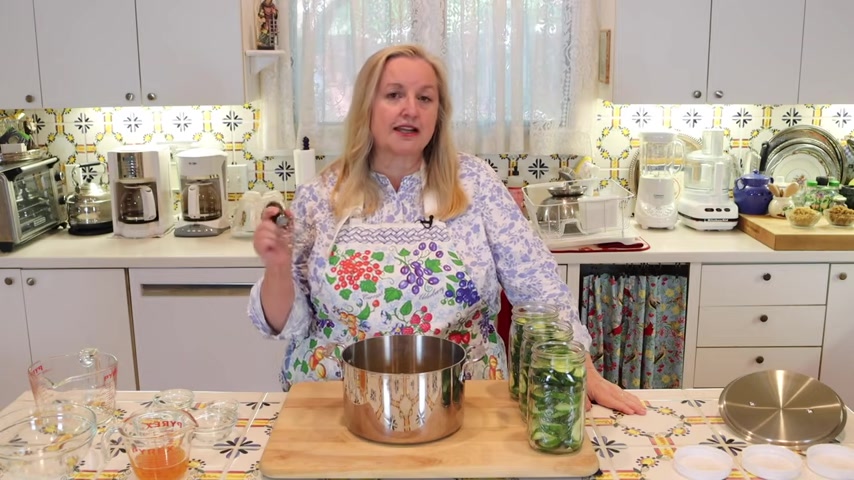
So once we've got our sugar in here , we're just gonna give this a good whisk to help incorporate everything , then we're gonna take this over to the stove and we're going to bring this to a boil and we're gonna cook this until the sugar is completely dissolved .
Now , I just want to mention if you were leaving these as dill pickles with no sugar and whether you were doing the quick pickle refrigerator version or the quick pickle water canned version , you would be adding additional water to your brine to make it in place of the sugar so that you would have the same amount of brine once you warmed it .
But don't worry about writing any of that down .
And I'll explain all of this in the accompanying recipe which will be over on my website Mary's net dot com .
And I'll be sure to put a link , direct link that'll take you right to the principal recipe and the accompanying blog post .
And that will be in the description below .
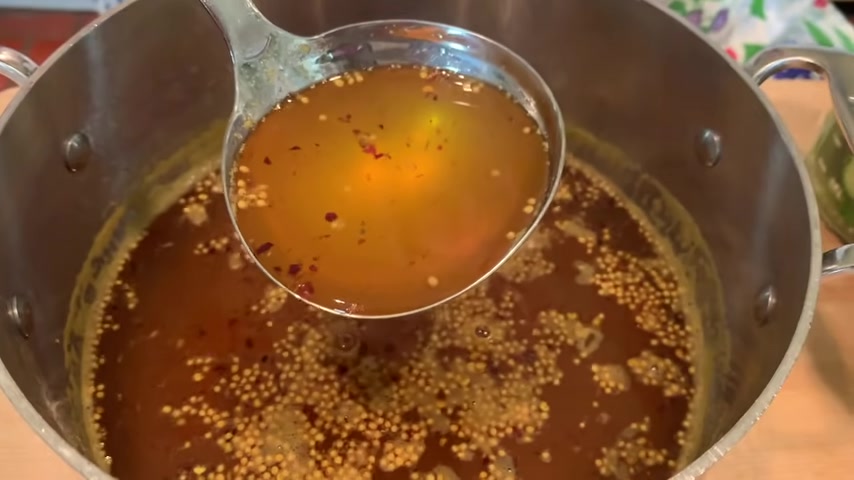
I just want to show you the glorious color of this brine .
I'll overlay a picture so you can see it .
But that turmeric really gives it the color that resembles very much your store bought .
Uh Sweet pickles .
So that's nice .
Already .
Now we'll just start uh ladling this in and then we'll move on to our next step .
Then you just want to make sure let me move this out of the way so you can see a little better .
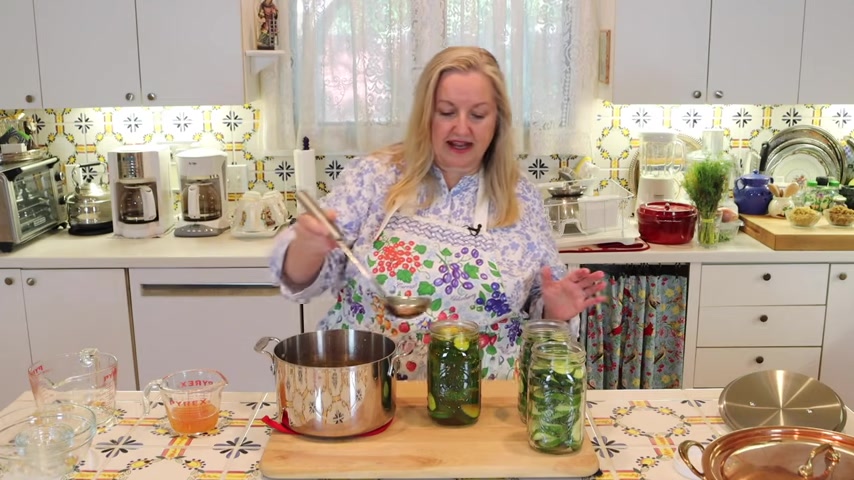
What I'm saying , you just want to make sure that all your pickles are submerged best you can , sometimes the top ones will float a little , but you want to make sure that pretty much everything is submerged under your brine and you want to leave about a half inch head space .
That's exceptionally important .
If you're going to water bath , can these ?
Now this jar I filled completely with the brine as if you were going to be moving to the water bath , canning stage .
However , now I wanna show you how we're gonna go and how we're gonna go ahead and top these off the next batch with the apple cider vinegar that's going to help add some probiotic benefit to this .
Now , how we incorporate this is if I was doing all three jars , I divide this half cup up between the three jars .
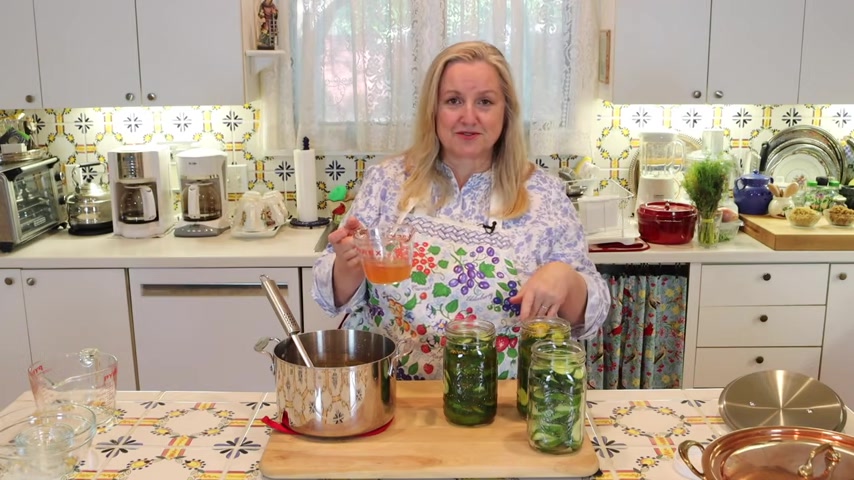
But since I wanted to show you how this one would be filled , I'm gonna divide this half cup between the two , the two jars .
And it , it really doesn't matter .
Uh if you want to use a little more or less apple cider vinegar , raw apple cider vinegar , it's totally up to you .
It's really a matter of taste because you have to remember this brine is sweetened .
So if you are doing a sweet pickle , you will want uh to make sure you have a good amount of brine to really give it that nice sweet flavor .
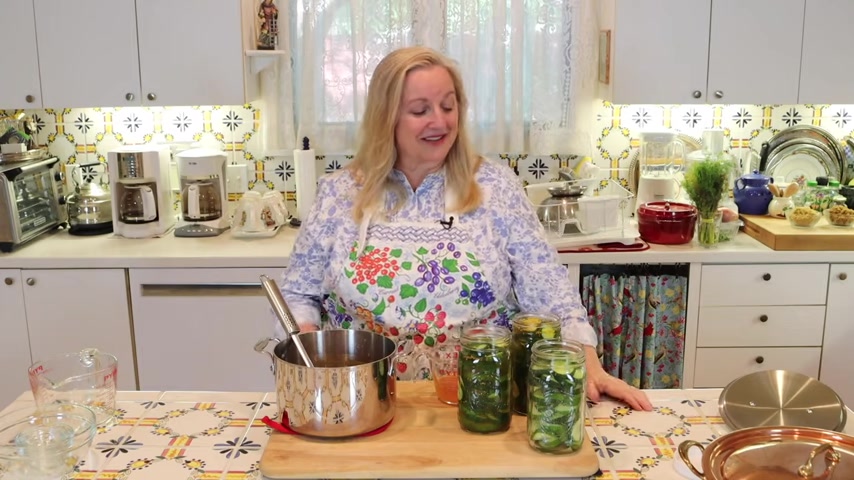
But now what we're gonna do is set this aside and we've got to let this cool completely .
Now , once it's cooled completely , that's when we go ahead and add in and top it off with some of our apple cider vinegar versus if you were uh water bath canning this , you would be going right from the hot stage .
You'd be putting your canning lid on uh finger tight canning ring and then into your water bath canner .
And that I'll share a video where I show how to do all of that .
But uh that's the difference .
Well , these have cooled completely and now what I'm gonna do is divide this Apple Cider vinegar between these two jars since I filled this one right to the top or at least with a half inch headspace .
So you could see what that would look like if you were ready to water bath can .
So , what I'm gonna do is just put a quarter of a cup in here and the remaining quarter of the cup in this one .
And that's perfect .
They're both about a half inch head space .
My brine is cool too .
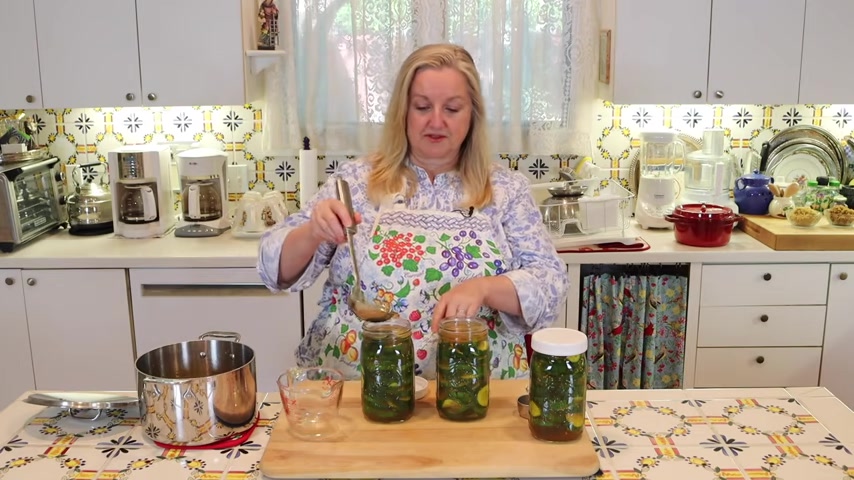
And so if you need any extra brine , I'm just gonna put a little more brine in this one just to get with that half inch head space to make sure that the pickles or the cucumbers soon to be quick pickles are completely covered and any brine , if you have a little extra brine left over and this is cooled completely , so it was fine to add , uh just save that for the next batch of quick pickles that you want to do .
You may have a little bit left over , you know , it varies because whenever you're making something like a pickled vegetable , uh you don't necessarily know exactly how much vegetable you're gonna have in each jar and how much air space is .
So there are some variations , but I'll take a picture and overlay it so that you can see how this looks topped off with all of the pickles submerged under the brine .
Now , even though these haven't cooled down to the refrigerator temperature , I just want to take a taste so I can tell you how they are .
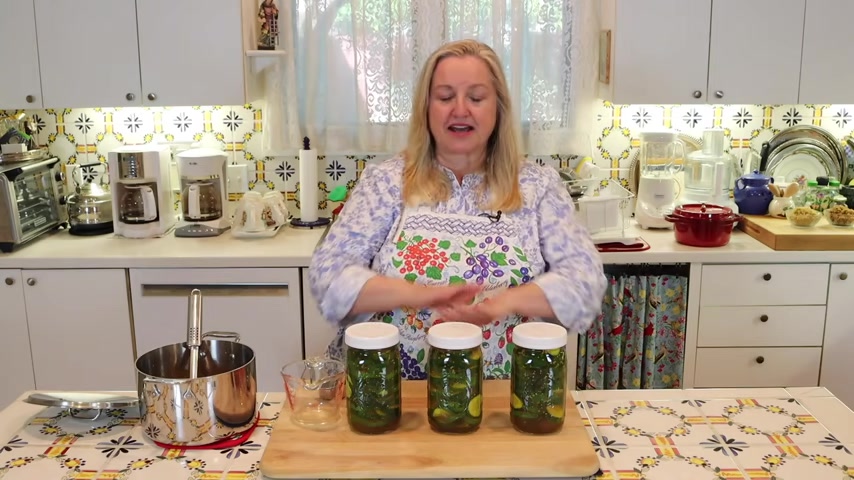
Mm .
They're delicious .
Perfect and nice and crisp .
Well , I think you're gonna really enjoy these .
Now , excuse me ?
Now , you just want to put them in your refrigerator , let them cool down and they'll be ready to enjoy .
Now , they will stay fresh in your refrigerator for about 5 to 6 months .
But trust me , these are so delicious .
They're gonna go a lot faster than that .
Now that you know how to make quick pickles , if you would like to learn how to ferment vegetables through natural fermentation , be sure to click on this video over here where I show you how to ferment all kinds of things .
I show you how to make sauerkraut and salsa and the Italian vegetable mix , which is out of this world .
And I'll see you over there in my Texas Hill country kitchen .
Love and God bless .
Are you looking for a way to reach a wider audience and get more views on your videos?
Our innovative video to text transcribing service can help you do just that.
We provide accurate transcriptions of your videos along with visual content that will help you attract new viewers and keep them engaged. Plus, our data analytics and ad campaign tools can help you monetize your content and maximize your revenue.
Let's partner up and take your video content to the next level!
Contact us today to learn more.