https://www.youtube.com/watch?v=Y-b72Jtxe-k
How to make PICKLE RICK out of Polymer Clay _ Rick and Morty Sculpture

I hope you give this recipe a try .
I hope you like it .
And thanks for watching .
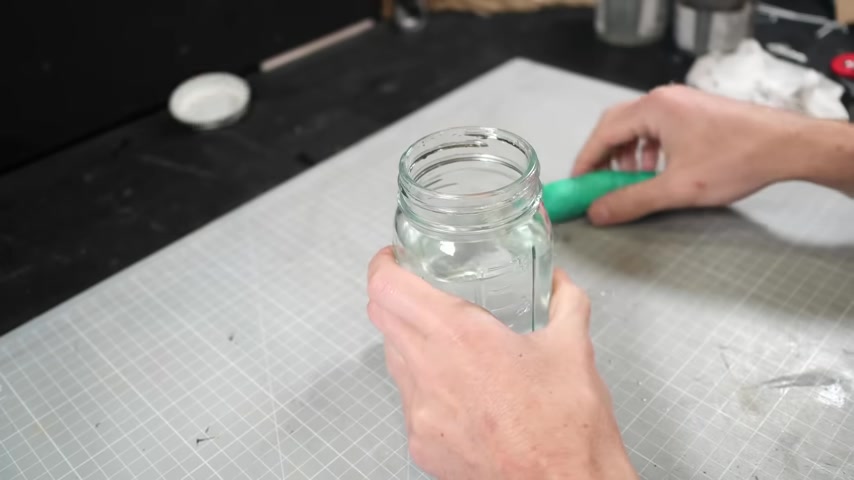
A lot of beginners will make the mistake of trying to sculpt a pickle from the get go .
But that's almost impossible .
So , what I like to do is sculpt a smaller cucumber first before leaving it in brine for several days until you've got a nice authentic clay pickle .
Once it's been removed from the brine , I'll dry my pickle off and get to work on making a face .
I'll start by poking some massive holes for the eye sockets before cutting out a big happy smile .
Now , if I were to stop here , I'd be finished sculpting a limbless sabo tender .
However , for our purposes , I'm gonna keep going by adding a few choice pickle warts across the body and then filling in the mouth with some black clay with our pickles gaping mom blackened out .
I can add in all his little white teeth .
Now , for added authenticity , I'm gonna use my smallest boal stylist to add those tiny little grooves in the top of the teeth .
After all , I can think of nothing more embarrassing than someone looking at my anthropomorphic pickle wearing a bodysuit of rat parts and said , hey , man , something seems wrong about those teeth .

His tongue is just a red blob of clay flattened and then grooved and then jammed into the back of his mouth .
And a couple oversized white balls will function as his eyeballs and a couple of teeny tiny black dots will be the pupils , but without the extent of our pickle is done and we can get started making the horrifying Frankenstein's monster that is his limbs .
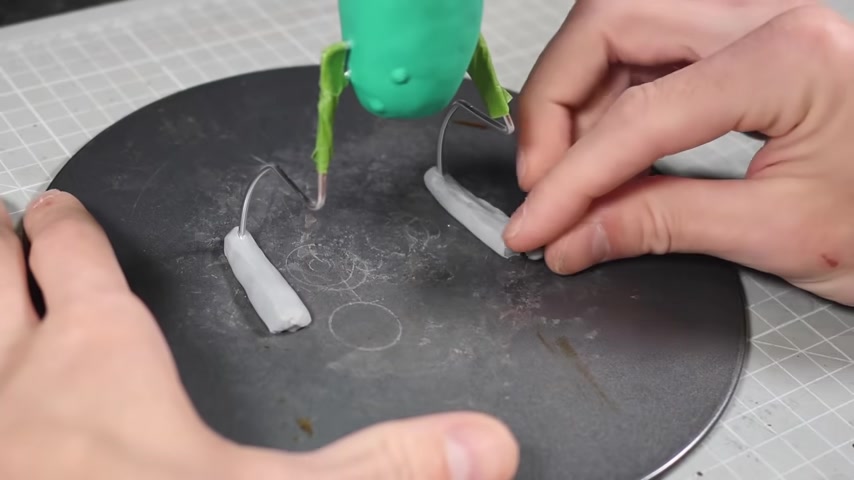
I'll start with the legs first so that he's free standing and I can work more comfortably on the rest of his body .
Now to ensure that his legs are equal in proportions , at least to one another .
I'll start by bending two pieces of wire at the same time .
Given the nature of what I'm making , I'm not overly concerned about the actual shape of the body parts .
I just want to make sure that they're equal to one another to help support the legs and make sure that they don't rotate in their pin holes .
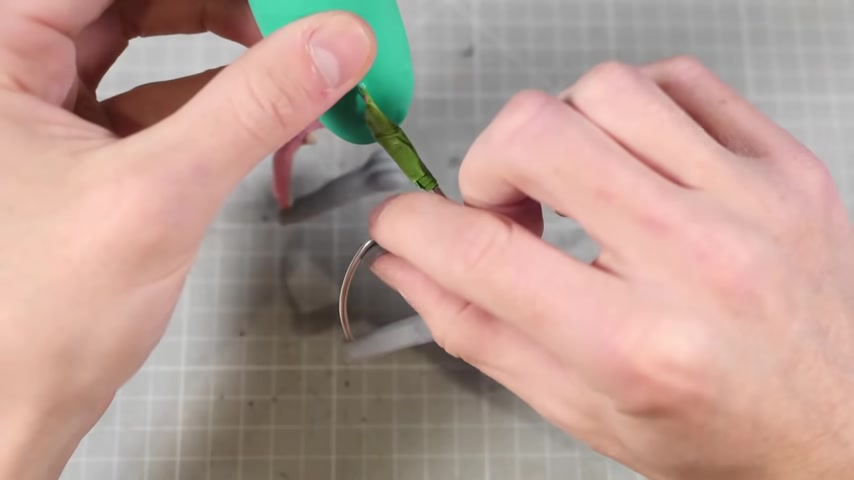
I'll brace them with a couple of smaller support wires that can be taped to the main leg and once the armature is in place , I can start adding the clay .
Basic gray is gonna work well for the feet here .
So a couple of wormy noodles will get us started on the right foot .
Then some small balls squeezed onto the front of the feet and blended in will be his toast and that's kind of the feet finished .
There's not a whole lot of detail to them .
They're just long noodles with balls on the ending and a little bit of ice Proble alcohol , a brush over the top will help smooth the fingerprints away and leave some small brush strokes that'll serve as a little bit of that fine rat foot hair texture .
The rest of the legs are where things get really spicy .
They're a mix of bone and meaty furry chunks held together by bits of tendon for the bone sections .
I've mixed the smallest sliver of yellow and gray into my white clay to give a nice barely off white bone color .
And then the muscle and tendon is just a red and white mix to give a muted pink color .
This just gets squished into place trying to keep a mostly anatomically correct layout for how I think a rat leg looks .
It's been a few hot years since I dissected a rat in grade 12 biology .
So you'll have to give me a little leeway in terms of my anatomical precision .
Finally , I've left a few grooves in the muscle so that I can lay the last bits of bone into place before using my ball stylus to texture some striations into all of the muscle .
Pickle .
Rick's right leg is a bit more of a mess and includes a couple of pieces of different materials .
The first part under the knee is a flat piece of what I assume is metal .
And then the second piece is a sort of wooden set of sticks that gets attached to the leg and then stuck into the body .
I thought about making this out of toothpicks instead of clay .
Uh But then I then I didn't , I guess cool story has .
So with the legs finished .
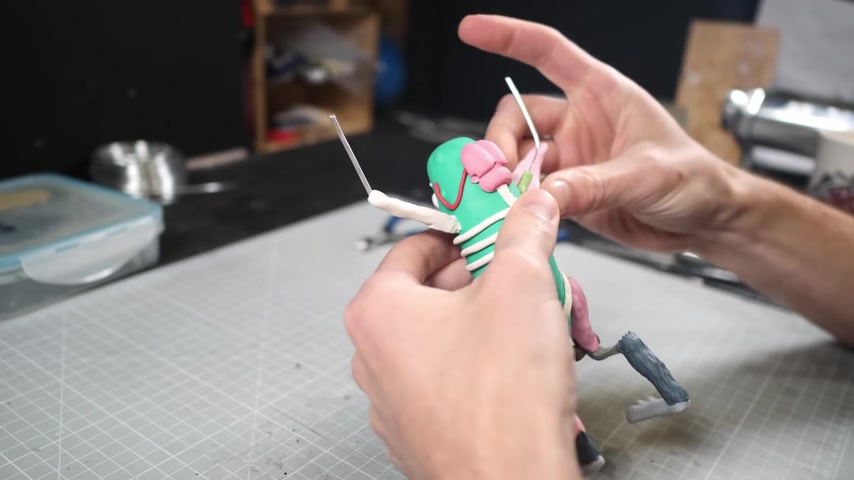
I can start adding the pelvis and spine and ribs and et cetera .
Now , you might notice that there's fur adorning some of the muscle and I considered showing how I did that .
But given that I can't find the footage anywhere , I'm going to have to assume that I never actually hit record .
Just another example of my unwavering professionalism .

So don't forget to subscribe for more great content that I forgot to record a nice long wormy de up the pickle's dorsal section will function as his spine and I'll carve some grooves into it to separate it into vertebrae .
The ribs will be bones of clay , rolled into smaller wormy deli and looped around the body of the pickle until they attach to the spine .
So in summation to make an external bone carpus for a pickle , take varying lengths of wormy deli and then smoosh them into place until it looks vaguely correct .
Of course , to operate this horrifying body .
Our pickle needs a central nervous system in the form of a rat brain .
Now , I am aware that this brain is uncomfortably phallic , but I assure you that this is a pretty faithful rendition of what a rat brain looks like .
So blame nature .
Not me .
After I've given Rick a a temporal lobectomy , I'll add another little wormy dely to connect the rat brain to the pickle brain .
I think that might be the weirdest sentence I've ever said .
However , I'm on to the final stages of this pickle adventure , which will be adding the arms .
So I'll do the exact same thing I did for the legs and add some small braces to the larger wire before adding the clay base over top .
Most of the process is the exact same except for a few bits of stringier bits of tendon connecting the left arm .
And I actually managed to record the fur sculpting process for his right shoulder .
I also added a vein to what I think might be a rat liver functioning as his left pouldron to connect the arms to the spine .
I've added some nice big muscle red lettis Dorsa wings which will get the same ball stylus striation as the other muscly bits .
Then the final stage for the Gurkin Richard will be adding his hands .
The left hand is made out of pink clay is mostly a de gloved hand .
While the right hand retains that lovely fur covering with the darker fur blending into the muscly bony forearm .
I have made it a tiny bit larger to account for the fact that it's covered in fur .
I'm just kidding .
It was entirely unintentional .
I'm just really panic keeping the same scale .
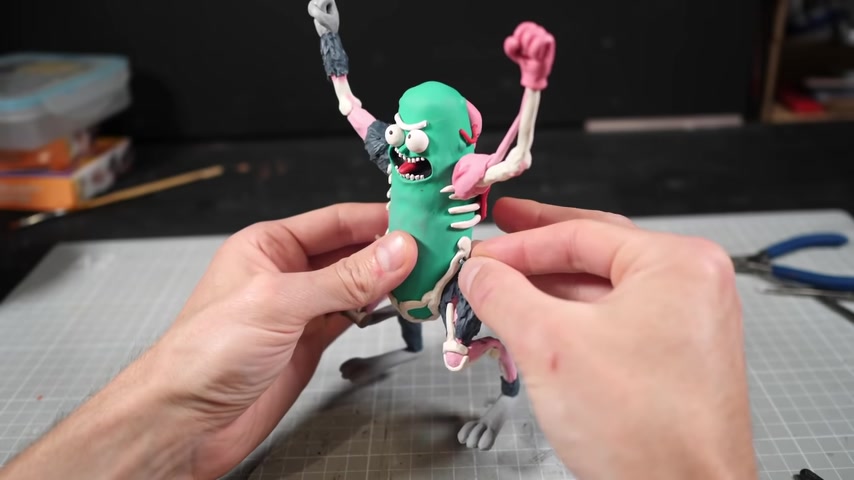
Now knowing how often I drop and bump my sculptures , I thought it would be best to wait until the end to add that tiny screw that holds pickle Rick's hips in place good with the sculpting finished .
I can get started painting in all the little details .
Now because of the colored clay , there isn't really that much I need or want to add .
However , I will paint all the exposed muscle with a red wash to add some shading to the grooves and recesses .
Unfortunately , I was too quick in the removal of my cucumber from the brine and I never developed that lovely pickle green that I was after .
So I am going to repaint the pickle with a darker tastier pickle , appropriate green .
Then all the fur will get a light dry brush of gray to make the ridges pop and I'll go over all the pink muscle and organs with a glossy varnish to encourage a nice healthy shine .
Then I'm gonna stare at the pickle for a while before deciding that yes , pickles are generally shiny as well .
So I'll coat the entire body in a gloss varnish too .
Then the only thing we have to do is add the little ketchup splatters that adorn our Gurkin hero .
And with that pickle Rick is finally finished .
However , this doesn't really feel like enough to me .
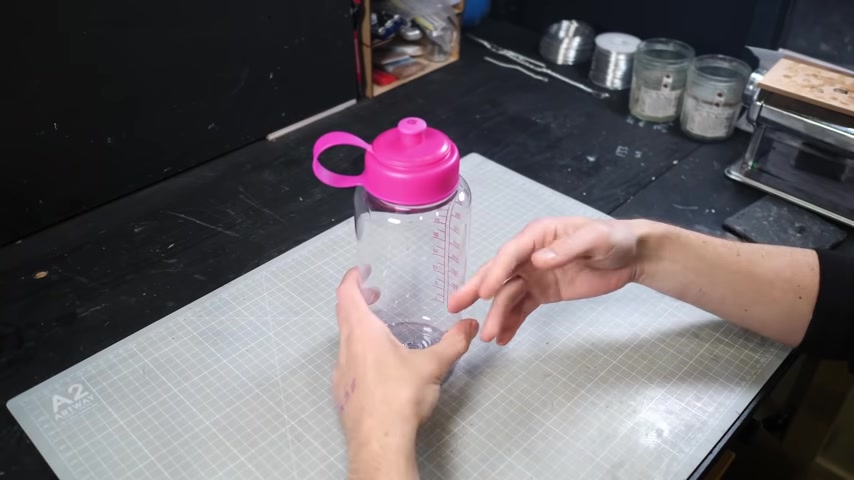
So I'm also gonna make Rick's beer bottle birthing pod for the sake of authenticity .
I wanted to make the pot out of a real beer bottle .
But for scale , I would have needed to use something like a big bottle of Schlitz and even I don't hate myself enough to have those on hand .
So instead I'm gonna be using one of these cheap and cheerful N jean bottles that I found conveniently sitting on a shelf at my local pound land .
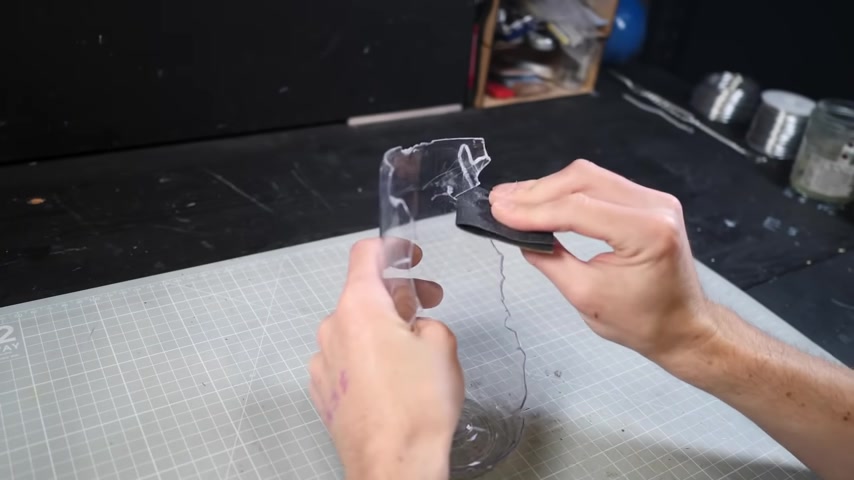
All I need to do is chop top off using a fancy saw .
Then I can use a smaller saw to cut the rest of it out .
Or rather I can try a saw and fail than attempt to get with the knife before turning to my tried and true wire cutters .
Fortunately , these left me with a pretty gnarly looking broken glass edge .
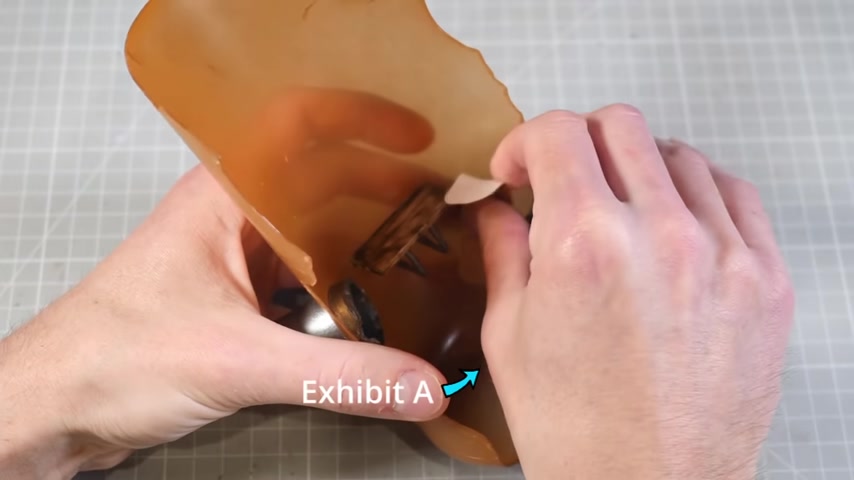
So once I've done the necessary protective equipment , it's glass smash in time .
Now , while it's not glass , it's still pretty sharp .
And the idea of bleeding out on my studio floor as a result of making a pickle Rick Diorama for the love of internet , strangers doesn't really appeal to me .
So I'm gonna sand all the sharp edges until they pass the thumb safety test .
Of course , while the shape looks good .
Now , I need to give it that patented beer bottle , brown coloring to do that .
I'll turn to the airbrush .
I think you could probably get away with spray painting or even using a paintbrush .
But I wanted to keep a tiny bit of translucence and the airbrush gives me a little bit more control .
I've drilled a couple of holes into the side of the bottle and I'll use this cardboard tube to make some tubes .
I guess these get friction fitted into the holes and then I can paint them with a nice shiny gun metal gray to make the little seat in the back .
I'll chop some popsicle sticks into a couple of lengths to act as the seat and then I'll make some tiny metal pipes on the bottom out of armature wire and heat shrink tubes .
I've used these in a lot of projects in the past and they work wonders for adding a little bit of Laron dimension to tubing without having to faff about with ties and clays .
This will get painted in that same gun metal gray and then glued on to the back side of the bottle .
I'll also paint it with a little bit of brown wash to make it a tiny bit grimier .
Finally , given how often I cut my fingers and hands .
I've always got band aids or plasters in easy reach .
One of the smaller ones will work perfectly as a tiny bit of adornment .
I've also made some random tubes and wires and out of an old computer cable and that will just get glued into one of the metal pipes .
The intestines hung from the top of the bottle are made of wound wire , which I then chop down into roughly equal lengths and I'll cover them top to bottom in red heat shrink tubing , the tubing kind of max as a skin over the wire and retains the shape but makes it a little bit more fleshy .
So that once I apply that brownish red wash over the top , I'm left with a bunch of these gross looking bendable intestines .
I'll feed them in clumps through the holes .
I've drilled through the top of the bottle and then I can bend them into whatever shape I want .
I pointed them downwards now , but in the end I'm gonna decide that they ought to point upwards .
I wanted to make a chunk of sewer floor to set the bottle and a pickle on .
So I'll turn to my old friend xps foam .
I can texture it using a little bit of rolled up aluminum and then a base coat of black Mont po to protect it before applying on a nice gray to give it a bit of a dirtier danker appearance .
I'll literally coat the entire thing in my homemade black wash .
Usually I use wash to make my cracks and bumps stand out a little bit better , uh phrasing , but it also works really well for dulling brighter colors .
I'm always a little apprehensive gluing plastic with hot glue , but the heavier plastic , the bottle should be able to withstand the heat from the glue without deforming .
I also wasn't sure how best to fill in the empty space around the floor , but I didn't want to leave it blank .
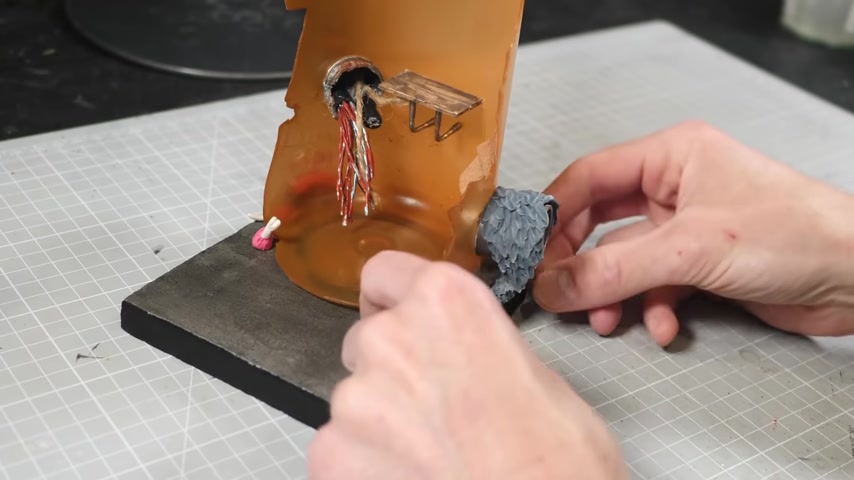
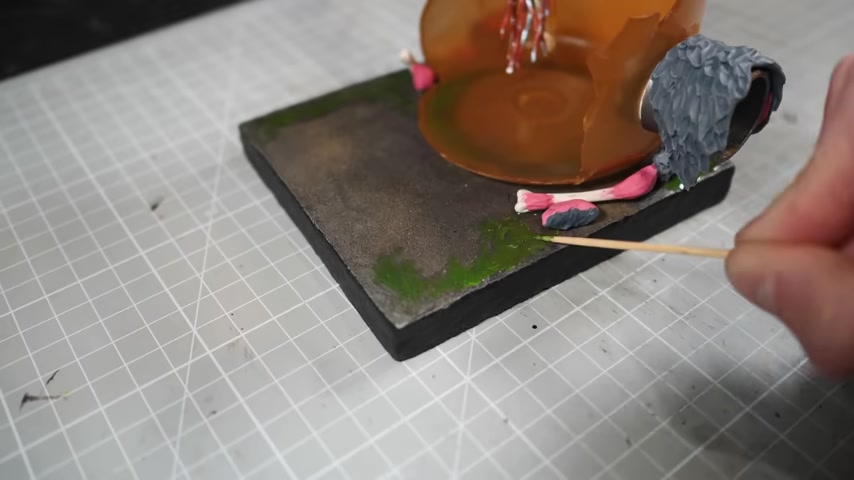
So I made a bunch of meaty chunks finally to really sell it as a sewer floor .
I'm gonna dig deep into my tmnt phase and add some radioactively green goo as a child of the nineties , I can't think of the floor of a sewer without picturing green goop .
Of course , I don't want any radioactive goo .
So I'm gonna try and make it look like mold do this in .
I'm gonna lay out some UV resin and then add a little bit of green paint on top by mixing it this way .
Instead of before pouring it in , I should be able to keep it from developing a consistent color which should help make it seem more like moldy growth and less like a spilled bottle of Mountain Dew .
I'll do the exact same thing to the other side and then cure the entire thing under my UV lamp .
733.0 --> 809.94
There you go , folks .
I hope you like this one .
It's my first dip into Rick and Morty .
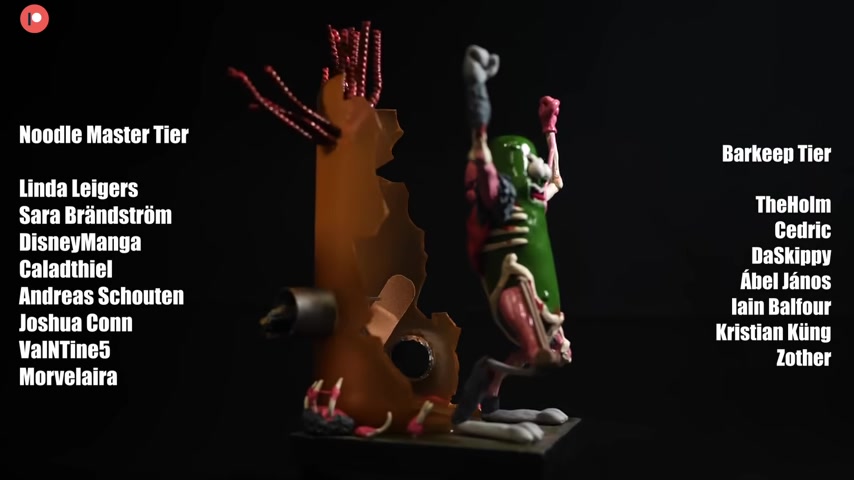
So let me know what you think as always a big thank you .
Goes out to my newest patrons , Stink finger Tom Skews Natasha Lame George , a cup of tea with sugar , Adam Schwartz Dodger Flem cat and Kendra Miller .
The continued grease of these ridiculous models wouldn't be possible without your support .
If you'd like to help out , then you can find the link to my Patreon in the description .
Of course , subscribe and commenting and liking , make a huge difference in the success of this channel .
So if you like what you saw here , share with your friends and if you didn't like what you saw , then share it with your enemies .
Otherwise we'll see you next week .
Cheers .
Are you looking for a way to reach a wider audience and get more views on your videos?
Our innovative video to text transcribing service can help you do just that.
We provide accurate transcriptions of your videos along with visual content that will help you attract new viewers and keep them engaged. Plus, our data analytics and ad campaign tools can help you monetize your content and maximize your revenue.
Let's partner up and take your video content to the next level!
Contact us today to learn more.