https://www.youtube.com/watch?v=9p1BzBbV6qs
How to Make CRISP Lacto Fermented Pickles - A Probiotic Rich Food
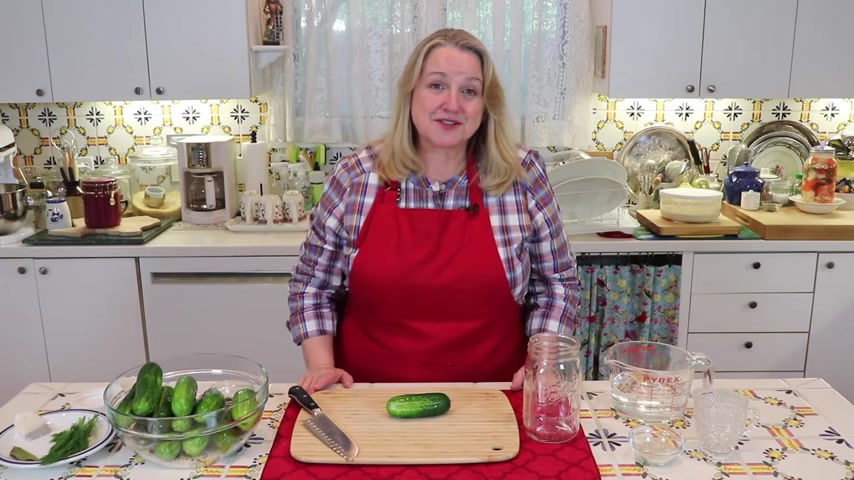
Today , I'm going to show you how to ferment cucumbers to make probiotic rich pickles that are wonderful for good gut health .
But most important they're going to be crisp .
Hi , sweet friends .
I'm Mary and welcome to Mary's Nest where I teach traditional cooking skills for making nutrient dense foods like bone broth , ferment sour dough and more so if you enjoy learning about those things , consider subscribing to my channel and don't forget to click on the little notification bell below .
That'll let you know every time I upload a new video .
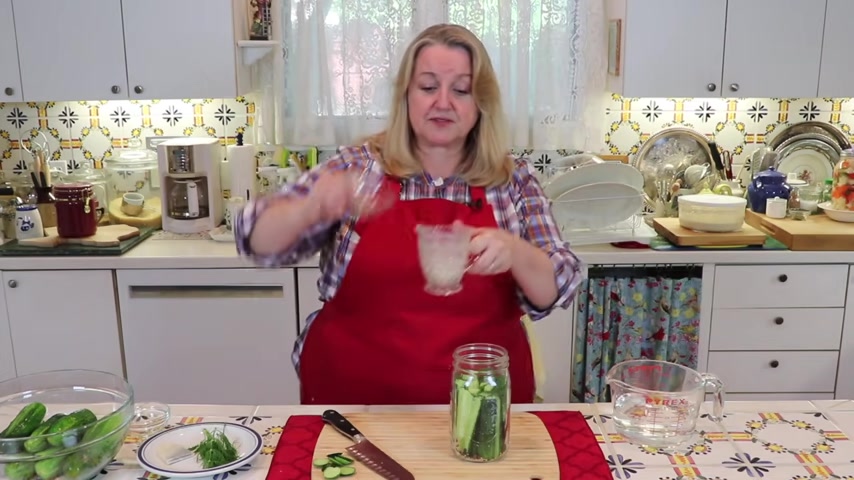
Now when it comes to fermenting cucumbers , you can either ferment them whole or you can cut them into spears and that's the way I like to do it .
And I always like to cut off a little bit of the stem and a little bit of the blossom end .
I feel that that's one of the tips that's gonna help prevent these from being mushy .
So I'm just gonna go ahead and just cut off that little bit like that and then scroll it away from me .

Then I'm just going to um cut these into spears and then we'll be ready to start putting them in our , in the jar .
Now , when it comes to fermenting cucumbers , you can keep it very simple and use nothing other than our brine mixture , which is just salt and water or you can add various pickling spices .
I like to add a mixture of mustard seeds , black pepper corns and all spice berries .
And basically , what I'm gonna do is just put these down in the bottom of the jar .
Now I'm gonna make these dill pickles .
So I'm gonna put this dill in , but I'm gonna tuck it in once we get our pickles in .
And now the next thing after we've taken off the stem and the blossom end .
The next thing I want to share with you about how to keep these ferments .
These fermented cucumbers crisp .
So they're crisp pickles is that we want to make sure we have something in this jar that has tannins in it .

Tannins help fermented vegetables stay crisp and you can find tannins in grape leaves .
You can find them in tea leaves .
Just a simple tea bag , decaf or calf .
Either one works whether it's decaf or not or a regular .
It does have tannins in it or something that I learned recently bay leaves .
So you can add bay leaves in and the bay leaves have tannins and they will help to keep your ferment crisp .
I used bay leaves when I made fermented carrot sticks and I'll link to that video in the IC cards above and just three bay leaves worked beautifully .
The fermented carrot sticks stayed really crisp and I was very press but a tea , a tea bag will work fine too and just one is all you need .
And if you don't do go with using a tea bag , you can just put it right down in the bottom of the jar .
It really doesn't affect the color or the flavor .
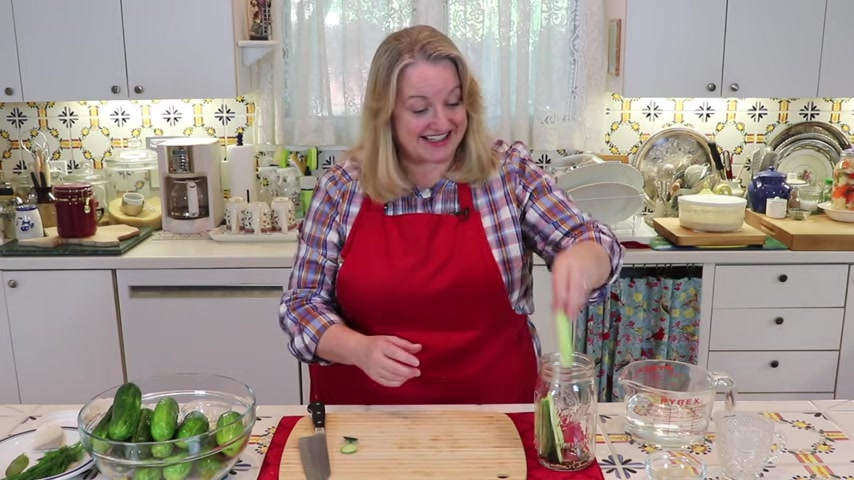
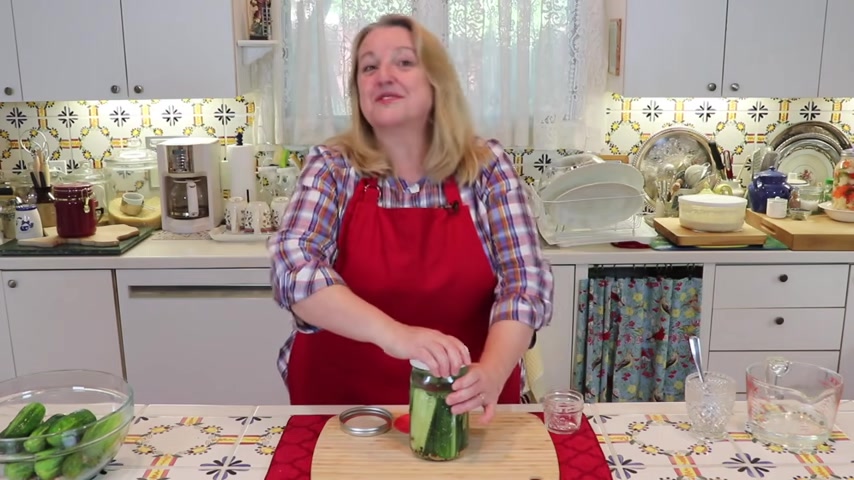
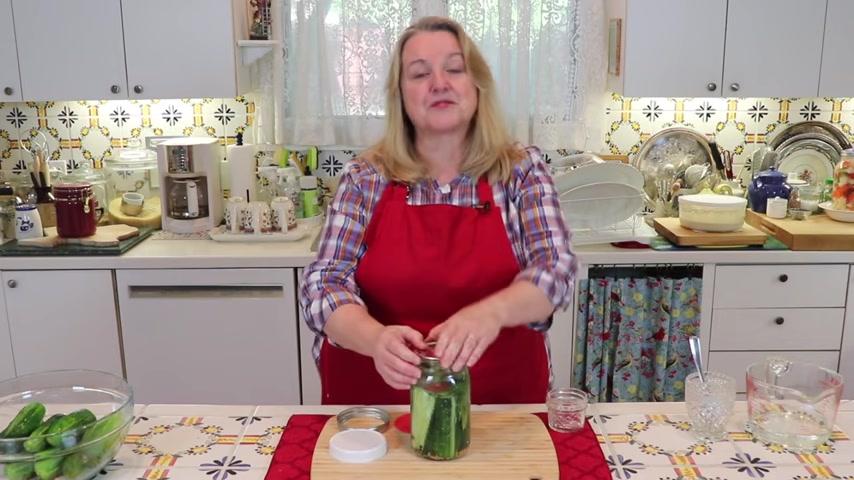
So I'm gonna just start putting these pickles or these cucumbers , these sliced cucumbers that will eventually be pickles into our jar and pack in as many as I can .
Now , this is a quart size jar and I was able to get about four pickling cucumbers in here once I sliced them up and I just try to pack them in as tight as I could .
Now , I'm not gonna put anything on top because when we ferment , we want to put a weight on top of here into this jar to keep everything submerged under the brine that we're gonna add in .
Now , you might say , oh , they're packed in so tight and they're not gonna float .
But you're gonna be amazed when the uh yeast and then the good bacteria start producing co2 carbon dioxide , they're gonna soften a little bit and then as a pickle wood , but they're gonna stay crisp thanks to the tannins and then they're gonna start , they will start to float up a little and you want to make sure that we keep them submerged .
So I'll go over that and minute .
Now I'm gonna go ahead and wedge in my bay leaves that have the tannins in them .
And I found with the carrots , uh , three bay leaves worked great .
And some folks told me that they even just use one bay leaf and it's enough tannins .
But I'm gonna add in three .
I want to make sure I've got enough tannins in here , especially since we're doing cucumbers , which even , uh if you've pickled them in hot liquid and maybe , you know , can them water bath , can them and whatnot .
You know how they can be mushy and fermented .
Uh , vegetables also tend to be able to take on a little bit of that soft feeling and I don't like a soft pickle .
I like a nice crisp pickle .
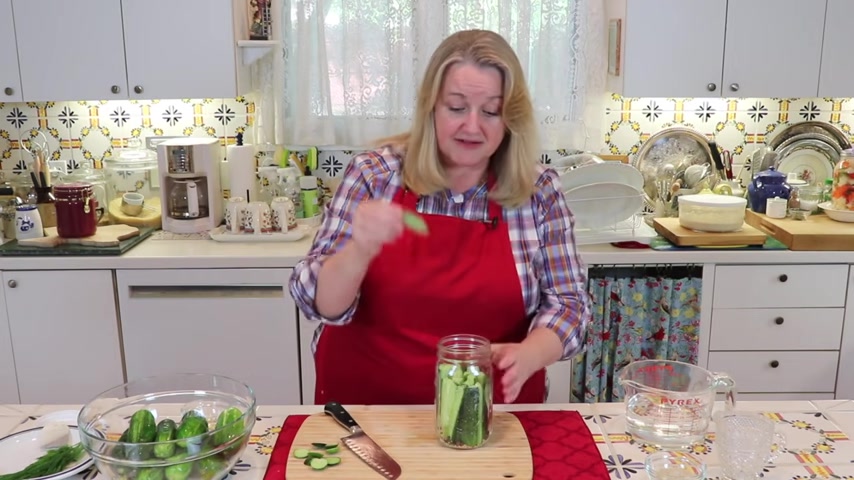
So I'm gonna be a little cautious here and I'm gonna play it safe and I'm gonna put in three bay leaves and now I'm just gonna take AAA Dill and I'm also gonna work this down and get this tucked in .

I might break it in half and put one on one side and I'm just gonna put in one sprig because I don't want to have an overwhelming flavor of dill .
I just want a nice soft dill flavor .
Now , fermenting these cucumbers in this quart size jar , we're gonna need two tablespoons of sea salt and I use a gray Celtic sea salt and I'll overlay a picture so you can see it .
So I've got a very coarse grain .
If you use a fine sea salt , you're going to want to use just one tablespoon .
But most important , whether you use a coarse grain or a fine grain salt , you want to make sure that you use a natural salt .
I'm using a sea salt .
You don't want to use a commercially processed salt , like the ones you see at the grocery store in the round box .
And the reason is those are chemically treated sometimes or sometimes they have caking agents in them or whatever the case may be , the commercial pro the commercially processed salt can interfere with the fermentation process .

So that's why you want to use some type of natural salt that's not been chemically processed .
Now , I know some of you have mentioned in comments on other uh fermentation videos that I've shared is that you're very worried about using so much salt .
Trust me , the pickles are not gonna taste salty .
And if anything , the salt helps with the fermentation process process , not only to help in keeping the ferments crisp , it also helps to tamp down any bad bacteria from developing , which allows the good bacteria to take a good hold and begin the fermentation process .
Now , if this is your first time making a fermented vegetable , you're going to want to go ahead and use these two tablespoons of salt .
And in this case , the core salt , if you're going with fine , it's only gonna be one tablespoon .
However , if you've fermented vegetables in the past and you've saved some of the fermentation liquid , whether you were making sauerkraut or the carrots or whatever the case may be , you can take a quarter cup of the fermentation liquid and then add less salt .
You would only add one tablespoon of the coarse ground or a half a tablespoon of the fine ground .
Now , some people will even still add the the brine from a former fermentation and a quarter cup to help get things really going and give a nice boost and still add the two tablespoons of salt .
In this case , the coarse ground salt .
And I really like that idea because the salt does help on so many levels and it doesn't make the finished product salty .
Yes , the brine will be salty but not the finished product , not the vegetable .
So that's something to keep in mind .
But if you want , you can certainly uh use some brine from a previous fermentation and then put in less salt .
Now , another option is to use some way .

And that's the white milky liquid uh from straining something like yogurt or Kiefer , some dairy product uh where you're making like a yogurt cheese or Kiefer cheese or something like that and you strain it and you have that white milky liquid .
You can add a quarter cup of way that will also help with the fermentation because this is a lacto fermentation and that will help with it .
However , I don't like using way and the reason is I find way of in part somewhat of a milky like flavor and I don't like it .
And I like when I make ferments , I like them to taste as close to pickled vegetables or regular pickles that you would buy at the grocery store , especially if you're introducing them new to your family or your friends or even to yourself , uh having them taste familiar can be very important .
And I find the way introduces and slightly unusual or slightly different flavor that I don't find pleasant .

Now , as I said , uh this is a lacto fermentation and even though we think of lactose , lactose so on and so forth as being associated with dairy , these type of uh ferments are also lacto ferments and they have nothing to do with dairy , but it's the bacteria that's going to grow in them that naturally occurs on fruits and vegetables and whatnot that will begin to grow when submerged under liquid and put in an anaerobic environment .
It's a lacto fermentation and the bacteria is lacto bacillus , I think might be how it's pronounced .
I'm not a scientist .
So we say that my pronunciation may not be perfect , but that's what this is .
It's an anaerobic fermentation .
It means submerged into water .
We want to keep the oxygen out and it's a lactose fermentation .
Now , I'm comfortable just sprinkling the salt right on top and then adding in my filtered water .
I don't worry about dissolving it first .
It dissolves just fine and it , it always works for me .
But in case you're a little concerned about doing that , what I would recommend is you don't necessarily know how much water you're going to put in here .
So I've got about two cups of filtered water here and I don't want to just go and dump all my salt in there because I may not use all this water .
And then I'm not guaranteed of having two tablespoons of the coarse sea salt in here .
So instead if you don't feel comfortable just to Sprinkle those on top and let it dissolve on its own , you can go ahead and just put it into a little pitcher like this and then just add a little bit of water enough to get this dissolved , know like maybe a half a cup and just let that do dissolve a bit and we'll give it a stir before we pour it in .
And speaking of water , as I said , you wanna have filtered water , you want to make sure that your water does not have chlorine in it .
So , um , if you have a filter at home that filters out the chlorine .
Great .

If you have bottled spring water , that's great .
If you're just using your tap water , pour it in a pitcher the night before , just cover it with a little uh cheese cloth or a little flower sat or something like that just to keep uh the dust out .
So you're keeping it clean , but allowing the chlorine to evaporate so that the water that you ultimately go to use for your fermentation , it has no chlorine in it .
And the reason is chlorine throats , the good bacteria , it makes it difficult for the good bacteria to take , get a stronghold in the ferment and get its footing , holding or footing , so to speak and begin to ferment your vegetables .
So you really wanna stay away uh from chlorinated water .
It's going to make the fermentation process very difficult .
Alright .
Well , I've got that salt dissolved in there and I'll go ahead and pour this on top of our cucumbers .

See there's still a little salt that's not solved , but it'll dissolve just fine .
Once we add in the rest of the water , I just added a little more water into this pitcher in case there was any salt left behind there on the bottom of the pitcher .
And this is getting perfect , just gonna add a little bit more water and then I'll show you how we go through the process of weighting it down .
Now , when it comes to weighting down the ferments , any type of ferment that you're making , you have a couple of options for years .
I just enjoyed using these four ounce jelly jars and I would just put plop it down right on top of my ferment and I , once I put the lid on it would weight it down and I wouldn't worry about the liquid spilling out because actually what would happen is it would just sort of come over the lid and go right into this jar .
So this is a very clever system .
But now they make these glass weights , uh , which definitely make it very easy .
You just plop this down right into the jar .
And uh they usually sell them with these pickle pipes too .
Sometimes they're sold separately , sometimes they're sold together and we'll talk about this in a minute .
But I'll be sure to link in the description below to all of the fermenting supplies that I use .
Uh , because they've , they've all come in so handy .
So now what I'm gonna do is I'm gonna go head and I'm gonna take this glass weight and I'm just gonna put it right down on top there .
Boom .
Now that we've got our ferment or in this case , our cucumbers weighted down .
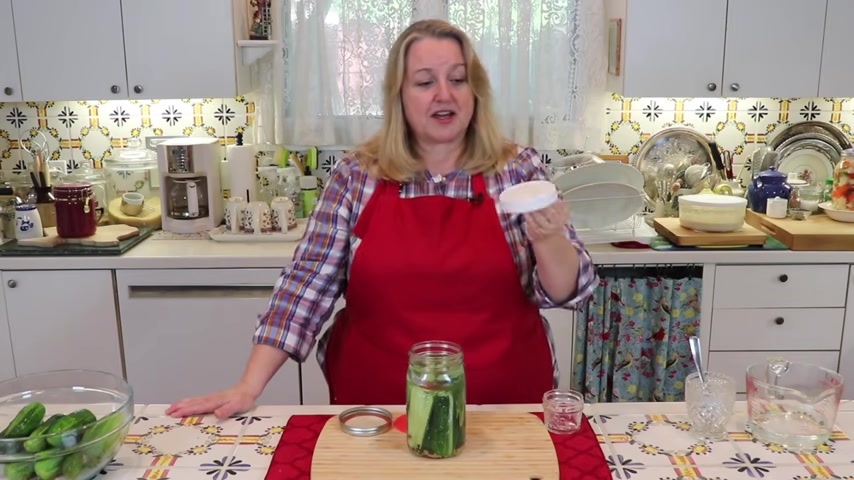
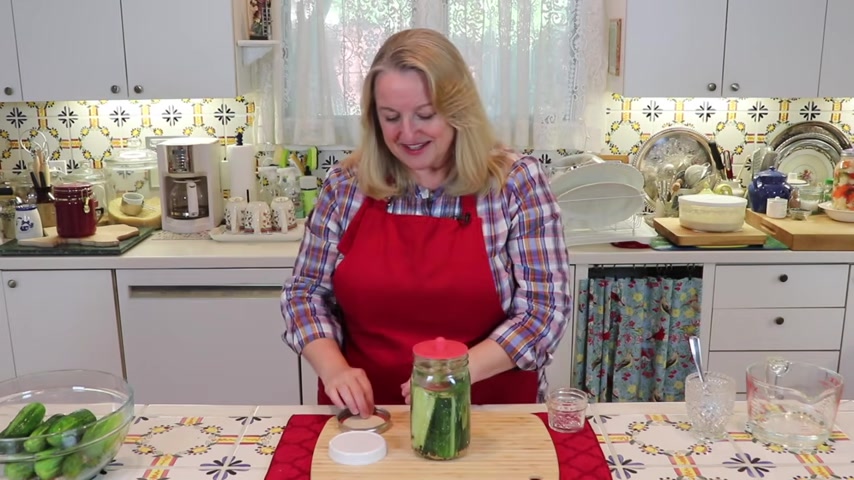
The next thing we need to do is to decide what type of lid we want to put on the jar .
And this is just a typical plastic white plastic canning lid .
Uh , not for water bath , canning or , or pressure canning .
But after you open something that you've canned , you use one of these , when you go to a store in your refrigerator , when it's no longer she shelf stable and these are sold you know , at your grocery store or any of the big box stores .
And they're usually sold in the canning section .
And I'll also put a link to these below , but they're very easy to find .
And all you do is just put this on and you're done .

Now , you're gonna want to put this in a warm place , which we'll talk about in a minute .
But with this type of lid as the , as you're gonna see in a day or two , especially in the summer months .
And the spring when we tend to do a lot of fermenting of fruits and vegetables from our gardens or from the farmers market .
So it's warm in our kitchens and it's warm outside .
You're probably going to see the CO2 starting to bubble up uh by day two .
And when that starts to happen , you need to , for lack of a better word , burp the jar and that's to let out some of the CO2 , the carbon dioxide that builds up .
It's a byproduct that the uh good bacteria makes as it's eating the natural sugars that are in fruits and vegetables .
Uh during the that happens during the fermentation process as it's eating that and creating the good bacteria which makes this probiotic rich .
But the byproduct is the CO2 , the carbon dioxide and so that you don't want your , you don't want it to build up too much and get too fizzy that the jar would break .
So you need to just come over and burp it like that .
Now , that's one option and you're gonna need to do that every day until you decide that your cucumbers are properly fermented .
And we'll talk about that in a minute .
Another option is to just use a plain old canning lid and a canning ring .
And this is what I did for years .
I used the jelly jar and a canning lid and a canning ring .
And the reason that I like this was sometimes these can stick a little and uh you know , maybe a little bit of the fermentation liquid spills over the top and we'll talk all about that in a minute and it can make it a little sticky and so it can be difficult , it can be difficult to unscrew this and when you do get it unscrewed , it's sometimes because of the build up of the CO2 , it can pop a little .
And I've always found that as I've shared with you in other videos where I've showed you how to make fermented vegetables .
I always found it a little frightening and sometimes it was really difficult to loosen and I would have to even put some warm water around there .
And I just felt it was messy and complicated and I , so I wasn't a fan of it , but I found that the ring was a lot easier to loosen .
And then what would sometimes happen , the lid , the canning lid would make a seal even after a day or two as that CO2 was coming up , but that was ok because all I needed to do to burp this was to get a can opener and just open it like that and there was no fanfare , no boof or anything like that .
Now , you are , whether you use this or this , when you do open it , you will hear like uh but this , I just found easier , Uh I found it easier to loosen the ring and I found it a little less intimidating to just use a can opener to remove the canning lid .
So that's one option .
So now we have two options for lids .
The third option as I showed you before are these popular pickle pipes and this is just one variety .
There's all kinds of different things for uh fermenting vegetables today .
But this is just what I have and you put this on your jar and then all you do is take a canning ring and tighten it like this and you're done .
And when carbon dioxide builds up and needs to be released , there's a tiny little pinhole in the very top here and the carbon dioxide will come out but no oxygen , no air will get in .
And because remember oxygen , air , that's our enemy in fermentation because this is an anaerobic fermentation .
We want to keep everything submerged in the water .
We want to keep oxygen from getting in .
We want to allow the good bacteria to eat all the natural sugars in here , create CO2 release that and then it comes released through this little pinhole and no oxygen gets in and everybody in the jar is happy .
Now , you want to find a warm place in your kitchen to put this so it can just sit undisturbed and out of direct sunlight .
Now , some of you have asked me , oh , can I put it in my pantry ?

Sure you can .
I don't do that because I'm always afraid I'm gonna get busy and I'm gonna forget about it .
But if you have a place in your pantry where , you know , you'll see it .
You can certainly put it in , in your pantry .
Now , in warm weather , as I said , when our kitchens are warm , you will probably start to see bubbling and fizzing within two days .
And now remember you're going to be burping .
Now , you don't have to do it with this because this little pinhole is going to release the co two .
But if you use any of the other lids , you're gonna want to burp it .
Now , on the second day , when you start seeing all that bubbling and what not by the end of the second day , take everything off , take out the weight , use your clean hands and clean utensils , whatever you use to take the weight out a spoon or a fork .
And don't because you don't want to introduce any uncleanliness .
You don't want to introduce any bad bacteria that could take hold and not give the good bacteria a chance to , you know , focus on fermentation and taste your cucumber .

Now , hopefully at that point , it's becoming a pickle , but you want to give it a taste and see if you like the consistency .
Has it developed into a pickle ?
Does it still have a nice crisp to it ?
Do you like the flavor ?
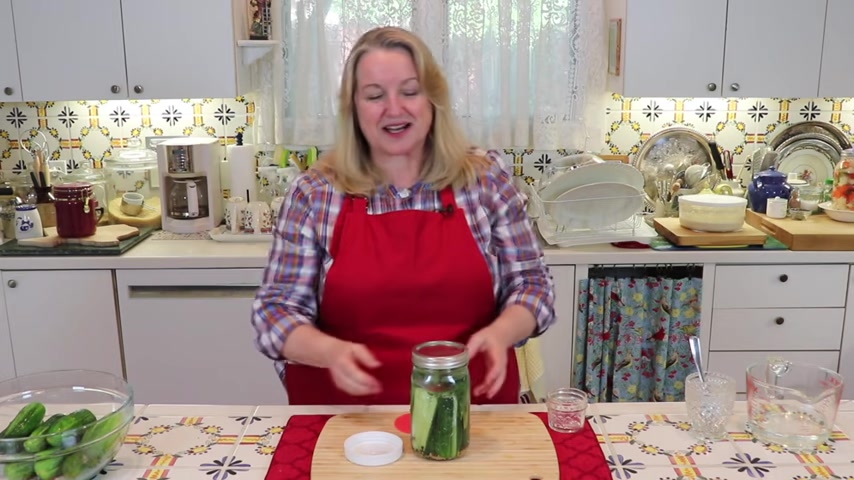
If so you're done ?
And all you need to do is take out your weight and replace your lid with one of these white storage lids and put it into your fridge and you're all set .
Now , if it's cooler in your kitchen and depending on the time of year or if you have air conditioning , generally , if it's under 72 degrees , it's going to take a little longer to ferment 72 °F , but sort of between 72 °F and 78 °F seems to be sort of the ideal range change of temperature for lacto fermentation like this .
So if you're a little warmer , it may ferment very quickly .
If it's a , if it's a little cooler , it may take a few more days .
But the bottom line is , remember if you're using a lid other than this , you gonna burp it every day and , and even when you're using a lid like this , you still want to check it every day .
Once it's started to ferment , you may even notice that the liquid inside , the brine starts to become cloudy .
These are all indications that it's probably ready .
So you'll want to give it a taste and then if it's perfect , you'll want to refrigerate it .
Now , remember if you take one out to give it a taste , don't put it back in because you don't want to , you know , as I said , you don't want to contaminate this .
You don't want to introduce any outside bacteria that would throw out the good bacteria .
Now , I want to mention something about making these sweet pickles .
Now , after a few days , you've had this in a warm place , it's starting to bubble up and you've been burping it and checking it and you decide that you like the taste and you like the texture and you're ready to refrigerate it .

But you'd really like to have a sweet pickle rather than a dill pickle .
Well , what you want to do at this point is remove a little bit of the liquid , the brine and you can save it for your future ferments .
And at this point , add your sweetener .
You don't want to add the sweetener when you're going through the original fermentation process .
Sander Katz in his book , Wild Fermentation , which is a wonderful resource if you enjoy making ferments .
And I'll be sure to put a link to his book in the description below , but he recommends to put the sweetener in after the fermentation process has taken place and when you go to refrigerate , it , which considerably slows down the fermentation process .
Because if you put the sweetener in at the beginning , it can almost make something that becomes into more of an alcohol .
And so you want to avoid that and you really just want something that's sweet .

And so if you put the sweetener in at the end , when you're getting ready to put it in the , into the refrigerator , which significantly slows down any fermentation , then you don't need to worry about about that .
You're just gonna have sweet pickles in your fridge .
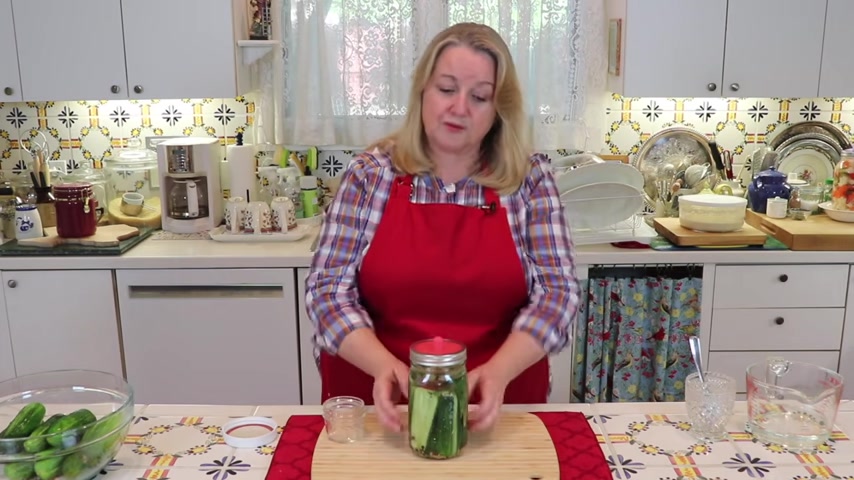
Now , I want to give you a little tip about preventing making a mess .
When you come .
When it comes to making ferments , I highly recommend putting your jars into some kind of little bowl like this .
And the reason is even if you think you haven't overfilled it or even if you think you haven't put too much water or whatever the case may be , or if you did put a little too much water when that Co2 starts bubbling , even though you have these lids , whatever lid you might be using on .
When you think you have it on tight water or liquid , the brine may still bubble out and it can make a mess on the counter .
If you put this in your pantry , it could make a real mess .
But all of that will be avoided .
If you put your jar that you're fermenting , whatever you're fermenting and put it in a bowl like this .

This will catch the water or the brine and no mess .
If you'd like to learn more of that traditional cooking , be sure to subscribe to my channel and then click on this video over here where I show you how to make naturally fermented probiotic rich sauerkraut .
And I'll see you over there in my Texas Hill country kitchen love and God bless .
Are you looking for a way to reach a wider audience and get more views on your videos?
Our innovative video to text transcribing service can help you do just that.
We provide accurate transcriptions of your videos along with visual content that will help you attract new viewers and keep them engaged. Plus, our data analytics and ad campaign tools can help you monetize your content and maximize your revenue.
Let's partner up and take your video content to the next level!
Contact us today to learn more.