https://www.youtube.com/watch?v=u71D0bLp64I
How to Make Fermented Giardiniera - Probiotic Rich Italian Pickle Relish
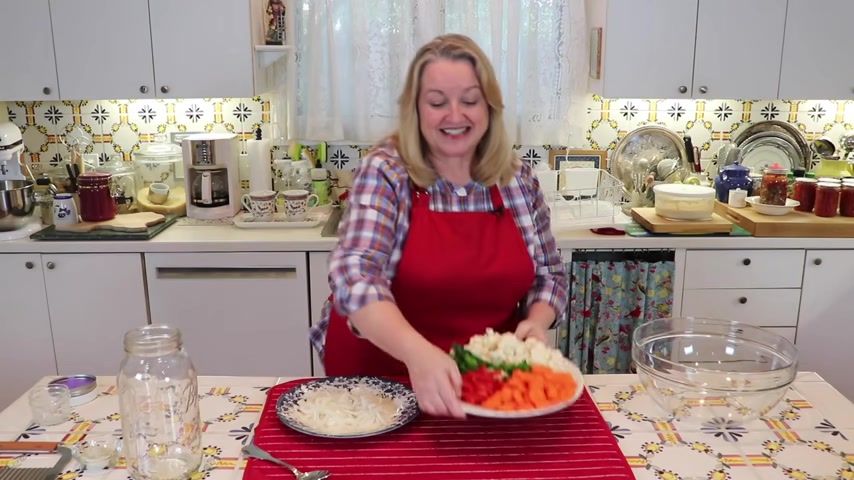
Today , I'm going to show you how to make a fermented jaina .
It's a delightful mix of vegetables that due to the fermentation process become probiotic rich and are wonderful for good gut health .
Plus , it tastes delicious and you can top it on sandwiches .
You can serve it as a side dish .
You can put it on an appetizer plate .
It makes a great snack .
It's just an all around versatile , wonderful vegetable mix .
And I think you're gonna really like it .
Hi , sweet friends .
I'm Mary and welcome to Mary's Nest where I teach traditional cooking skills for making nutrient dense foods like bone broth , sourdough ferments and more so if you enjoy learning about those things , consider subscribing to my channel and don't forget to click on the little notification bell below .
That'll let you know every time I upload a new video .
Well , this couldn't be easier to prepare .
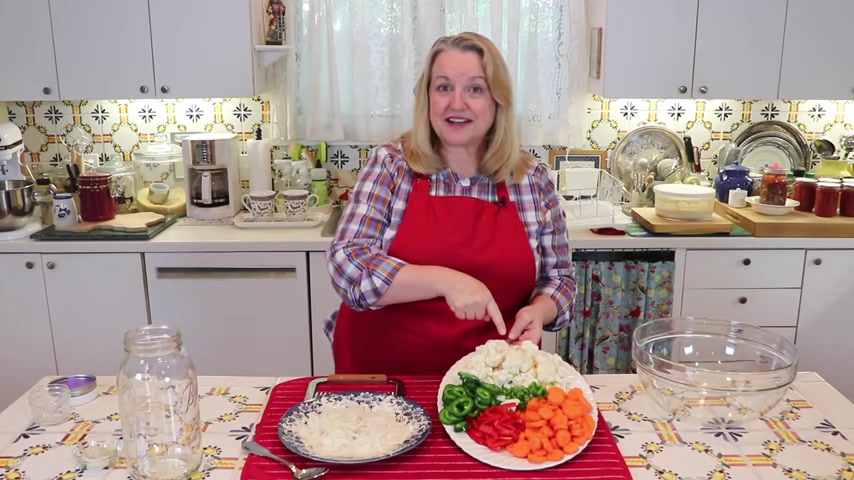
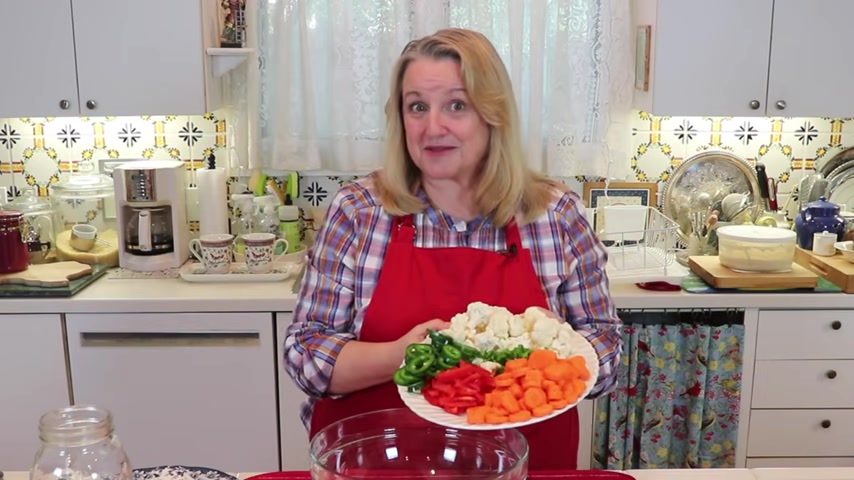
All you're gonna need is the head of a cauliflower that you've just broken into little florets like this .
And then you're gonna want four carrots that you've peeled and sliced .
And what I've done is slice them into quarter inch coins .
And I've used this little crinkle cutter that I absolutely love you may have seen , I used this when I showed you how to make the fermented carrots .
And I like this because it makes them look the way they actually look in the , that you would buy at the grocery store .
So that's kind of a fun little thing .
And I'll put a link to this in the description below if you want to find one of those .
And then the other thing I've got here is a sweet red bell pepper .
And I've just sliced that to about , you know , about two inch slices .
And then I've got some jalapeno .
And what I did was one jalapeno I took and chopped up and made it real small to help kind of really distribute it well through the and the other two jalapenos .
I and I've got three here .
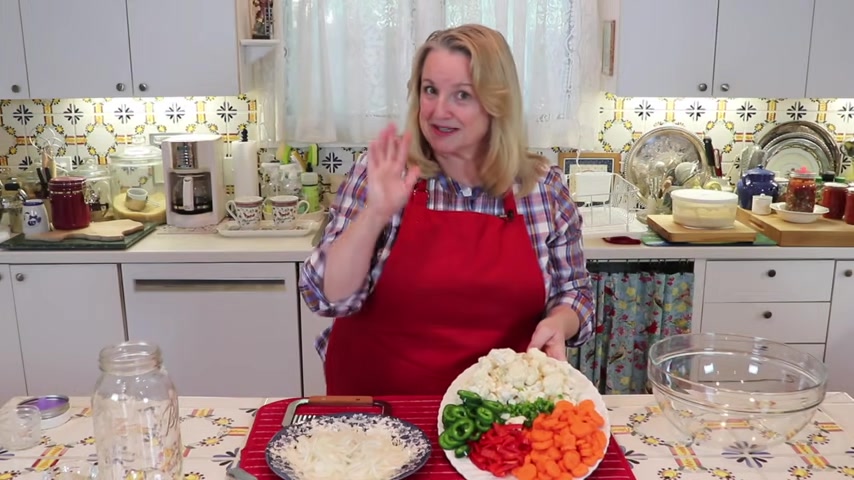
One was real small .
That's the one that I chopped up .
And then these are , this is two jalapenos here that I basically just sliced into little rings and pushed the seeds in the membrane out .
You can certainly leave in the seeds in the membrane .
But that's where a lot of the spices .
And I didn't want this to be too spicy , but I like the flavor of the jalapenos .
So I'm just gonna use the rings with the membrane and the seeds pushed out .
And that was two jalapenos there and just a little one here that I chopped up and then over here , I've just got one onion .
Then I just sliced up like this .
Nothing fancy .
You can really , if you want , you can chop it up .
I tried to just sort of make it similar to the red bell pepper and that's just one yellow onion peeled and sliced .
Now for you , I just wanna mention you can use any kind of hot pepper that you want .
I like the jalapeno .
I like the taste and I like the green color .
Uh , but when you work with them , if you've worked with them before , uh , be sure to wear gloves because when you work with any spicy pepper and you're chopping it up , it can really irritate your hands .
Now , if you don't want to have any spice at all and you , but you want the nice green color , you can certainly add a , a green bell pepper sliced in sort of the same way that you sliced your red pepper .
So the next thing I'm gonna do is we're just gonna put all of this .
The cauliflower is ready to go in .
I'm just gonna put all of this into a bowl and we're gonna mix it all together .
Well , I've got everything mixed in the bowl here and now we'll just go ahead and add in our onions and give everything another good toss .
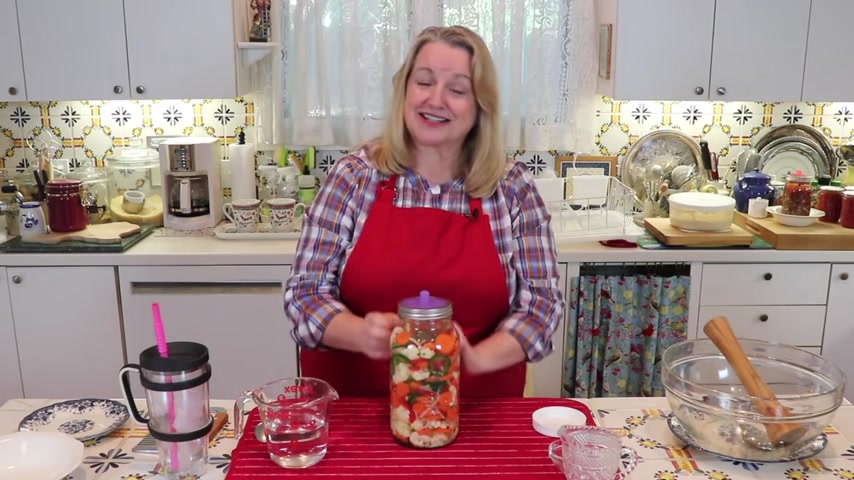
Now , the next thing we're gonna want to do is put all of this into a half gallon jar .
Now , if you want , you can also divide it between two quart size jars .
But I'm just gonna go ahead and put it in a gallon jar today .
Now , as we fill our jar , we just kind of even though we've got it all mixed in here as we scoop in our uh spoonfuls , we just want to make sure that we do get a good variety so that it's nicely distributed that all the colors are nicely distributed throughout the jar .
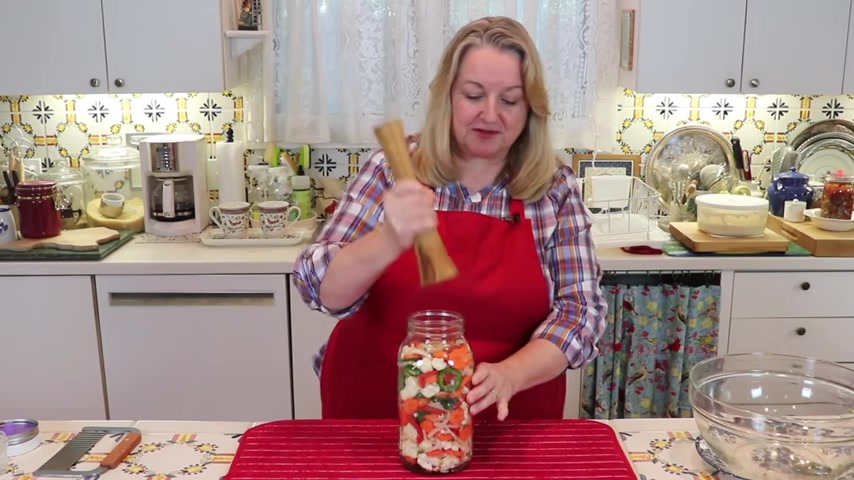
It really makes it look very pretty well .
We've got everything in the jar and now what I want to do is just give it a few little tamp downs just to make sure that we can press it as tight as possible and get out as much air from uh the little nooks and crannies as possible because that will help with the fermentation process .
And this is just a kraut pounder .
Uh , but if you have a spoon or a spatula , that'll work too .
I don't recommend using your hand only because the jalapeno is sliced in there .
And I wouldn't want you to irritate your hand , but you all it needs is a few little press downs just to make sure we've got everything tucked in there .
Nice and tight .
Now that we've got all our vegetables in here and they're tamped down , we want to add our water and our salt .
Now , first , the water must be chlorine free .
So if you've got filtered water , bottled water , whatever the case may be , as long as it doesn't have chlorine in it , you're in good shape .

Now , if you're just using your tap water and you know , that , that has chlorine in it , you'll want to pour it the night before and just , you know , in a pitcher or something , cover it with a little dish towel or something just to keep it clean , keep the dust out and allow some of the chlorine to evaporate .
And the reason is we don't want to use chlorinated water when it comes to ferments because chlorine inhibits the fermentation process .
It sort of fights , so to speak with the bacteria .
We don't want it to kill the , the good bacteria that will be developing in our ferment .
So make sure that the water is not chlorinated .
Now , I'm using the coarse ground Celtic sea salt .
It's kind of a wet sea salt and it's got a very coarse ground to it and I'll take a picture and overlay it so that you can see what I'm talking about .
And I really like using this .
And if you're using the coarse ground , you're gonna need two tablespoons for this size jar for this half gallon jar .
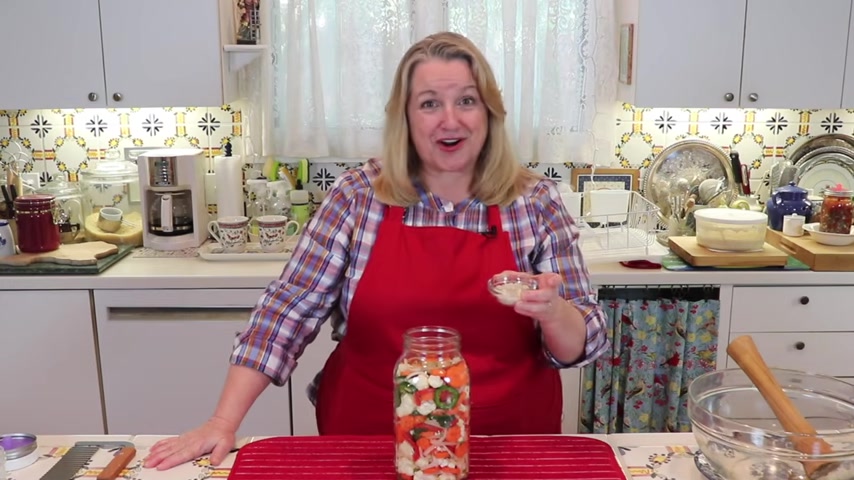
If you're doing this in just a quart size jar or you've divided it into two quart size jars , you're gonna want one tablespoon of the coarse ground salt in each of the jars .
Now , if you're using the fine ground sea salt , you're only gonna need one tablespoon for a jar size or a half a tablespoon for the quart size .
Now , some people like to go ahead and mix their salt with the water .
I don't do that only because I'm never 100% sure exactly how much water is gonna fit in the jar .
But I wanna make sure that I have the exact amount of salt in my jar .
So if you mix this salt with your water ahead of time and then pour it in and you don't use up all the water that's in your pitcher .
Then you're not guaranteed that you're getting the full two tablespoons of salt into your fermented vegetables or in the vegetables that you're planning on fermenting .
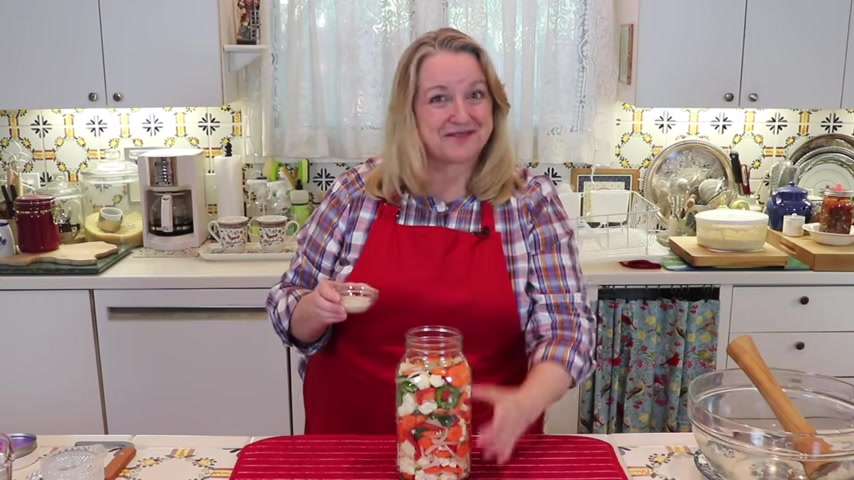
And the reason that you want to make sure that you get all of your salt into your jar of vegetables is because it serves two purposes .
One , it helps with the crispiness , keeping the vegetables crisp during the fermentation process .
And two , it inhibits the development of bad bacteria which allows the good bacteria to flow and ferment your vegetables .
Now , I have a number of videos on fermenting vegetables and I'll link to those in the IC card and in the description below and in the comments , some of you have been concerned about the two tablespoons of salt .
In this case , the coarse ground sea salt .
Now don't be worried about it if you're fermenting for the very first time , you really need the two tablespoons of salt .
Now , on your second batch , you can decrease the salt .
I generally don't because the salt is wonderful in terms of helping with the crispiness .
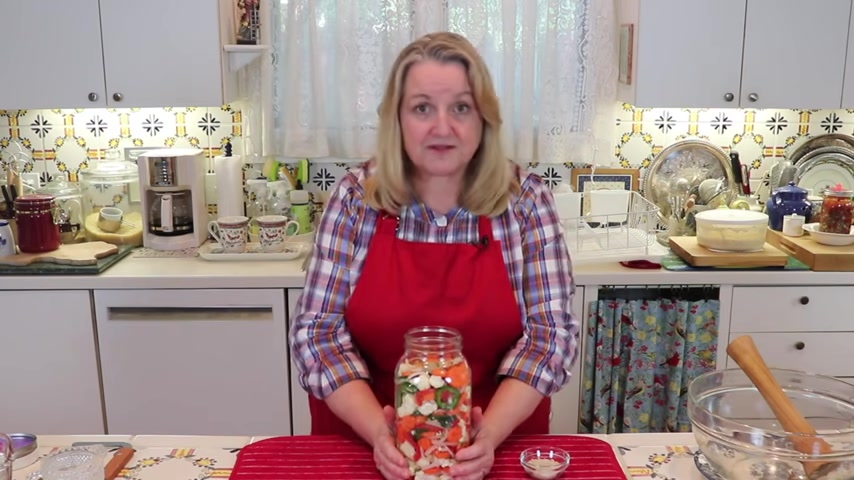
However , if you are concerned that it is too much salt , what you wanna do is save some of the brine from these fermented vegetables or sauerkraut or fermented carrots .
You know , whatever type of ferment that you may have made , save a quarter cup to a half a cup .
In this size dry , you'd want about a half a cup of the brine and then you can cut your salt in half .
So you're doing a half a cup of the brine from a previous batch and then only one tablespoon in this size jar of the coarse ground sea salt .
Now again , if this is your first time making fermented vegetables , and you still don't want to use the two tablespoons of coarse ground sea salt , what you can do is add a quarter cupper in this jar , they add a half a cup of way .
And we is basically that milky liquid that will drain off if you uh strain yogurt or keeper or something like that .
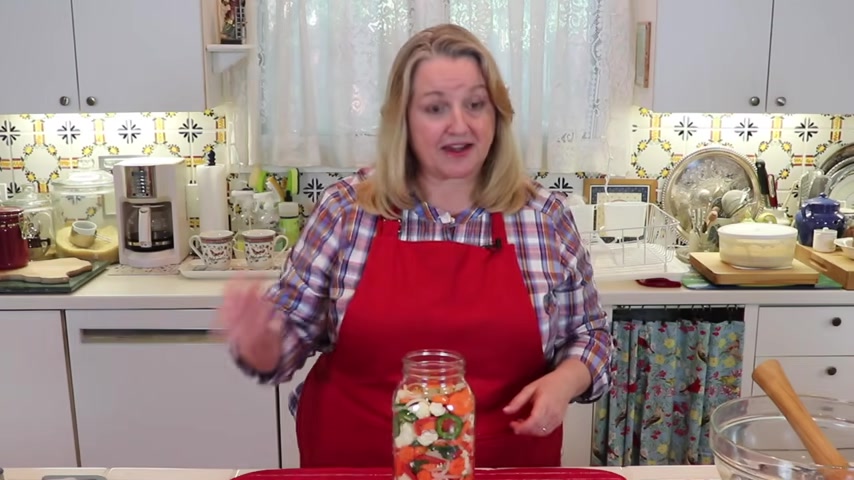
So you'd add , if you were doing a quart size jar , you'd add a quarter cup of away in this half gallon jar , you'd add a half a cup away and then half the salt .
In this case , only in this size jar , one tablespoon of the coarse uh gray sea salt now , I don't like to use way .
So I have to tell you that in advance , I find that it , it imparts an unusual flavor , almost somewhat of a milky flavor , which really wouldn't surprise you in a way in a way since we is coming from a dairy product .
But some people don't find that to be the case at all .
So , with ferments and with just traditional foods in general , so much has to do with experimentation and trying out these different things and seeing what you like and seeing what you don't like .
I've been making things like this for over 20 years .
So I know what I like and that's what you're going to discover as you build your so to speak traditional foods kitchen .

So if you want , you can experiment with the way or you can just go ahead and use all the salt this time around and then next time around just use some of your brine if you want to use less salt .
Now , a lot of us who make fermented vegetables and we've talked about this in the comments will just go ahead and use the brine from a previous a fermented vegetable because that's always a wonderful insurance policy because it's very rich in probiotics and it's really going to kick start your ferment .
So we'll add some of a brine from a previous fermented vegetable and then we'll still stay with the two tablespoons of salt .
It gives a nice flavor .
It helps with the crispiness and it also helps with the fermentation process by any bad bacteria that may want to try and grow .
Now , speaking of crispiness , maintaining crispiness and fermented vegetables , I want to take a minute and talk about that because that can be a complaint that people will say , oh my gosh , fermented vegetables are so mushy and that's true .
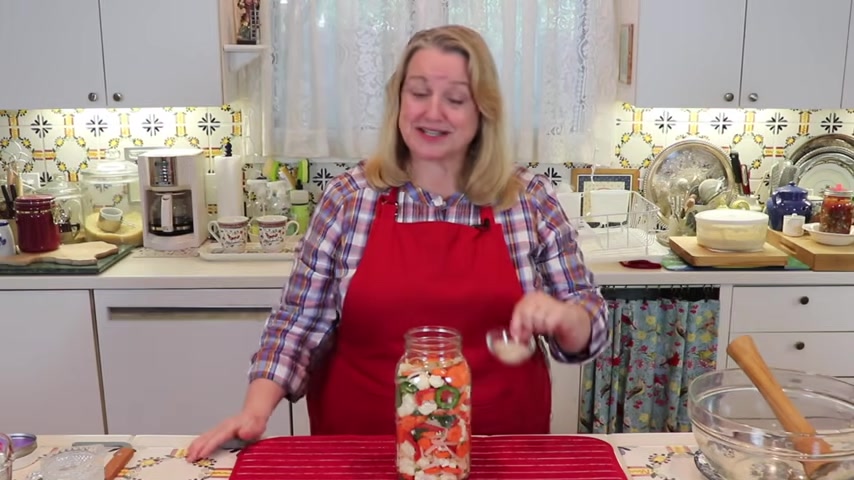
They can be mushy and that's where the salt does help .
But there are some other things too that we can talk about and that we can use when we make fermentation uh to keep the vegetables crispy .
Now , do we want to use them all the time ?
Possibly not .
And let's go over what they are .
Now , when we ferment vegetables and we want to keep them crisp , we want to make sure that there's something in here that includes tannins or that contains tannins and tannins are in grape leaves .
They're in tea leaves and I've recently learned they're in bay leaves .
So you have a couple of options .
Now , when I make sauerkraut , I don't put anything in like that .
I just put the salt and the cabbage and let it from meant because I don't really want sauerkraut to be super crunchy .
I want it to soften and I want to be able to , you know , put it across a hot dog or something like that .
I don't want it to be of a coleslaw type consistency .
I want it to become and I wouldn't really say it's mushy , but I would , I want it to soften .
So I don't add any tannins .
I don't put in grape leaves .
I don't put in tea bag .
I don't put in uh bay leaves .
I just do the salt and the cabbage .
Now , when I'm fermenting sliced carrots , just these like little carrot coins by themselves , then I do like to add tannins and I usually just put a tea bag down on the bottom of the jar and it doesn't change the color .
It doesn't affect the flavor .
You really won't notice it .
And yes , you can use decaffeinated tea , whether it's caffeinated or decaf , it does contain tannins and it's just plain old black tea bag .
You can use an organic one if you want .
I usually just put it down in the bottom of my jar and it releases enough tannins in to keep those little carrot coins nice and crisp .
Now , I also used to do the same thing when I made carrot sticks , uh carrots here and I'll link to those videos in the IC card .
If you would like to watch those .
The carrot sticks are great for sending in lunch box with kids .
They're wonderful uh snack and their wonderful way to introduce Children to fermented vegetables and that are probiotic rich .
And in those , because I had learned from one of you that you shared with me about using bay leaves because they're rich in tannins and I put the bay leaves in with the carrot sticks and it was delicious .
The bay leaf does actually impart a flavor , but it's a delightful flavor .
And I like bay .
It's almost like a little bit of a lemony herbal flavor and it kept the carrot sticks very crisp .
So I highly recommend that .
But with the Jordan , I like this to sauce in a bit and I've never had a problem with it , getting mushy carrots in general have quite a firmness to them to begin with .
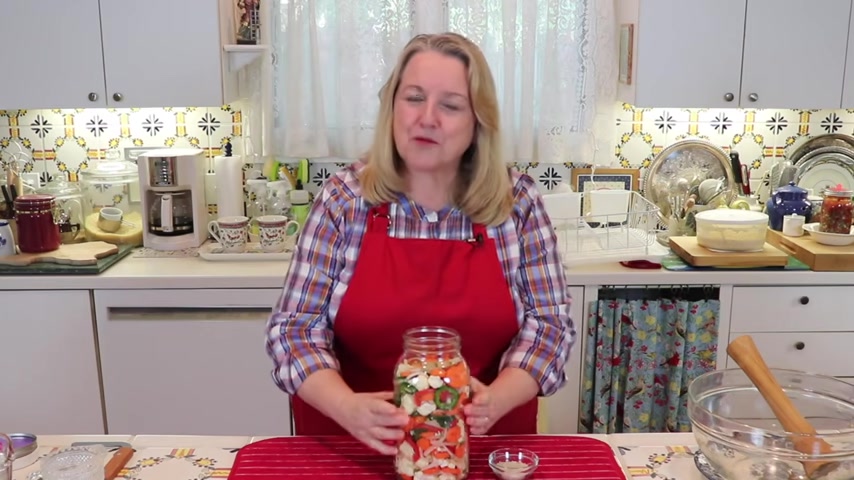
So they tend to not get very mushy .
Uh Even if you leave out tannins when you make a fermented , when you ferment them and the same with cauliflower , it really doesn't soften much .
It holds a lot of its firmness .
And I actually want the to soften a bit because I really like to use this more as a condiment .
I like to top sandwiches with it , maybe have it on an hou plate uh where people may be , you know , taking a little on their plate , putting some on top of a cracker with some cheese or something like that .
And so I wanted to have some uh movement to , it's a little bit of a flexibility , a little bit of a softness to it .
So to a , I generally don't add any tea bag down at the bottom or bay leaves .
But if you wanted to keep it really crisp , that's definitely something that you could consider .
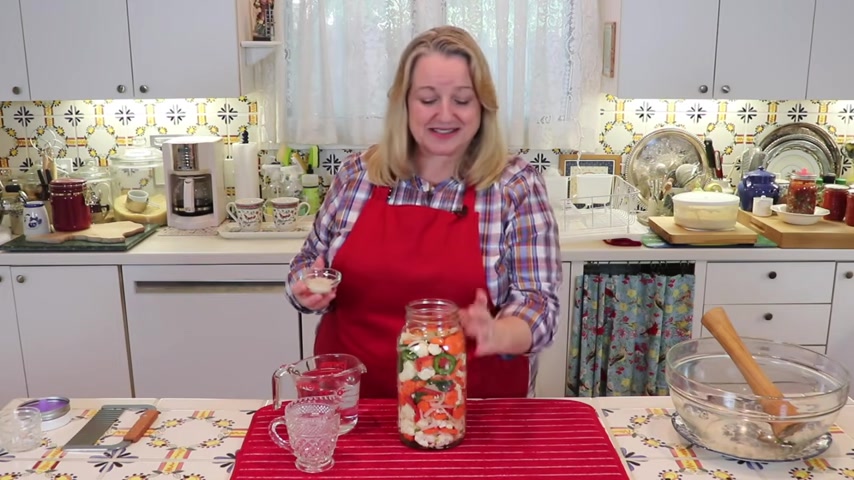
Now , I generally just go ahead and Sprinkle the salt right on top of adding the water in and during the fermentation process , it eventually dissolves and works its way down through everything .
But if you want to , uh so that's my like a little shortcut .
But if you want to dissolve it first before adding it in what I recommend is that put it in a little pitch or just a little one and then just add some water , just a little bit of water that you think will definitely not be filling this whole jar .
So that's why because I think we're going to probably use about two cups of chlorine free water .
But we can just go ahead and add this in .
That does that maybe , maybe about a half a cup and we'll give that a little stir and then we'll pour it over our fermented vegetables or I should say the vegetables we're getting ready to prevent .
They're not f prevented yet , but they will be in a few days .
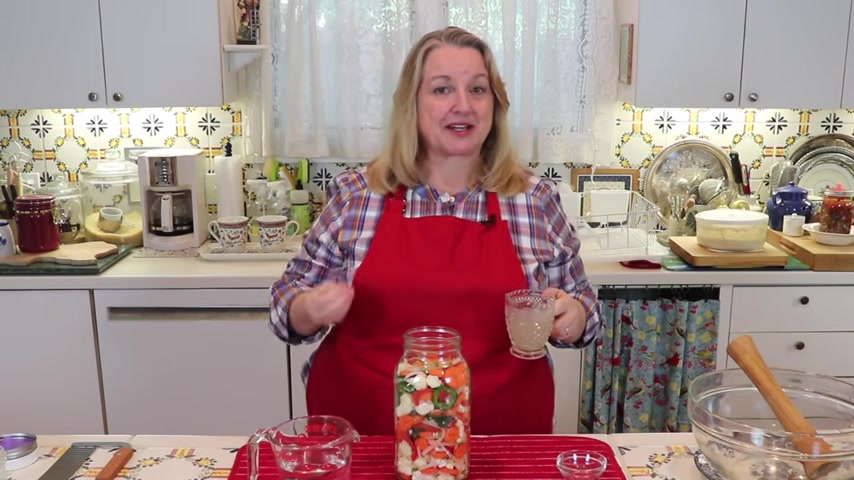
Now , before I pour this in , I just want to mention something about the salt as I shared with you , I'm using a sea salt and you want to use some type of natural salt .
You don't want to use a chemically treated salt like the type you might find in the round box at the grocery store .
And the reason is those salts have been commercially processed and they have anti caking agents in them and possibly other ingredients as well .
And those that processing that commercial , processing those anti caking agents that can inhibit the fermentation process .
So you want to avoid those , when you're , when you're fermenting vegetables , you want to use some sort of natural salt like a sea salt .
Alrighty .
So we'll go ahead and just pour this over our vegetables .
Perfect .
And then we'll go ahead and pour in some more water .
Now , right now , the water is right up to about here and together this was all about two cups of water .
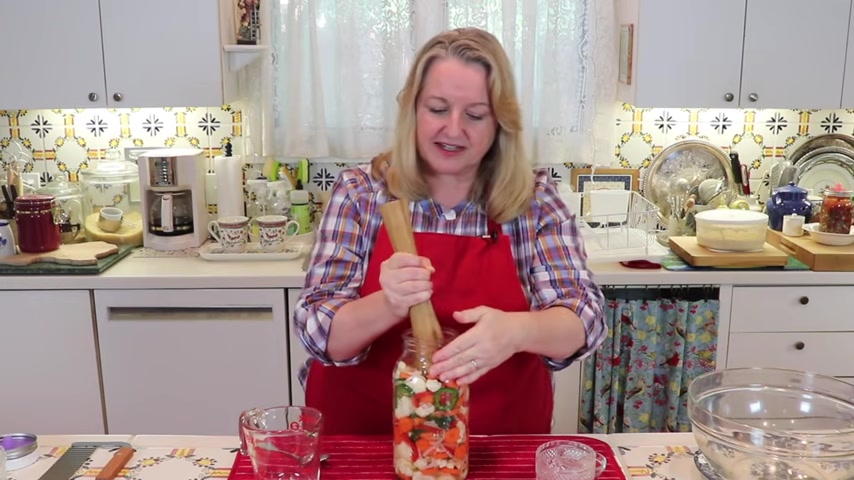
Now , what I wanna do is I just want to take this and start tamping this down a little .
Now , we may need to add more water because everything has to be submerged under the water .
But you really wanna tap , take your time and tamp this down a bit because you don't want to have too much water that would be bubbling out .
You wanna just make sure that everything is covered and when you're making things like uh a homemade fermented salsa and I did that a few days ago and I'll put a link in the ICC cards .
If you want to check that out .
When you're using tomatoes , they they release a lot of liquid .
You don't wind up having to add any water at all to that type of ferment and when you just start tamping it down , oh my gosh , all the tomato juice is , is being released and the same with cabbage .
When you add the salt and you start tamping it down , it starts releasing a lot of water .
So you often don't have to add any extra water to that either .
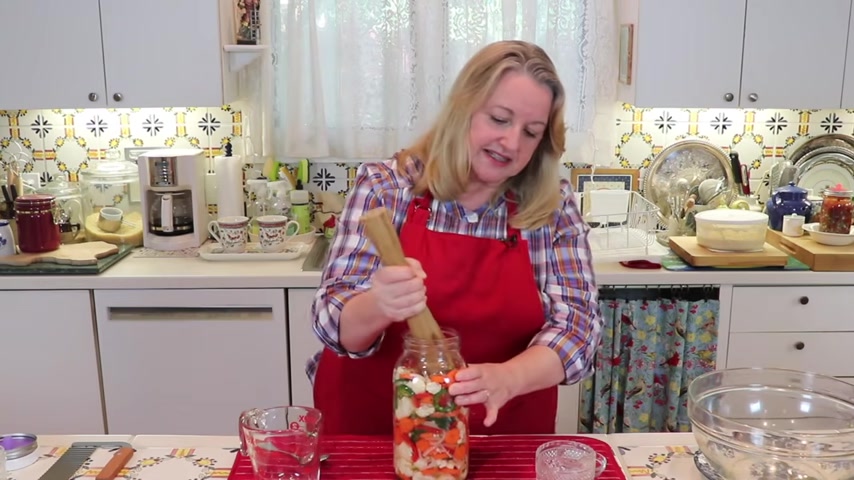
Now , with cauliflower and the carrots , uh , you generally do need to add extra water .
As you'll see , we're not getting that much , but I just wanna show you , you know , we were maybe around there , we're up to about here now .
So I just want to keep tamping these down for a few more seconds just to make sure that we've tamped them down as far as we can and that they've released as much liquid as they're going to release before we add any extra water .
Alright .
Well , I've tamped those down very firmly and now I am gonna go ahead and add a little more water because the most important thing is we need to make sure that everything stays submerged under the water already .
We've got everything under the water .
Now .
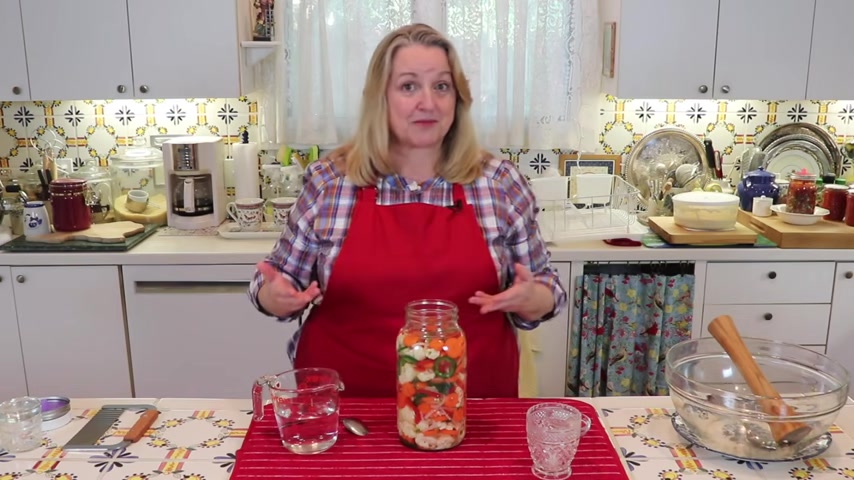
You still don't want to go right up to the top because we need to add one more thing to this jar and that's some kind of weight because as this starts to ferment , it's going to get very fizzy and bubbly and that fizz is going to cause the vegetables to rise and some might rise above the water line and you don't want that to happen because if they're not completely merged under the water , you do have a , a chance that uh the bad bacteria , some type of mold or something like that might grow on them .
And you definitely want to avoid that .
So we want to keep everything submerged under the water because a fermentation process like this is an anaerobic fermentation .
The yeasts and that naturally occur on vegetables are going to start eating uh the sugars , the bacteria is going to start growing that also , you know , on fruits and vegetables .
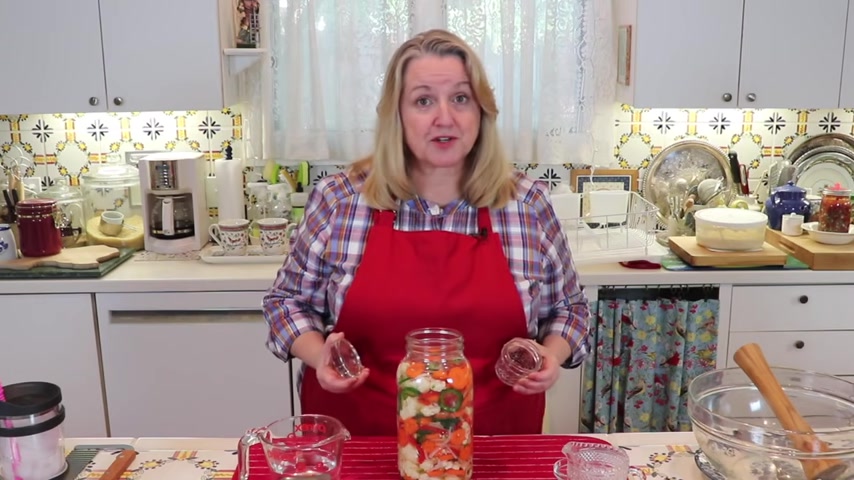
And then that's gonna create the CO2 which is gonna start creating all the fizz and the vegetables are become be going to become richer and richer in probiotics as that good bacteria grows and grows and grows .
And so you want , but you want to make sure in order for that to happen , you want to make sure all of those vegetables are submerged under the water .
Now , when it comes to weighting down your vegetables and keeping everything submerged under the water , you have a couple of options .
These glass weights have become very popular .
Now that home uh fermentation , fermenting vegetables at home has become more popular and you can certainly use these and I'll put a link in the description below to where you can find these and other fermentation supplies .
But you all you do with this is just drop it down into the jar and it'll weight down your vegetables and that's it .
Now , long before I remember these uh being around and as I've shared with you .
I've been fermenting vegetables a very long time .
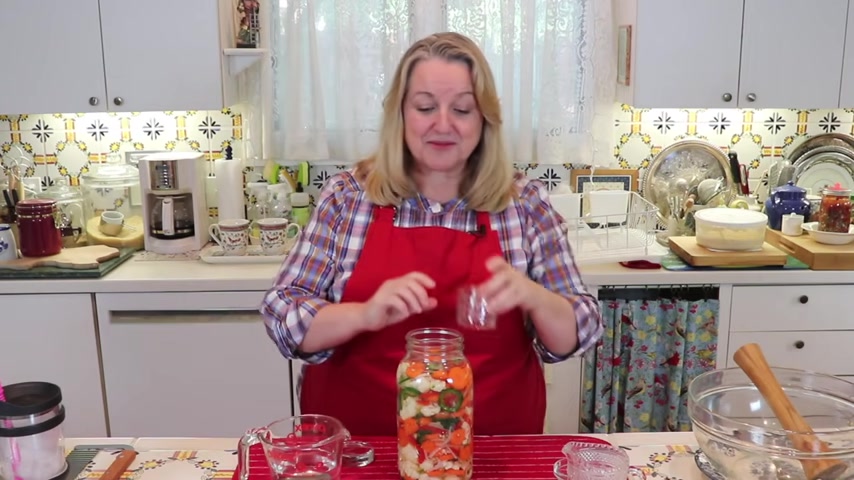
I always liked using these four ounce jelly jars .
They're glass .
So I didn't need to , you know , worry about putting anything metal in the fermentation and I could just drop this right down into my jar and it would keep my vegetables submerged under water .
And what I like about this is when you put this in and you push it down and you put your lid on in the event that any water kind of tends to bubble up .
As the fermentation process begins , it just kind of spills over into this little jar .
So he's found that very clever .
So I really like using these uh jelly jars and I especially like them in uh when I use a gallon size jar like this .
And the reason is these weights , when you plop them down , they usually stay pretty much in place .
But in these larger jars , sometimes they can tilt to one side or the other and sometimes the vegetables can then float up top and whatnot .
And I never have that problem with the jelly jar .
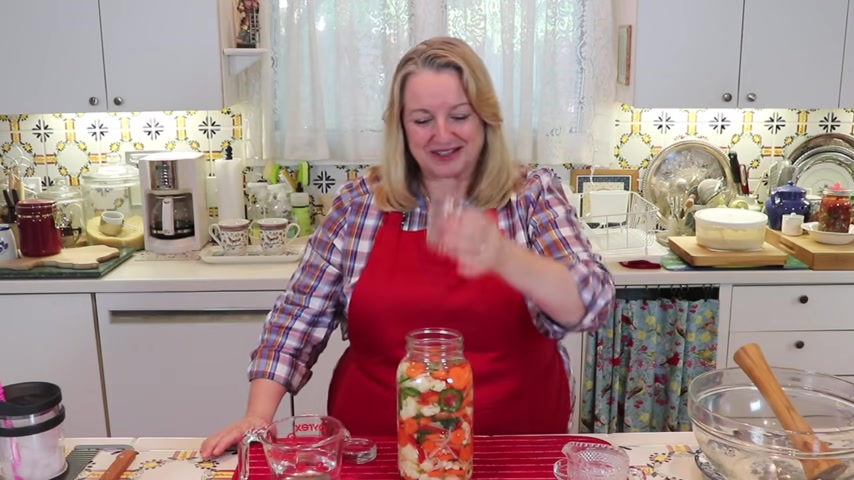
So today that's what I'm gonna use for this fermentation .
I'm gonna go ahead and I'm just gonna plop this jelly jar right down into my jar and you'll see we're gonna weight this down once we put the lid on and it's gonna keep everything beautifully submerged .
Now , next , we have lids to discuss , you've got a couple of options there too .
You can use a typical plastic white storage lid .
Uh , these are usually sold at the grocery store or in any of the big box stores in this area where they sell canning supplies because these are used not when your water bath canning or pressure canning .
But after you remove the traditional canning lid and you want to store something , you opened it and it's no longer shelf stable and you want to store it in your fridge .
These are the storage lids that you use and these are very nice and they're very easy .
You would just basically put it on and screw it down .
Boom , you're done .
Now , whenever you use any kind of lid , you have to burp this every day .
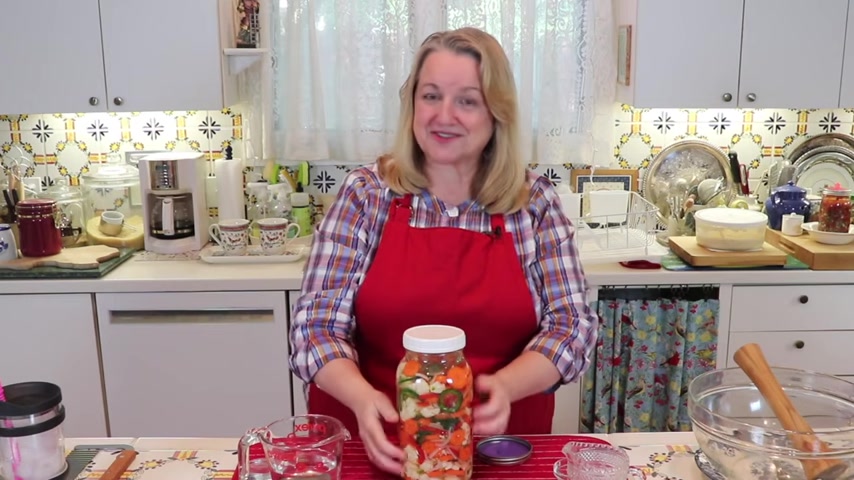
And the reason is because as that fermentation process comes up and , and starts to bubble up and the bacteria is eating all of the natural sugars in here .
It's producing co two carbon dioxide and that gas needs to be released because you wouldn't want your jar to break .
And so each day you're just gonna come and you're gonna want to burp your jar and you're gonna hear a like that .
Now , I generally , in terms of lids , if you're just gonna go with a lid , I like to use a traditional canning lid .
And the reason is I'll just put this on like this , I'll put my ring on and then I'll just close everything up and then once a day , as I said , even with this , you're still gonna have to burp it .
I would just come and loosen this and hear the whoosh and then just tighten it again .
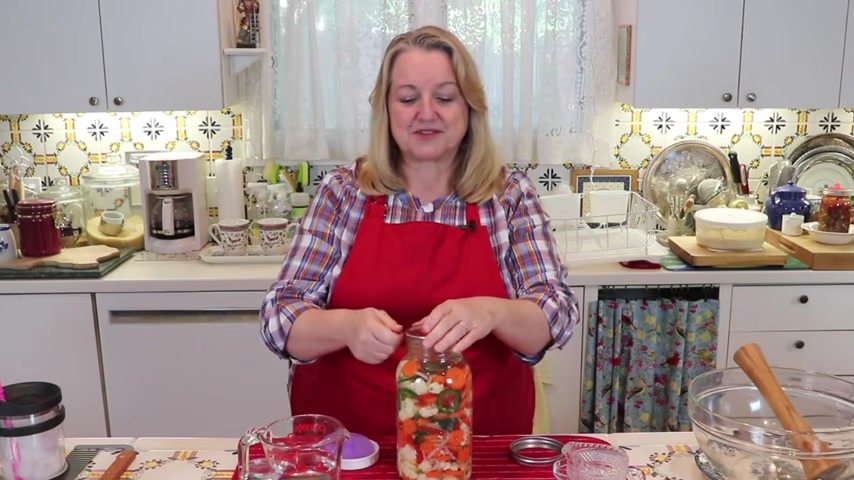
But if I didn't hear the , sometimes there can be a lot of carbon dioxide building up in here and if I didn't hear the whoosh , then I knew that this had sealed , it made like a , you know , a false seal in a , in a sense , not a true canny seal , but it had made a seal .
And so I would just be able to use a little can opener to open it and woosh .
And that would be the end of it with this type if I said after a day and it was really fizzing and getting very bubbly and I sometimes would have a little hard time loosening this either .
Maybe some of the liquid got underneath , it could get a little sticky just for various reasons .
And I would have a little trouble loosening it , but once I would get it loosened .
And I , I don't , if those of you who have been with me a while have heard me tell you this story before I would finally get it loosened and then it would , you know , it would really almost force the top off and I always found it a little frightening .
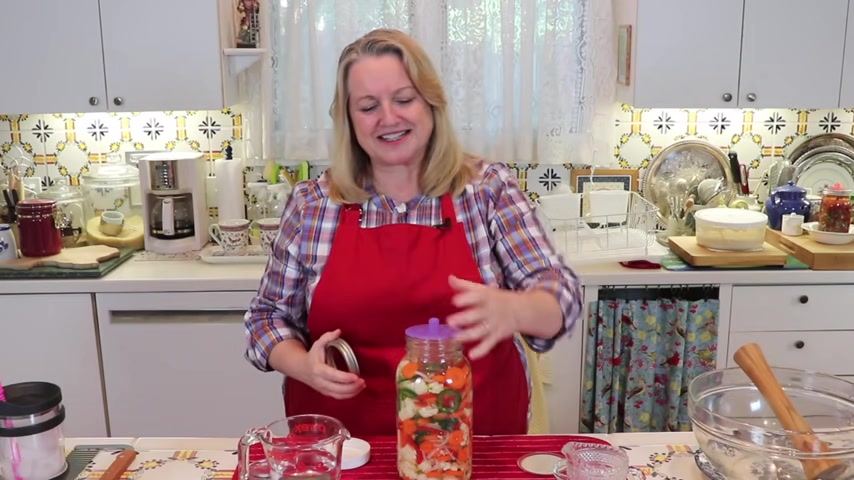
Uh , but I'm a little chicken about all of this .
Uh But with this , it would just be sitting there and then I could just use the can opener and it was very uneventful .
So I just wanted to share that with you that .
So you do have a couple of options .
Now , the third , the modern option uh that normally is with these glass weights , you'll see these pickle pipes sold too .
They usually come in a set .
And I , as I said , I'll put a link in the description below .
And then with these , all you do is you just put the pickle pipe on top and there's all kinds of variations .
This is just what I have .
There are all sorts of fermentation , uh fermentation devices now that you can put on top of these drawers .
This is just what I happen to have .
And again , with these , you're gonna need a canning ring .
And again , you can find these at your grocery store or any of the big box stores in the canning section and then you're just going to tighten that and then that's it .
You're done this , you do not need to burp .
And the reason is this little pickle pipe has a little hole in the top .
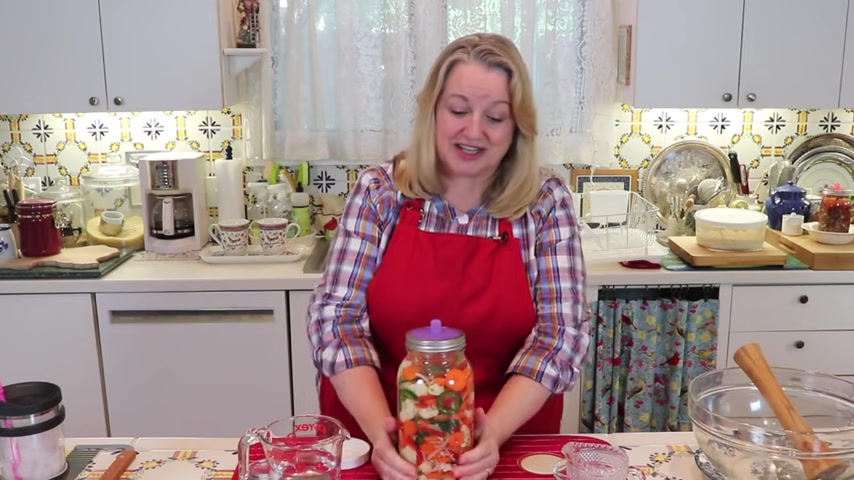
It's basically I , I can't see it .
It's like microscopic , but it is large enough to let out the co two , but small enough not to let any oxygen in any air .
And that is the whole point of fermentation because as I shared , this is an anaerobic fermentation .
So you want to allow the bacteria that grows the lacto bacillus I think is I'm not a scientist saying that's how it's pronounced .
It's a lacto fermentation .
So the lactobacillus likes to grow in an anaerobic environment so that there's no air in here and by keeping the air out , we then are going to create a wonderful environment for the lack of fermentation to take place .
Now , all we have to do is put this in a warm place in our kitchens out of direct sunlight and start to keep an eye on it .
As the fermentation begins to develop , you're going to start seeing fizzing and bubbles rising to the top .
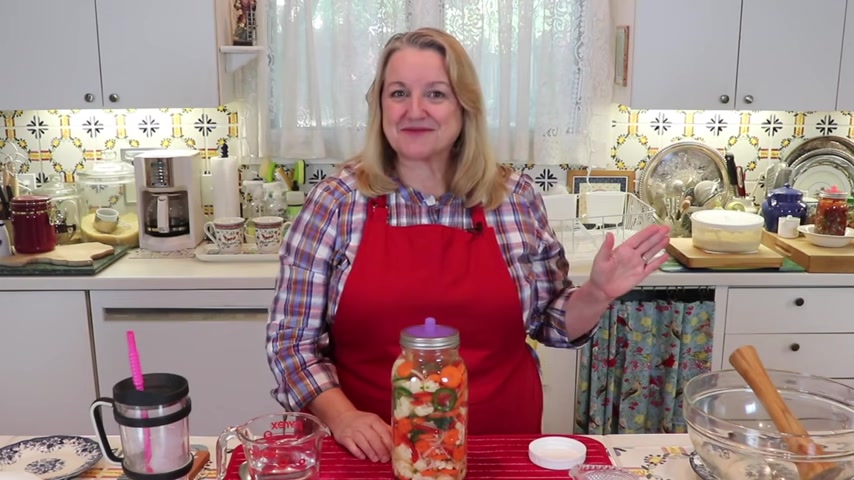
And if you're not using a pickle pipe each day , you're going to want to remember to burn to release the co two .
Now , all we have to do is find a nice warm place to leave this undisturbed for a few days .
You can put it in your pantry if you want .
I don't do that because I'm always afraid I'll forget about it .
So I usually just put it on my counter somewhere .
And that way I can watch as the fermentation process begins and I I'll know when to check on it .
Now , in the warmer months , when our kitchens are warmer , this can start to bubble up and become very fizzy within two days .
So that point , you may want to check it and if it has a nice taste , it's nice and tangy , it's the softness or the crunchiness that you want .
At that point , you can stop the fermentation process and put on a storage lid and transfer it into your refrigerator .
The fermentation process will continue in the fridge , but it'll be slowed down considerably .
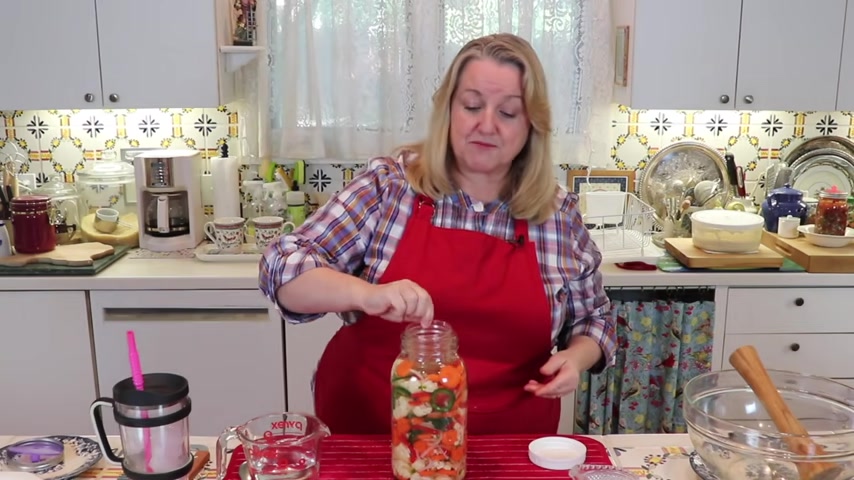
And so what you want to do for storage in your fridge is you'll just remove whatever type of lid that you're using .
And what I like to do and put this over on a plate is remove my weight .
In this case , I'm using the jelly jar .
If you're using one of the glass weights , that's fine too .
And I , but I remove it , I don't leave it in .
I know some of you like to leave it in to keep everything submerged .
But , but once the fermentation process has taken hold , you don't need to worry once a few vegetables start floating up uh to the water line , uh There's a lot of good bacteria at this point in the fermentation .
And so everything should be fine and also not having a weight in the jar , makes it much easier for your family to be able to get the food in and out and access it and hopefully eat it and eat a good probiotic rich uh product .
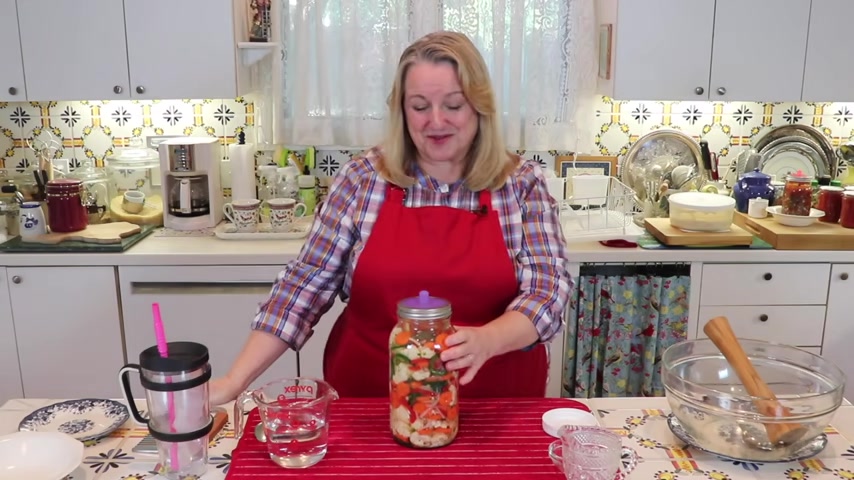
So then I'll just put one of these storage lids on and put it right into the fridge and that's it .
You're done .
If , however , after two days you take a taste and remember when you do check it and if you decide to taste it , use a clean spoon or fork and don't put it back in .
If you want to take a second taste , get another spoon and fork because you don't want to introduce any unwanted bacteria into the jar from your mouth by putting the unclean fork or spoon back in .
Now , if , after the two days it's fizzing and whatnot and you taste it and you say , oh , it's not quite tangy or fizzy enough that I want , that's fine .
Just put everything back together .
Now , when you take your weight out , uh you know , make sure you have clean hands and you're using a clean fork or a knife to lift out the weight , put it on a clean plate because again , we don't want to introduce any unwanted bacteria and then just continue to watch the third day as it becomes fizzy .
Give it a check .
And if you're not using one of these pickle pipes and uh with the canning ring , if you're using one of these or just the traditional uh canning lid and canning ring , remember you're gonna want to burp it every day because you're gonna want to let that CO2 come out so that your jar doesn't break .
And then on the third day , you're gonna see the fizzing and whatnot .
You can check it in cooler months .
Sometimes it can take 56 , maybe sometimes even seven days till you really start seeing the level of activity that you want and , and , and it'll have the taste that you want .
But generally after two days in these warmer months , you're going to start seeing some activity .
I want to share one little tip with you .
Uh When these fermentation processes begin and this becomes very bubbly and fizzy .
Sometimes the liquid can come out a little of your jar .
It doesn't happen to me often , but just as an insurance policy so that you don't have a mess on your hands .

It's wise to put your jars in some type of little bowl like this .
Now , it may not bubble out at all , especially if you're using one of these pickle pipes .
But if you're using just a regular lid and you've got to release the Co2 every day , the carbon dioxide , sometimes when you do that , a little bit of the liquid can dribble out .
And if you have this bowl , it catches it and you don't have to worry about it .
You don't have to worry about making a mess .
If you'd like to learn more about traditional cooking , be sure to subscribe to my channel and then click on this video over here where I show you how to make sauerkraut , another wonderful fermented vegetable and easy to make .
And I'll see you over there in my Texas Hill country kitchen love and God bless
Are you looking for a way to reach a wider audience and get more views on your videos?
Our innovative video to text transcribing service can help you do just that.
We provide accurate transcriptions of your videos along with visual content that will help you attract new viewers and keep them engaged. Plus, our data analytics and ad campaign tools can help you monetize your content and maximize your revenue.
Let's partner up and take your video content to the next level!
Contact us today to learn more.